COURSEWORK
V's AI-ML-001 course work. Lv 3
| V SANJAY | AUTHOR | ACTIVE |
V Sanjay General Task Report
3 / 1 / 2024
Task Report
Name: V Sanjay
Domain: AI & ML
Batch: 4
Task 1: Working with Pandas and Matplotlib
Introduction
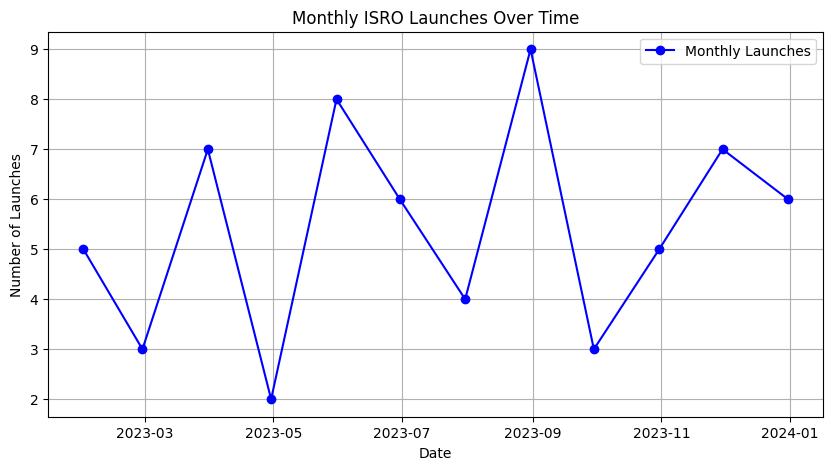
This task utilized Pandas and Matplotlib to visualize the monthly launches of the Indian Space Research Organisation (ISRO). The dataset sourced from ISRO's historical launch records offers insights into the organization’s launch activities over time. The Real Python tutorial on plotting with Matplotlib served as a reference for creating informative visualizations.
Methodology
The analysis revolves around the manipulation of Pandas and the visualization of Matplotlib. The dataset focuses on ISRO launches on a monthly basis, providing the canvas for our visual exploration.
Code Implementation
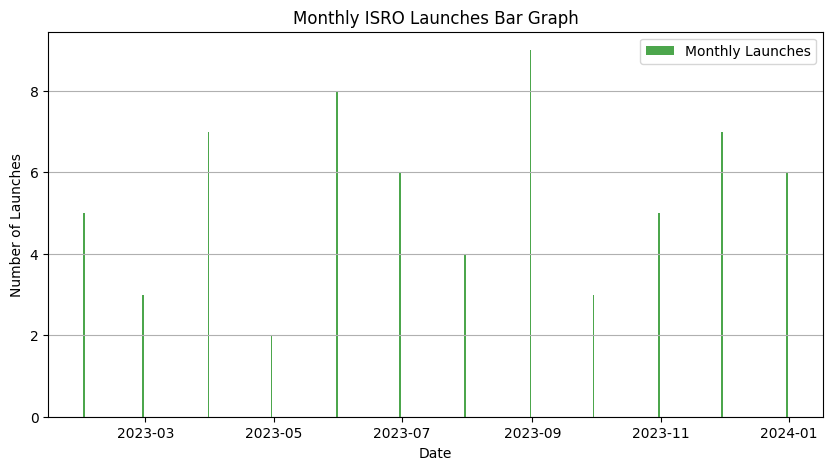
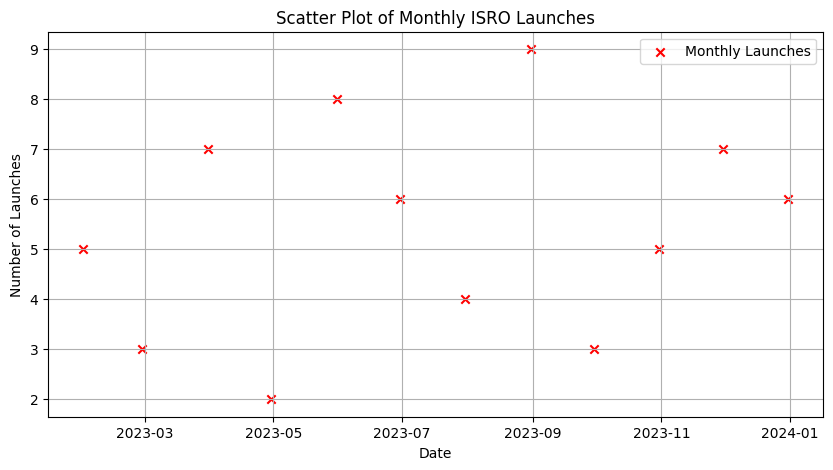
Embarking on our mission, we follow the footsteps of seasoned data explorers as outlined in the Real Python tutorial: Pandas Plotting in Python (Guide). Our aim is to unveil the narrative of ISRO's monthly launches through three distinct lenses: a line graph, a bar graph, and a scatter plot.
GitHub: Pandas and Matplotlib Task
Linear Graph:
Bar Graph:
Scatter Plot:
Task 2: Working with GitHub
Introduction
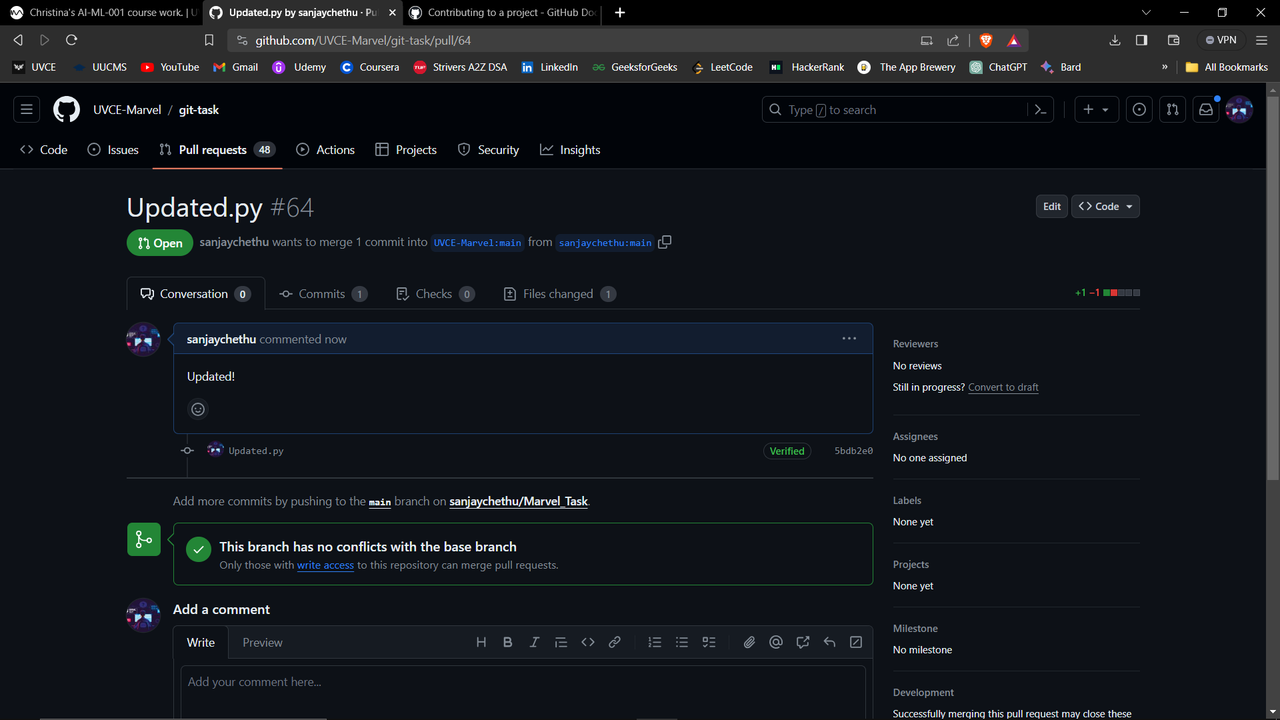
This task revolves around a specific Git repository and aims to familiarize with GitHub Actions, Issues, and Pull Requests. In this step-by-step report, we will clone the repository, explore its contents, understand and execute GitHub Actions, address issues, and create and manage pull requests. By actively engaging with these GitHub features, we enhance our understanding of collaborative development practices and automated workflows.
Steps:
- Clone the Repository
- Create a New Branch
- Make Changes
- Commit Changes
- Push Changes
- Create a Pull Request
GitHub: GitHub Task Pull Request
Task 3: Create a Portfolio Webpage
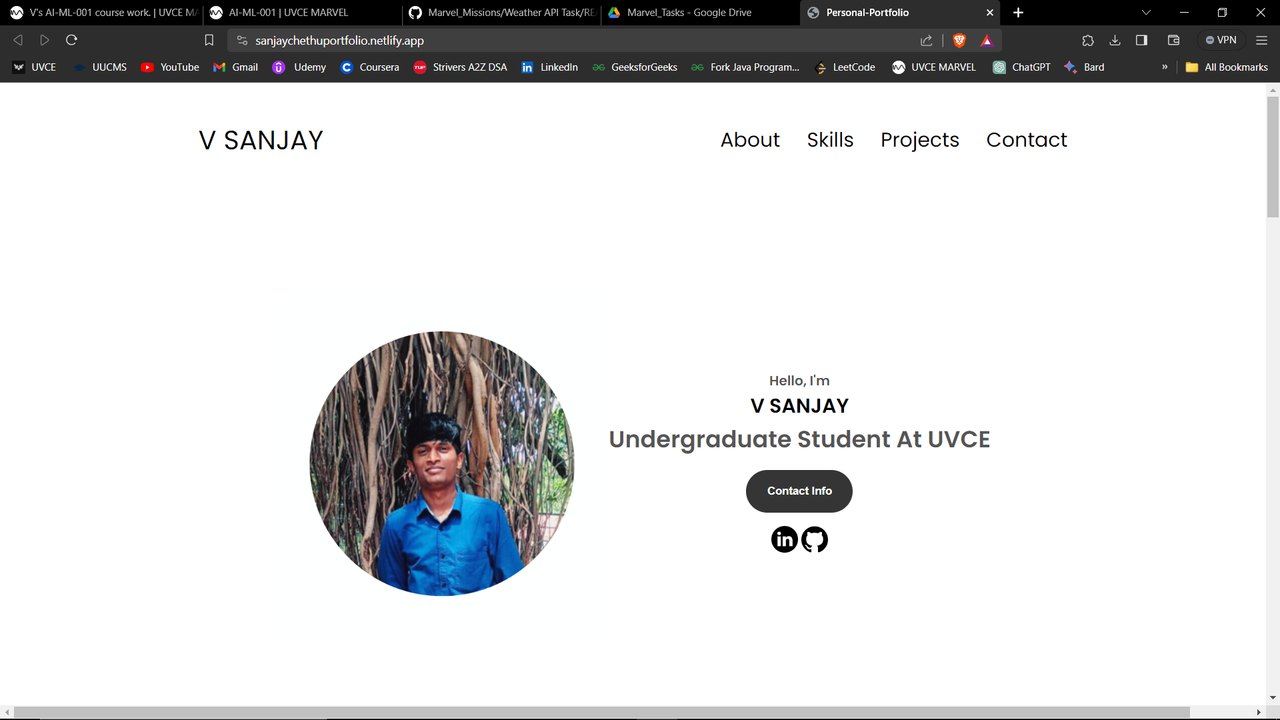
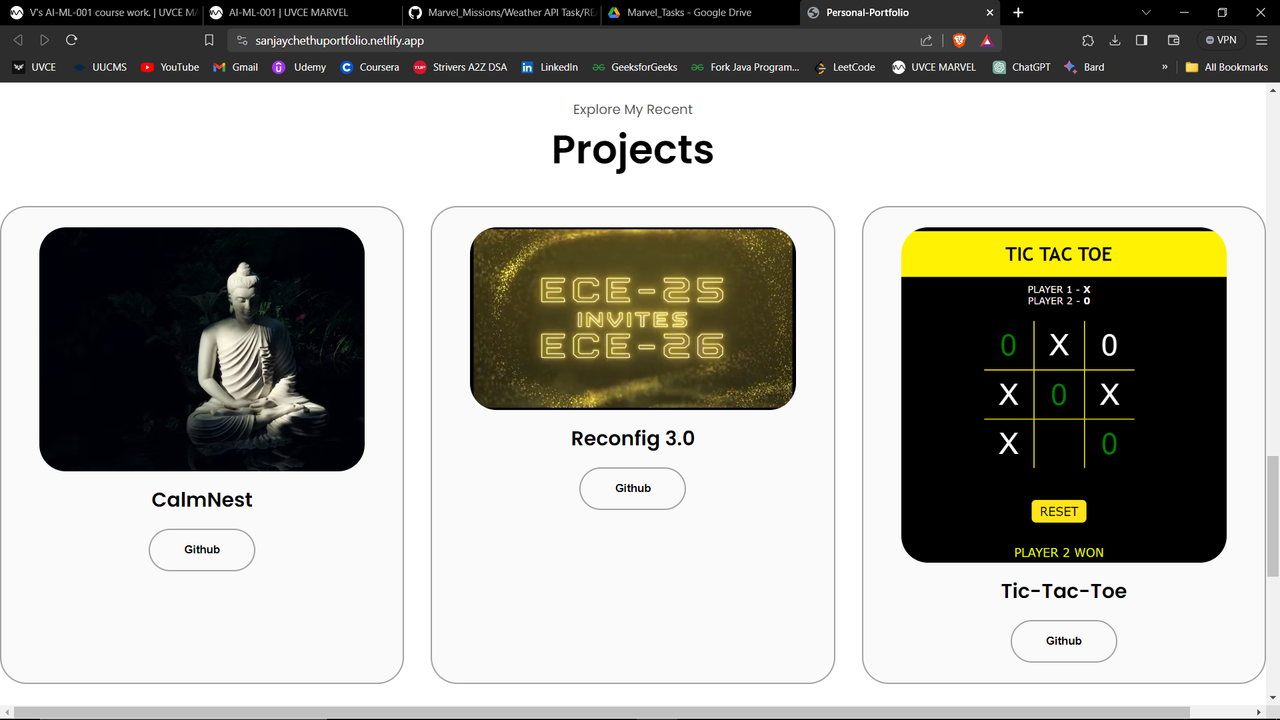
In this report, I present the development of a personal portfolio website serving as a dynamic showcase of skills, interests, and projects. The webpage, built with HTML, CSS, and JavaScript, emphasizes responsive design for optimal viewing on diverse devices. Let's explore the design choices, technologies utilized, and the overall process behind creating this interactive and responsive portfolio webpage.
GitHub: Personal Portfolio
Live Demo: Portfolio Website
Task 4: Writing Resource Article using Markdown
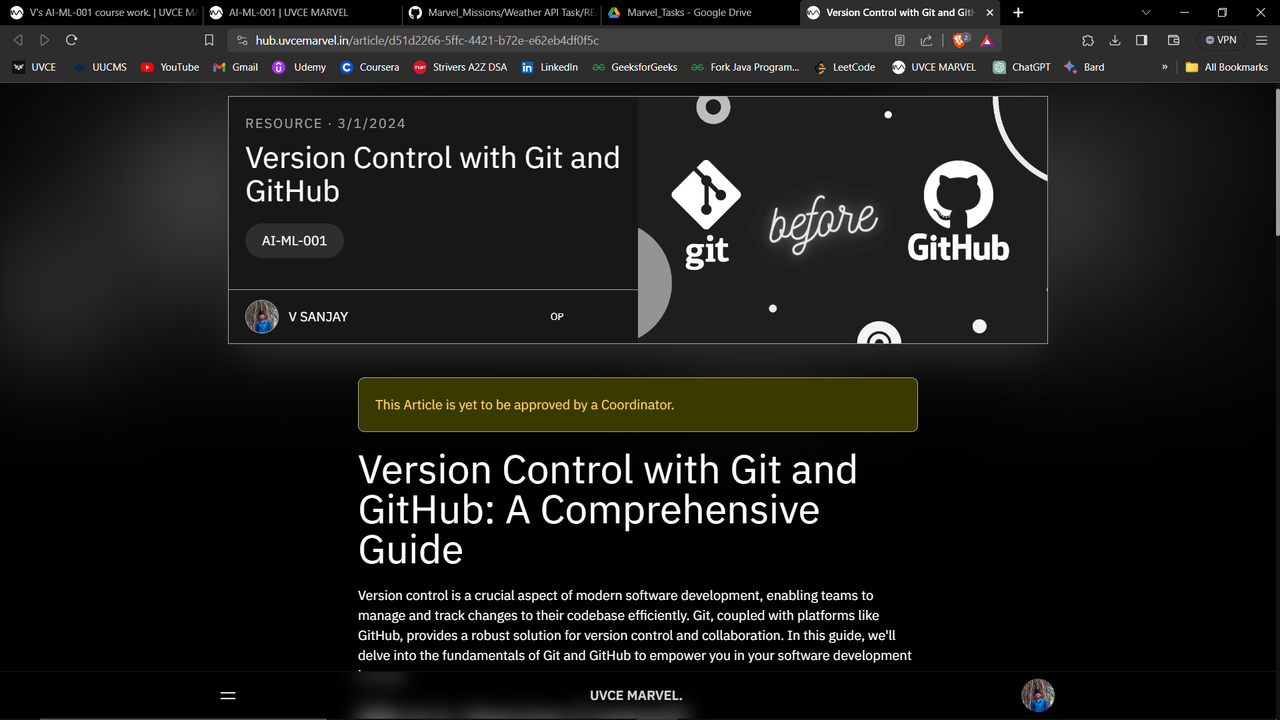
I have successfully completed the task of writing a resource article on the topic of "Version Control with Git and GitHub" using Markdown. This comprehensive guide aims to provide readers with a clear understanding of version control principles and how Git, coupled with GitHub, can streamline collaboration and project management in software development.
Resource Article: Version Control with Git and GitHub
Task 5: Get Familiar with the Command Line on Ubuntu
Objective
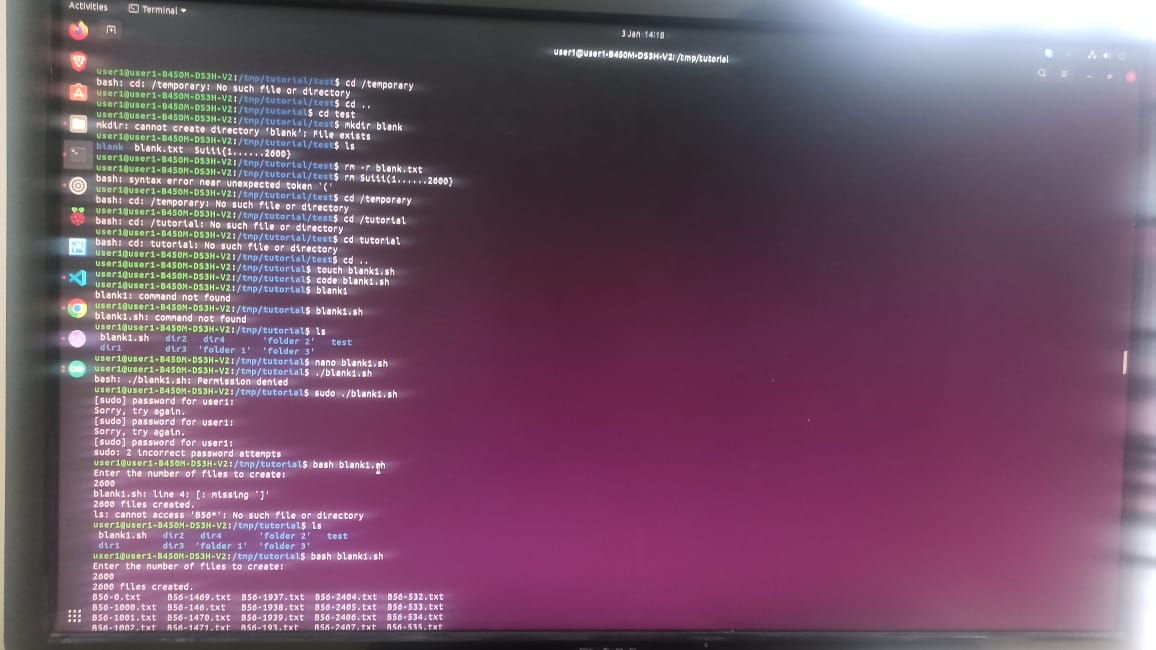
Familiarize with the command line on Ubuntu and perform specified subtasks.
- Change Directory: Moved into the "test" folder using the
cdcommand. - Blank File Creation: Created a blank file named "blank_file.txt" using the
touchcommand. - Listing Files: Checked the contents of the folder with
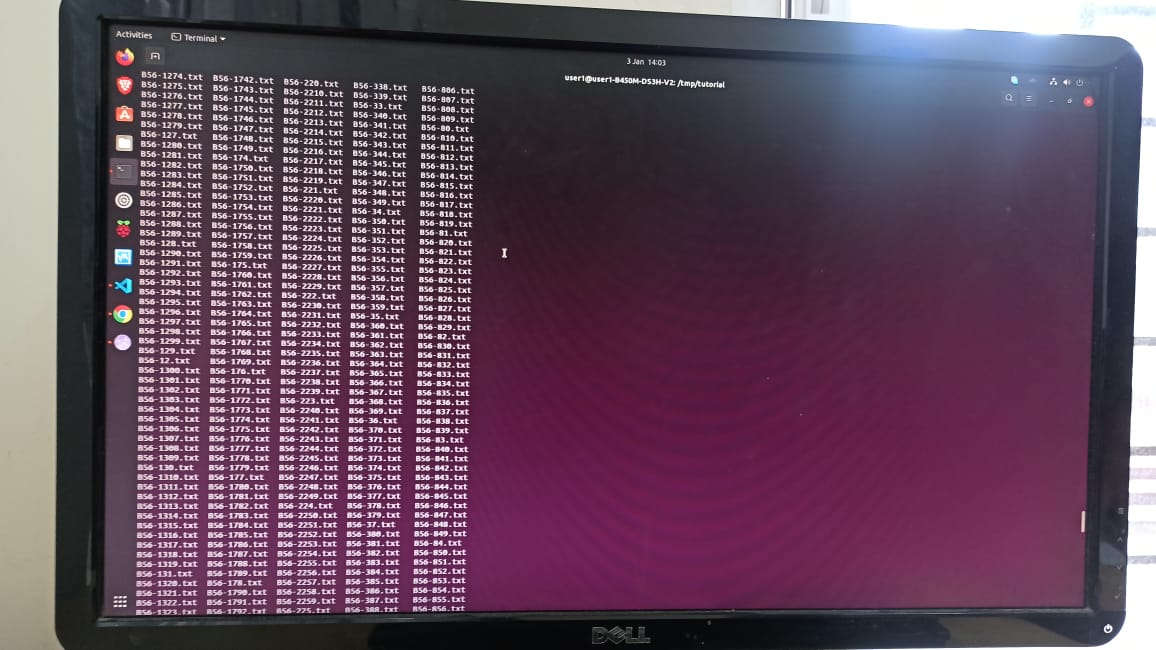
lsto ensure the creation of the blank file. - Multiple Folder Creation: Used a loop to create 2600 folders named "M1", "M2", ..., "M2600". This can be modified based on the specific naming convention.
- Concatenating Text Files: Assuming there are two text files "file1.txt" and "file2.txt", used the
catcommand to concatenate them and display the combined content on the terminal.
Task 6: API
Introduction
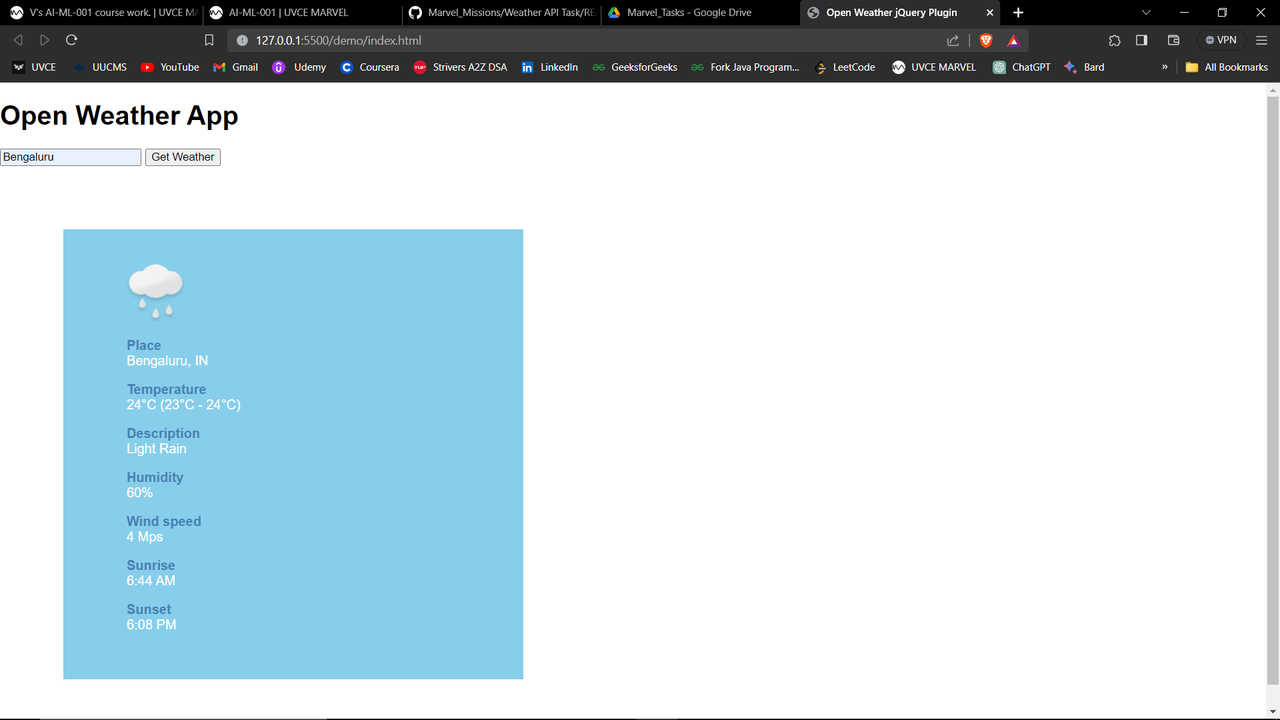
To explore the intricacies of API integration and its practical applications, I initiated a project to develop a weather app interface. The central components of this undertaking included the utilization of the OpenWeatherMap API and the integration of a jQuery plugin to seamlessly represent weather data.
Resource Acquisition
I obtained essential resources by downloading the contents of the GitHub repository either from the jQuery website or through the provided link (http://bitly.ws/CQRQ).
Project Setup
After acquiring the necessary files, I meticulously copied the entire repository contents into a new directory on the desktop. This directory served as the foundation for subsequent development stages.
API Integration
A critical step in this project was obtaining an API key from openweathermap.org. This key served as the gateway for accessing real-time weather data. The API key was seamlessly incorporated into the project code, enabling communication with OpenWeatherMap servers.
jQuery Plugin Implementation
Leveraging the capabilities of a jQuery plugin, I facilitated the dynamic and user-friendly display of weather conditions. The plugin, sourced from the provided GitHub repository or the link (http://bitly.ws/CQRY), played a pivotal role in enhancing the visual appeal and functionality of the weather app interface.
$(function() {
    $('.weather-temperature').openWeather({
        lang: 'ru',
        city: 'Bengaluru',
        placeTarget: '.weather-place',
        units: 'f',
        windSpeedUnit: 'Mps',
        descriptionTarget: '.weather-description',
        minTemperatureTarget: '.weather-min-temperature',
        maxTemperatureTarget: '.weather-max-temperature',
        windSpeedTarget: '.weather-wind-speed',
        humidityTarget: '.weather-humidity',
        sunriseTarget: '.weather-sunrise',
        sunsetTarget: '.weather-sunset',
        iconTarget: '.weather-icon',
        customIcons: '/img/icons/weather/',
        success: function() {
            $('.weather-temperature').show();
        },
        error: function(message) {
            console.log(message);
        }
    });
});
GitHub Link: Weather API Task
Task 7: Tinkercad
Objective
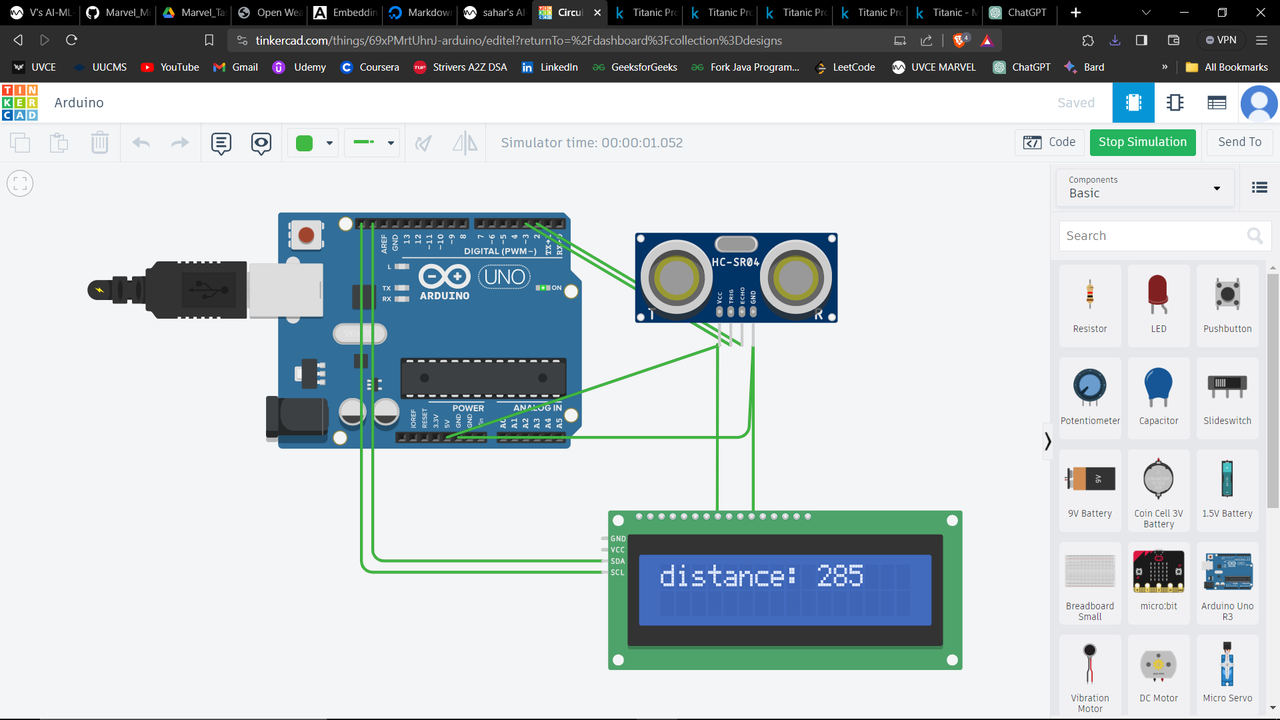
The primary objective of this project was to create an account and familiarize myself with the Arduino application. Additionally, the project aimed to simulate ultrasonic/infrared sensors, estimate the distance between an obstacle and the sensor, and display the results on a 16x2 LCD I2C Display.
Components Used
- Arduino Uno R3 board
- Ultrasonic sensor (HC-SR04)
- 16x2 LCD I2C Display
- Jumper Wires
Procedure
1. Sensor Connections
- Connected the Echo pin of the ultrasonic sensor to the D2 pin of the Arduino.
- Connected the Trig pin of the ultrasonic sensor to the D3 pin of the Arduino.
2. LCD Display Setup
- Installed the driver library for the Liquid Crystal Display to interface with the LCD display.
- Searched for and installed the "LiquidCrystal I2C" library.
- Imported the header file "LiquidCrystal_I2C.h" in the code.
- Connected the SDA pin of the LCD display to the SDA pin of the Arduino Board and the SCL pin of the LCD display to the SCL of the Arduino Board.
- Connected VCC to the 5V pin and GND to the GND pin.
3. Code Integration for LCD
Included the necessary code to define the display device.
void setup(){
  lcd_1.begin(16, 2);
  lcd_1.print("distance: ");
  pinMode(trigPin, OUTPUT); // Sets the trigPin as an OUTPUT
  pinMode(echoPin, INPUT);  // Sets the echoPin as an INPUT
  // Serial Communication is starting with 9600 of baudrate speed
  Serial.begin(115200);
  // The text to be printed in serial monitor
  Serial.println("Distance measurement using Arduino Uno.");
  delay(500);
}

void loop(){
  digitalWrite(trigPin, LOW);
  delayMicroseconds(2); // wait for 2 ms to avoid collision in serial monitor
  digitalWrite(trigPin, HIGH); // turn on the Trigger to generate pulse
  delayMicroseconds(10); // keep the trigger "ON" for 10 ms to generate pulse for 10 ms.
  digitalWrite(trigPin, LOW);
}
Tinkercad Link: Arduino Project
Task 8: Soldering Prerequisites
Procedure
1. Introduction to Equipment
- The coordinator provided an overview of each tool, explaining their functions and safety measures.
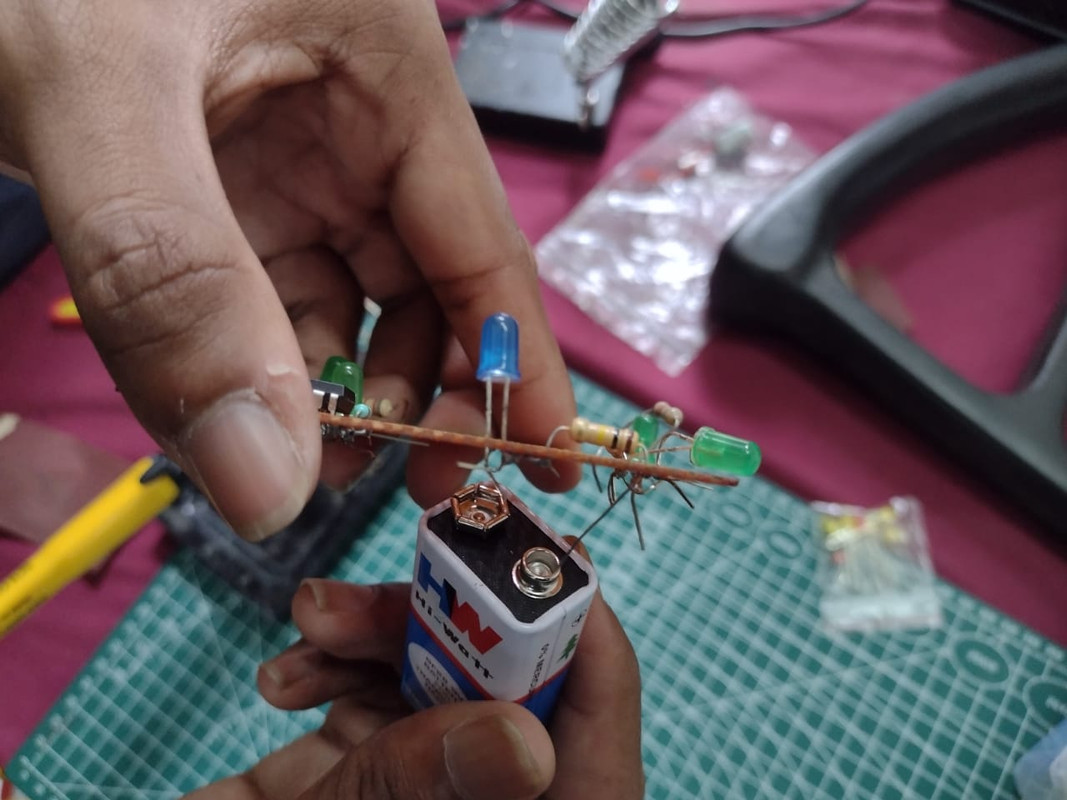
2. LED Circuit Soldering
- A simple LED circuit on a perf board was chosen for practice.
- Components included resistors, an LED, and connecting wires.
3. Soldering Process
- Tinning the Soldering Iron: Applied a small amount of solder to the iron tip to ensure better heat transfer.
- Preparing Components: Trimmed excess leads from components for a clean assembly.
- Applying Flux: A small amount of flux was applied to the solder joints to enhance soldering.
- Soldering Components: Connected the components on the perf board, soldering one joint at a time, ensured a secure and neat solder joint.
Task 9: Active Participation
Kagada 2023
Google Cloud Computing Foundations