
COURSEWORK
Priyamvada's IOT-001 course work. Lv 2
| Priyamvada Kempusagara | AUTHOR | ACTIVE |
MARVEL GENERIC TASKS
21 / 7 / 2024
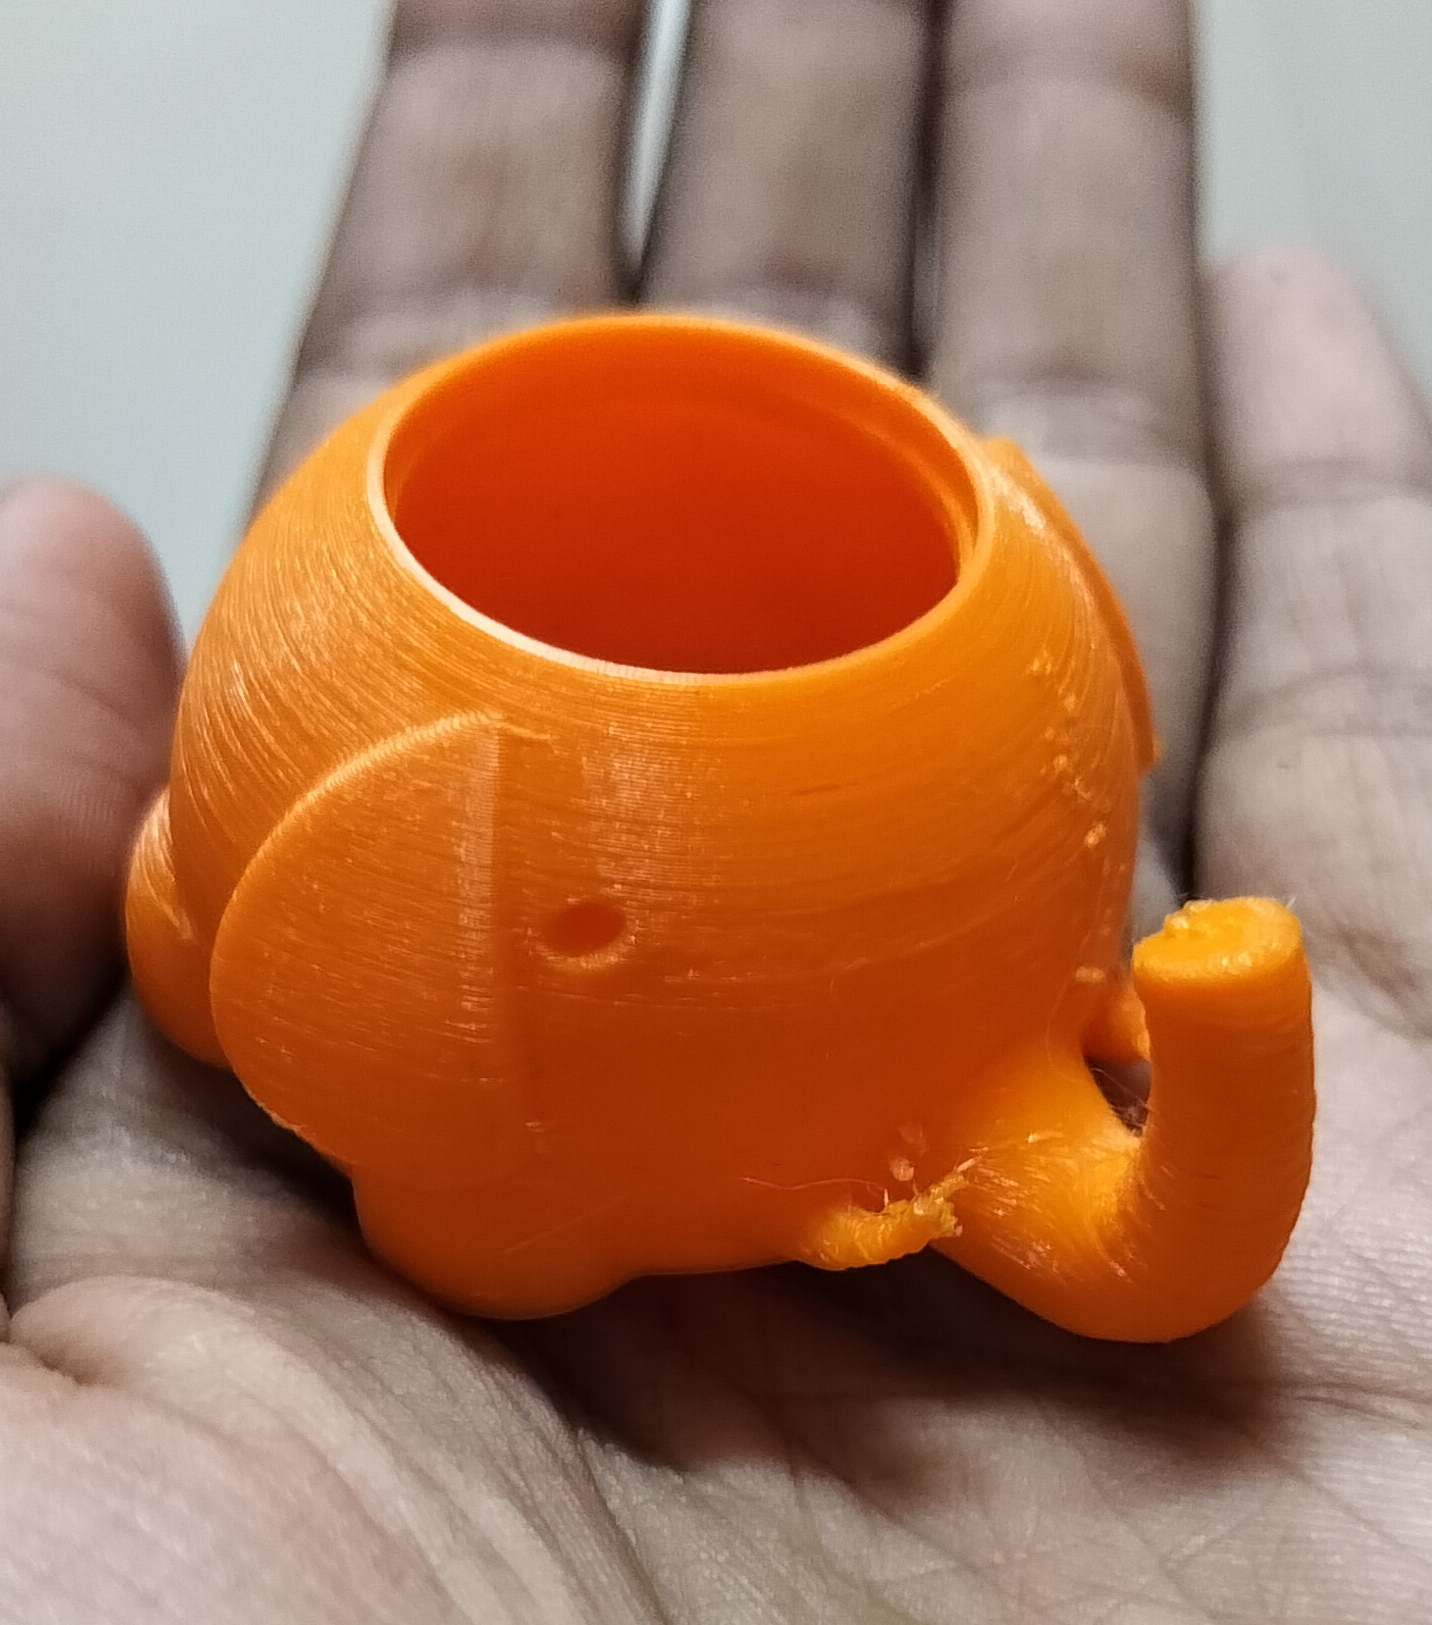
TASK 1: 3D PRINTING
3D Printing works on the basis of additive manufacturing. I downloaded the STL (stereolithography) file of a small elephant figure, sliced it to get the G-Code and printed it using the Creality Ender 3D Printer. Slicer converts the model into a series of thin layers and produces a G-code file containing instructions tailored to a specific type of 3D printer. The filament used is PLA (Poly Lactic Acid), the bed temperature is around 60 degrees. It is important that the printer is kept at a relatively constant temperature or else it can result in undue warping and print failure.
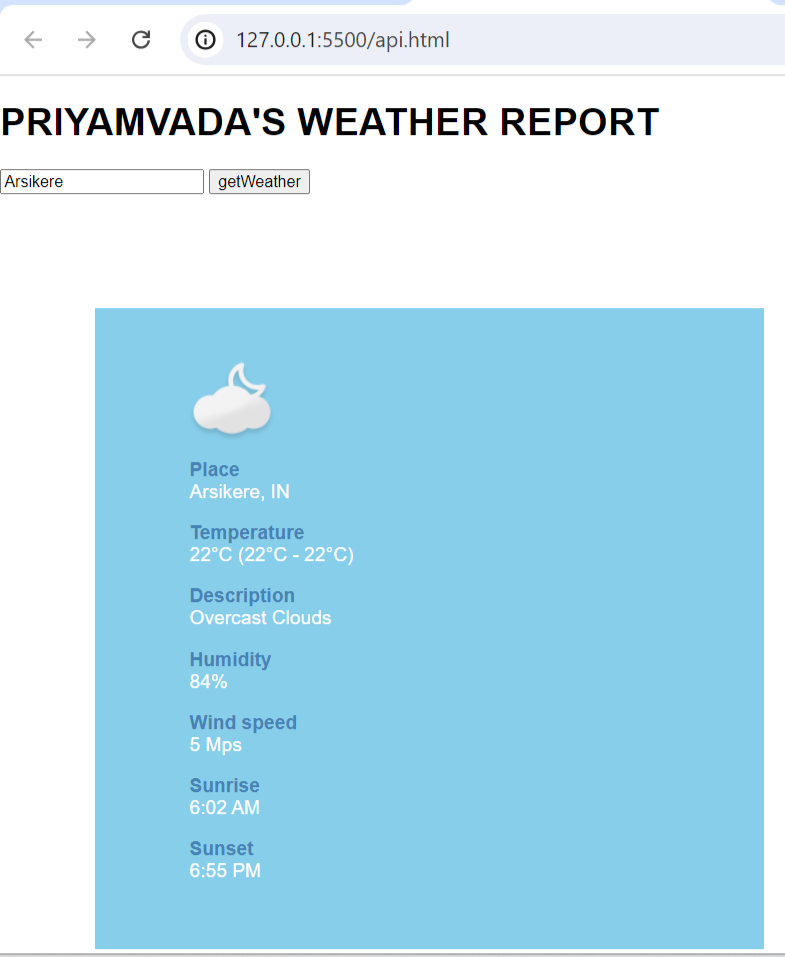
TASK 2: API
API stands for Application Programming Interface. APIs are mechanisms that enable two software components to communicate with each other using a set of definitions and protocols. API architecture is usually explained in terms of client and server. The application sending the request is called the client, and the application sending the response is called the server. I created a Weather app using OpenWeather API, HTML and JavaScript by referrring to the video given in the task.
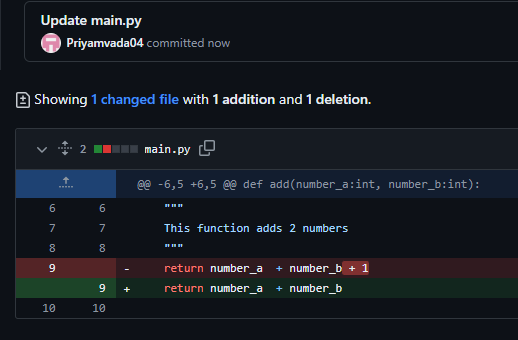
TASK 3: WORKING WITH GITHUB
GitHub is a developer platform that allows developers to create, store, manage and share their code. I familiarised myself with the various actions in GitHub. As a part of this task, we were supposed to fix an issue in the main file. I did it as follows:
- Forked the repository.
- Created a new branch.
- Corrected the error i.e. removed the ‘+1’.
- Clicked on Commit changes.
- Created a pull request.
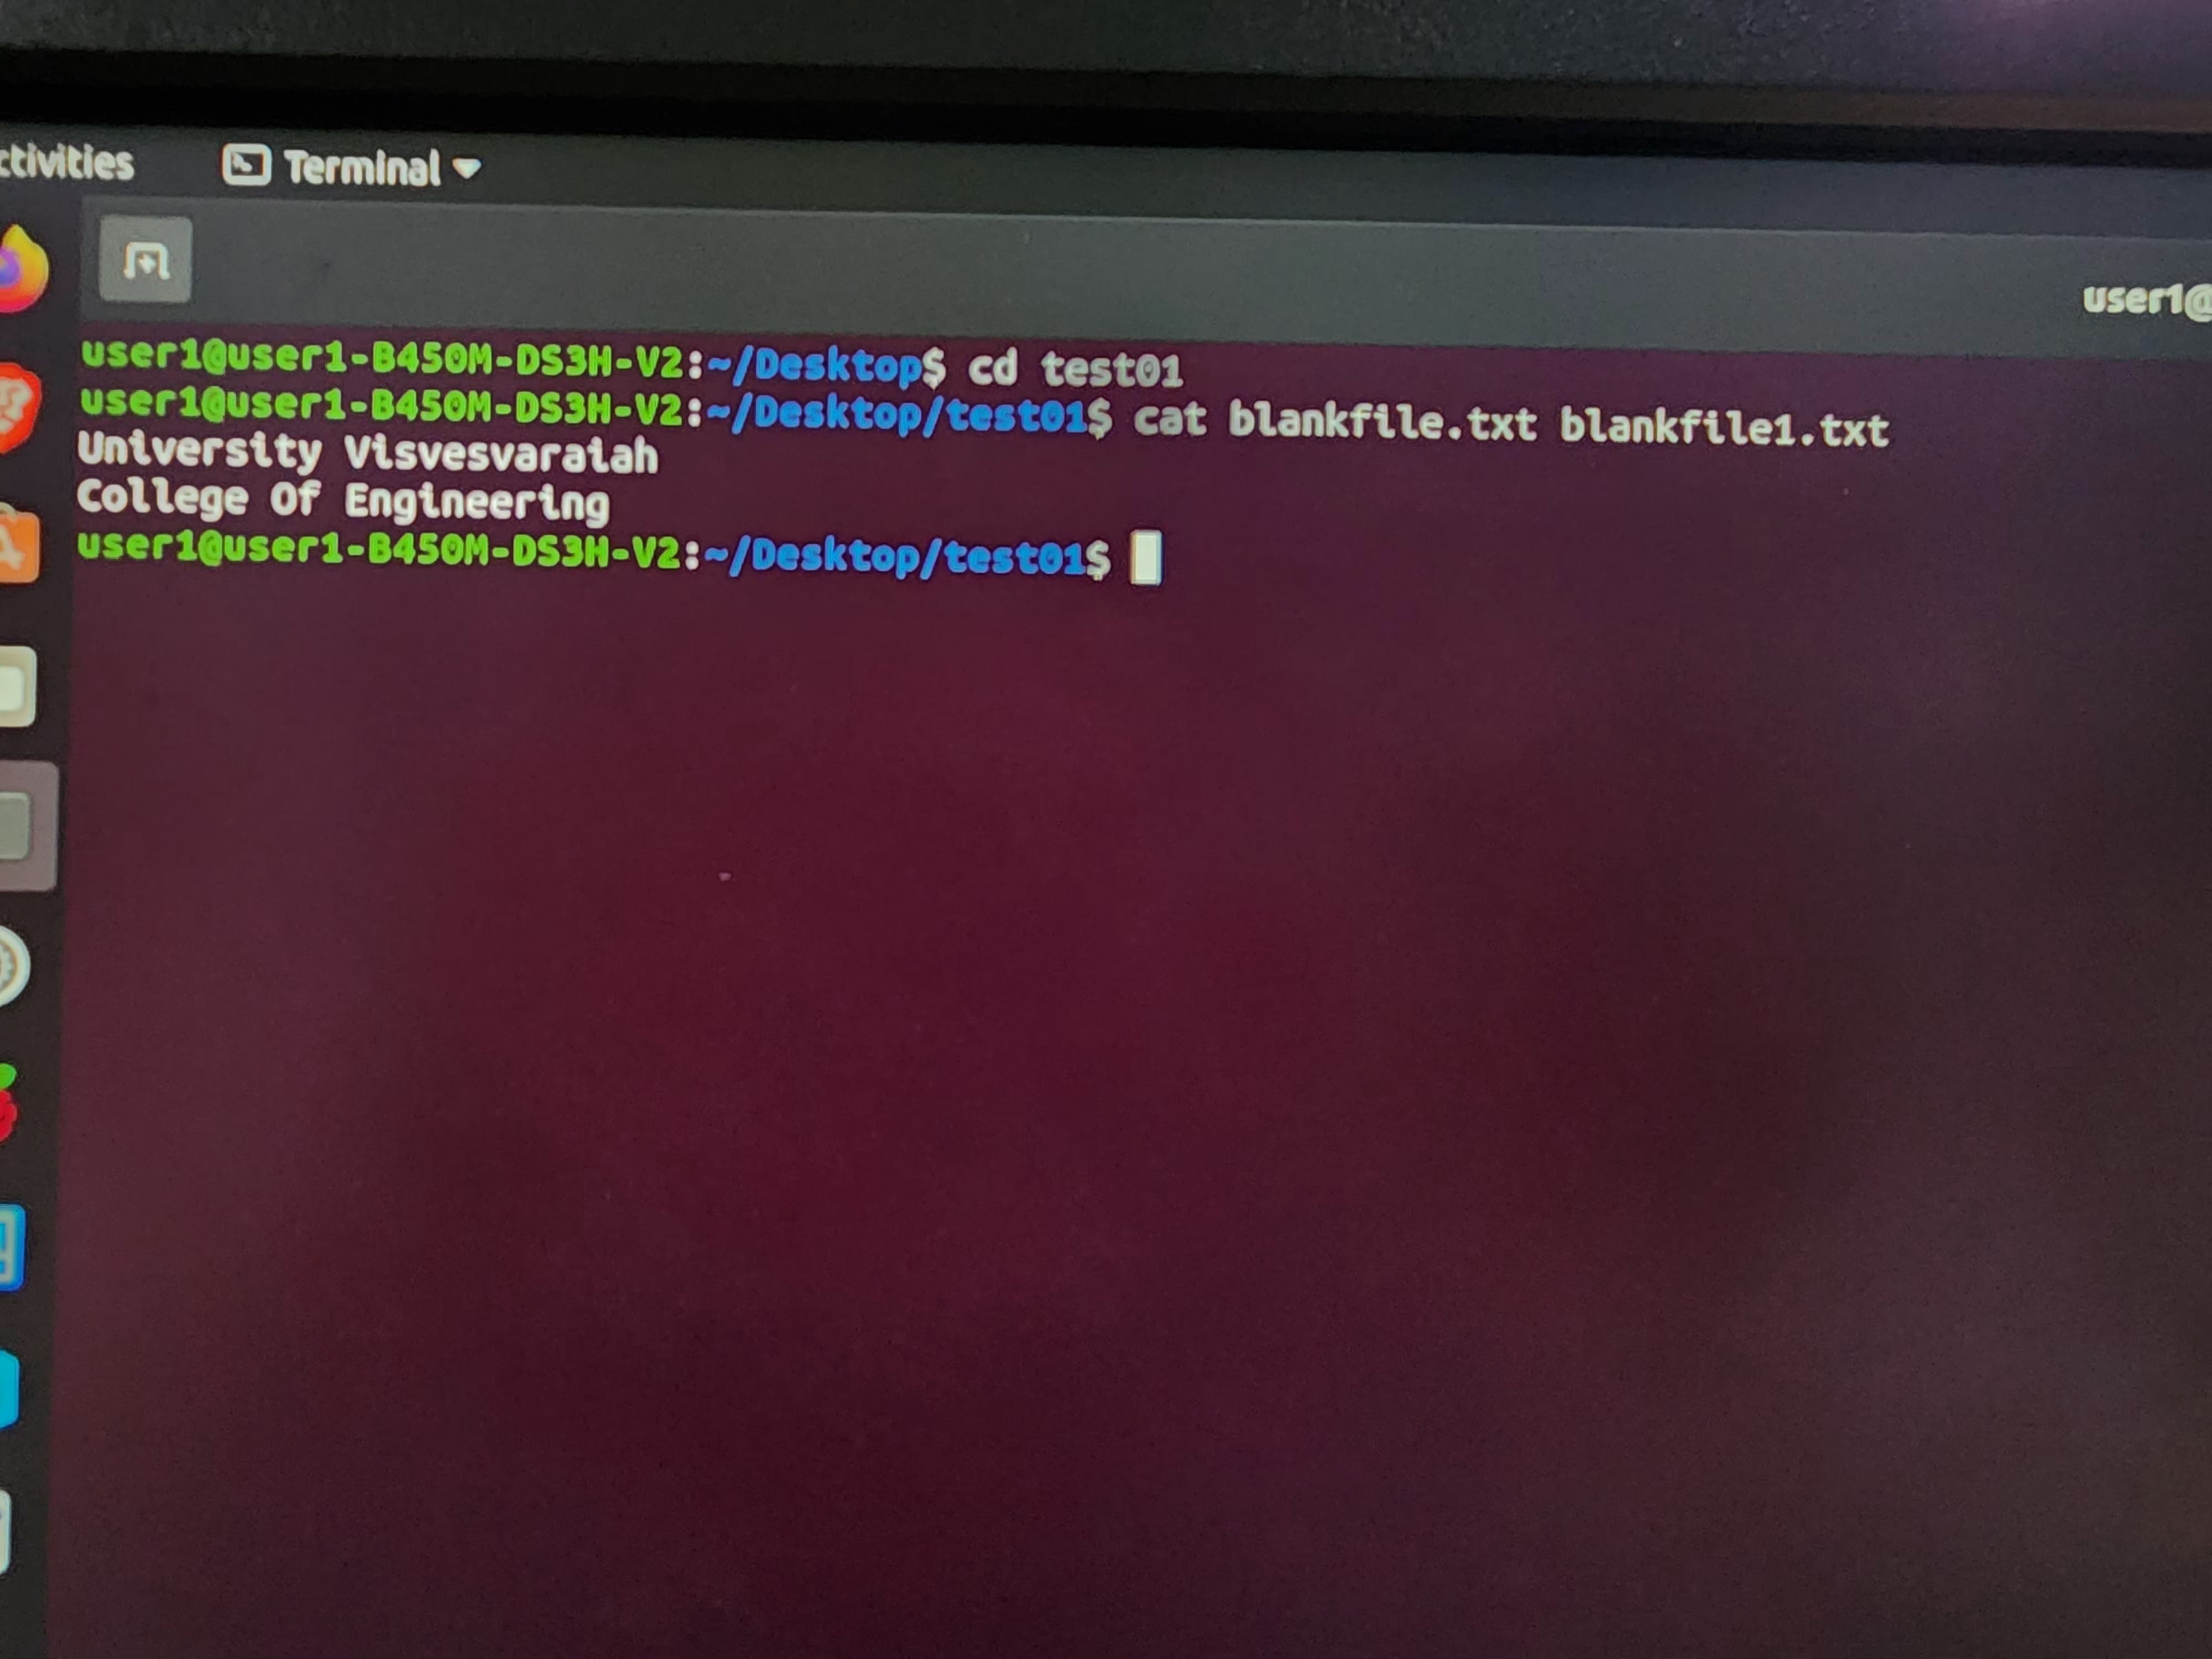
TASK 4: GET FAMILIAR WITH THE UBUNTU COMMAND LINE AND DO THE FOLLOWING SUBTASKS:
I understood how Ubuntu command line works and did the following tasks:
- Created a test folder using
mkdir test01 - Changed the directory to test folder using
cd test01 - Created a blank file using
touch blankfile.txt - Listed the files in the folder using
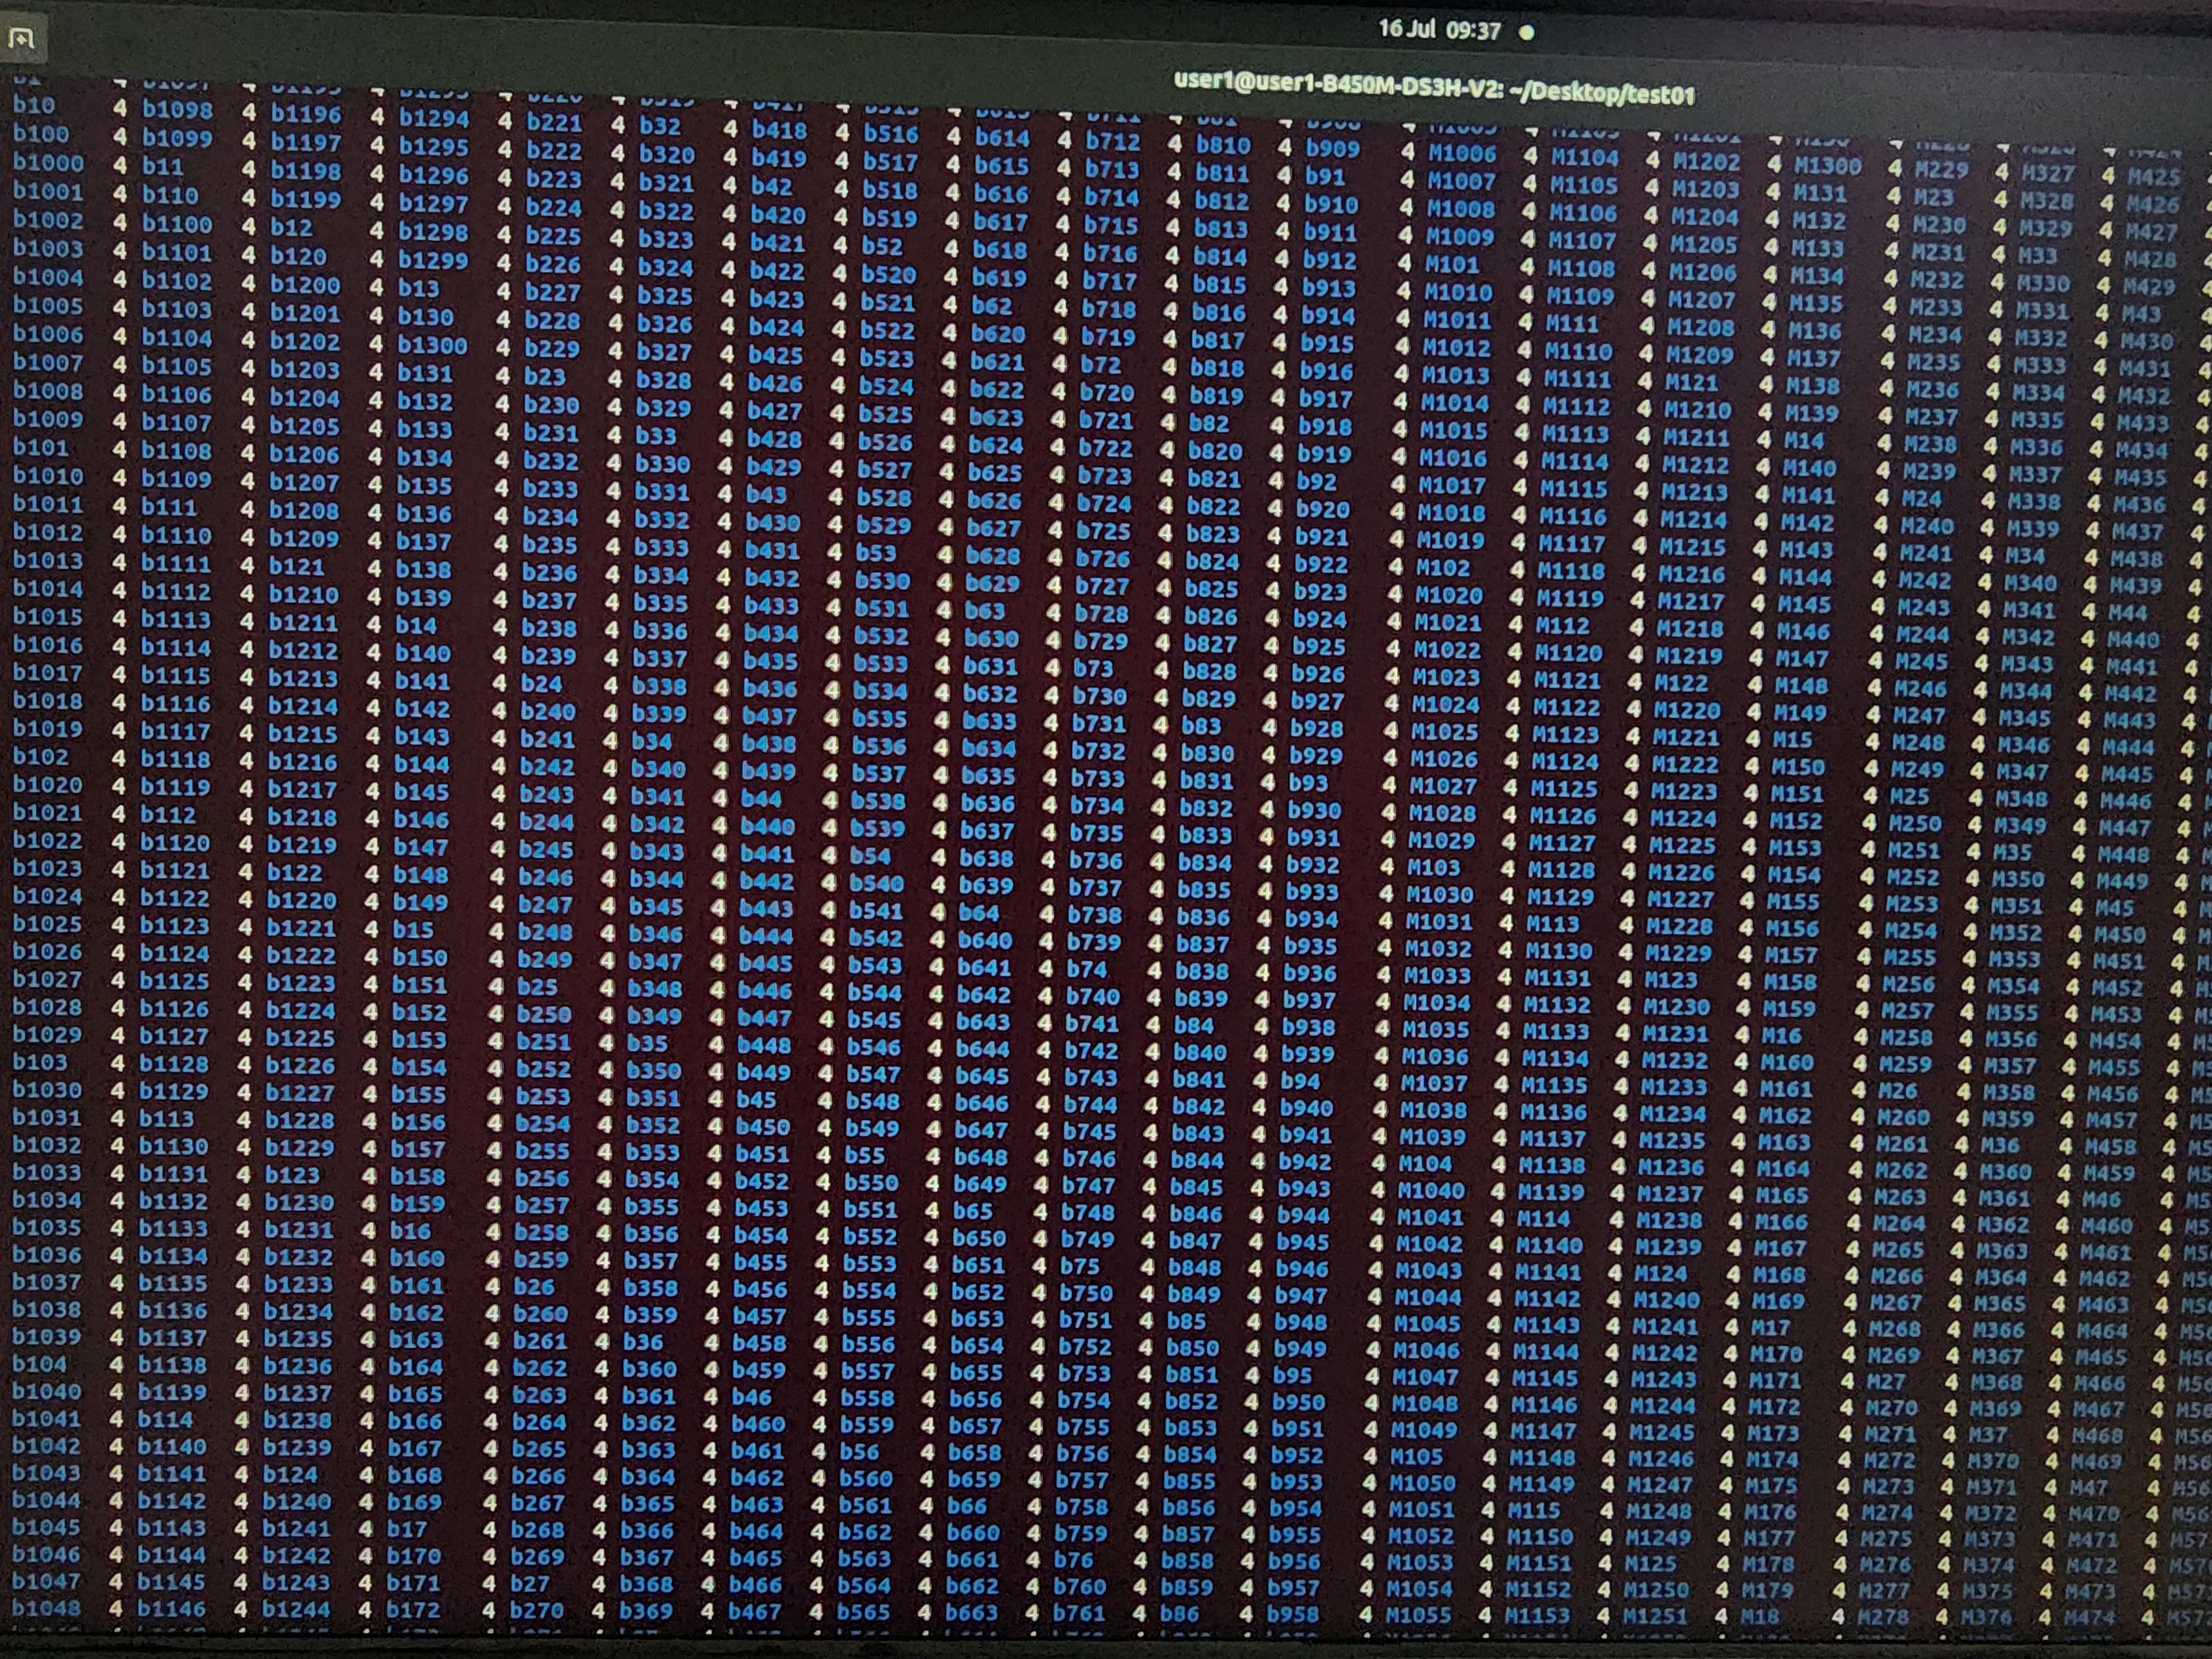
ls - Created 2600 folders using
for i in {1..1300}; do mkdir "M$i" "B$i"; done - Concatenated 2 files using
cat file1.txt file2.txt
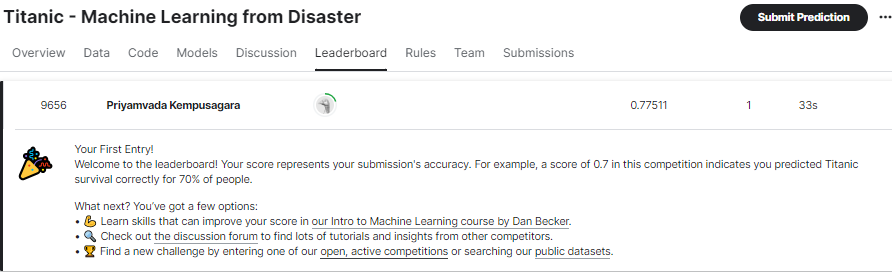
TASK 5: KAGGLE CONTEST
Kaggle is a data science competition platform and online community of data scientists and machine learning practitioners. By participating in the Titanic - Machine Learning from Disaster competition, we can get to know about Kaggle and Machine Learning. This competition is to predict the passengers who survived the Titanic shipwreck. By referring to the tutorial on the Kaggle website, I downloaded 3 datasets namely train.csv, test.csv and gendersubmission.csv, followed the coding steps given in the tutorial and submitted the predictions to get a score of 0.77511. Although I didn’t understand the process completely, I enjoyed it!
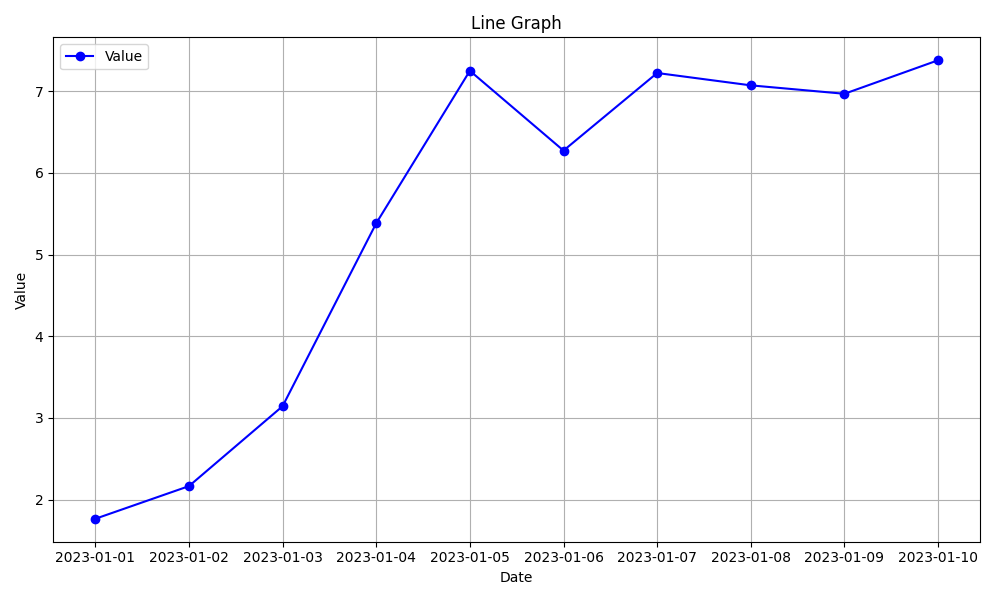
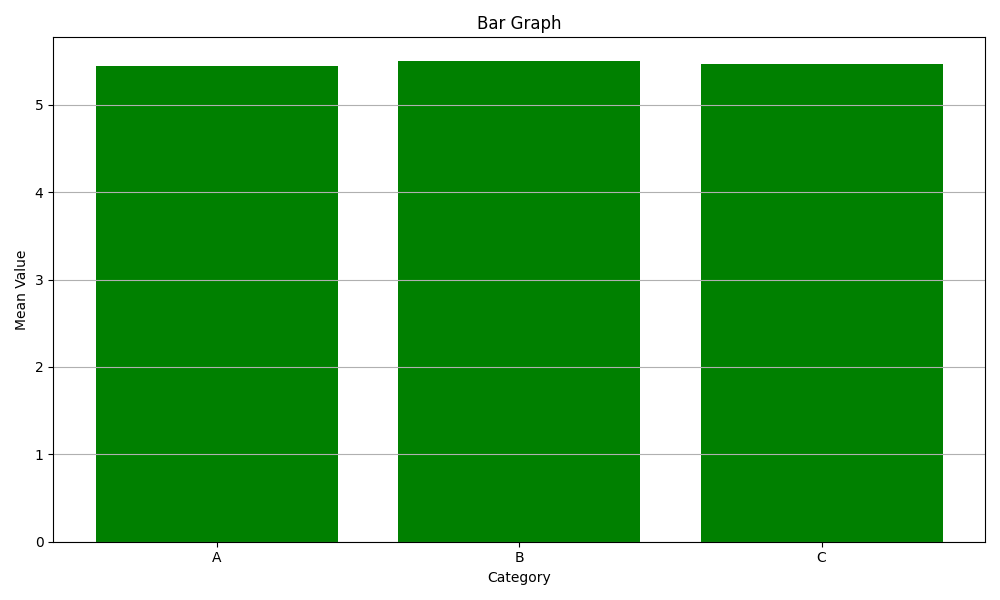
TASK 6: WORKING WITH PANDAS AND MATPLOTLIB:
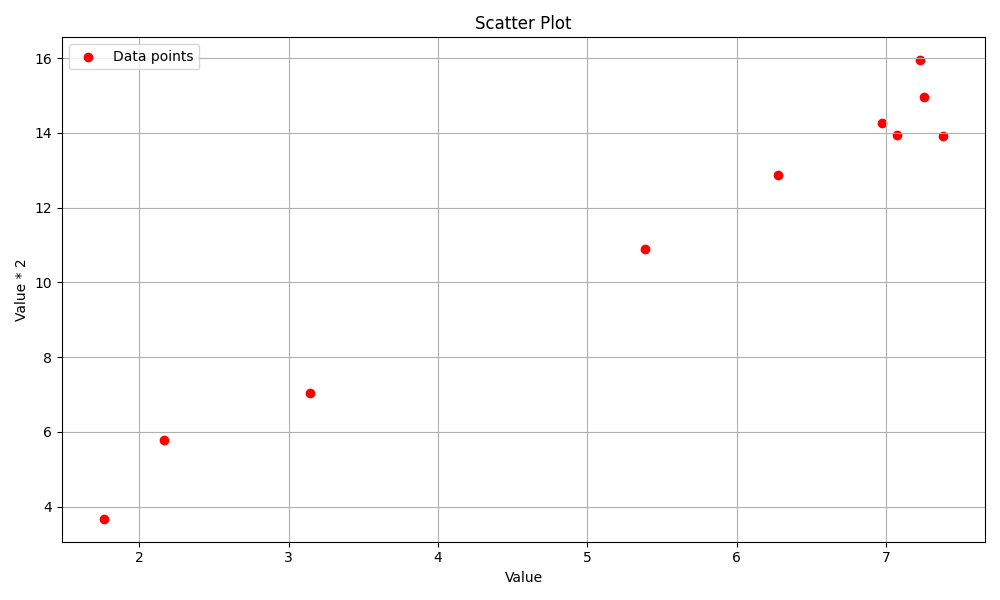
Pandas is a Python library used for working with data sets. It has functions for analyzing and manipulating data. Matplotlib is a low level graph plotting library in python that serves as a visualization utility.
As a part of this task, a random dataset was taken to plot line graph, bar graph and scatter plot.
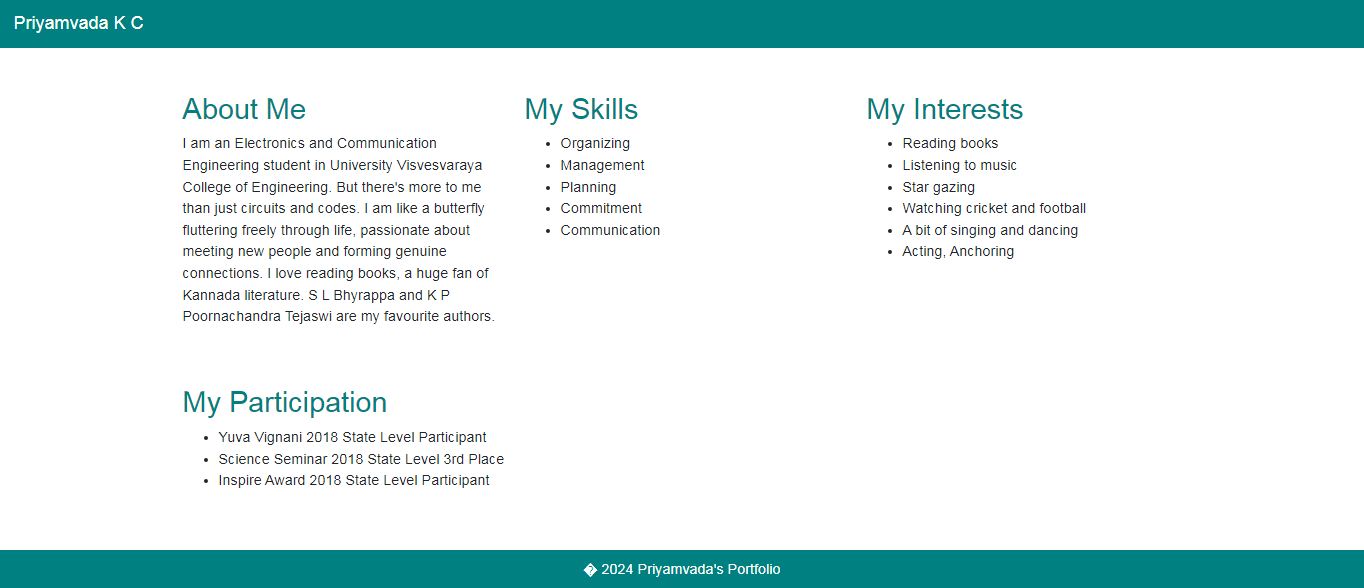
TASK 7: CREATE A PORTFOLIO WEBPAGE
I understood the basics of creating a webpage using HTML and CSS and how to make it responsive. Here is the picture of my Portfolio Webpage.
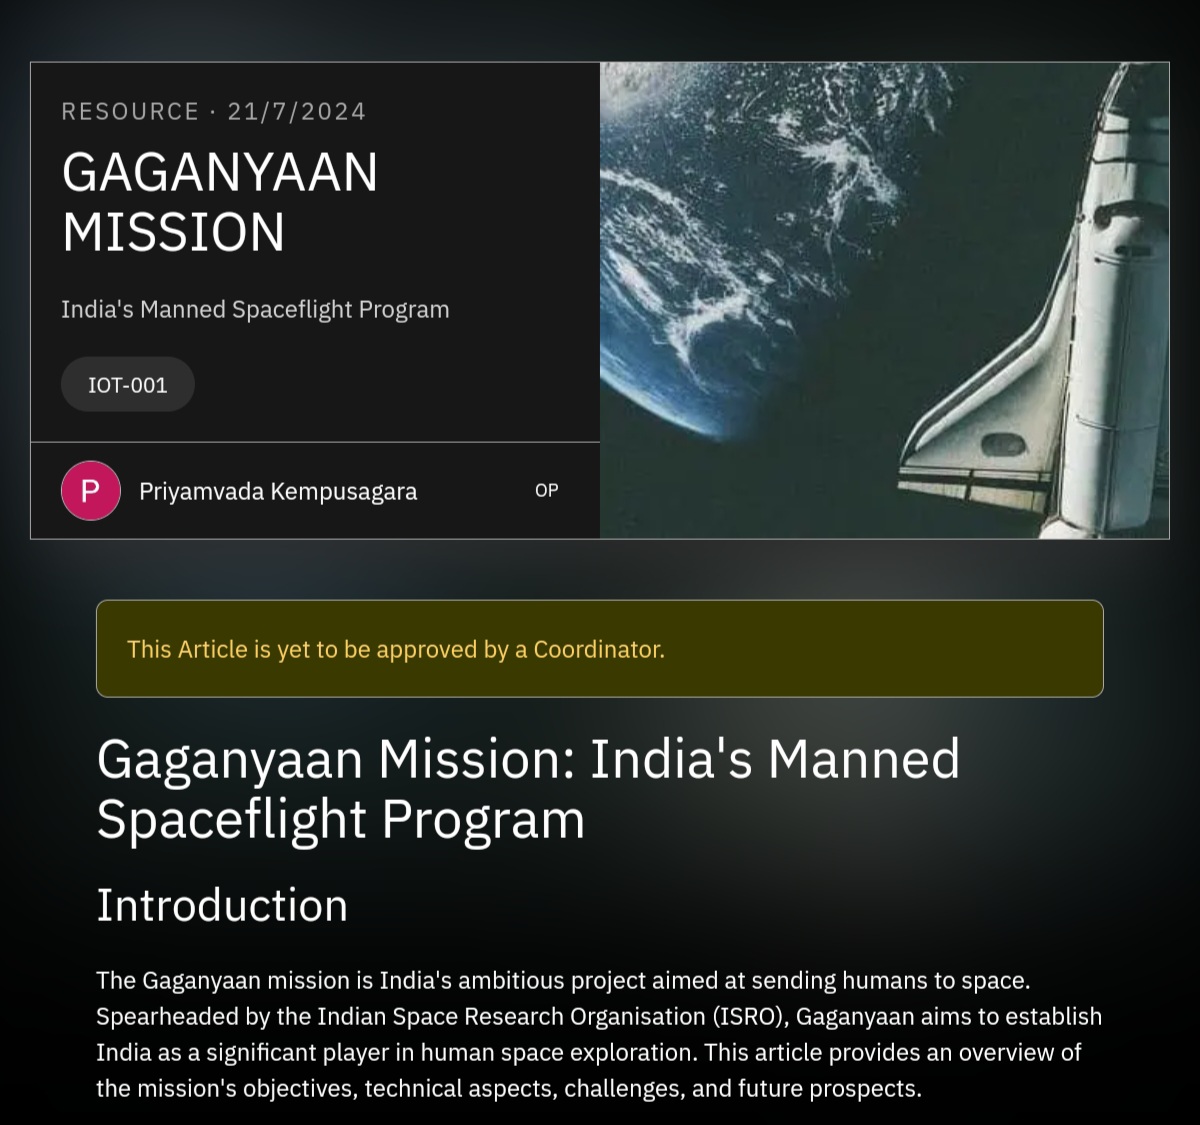
TASK 8: WRITING RESOURCE ARTICLE USING MARKDOWN
Markdown is an easy-to-use markup language that is used with plain text to add formatting elements (headings, bulleted lists, URLs) to plain text without the use of a formal text editor or the use of HTML tags. Markdown is device agnostic and displays the writing format consistently across device type. I learnt how to use Markdown and wrote a technical resource article about the Gaganyaan Mission using it.
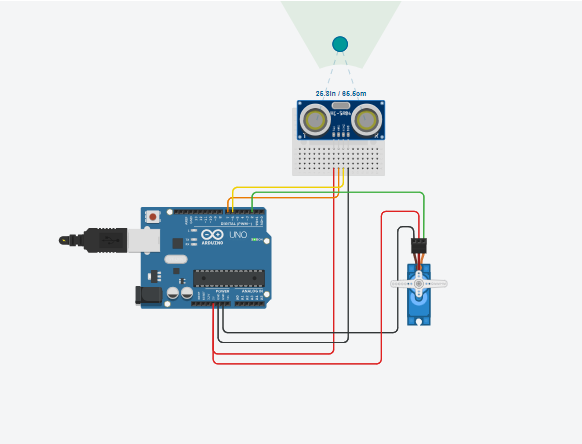
TASK 9: TINKERCAD
Tinkercad is an online computer-aided design (CAD) program enabling users to design, modify, and print 3D objects, experiment with circuits, or learn to code using blocks. I understood the basics of Tinkercad, how to add components, wires and simulate the working of the circuit. As a part of this task, I created a radar system consisting of an Ultrasonic sensor that measures the distance between the obstacle and the sensor and a servo motor that rotates the sensor to cover a wider area. The image of the Tinkercad simulation is given below.
Link of the tinkercad simulation
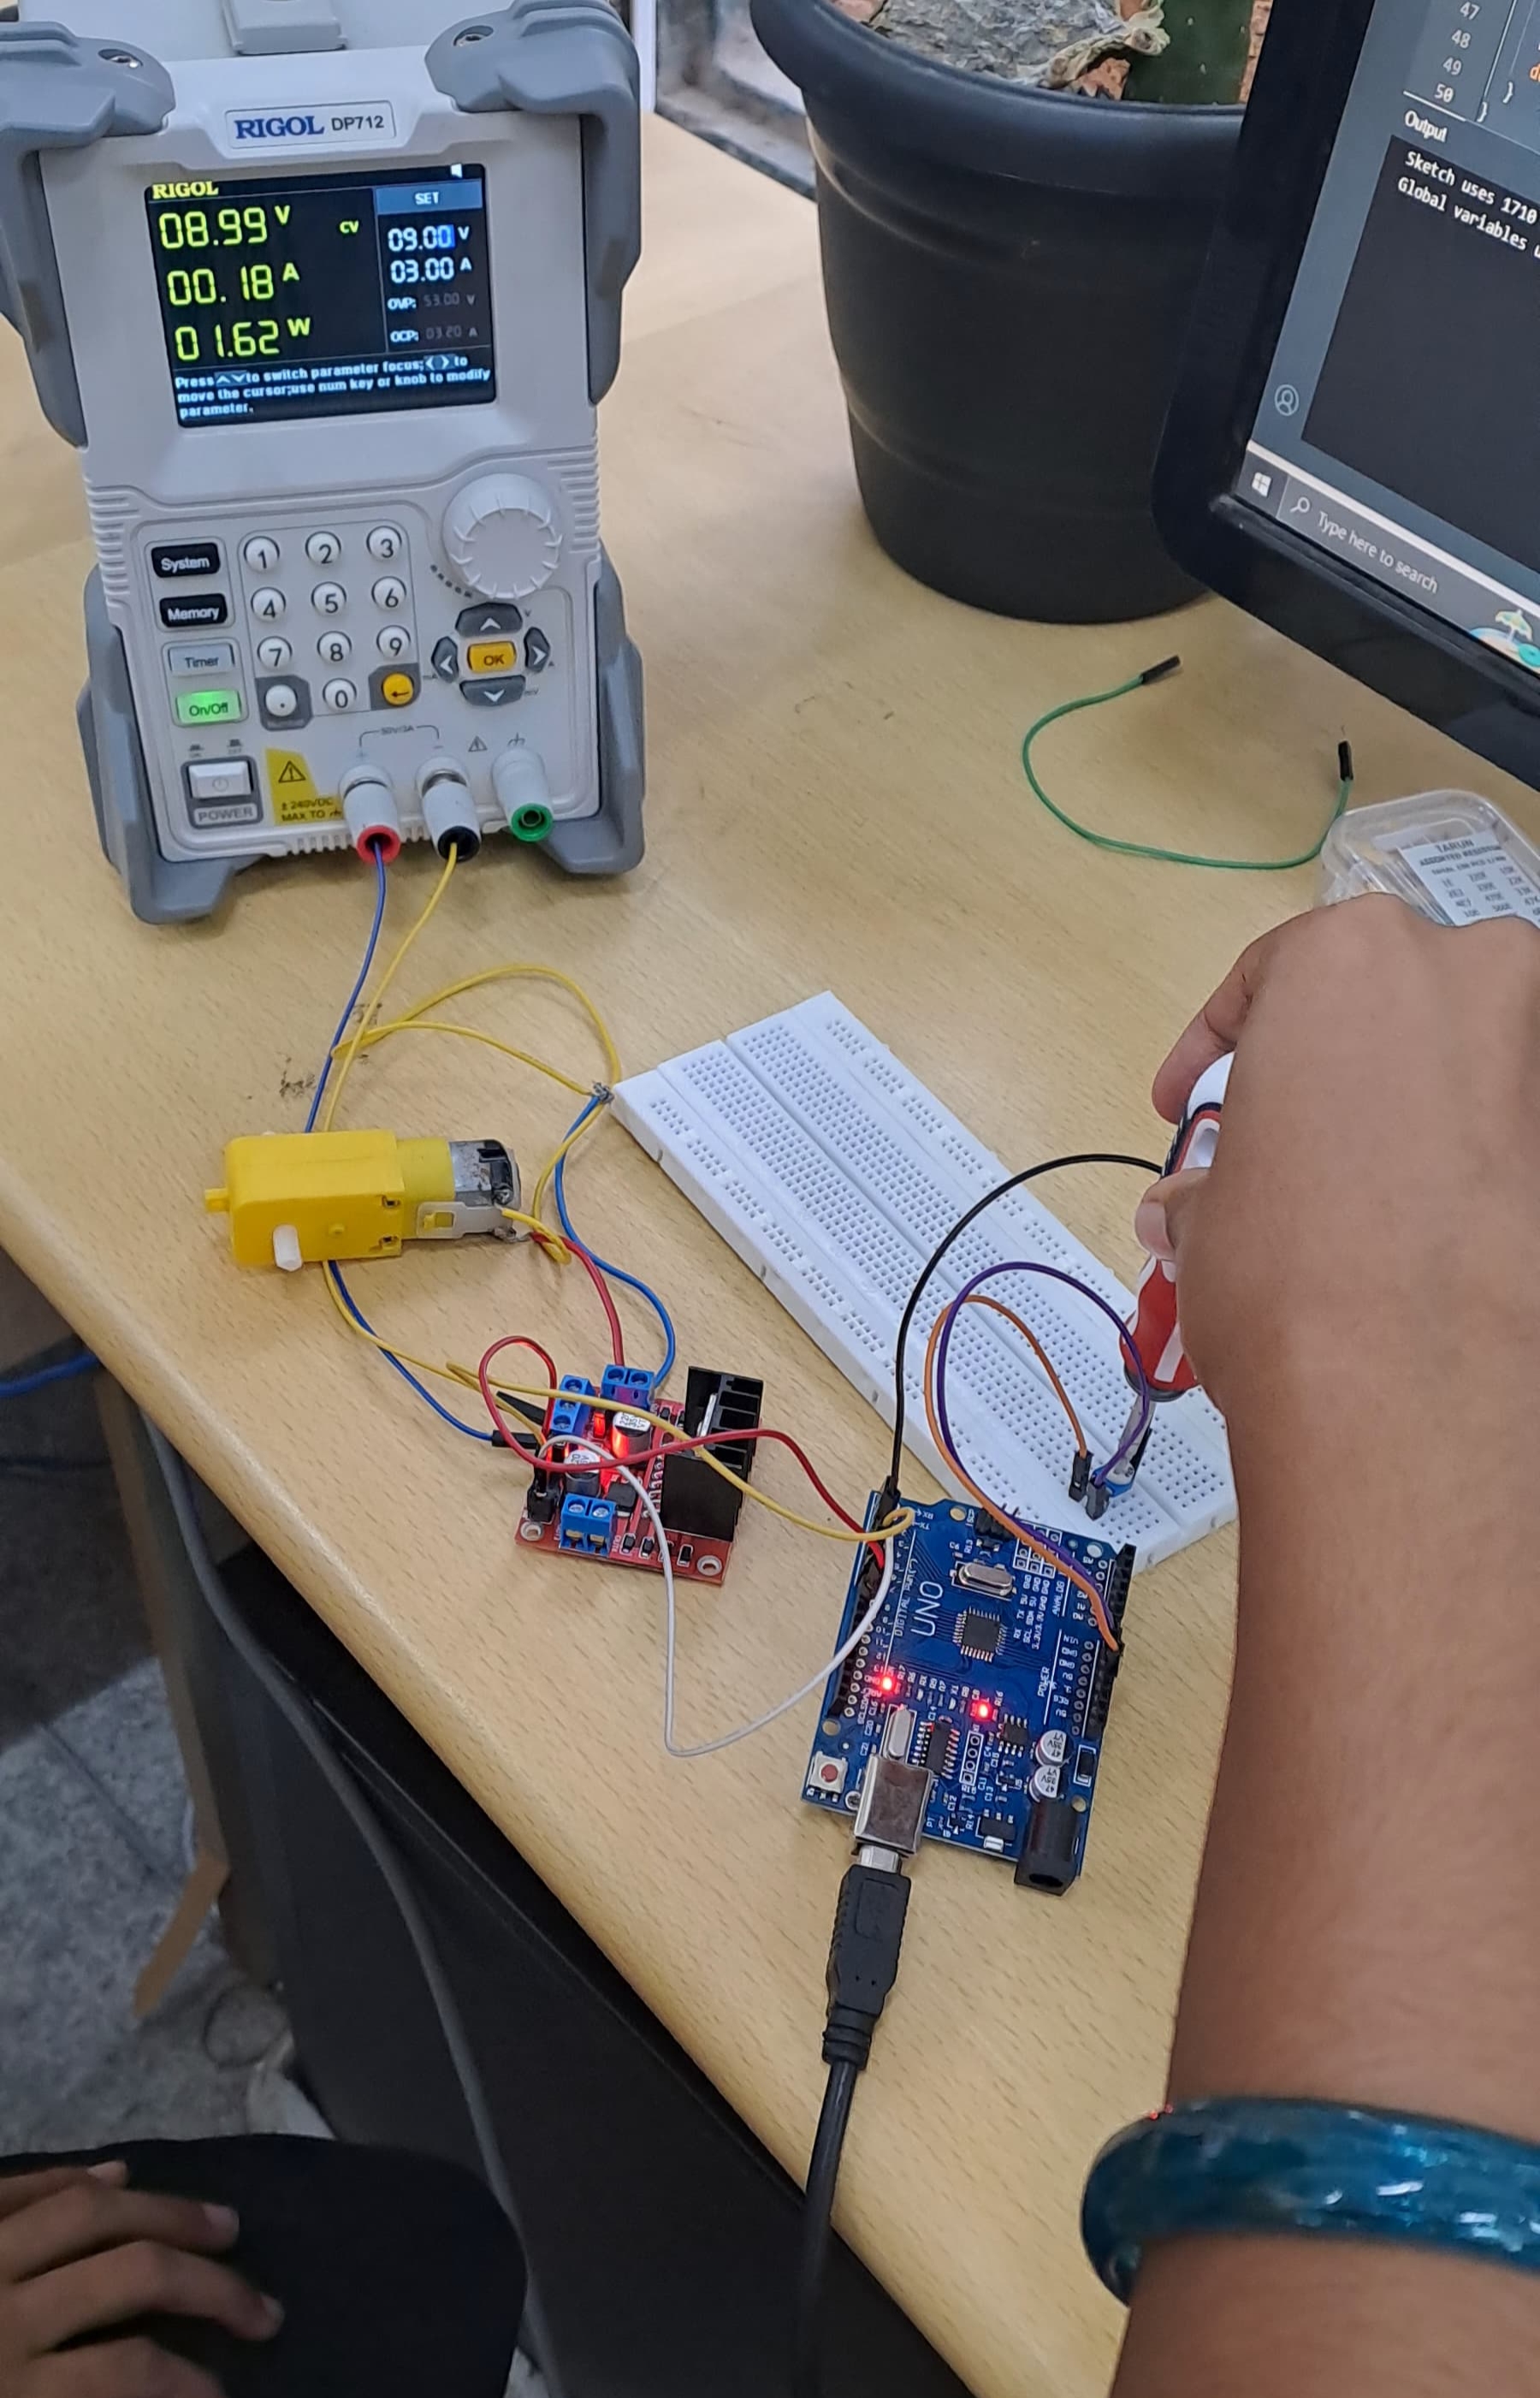
TASK 10: SPEED CONTROL OF DC MOTOR
The speed of the DC motor can be controlled by varying the input voltage to the motor and the most common method of doing that is by using PWM (Pulse Width Modulation) signal. For controlling the rotation direction, we just need to inverse the direction of the current flow through the motor, and the most common method of doing that is by using an H-Bridge. The L298N is a dual H-Bridge motor driver which allows speed and direction control of two DC motors at the same time. As a part of this task, I used L298N motor driver, Arduino UNO board, potentiometer to control the speed of the DC Motor.
Difficulties faced: I had problem while varying the speed of the motor but later realized that I had connected the potentiometer to the digital pin instead of the analog pin.
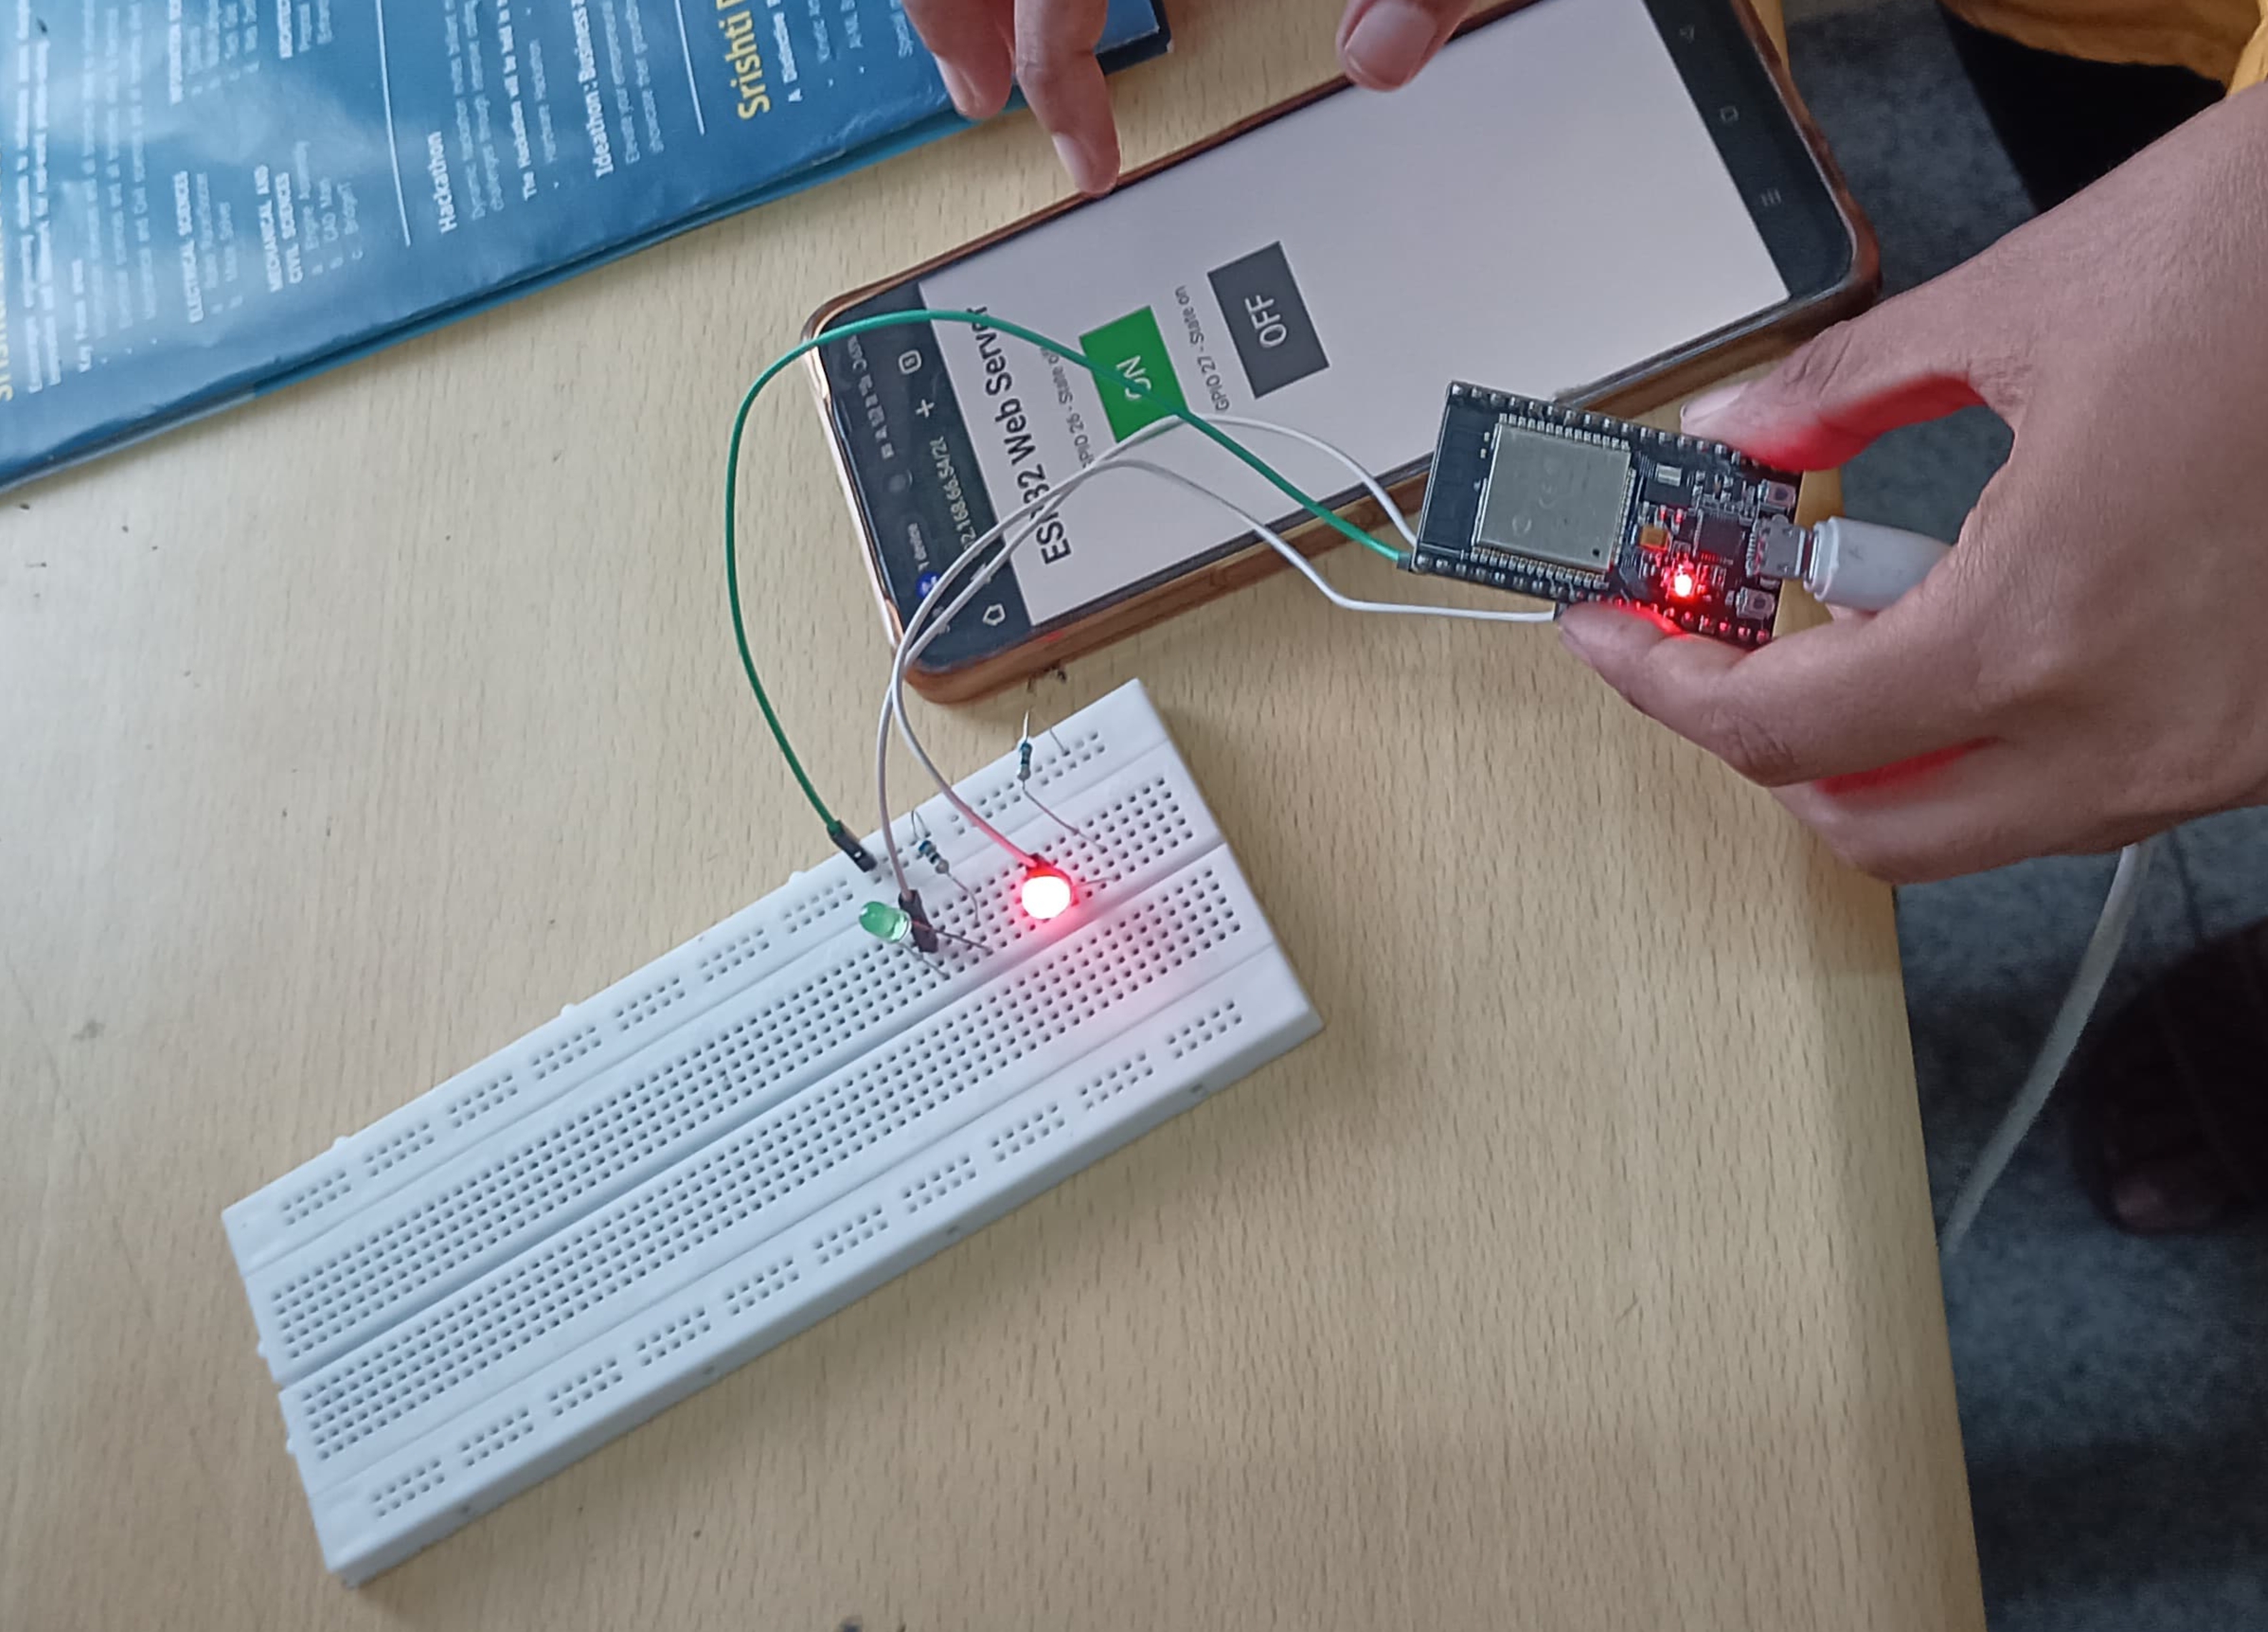
TASK 11: LED TOGGLE USING ESP32
ESP32 is a microcontroller that supports wireless connectivity. I connected the ESP32, the LED lights and the resistors on the breadboard. The code consisting of my mobile hotspot details was uploaded to ESP32 using the Arduino IDE. Then, I entered the IP address in my phone that was displayed on the serial monitor. In this way, I was able to toggle the LED lights using my phone.
Difficulties faced: I had trouble in uploading the code to ESP32 since I had selected a wrong port in the Arduino IDE. Later, the coordinator helped me to fix this error.
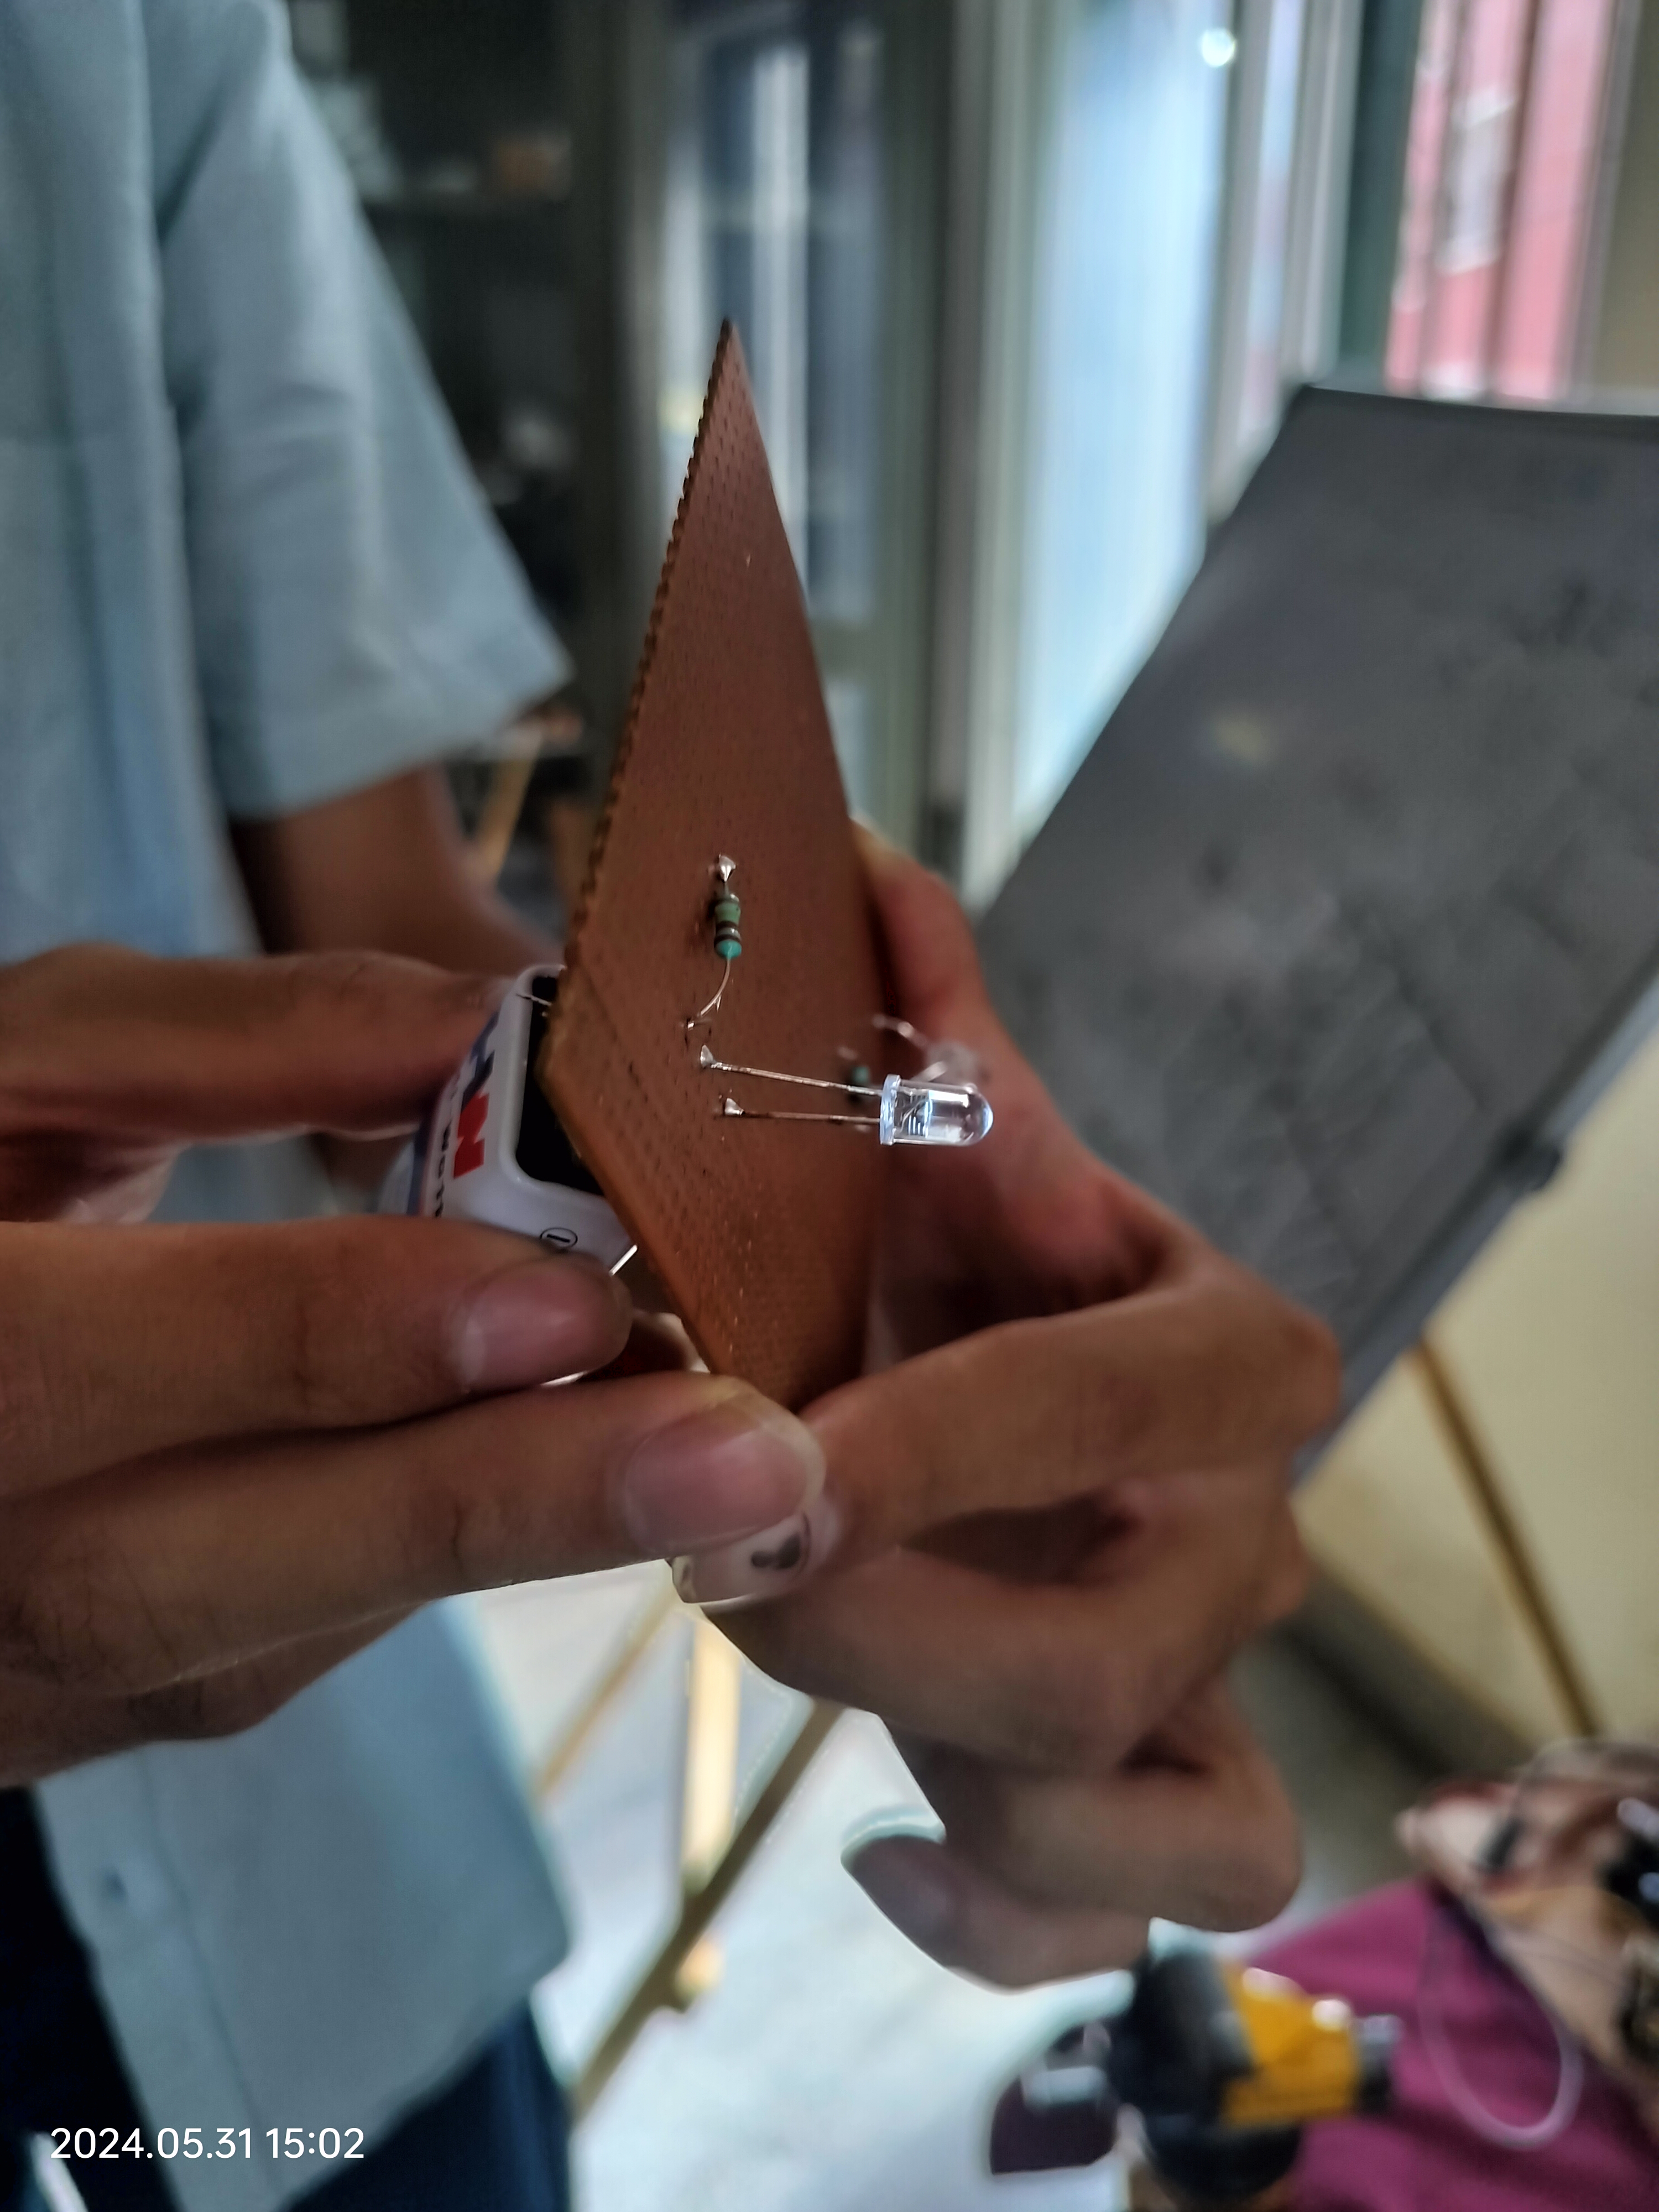
TASK 12: SOLDERING PREREQUISITES
Soldering plays a key role in joining electronic components. Soldering is the joining of two metal surfaces mechanically and electrically, with the use of metal called solder. Soldering iron supplies heat to melt solder so that it can flow into the joint between two workpieces. Wick is a pre-fluxed copper braid that is used to remove solder and soldering flux is a chemical substance that mainly used to prepare the metal surfaces before soldering by cleaning and removing any oxides and impurities. As a part of this task, I soldered a resistor and an LED light on a perf board and lit it up with a battery and also learnt how to desolder.
TASK 13: 555 TIMER IC
The 555 Timer IC is an integrated circuit used in a variety of timer, delay, pulse generation and oscillator applications. Using the 555 Timer IC in Astable mode, a circuit was designed with resistors in 2:1 ratio along with capacitors to get a duty cycle of 58.7%. The circuit and the waveform that was displayed in the oscilloscope is given below:
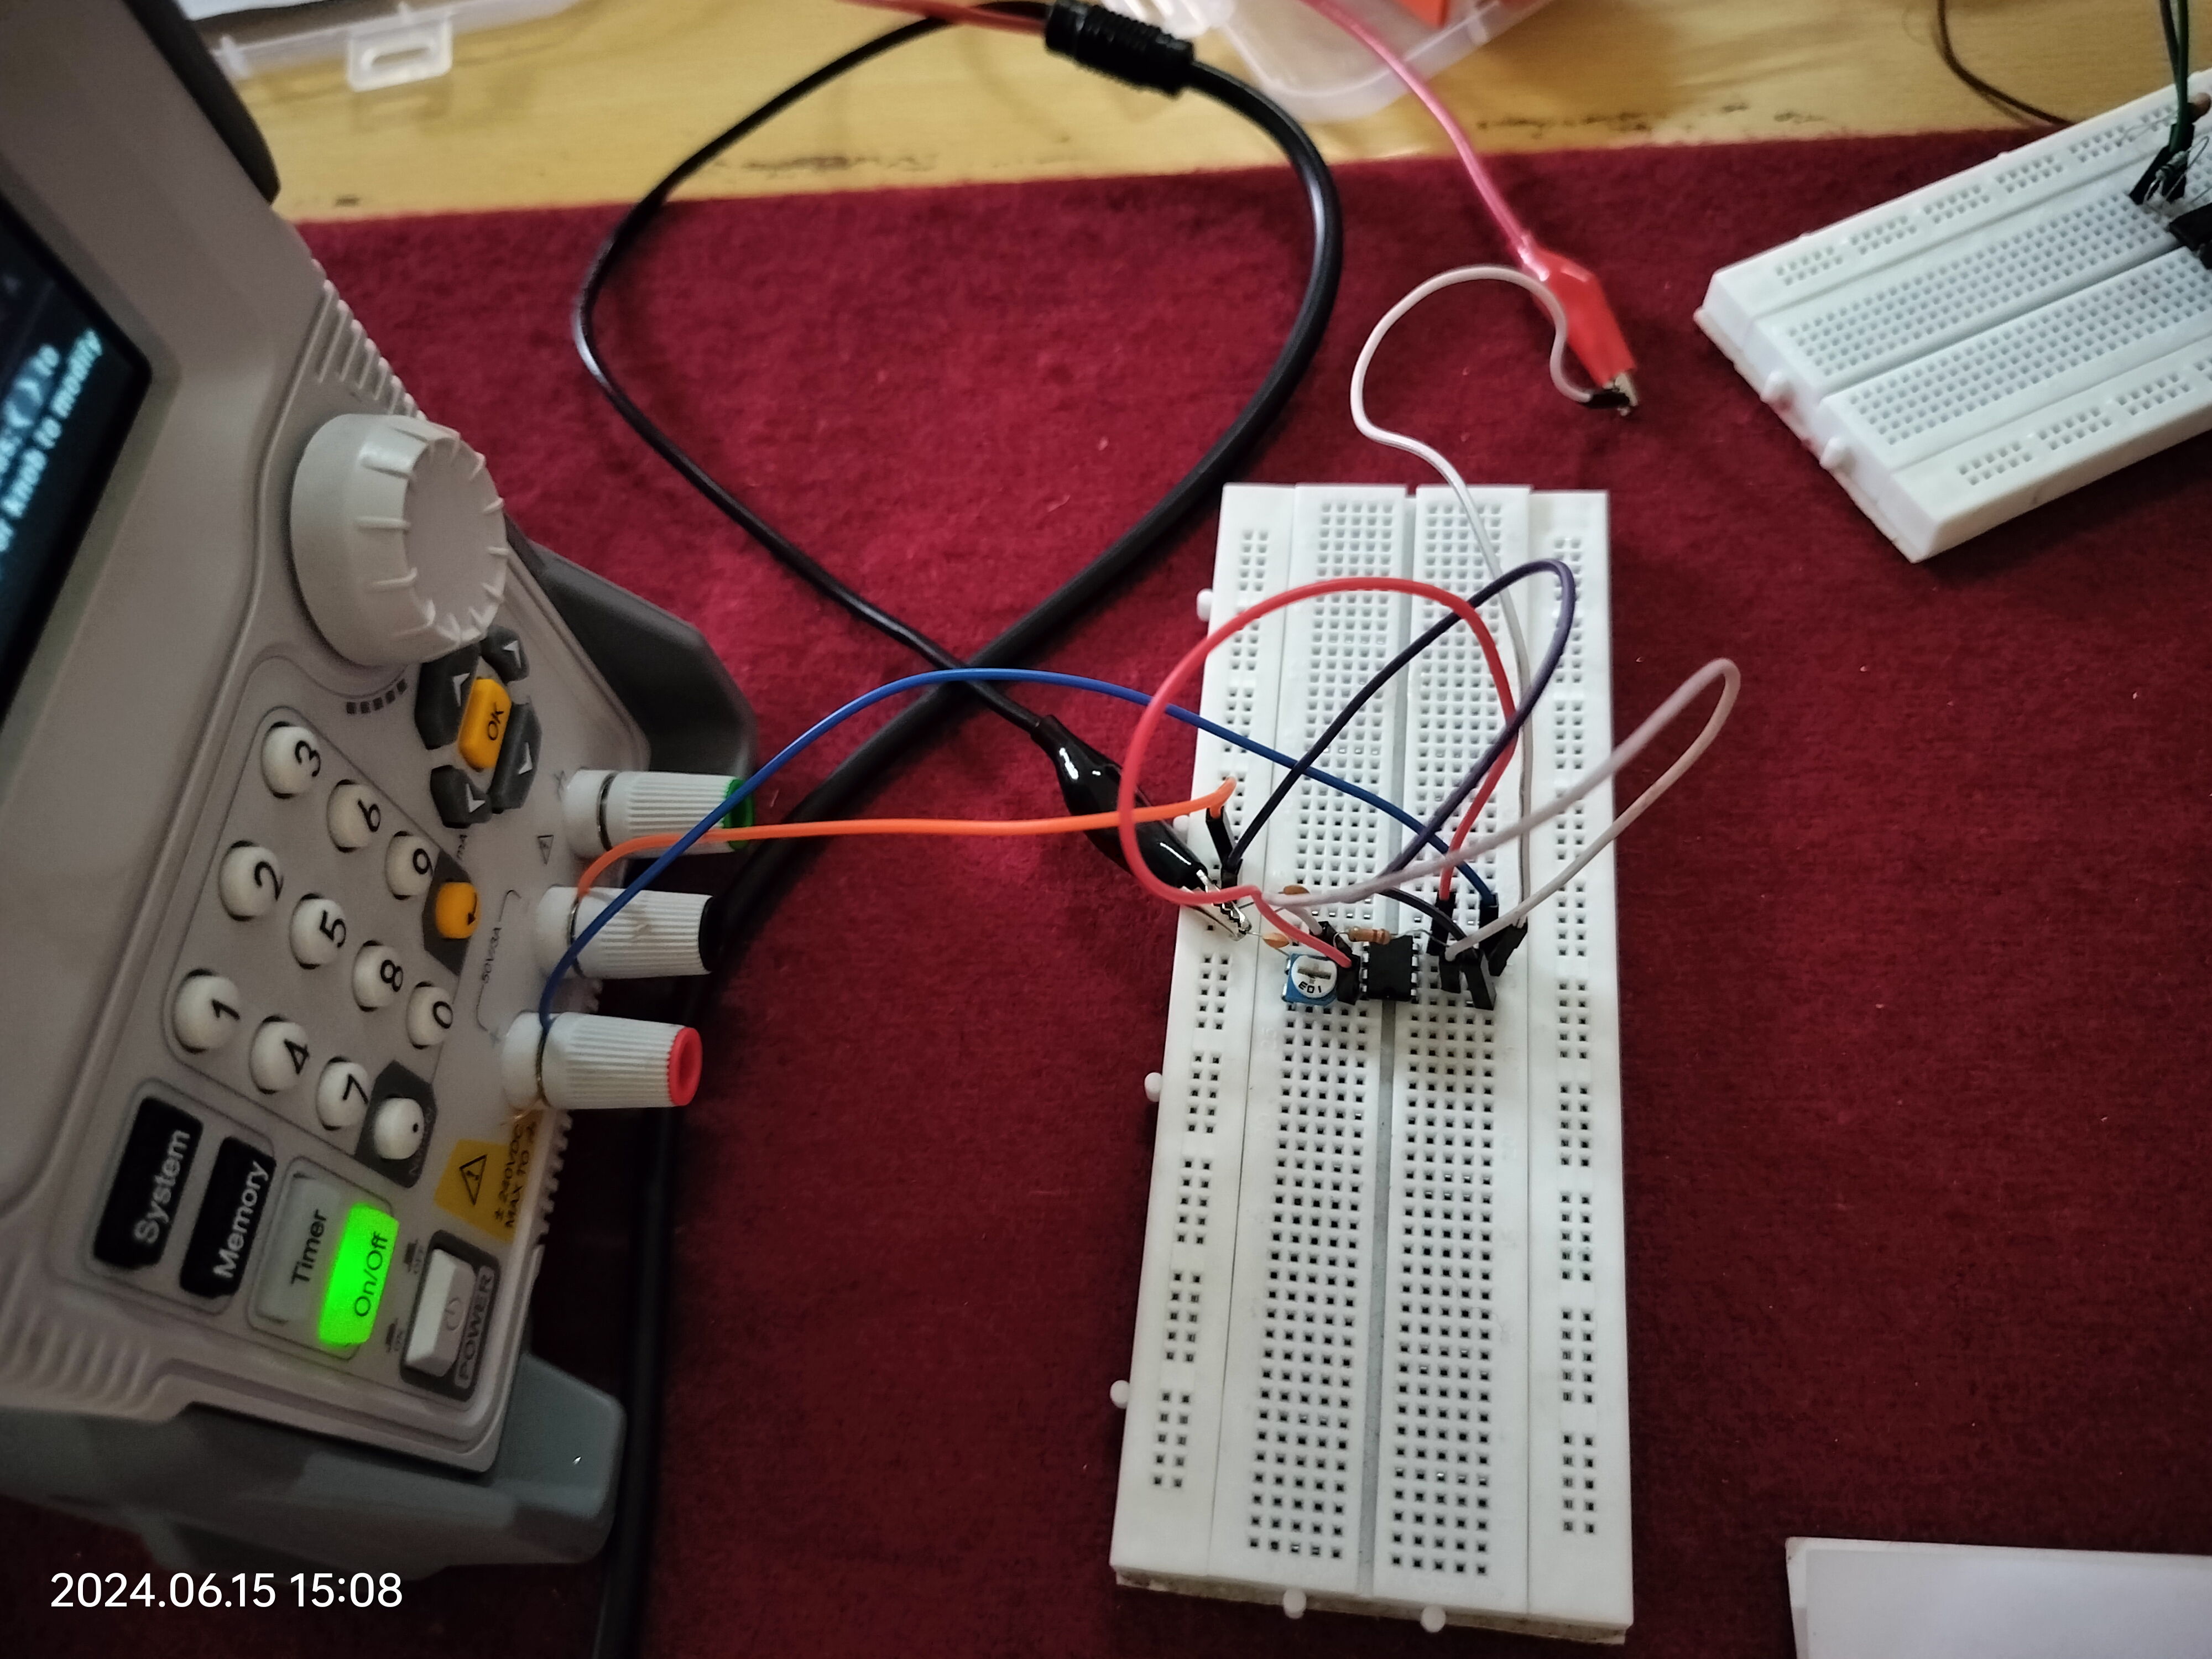
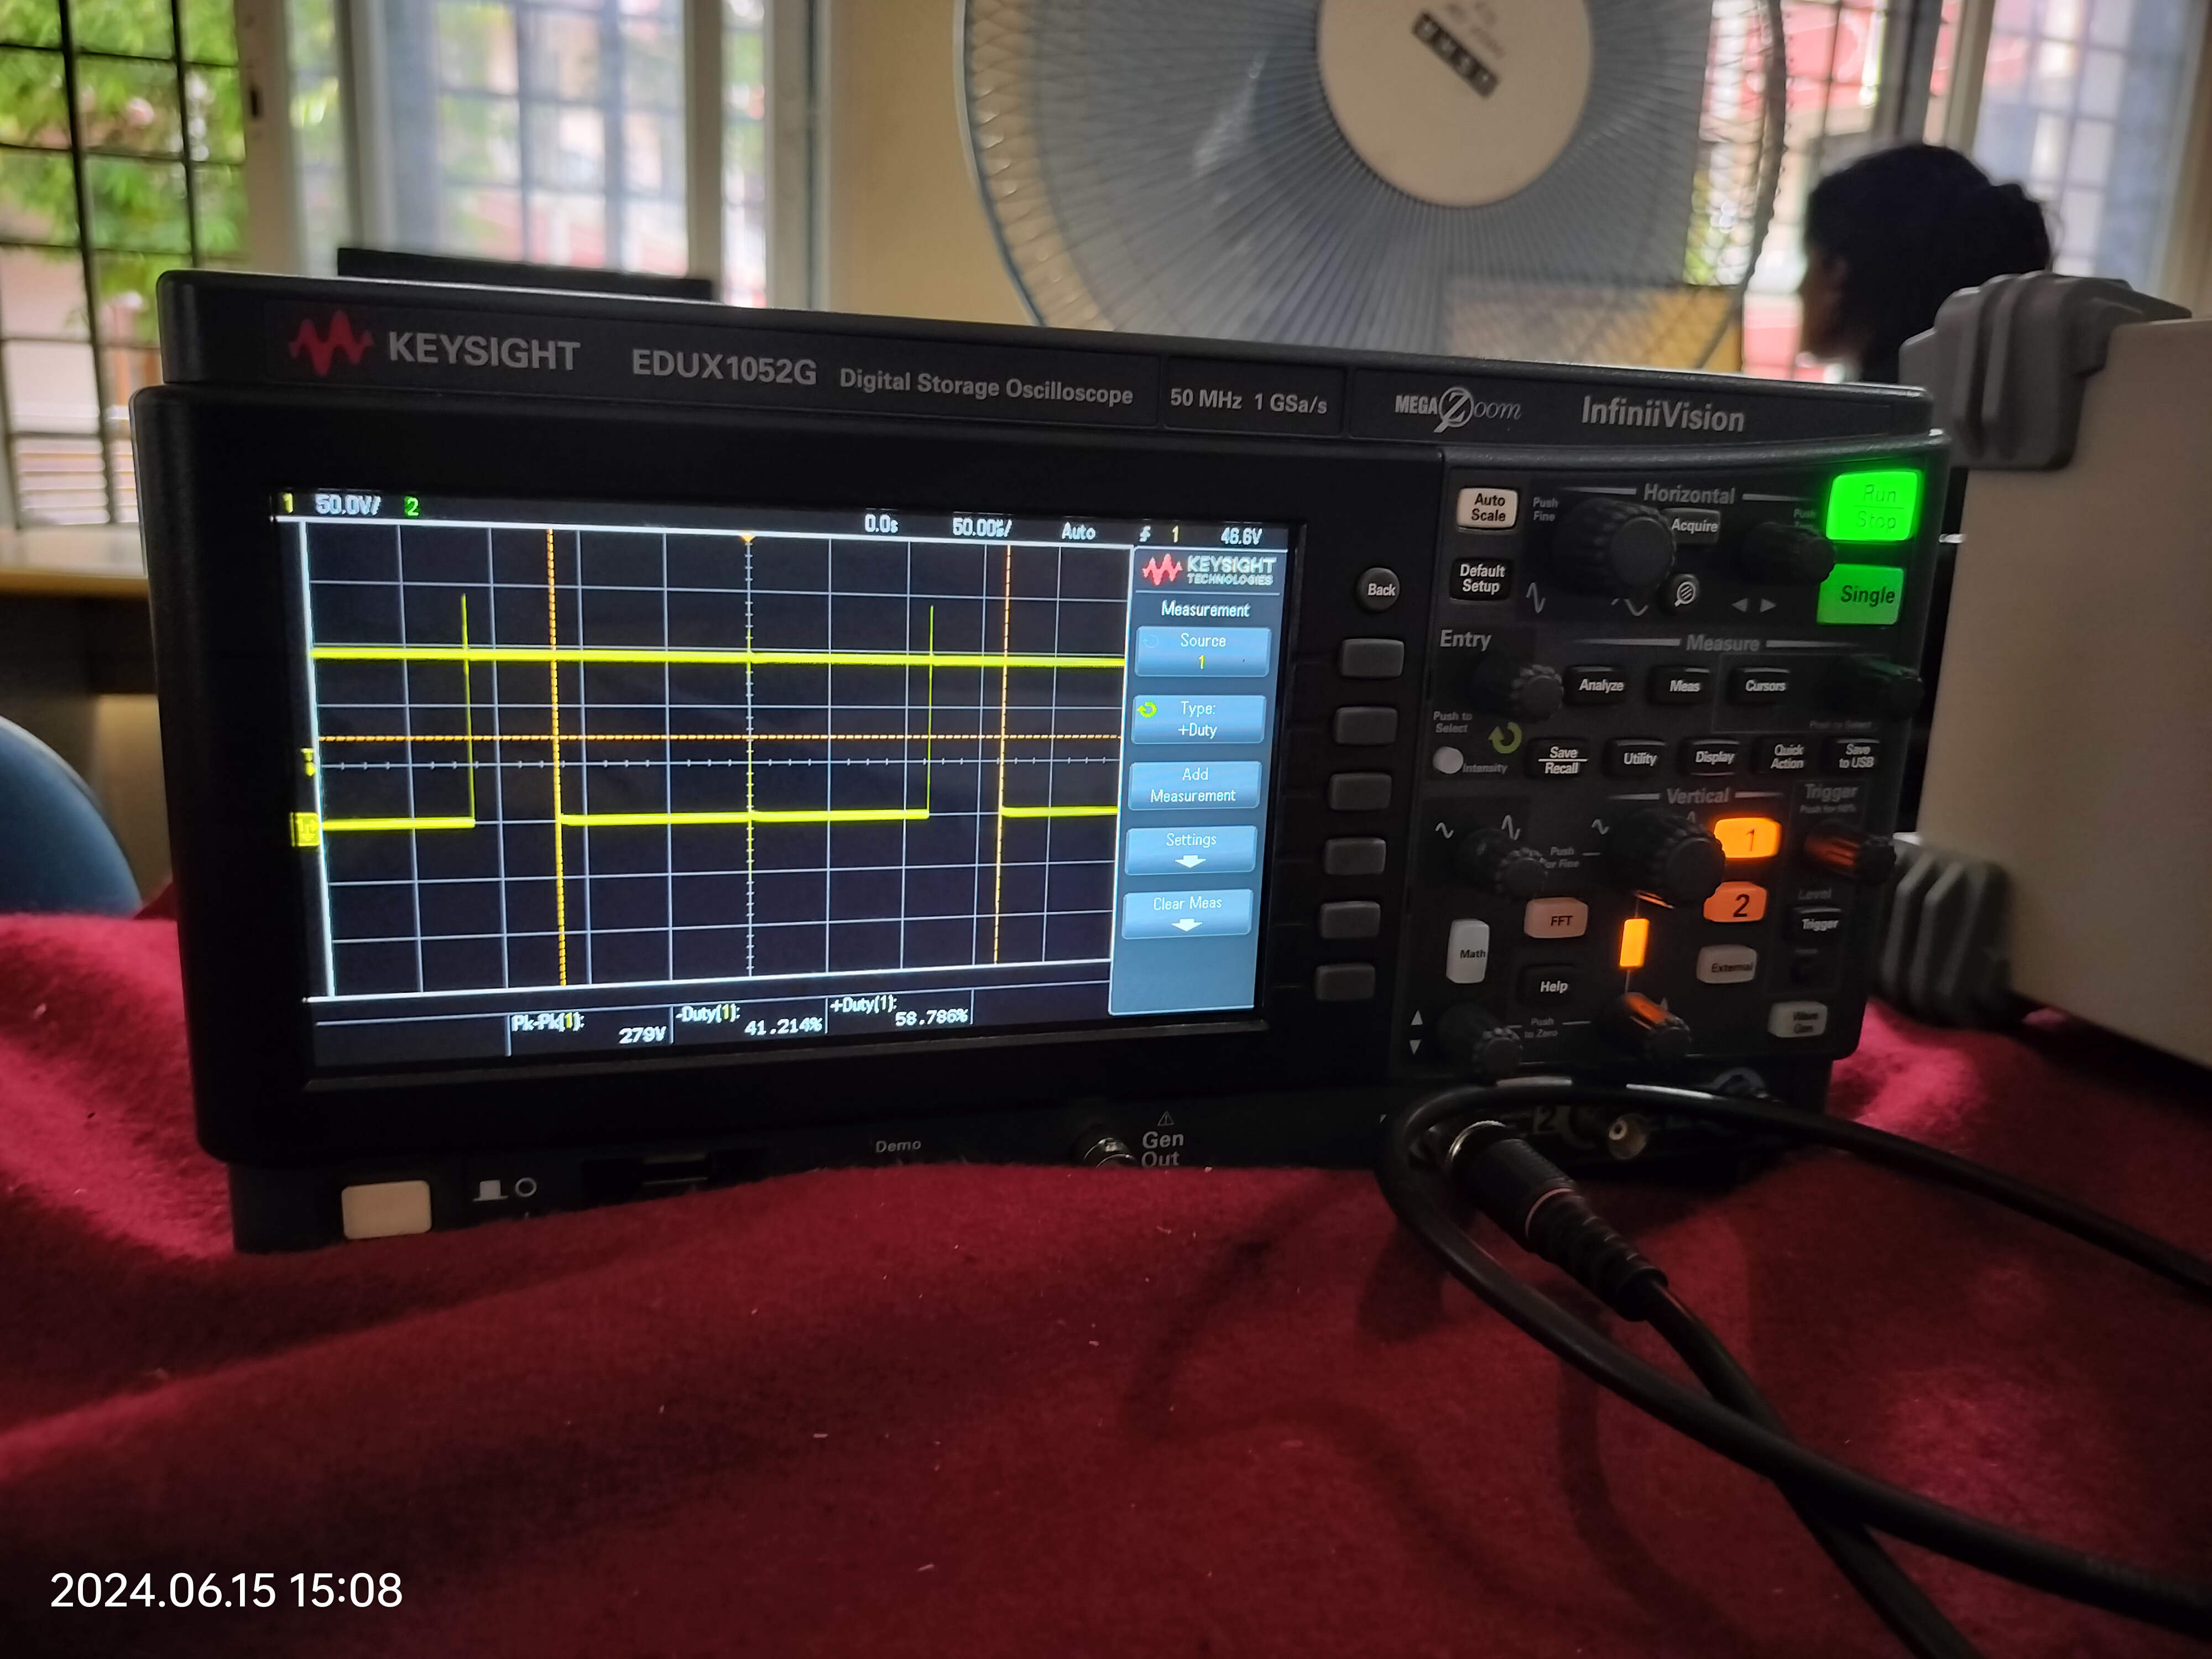
Difficulties faced: Built the circuit so many times since I was not getting the required output only to realise that there was some problem with the IC.
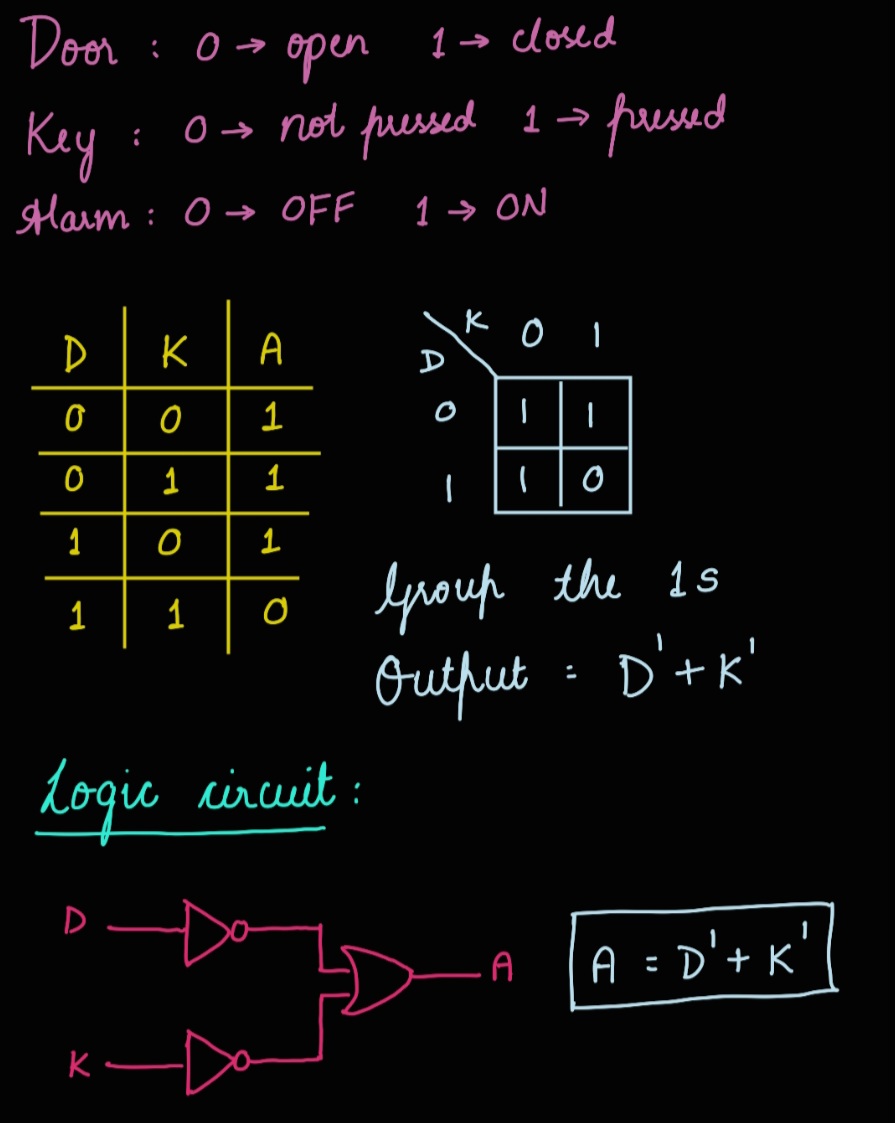
TASK 14: KARNAUGH MAPS AND DERIVING THE LOGIC CIRCUIT
I understood the application of logic gates and the use of karnaugh maps to derive the logic circuit.
TASK 15: ACTIVE PARTICIPATION
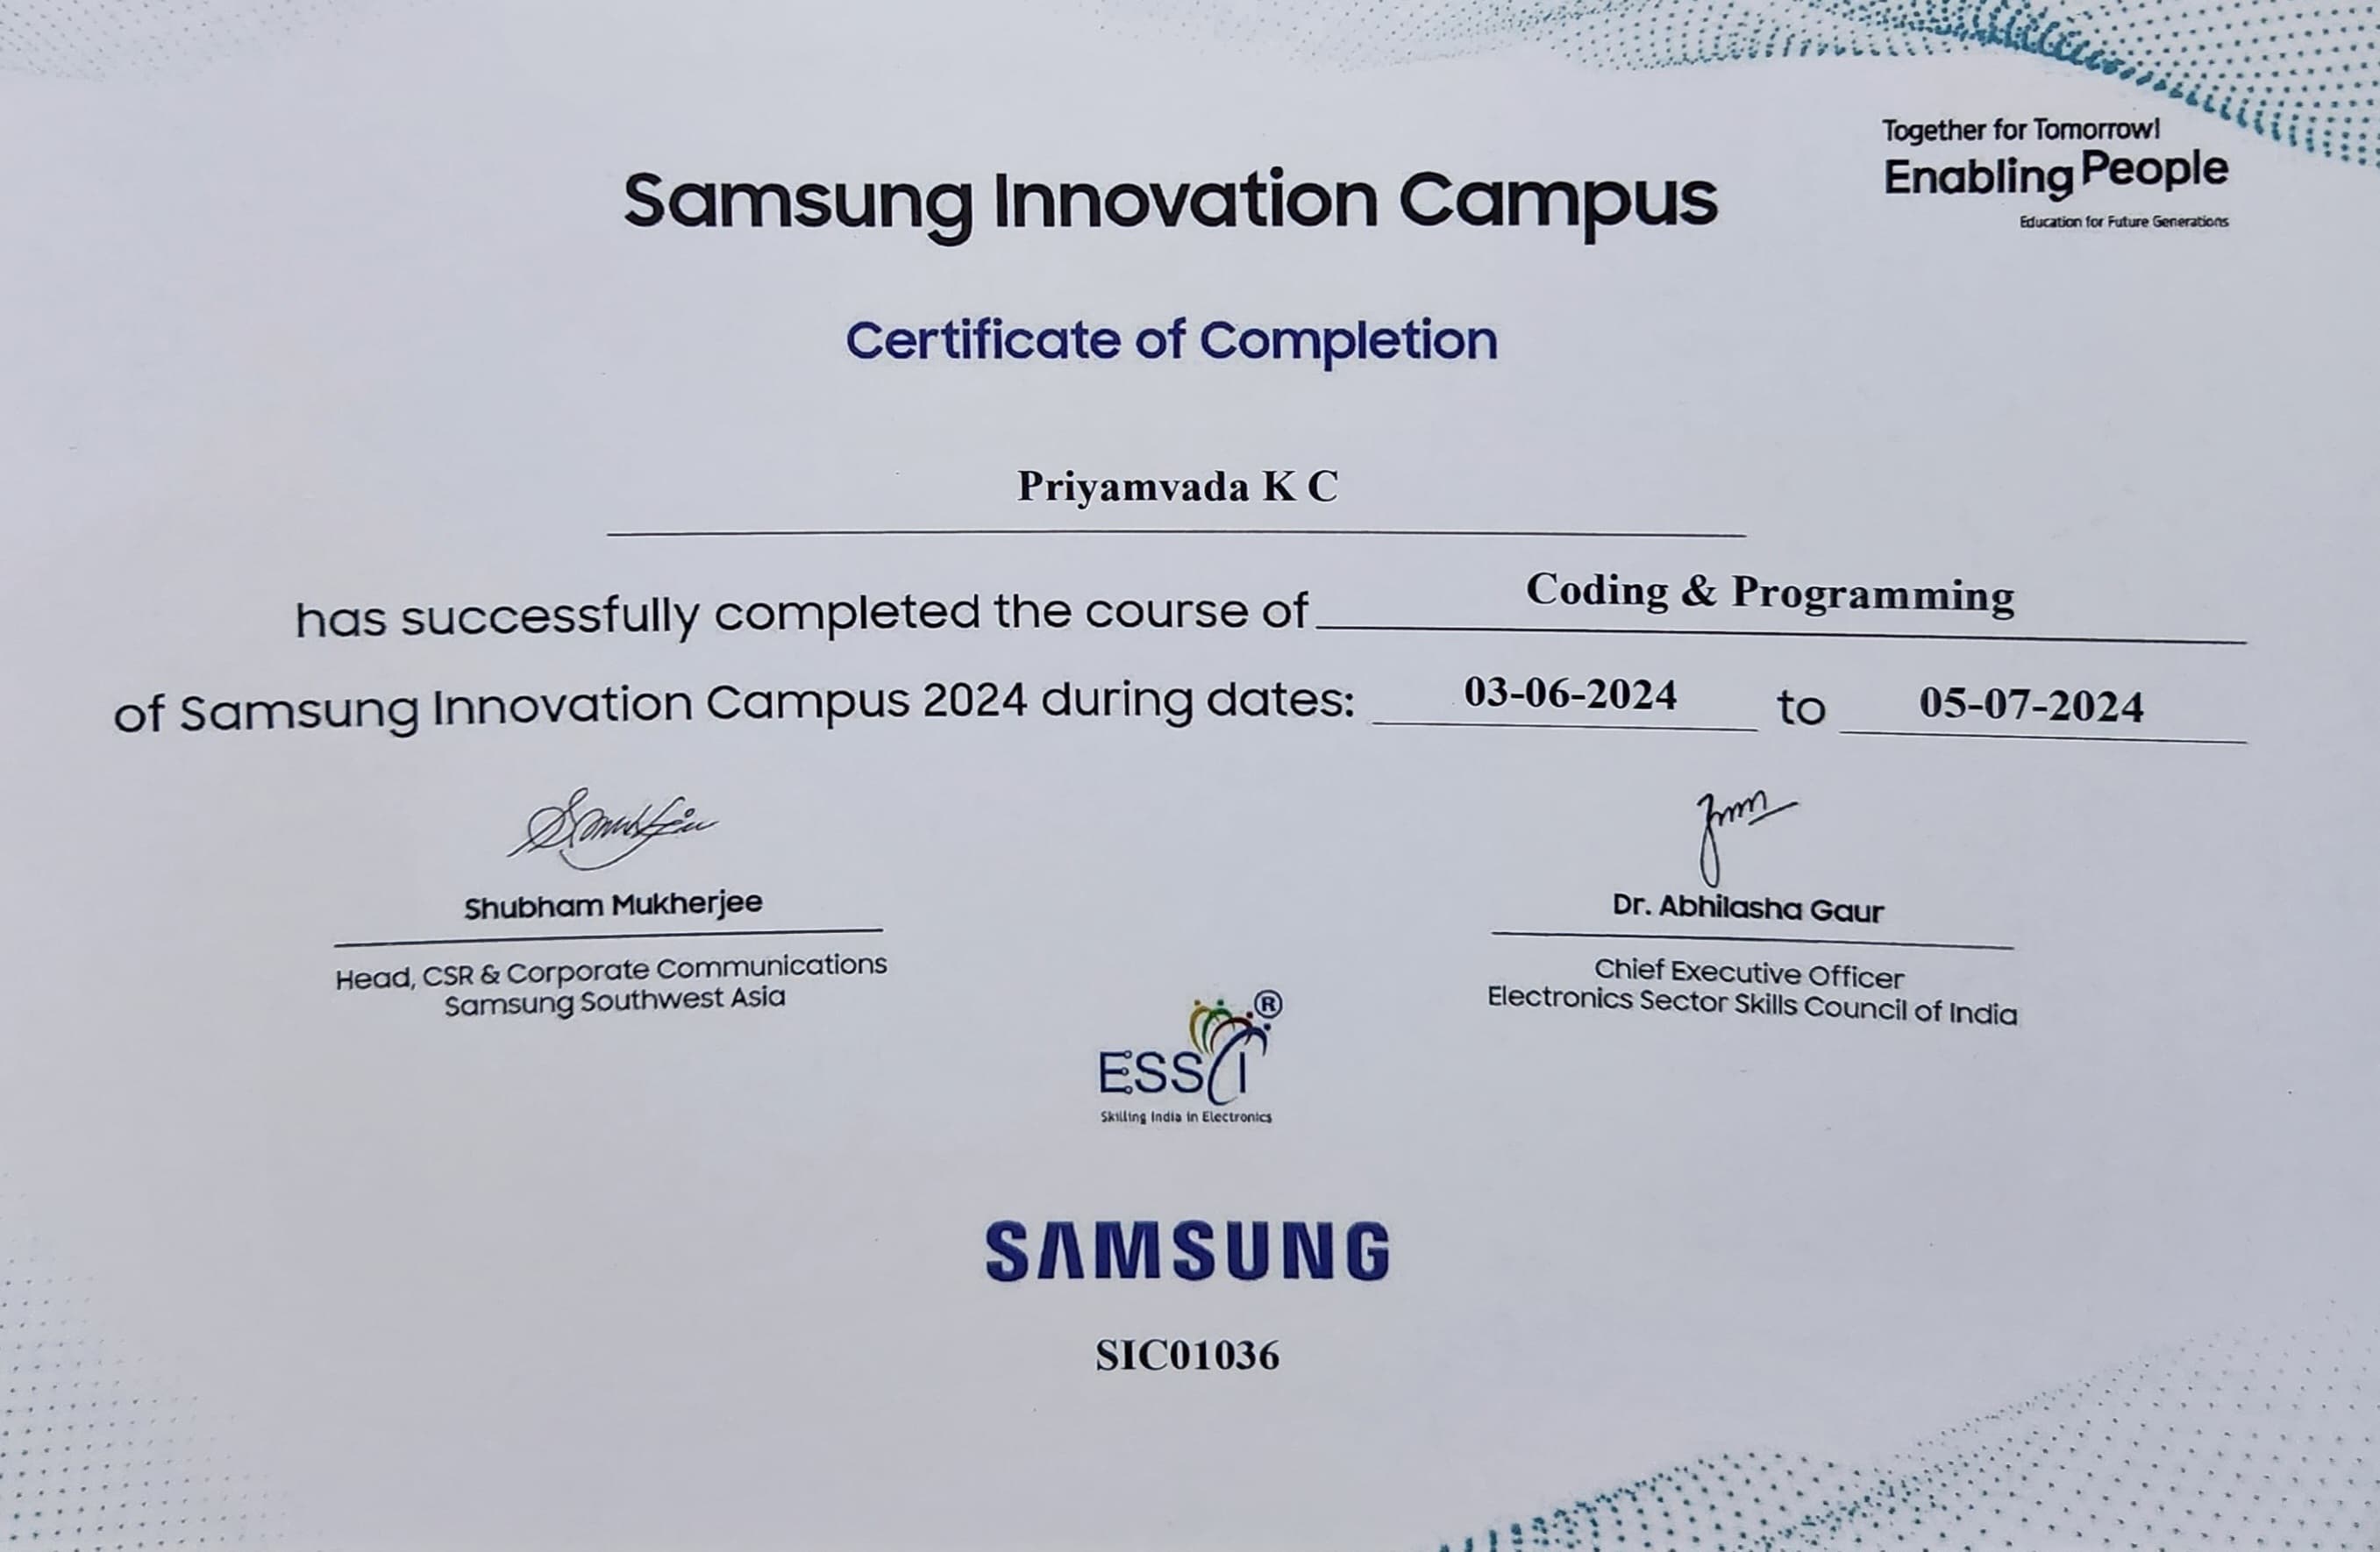
I participated in the Samsung Innovation Campus Python workshop that was conducted in our campus for 30 days followed by a Hackathon. Our problem statement in the hackathon was Chat Support for E-Governance.
TASK 16: DATASHEETS REPORT WRITING
Introduction to the MQ-135 Gas Sensor
The MQ-135 gas sensor is widely used in air quality monitoring systems due to its ability to detect various gases, including ammonia (NH3), nitrogen oxides (NOx), alcohol, benzene, smoke, and carbon dioxide (CO2). Its features include a wide detection scope, fast response, high sensitivity, stability, long life, and a simple drive circuit.
Specifications
- Circuit Voltage (Vc): 5V ± 0.1V
- Heating Voltage (Vh): 5V ± 0.1V
- Load Resistance (RL): Adjustable
- Operating Temperature: -10°C to 45°C
- Storage Temperature: -20°C to 70°C
- Relative Humidity: Less than 95%
- Oxygen Concentration: Minimum 2% for accurate readings
Structure and Configuration
The MQ-135 sensor comprises an Al2O3 ceramic tube, a SnO2 gas sensing layer, gold (Au) electrodes, platinum (Pt) electrode lines, a Ni-Cr alloy heater coil, and a stainless steel anti-explosion network. It has six pins, four for signal output and two for heating current(SNS-MQ135).
Sensitivity Characteristics
The sensitivity of the MQ-135 sensor varies for different gases and concentrations. Calibration involves adjusting the load resistance (RL) and measuring the sensor resistance (Rs) at specific gas concentrations.
Calibration Procedure
Initial Setup
- Power Supply: Ensure a stable 5V supply.
- Preheat Time: Allow the sensor to preheat for at least 24 hours.
Load Resistance (RL) Adjustment
- Initial RL Value: Set RL to about 20 KΩ.
- Calibration of Gases: Use known concentrations for calibration (e.g., 100 ppm NH3, 50 ppm alcohol, 100 ppm benzene).
Sensor Resistance Measurement
- Baseline Measurement (Ro): Measure the sensor resistance in clean air.
- Gas Exposure (Rs): Expose the sensor to the target gas and measure Rs.
Sensitivity Adjustment
- Rs/Ro Ratio: Adjust RL to achieve the desired Rs/Ro ratio for specific gas concentrations.
- Environmental Considerations: Account for temperature and humidity variations during calibration.
Application in Calibration
- Measurement: Expose the sensor to a known gas concentration and measure the baseline sensor resistance (Ro).
- Gas Exposure: Measure the sensor resistance (Rs) at various concentrations.
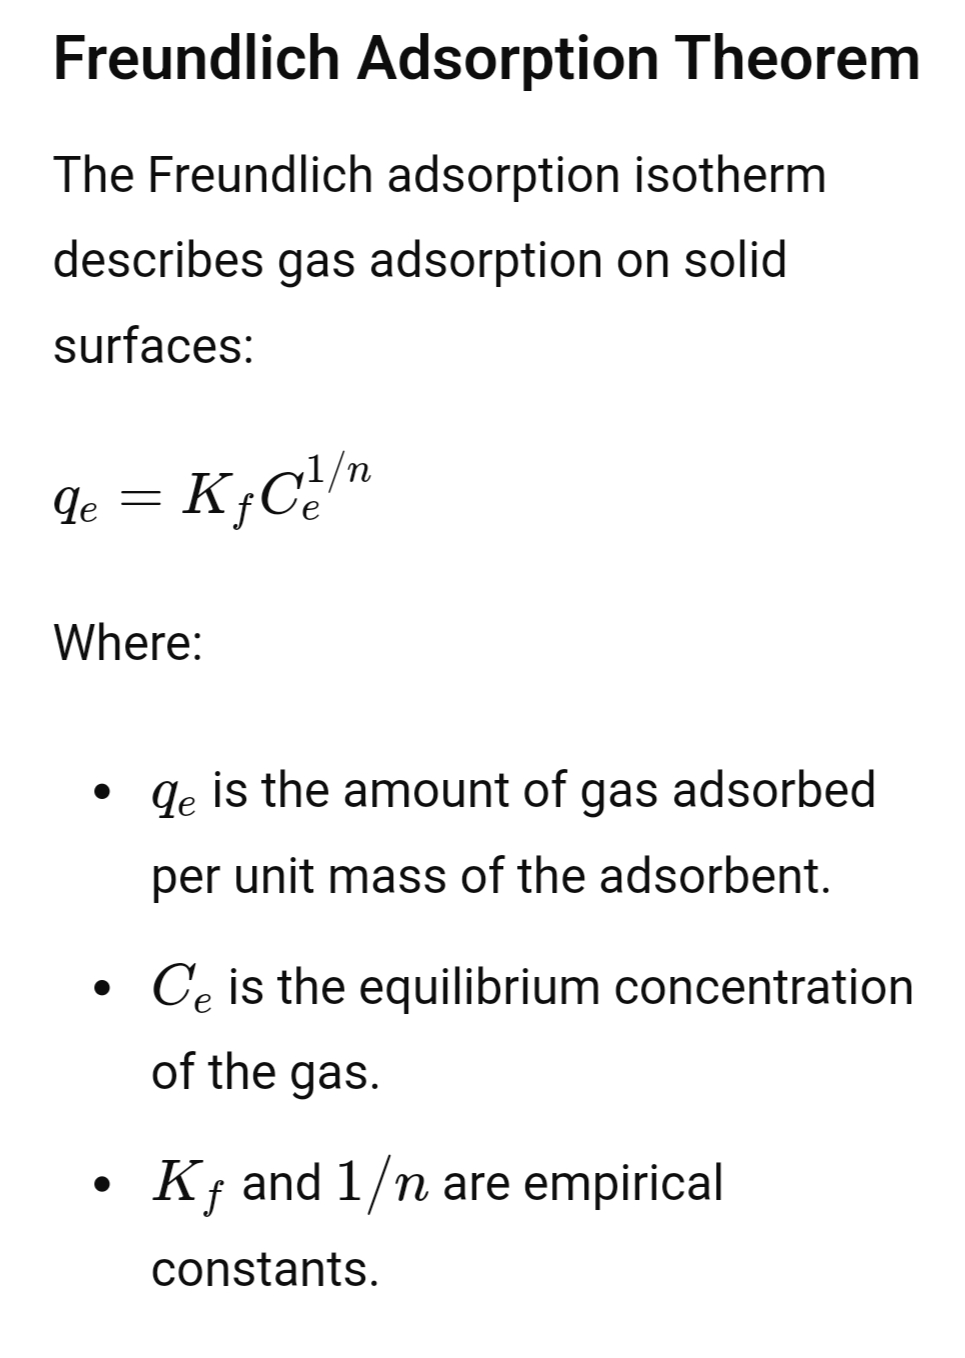
- Adsorption Behavior: Use the Freundlich isotherm to understand adsorption behavior. Adjust (RL) to match the theoretical values predicted by the isotherm.
Typical Sensitivity Curves
NH3 Sensitivity
- Concentration Range: 10 ppm to 300 ppm
- Sensor Resistance (Rs): 30 KΩ to 200 KΩ at 100 ppm NH3
- Sensitivity Slope Rate (α): ≤ 0.65
Alcohol Sensitivity
- Concentration Range: 10 ppm to 300 ppm
Benzene Sensitivity
- Concentration Range: 10 ppm to 1000 ppm