
COURSEWORK
Rohan's VFX-001 course work. Lv 2
| Rohan Shalom | AUTHOR | ACTIVE |
R Rohan Shalom's Level 1 VFX Coursework
15 / 9 / 2024
Rohan's Level 1 VFX-001 Course Report
Installing DaVinci resolve
To download DaVinci Resolve, I started by heading over to the official Blackmagic Design website.
I went to the Blackmagic Design website, navigated to "DaVinci Resolve," and clicked "Free Download." After selecting my operating system, I filled out the registration form, downloaded the installer, and followed the instructions to install it. Then, I launched DaVinci Resolve and started using it.
Types of pages in DaVinci Resolve
DaVinci Resolve has several key pages:
- Media: Import and organize media files.
- Cut: Fast editing with streamlined tools.
- Edit: Detailed editing with effects and transitions.
- Fusion: Visual effects and motion graphics using nodes.
- Color: Professional color grading and correction.
- Fairlight: Audio editing and mixing.
- Deliver: Export projects with various formats and settings.
These pages were put to use by several Tasks and Assignments given by Marvel
Assignment-1 : Create a 30-second video using the Edit Page, incorporating cuts, transitions, and basic audio adjustments.
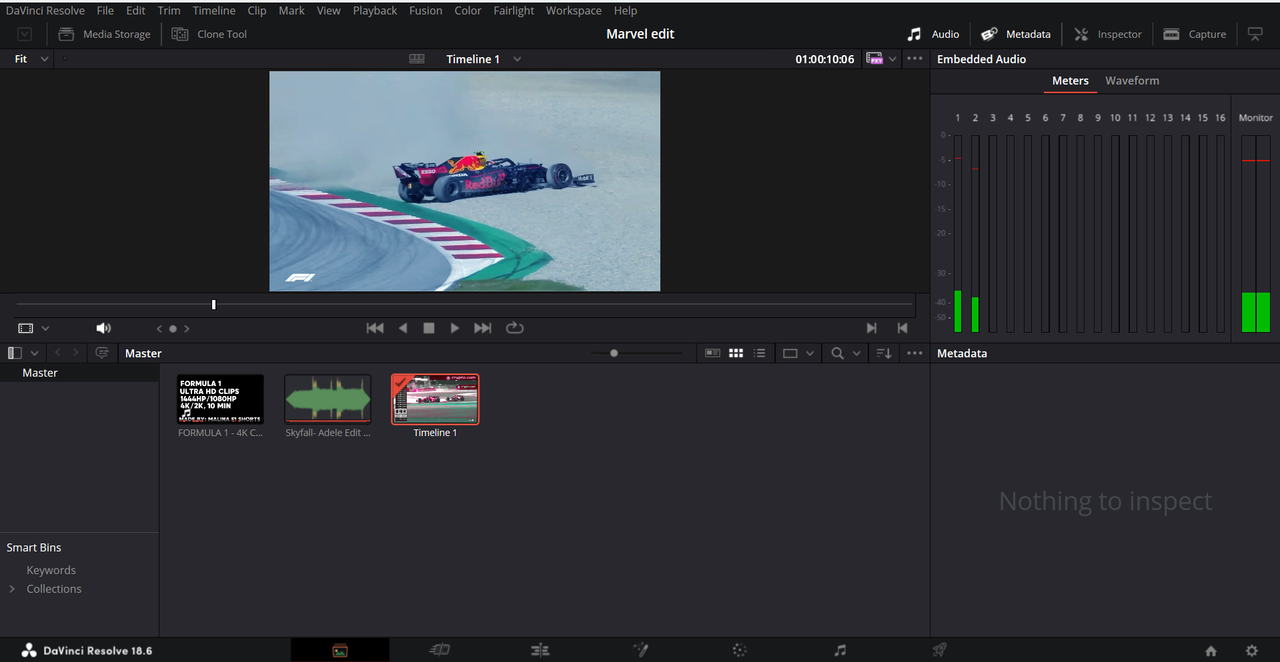
I downloaded a royalty free footage of Formula One videos from YouTube. Added it to the Media pool using the media page.
Here's a look at the media page:
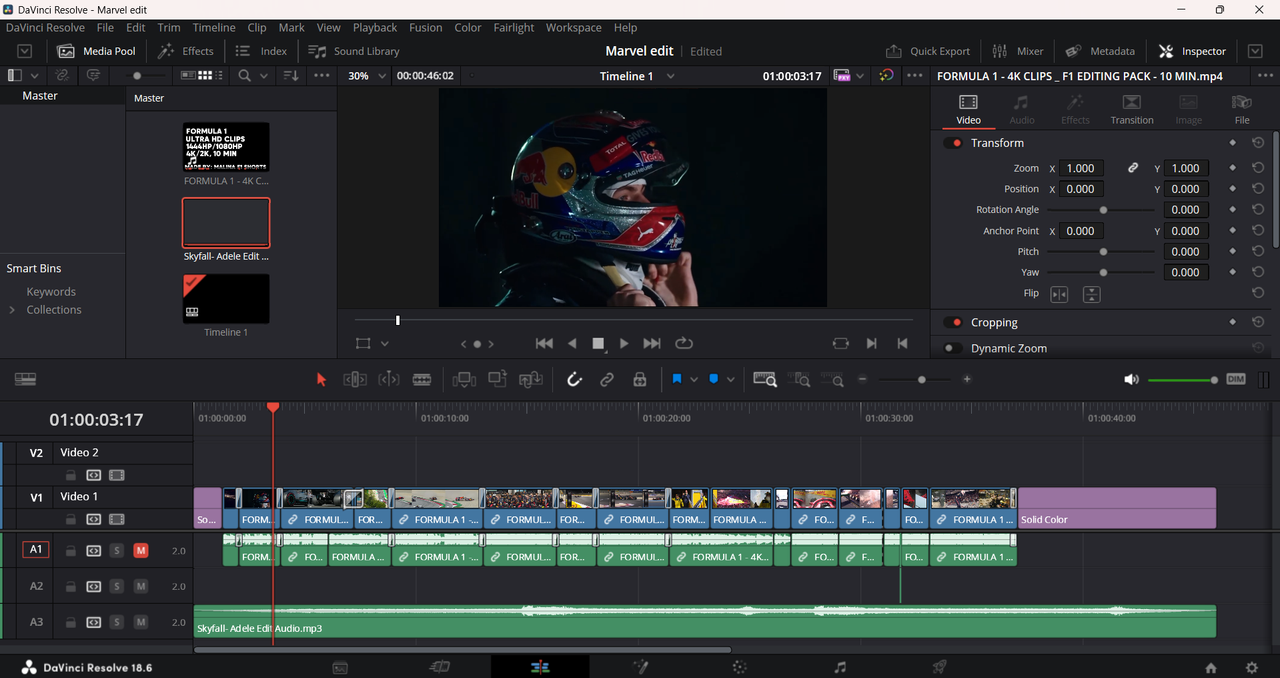
Using the edit page I trimmed specific clips using the blade tool and added suitable transitions between the clips.
Using the edit page:
Clips can be added to the timeline by dragging them from the Media Pool, placing them on specific tracks or points.
The Blade tool allows for splitting clips into multiple parts for precise editing. Clip properties, such as speed, duration, and scaling, can be adjusted in the Inspector panel. Grouping clips enables moving and editing them as a single unit, maintaining their alignment.
Edit Page:
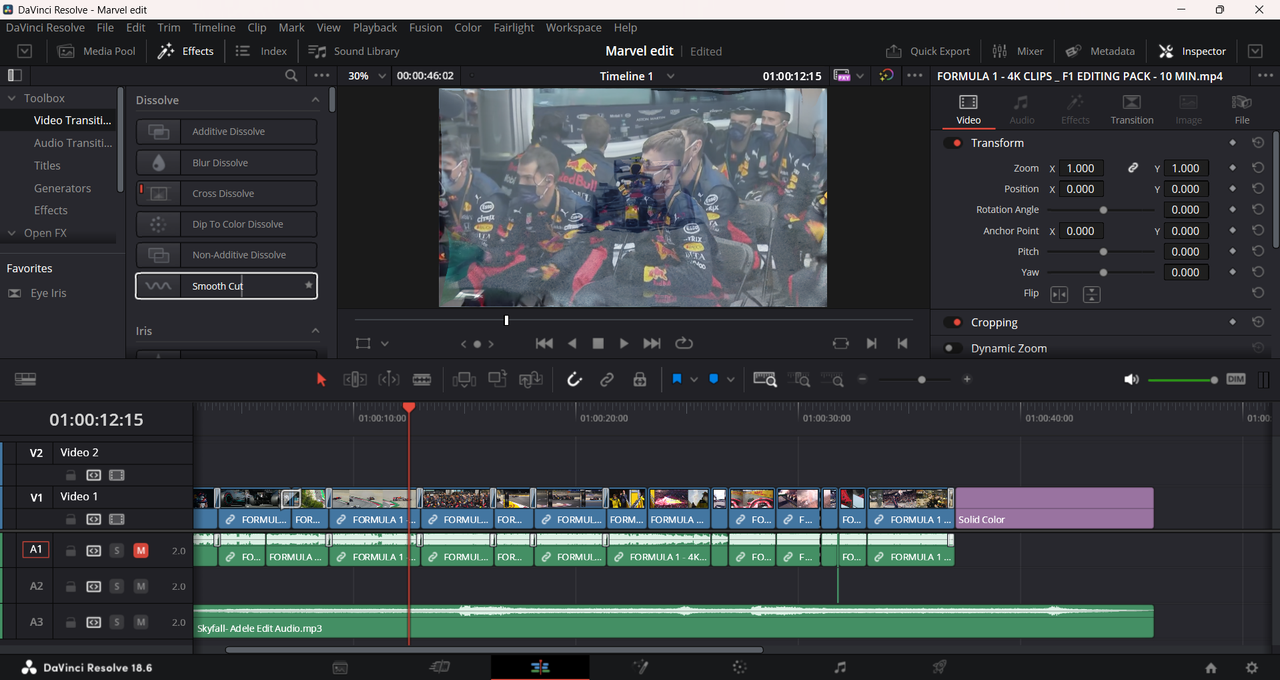
Adding Transitions:
Effects can be added to clips by dragging them from the Effects
Library to the desired clip on the timeline.
 Final Output:
https://drive.google.com/file/d/1vIeiq-LoUooY7albbapLp7srXpJN6KVo/view?usp=sharing
Final Output:
https://drive.google.com/file/d/1vIeiq-LoUooY7albbapLp7srXpJN6KVo/view?usp=sharing
By leveraging DaVinci Resolve 18's Media Pool and mastering clip arrangement and transitions, I could greatly enhance editing efficiency and video quality, contributing to a professional and compelling storytelling experience.
Assignment-2 : Create a fast-paced 1-minute social media video using the Cut Page, focusing on storytelling and quick assembly.
I created a one minute video that explains the components of an Arduino board using the cut page.
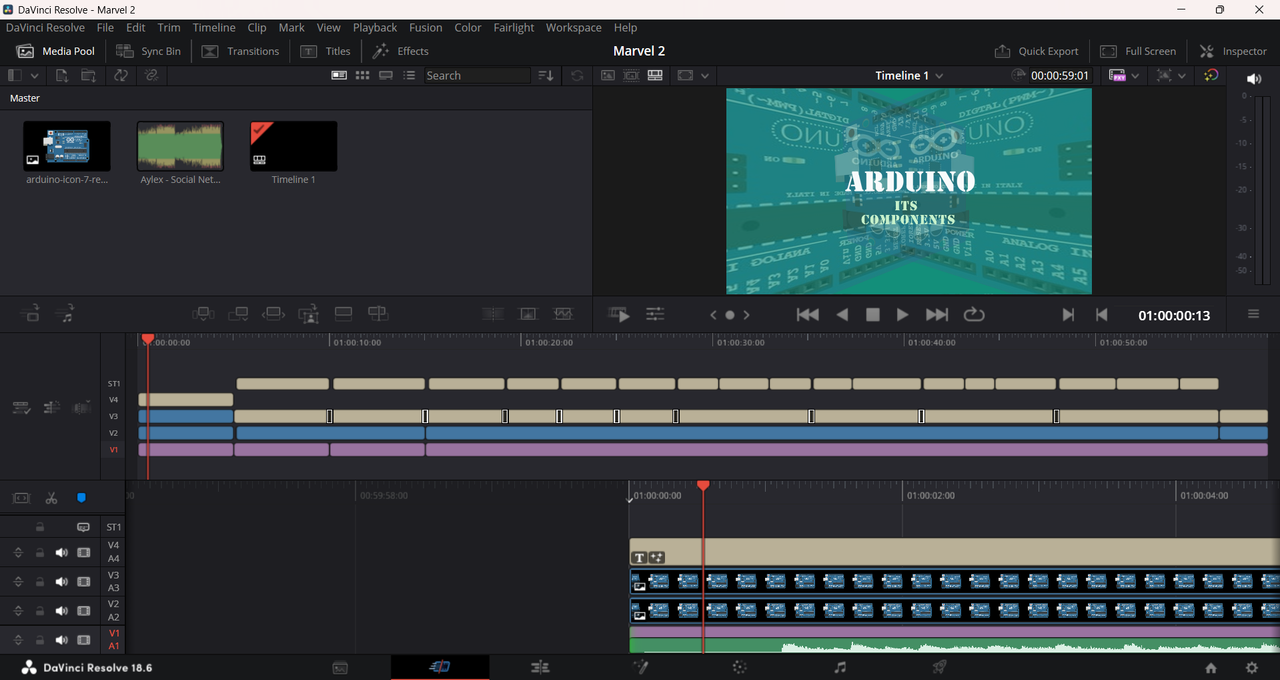
The cut page was used efficiently to add intro and outro and also different texts.
Final Output:
https://drive.google.com/file/d/1w23bNvYovkwLRR18e5mY1YgggAUGoLo0/view?usp=sharing
Using the Cut Page in DaVinci Resolve 18, I can expect a significantly improved editing experience marked by enhanced speed, efficiency, and streamlined workflow management.
Assignment-3: Import the audio from the edit and cut assignment and play around with it.
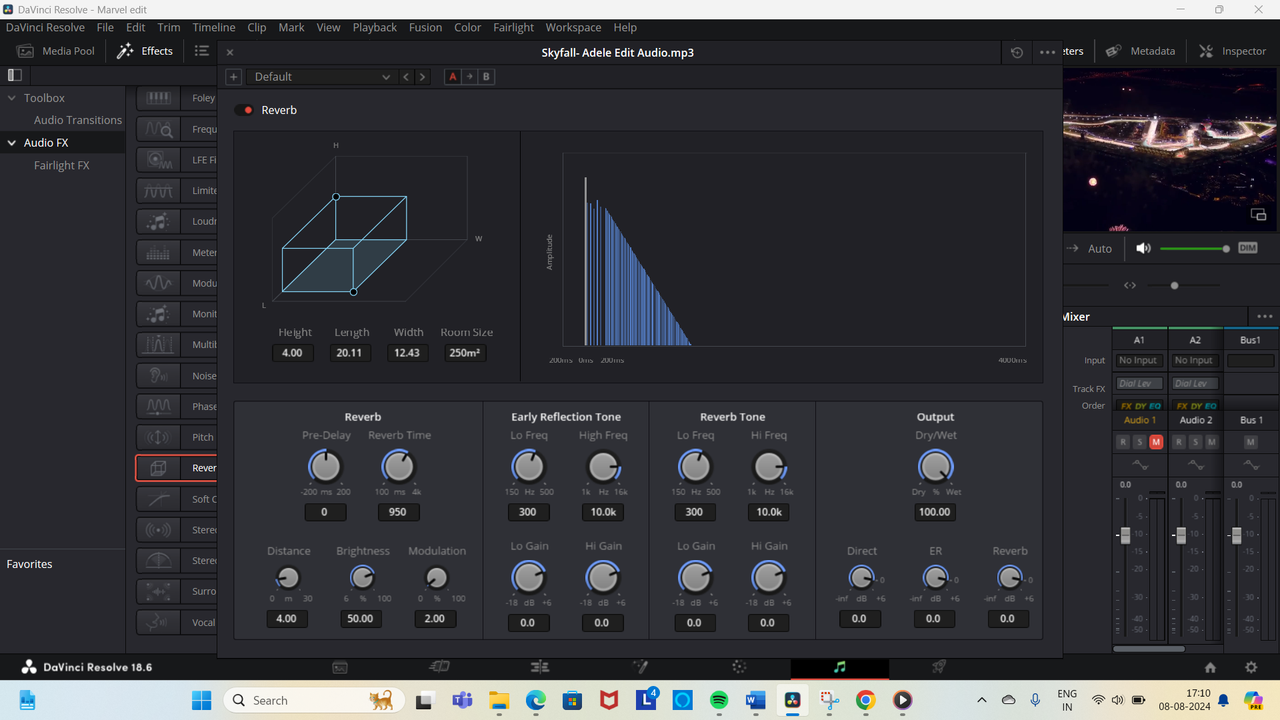
I Imported the video from assignment-1 using media pool and made audio adjustments using the fairlight page.
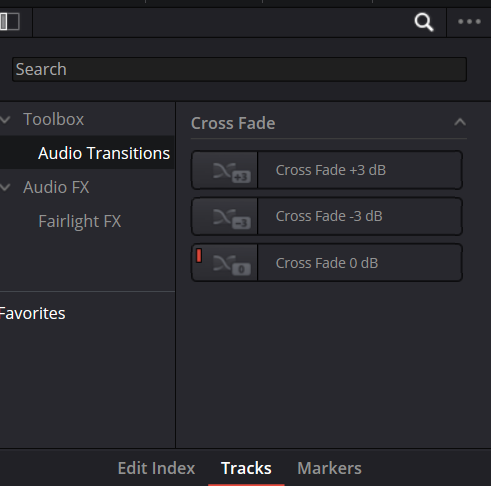
Used features such as Reverb, chorus, Noise Reduction ,De-esser , Audio transitions such as Cross Fade 0 db.
Reverb:
Audio Transitions:
The Fairlight page gives me the control and flexibility to achieve high quality, professional-sounding audio in my projects. The timeline lets me cut, trim, and arrange audio clips easily, make smooth transitions between different sounds. Provides reverb for a spacious feel or compression to control dynamics, I have all the tools I need.
Output: https://drive.google.com/file/d/1oy1p2jv7IlbZHXOSZdPBVdZth-p1vbfm/view?usp=sharing
Assignment-4 : Remember the short video you made using the Cut page now render it, export it and upload it to any social media of your choice.
I clicked on the "Deliver" tab to access export settings. In the Render Settings panel, I selected the "YouTube" preset and adjusted the format, resolution, and frame rate as needed. I set the filename and save location, then clicked "Add to Render Queue" and "Render All." The video was then uploaded.
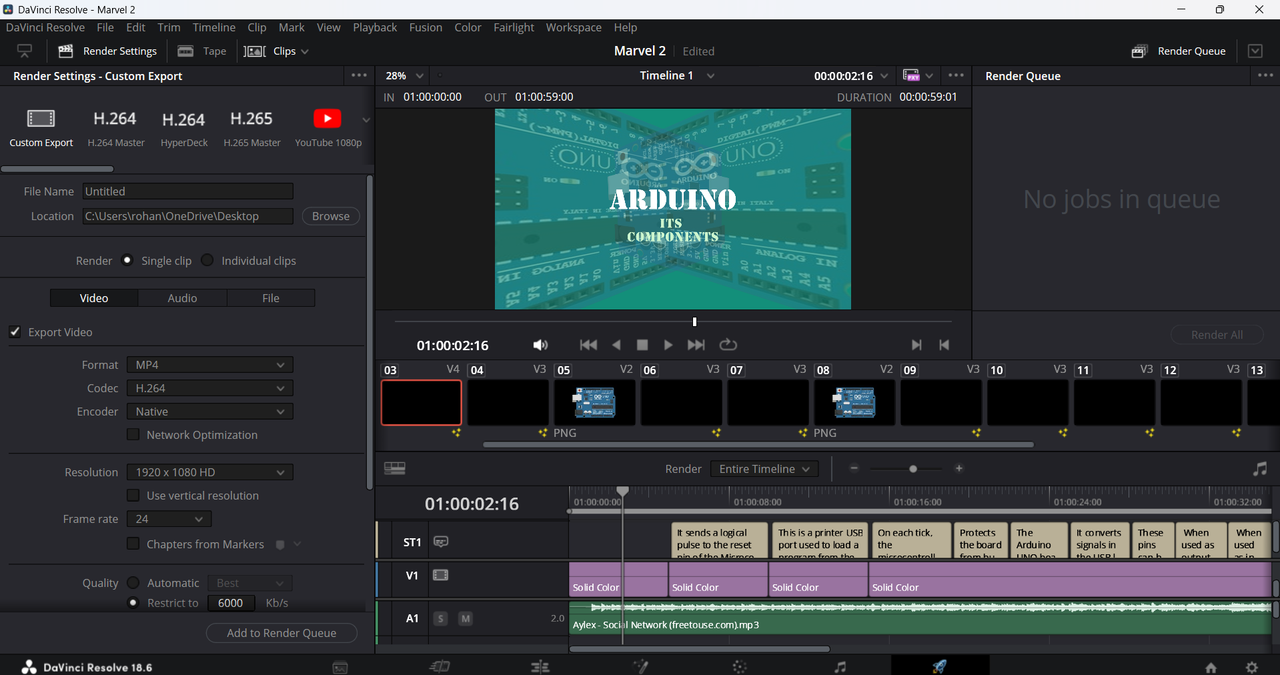
Render Queue:
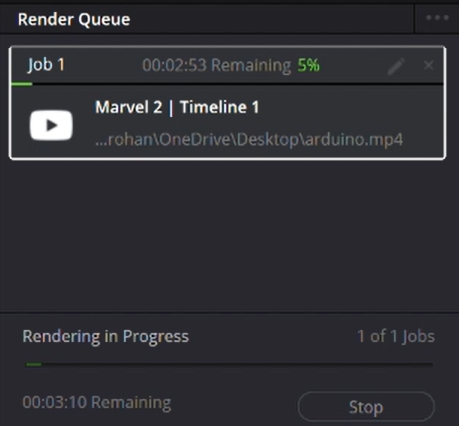
DaVinci Resolve supports exporting videos is various other formats too.
Assignment- 4 : Colour Grading
The Color Page in DaVinci Resolve is a powerful tool used for color correction, color grading, and visual effects.
Using the video link given in the website that has the raw footage, I made colour corrections with:
1.Color Wheels: Adjust shadows (Lift), midtones (Gamma), and highlights (Gain).
2.Offset Wheel: Alters overall color balance.
3.Contrast Wheel: Modifies image contrast.

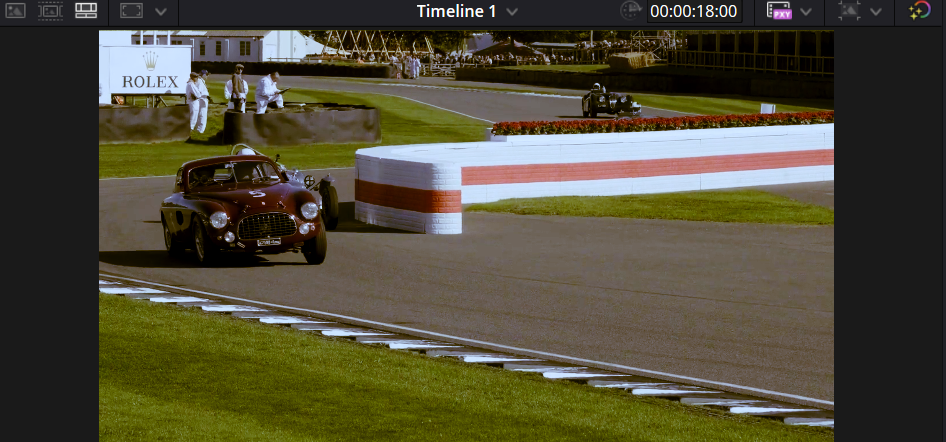
Before colour correction:

After colour correction:
 ]
]
Final output:
https://drive.google.com/file/d/1C-UB8zqMB6_aO9kKg-lUVrLrMA-R0Kap/view?usp=sharing
When I was colour grading in DaVinci Resolve, I was aiming to enhance the look of my footage in several ways. I used grading to set the mood and style of the in a dramatic effect. It helped me ensure consistency across different shots, making sure everything looks cohesive and polished.
CONCLUSION:
Using DaVinci Resolve 18 has significantly enhanced my editing skills
through its diverse tools. The Cut Page has streamlined my workflow
by enabling fast, precise edits, allowing me to handle high volumes of
footage efficiently.
The Edit Page’s advanced timeline features and customizable settings
have provided me with greater control and flexibility in crafting my
projects. The Fairlight Page’s audio tools have improved my sound
design abilities, making it easier to mix and master audio tracks with
professional quality.
Lastly, the Colour Page has expanded my understanding of color
grading, offering a range of tools to enhance the visual aesthetics of
my projects.
Overall, mastering these tools has not only refined my technical skills
but also allowed me to produce more polished and engaging content.