Sohan's VFX-001 Level 2 Coursework
28 / 10 / 2024
Color Grading
Color Grading is a post-production process in video editing to alter the appearance of an image or video to attain a certain aesthetic or convey a certain emotion.
Colorspace
First we need to understand what a colorspace is :
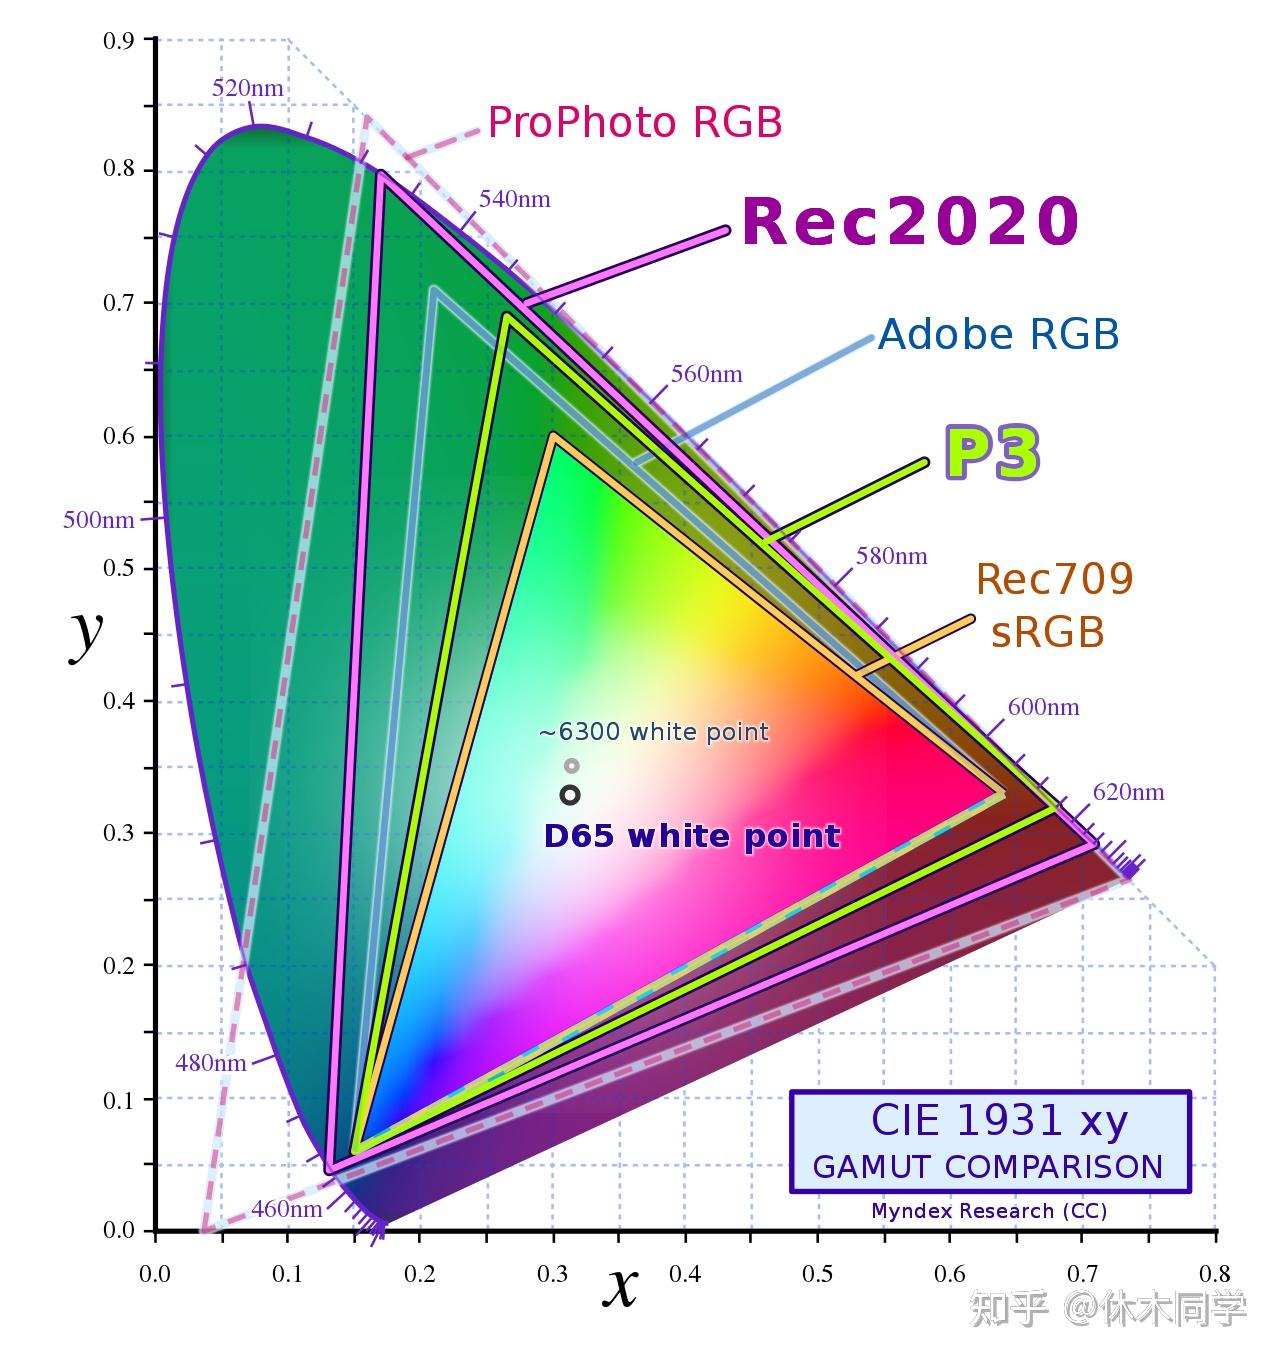
A Colorspace is a predefined structure of specific fixed range of colours and luminance . It basically describes the capability or method to capture and reproduce visual information . The 3 Colorspaces we generally would be dealing with are:
- RAW : RAW files record the data from your camera’s sensor without any processing and aren’t actually video files. They need to be processed by your editing software to convert them into video files for playback.
- REC : Rec is a color space that produces images that are very normal and realistic, with a good amount of contrast and saturation . The standard is REC709 , whereas latest versions are REC2020 and REC2100.
- Log : Logarithmic Footage, generally known as Log, is very flat and desaturated footage but that contains more details of the scene it captures .
Some other colorspaces :

Scopes:

Da Vinci Resolve has 4 amazing scopes in color page , which are really useful to analyze and fine tune the color quality and aesthetic . They are :
- Parade : Breaks down the RGB channels into separate waveforms, allowing for precise color balancing.
- Waveform : Displays the brightness levels across the image, helping to assess whether the visuals are overexposed or underexposed .
- Histogram : Represents the distribution of tonal values, helping to fine tune highlights or shadows.
- Vectorscope : Shows the color information of the image, indicating hue and saturation levels. It shows what aesthetic is being conveyed .
DaVinci Resolve's Colorgrading features:
- Color Wheel : A tool that allows for primary color adjustments using a circular interface to manipulate hue, saturation, and luminance. Lift is the base tones , gamma being mid tones and gain is the high tones . Offset increeases/decreases the overall color tone in the entire clip.

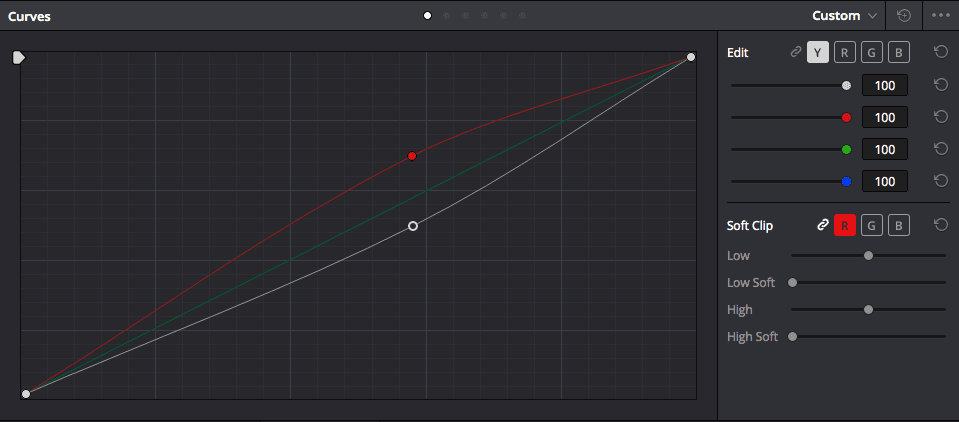
- Curves : A feature that provides precise control over tonal adjustments by manipulating brightness and contrast across specific ranges through a graph.

- RGB Mixer : A utility that lets you mix and adjust the intensity of red, green, and blue channels independently to achieve desired color effects.

My Task:
Step 1 : I selected an unedited drone footage in log format and imported into media page . After editing the clip in timeline , and syncying music to it , I opened color page .
Step 2 : I created multiple nodes , one for each feature I used , first I used inbuilt preset to convert the video from log format to REC2100 format.

Step 3 : I adjusted contrast and exposure in different nodes , using Waveform scope to fine tune the details and adjust the values as needed .
Step 4 : Now here is where the real color grading starts , first I adjusted White balance , applying different values to lift ,gamma ,gain and offset regions in order to improve the overall look , then I choose a slightly bluish hue to give a cool vibe .
Here is the final result :
Fusion
Fusion in DaVinci Resolve is a node-based compositing environment that allows users to create advanced visual effects, motion graphics, and animations by connecting various nodes for complex layer management and manipulation.
Nodes
In Fusion, nodes are the building blocks of your compositions, representing different operations such as effects, masks, and transformations. Each node can be connected to others in a flowchart-like structure, allowing for intricate control over the visual elements and effects in your project.
Types of Nodes
- Correction Nodes: Used for color correction and grading.
- Effect Nodes: Used to apply effects like blurs, glows, etc.
- Compound Nodes: Combine multiple nodes into one for easier management.
My Work:
Step 1: I imported a raw clip of a man protecting a woman , while scanning for threats . After editing the clip in timeline , I opened fusion page .
Step 2 : Adding effects from Nodes I used the Blur node and Text node to design an engaging introduction for the video , along with built-in intro by MagicAnimateV3 plugin.
Step 3: I implemented the Transform node to focus the woman in the scene, while overlaying with text so that her thoughts are conveyed as the text.
Step: 4 Utilize the Advanced Camera Shake and LightRays effects to give the clip a post-apocalyptic nostalgic or flashback appearance.
There are so much more features to use in Fusion , I will try to learn as much as I can.

Also please play the video in 0.5x speed as DVR was speeding it up for some reason
LINK TO ACCESS THE RAW FILES USED IN THE VIDEOS :
THANK YOU!
