
COURSEWORK
Sohan's VFX-001 course work. Lv 2
| Sohan Aiyappa | AUTHOR | ACTIVE |

A V Sohan Aiyappa's Level 1 Coursework
8 / 8 / 2024
Sohan's VFX-001 Level 1 Report
Installing Da Vinci Resolve 18
I accessed the Blackmagic Design website and located the free version of DaVinci Resolve. There was a registration process which was was followed by a straightforward download. The subsequent installation adhered to a standard format, after which I was able to open the application and start working on my projects.
The Media Page
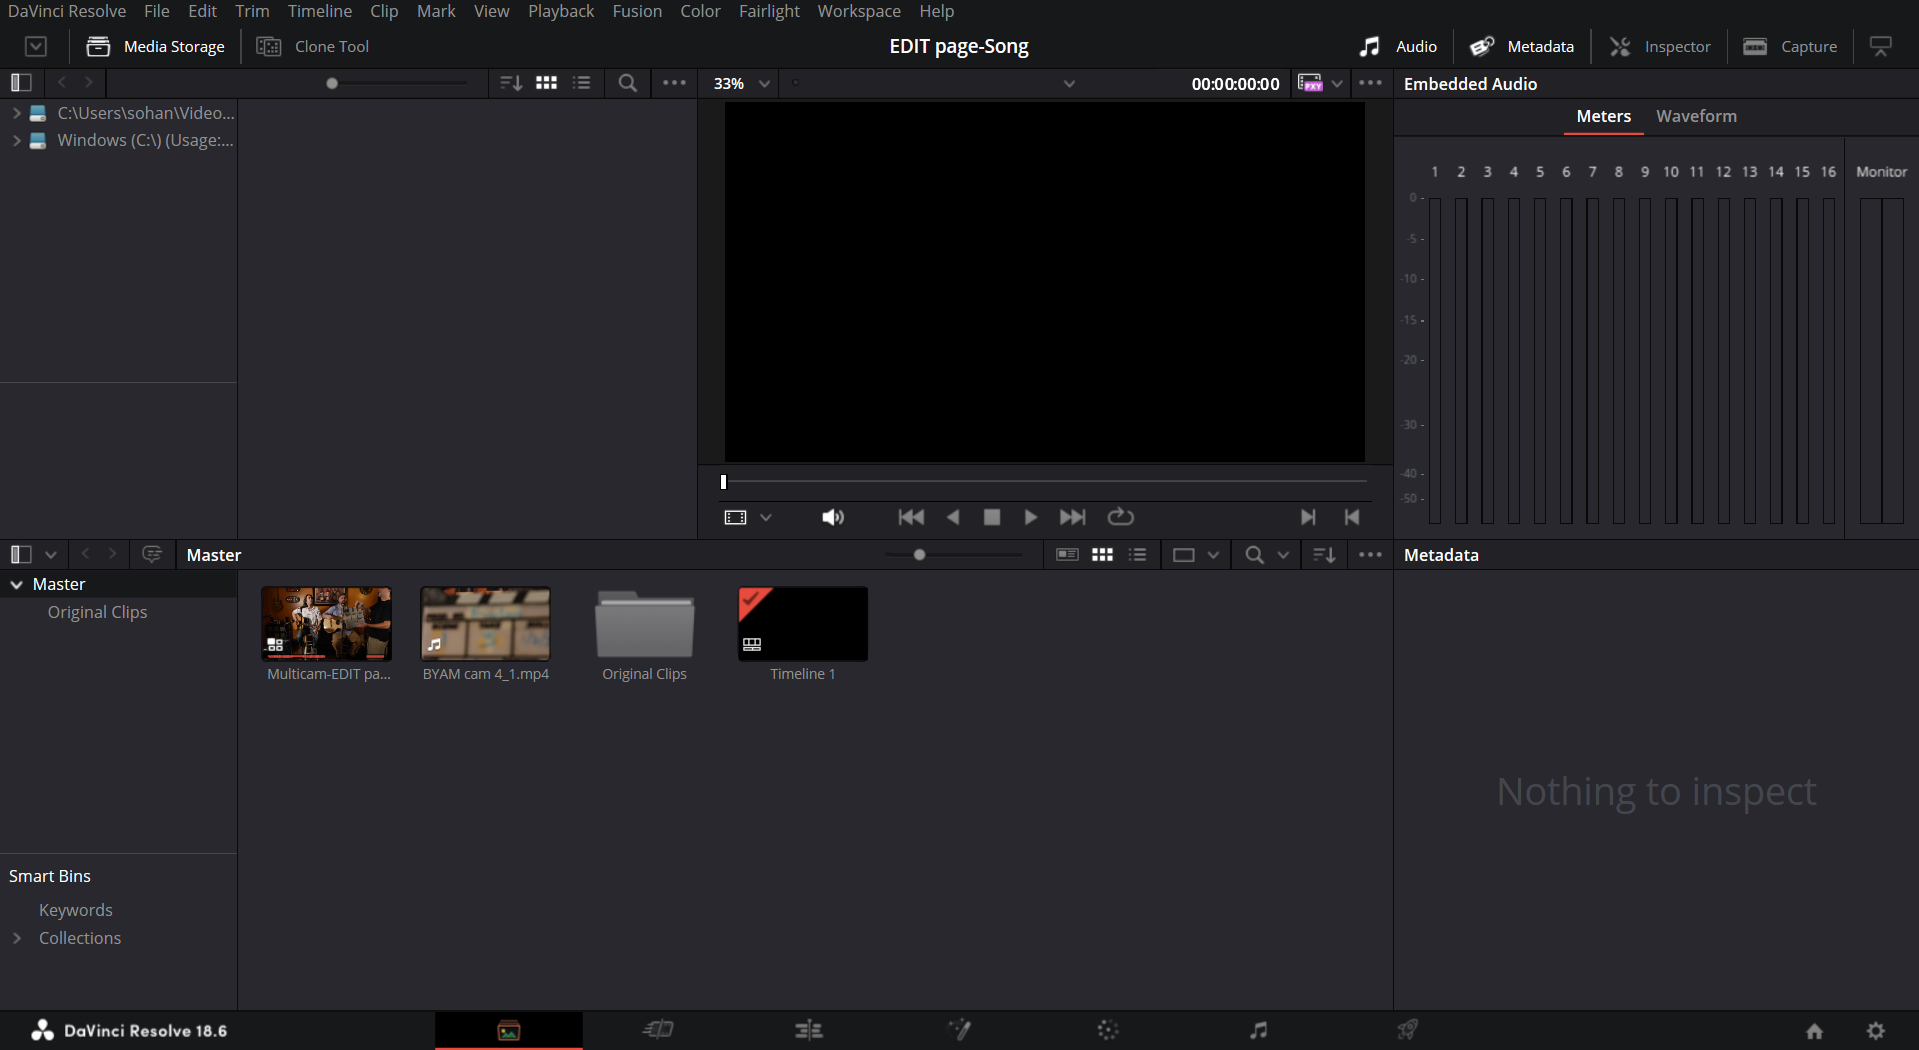
Upon launching the application, I found myself in the project manager. I created a new project and went to the Media page , which was a bit complex to initially look at , but I figured out how to use it after playing around a bit. Here's what I learnt:
-
Importing Media: I learned how to import my video clips and images into the software. Dragging and dropping files seemed like the easiest way, but there's also a dedicated import function.
-
Organizing Clips: The Media Page lets you create "Bins" which seem like folders for grouping your clips. This looks helpful for keeping my project organized, especially when working with lots of footage.
-
Syncing Audio & Video: The Media Page has some features for syncing audio and video clips that aren't perfectly aligned , which was very useful for me when I used multicam editing for my edit page task.
Task : Edit page
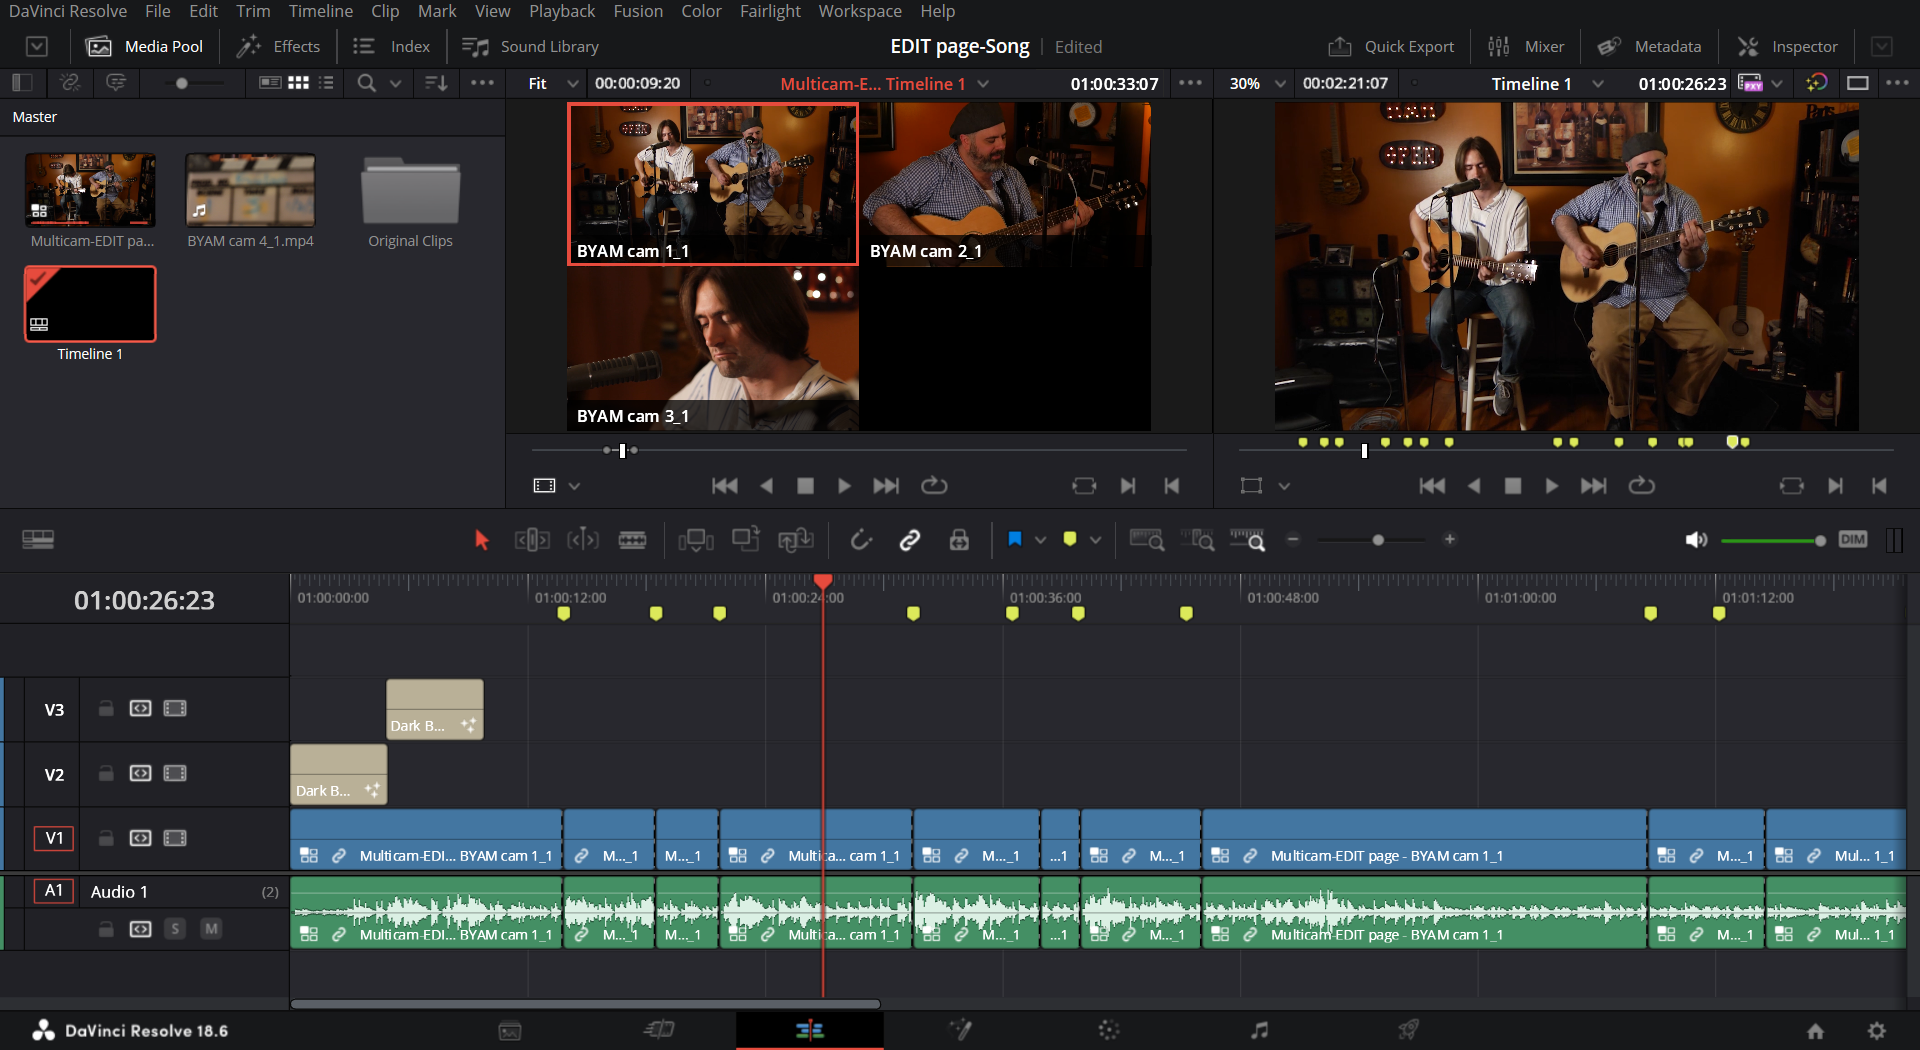
For this task , I went deep into the internet and found a set of videos featuring two vocalists performing "Before You Accuse Me," I utilized DaVinci Resolve's Edit Page to create a multicam edit. This editing technique allowed me to leverage footage captured from three separate cameras, ensuring optimal coverage of the performance. By meticulously selecting the most impactful shots from each camera angle for each section of the song, a cohesive final product was achieved. To further enhance the visual presentation, title and end slides were incorporated in the video.
This is what the multicam edit page looked like:
The Raw Footage:
Camera 1
Camera 2
Camera 3
Here is the final Product:
Task : Cut page
I edited raw footage of a chase scene between a serial killer and a woman using DaVinci Resolve's Cut Page. After selecting the most impactful shots and arranging them for a continuous flow, I incorporated transitions to enhance the visual storytelling. Title slides and suspenseful background music were then added to transform the raw scene into a polished and captivating trailer.
This was the cut page while editing:

This is the movie Trailer:
Assignment : Deliver Page
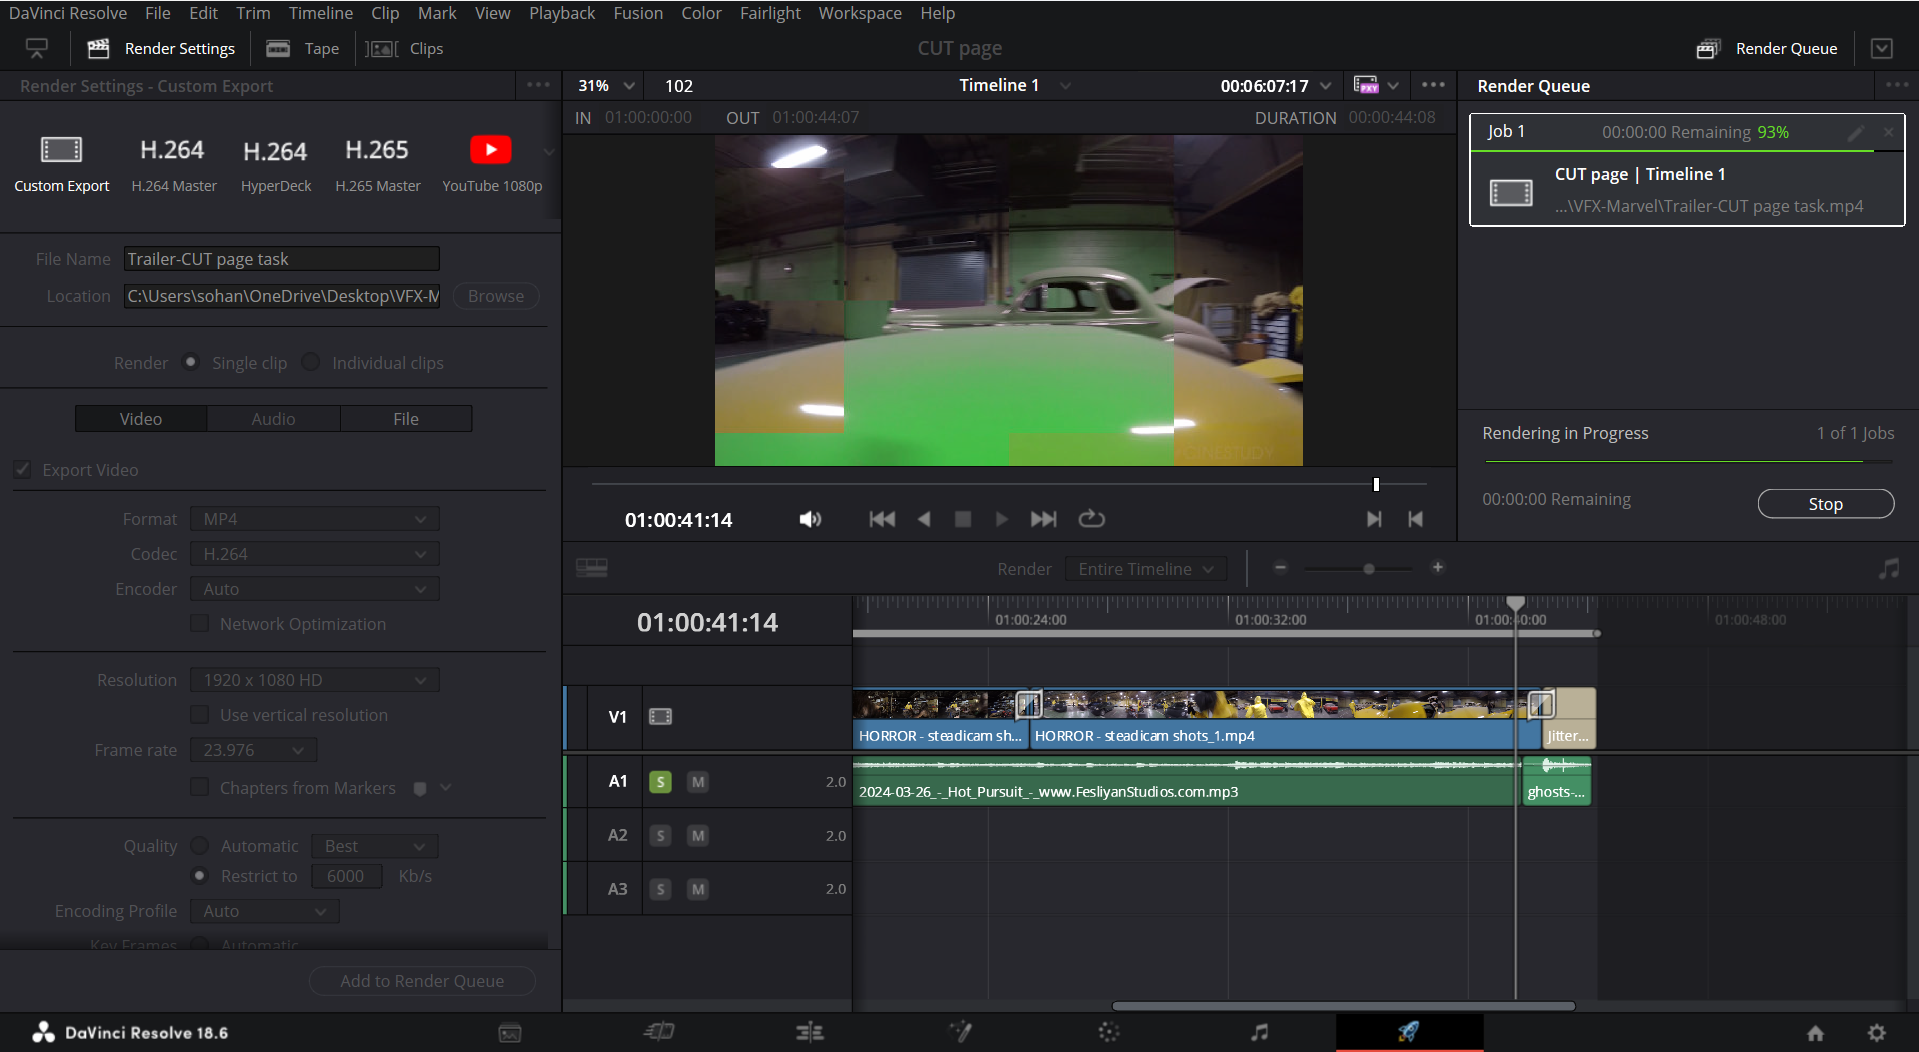
Following the completion of the music video's editing phase within DaVinci Resolve's Edit Page, I proceeded to render the final product using the software's Deliver Page. This rendering process prepares the video for export by ensuring it adheres to specific technical specifications, such as resolution and file size, suitable for online platforms.
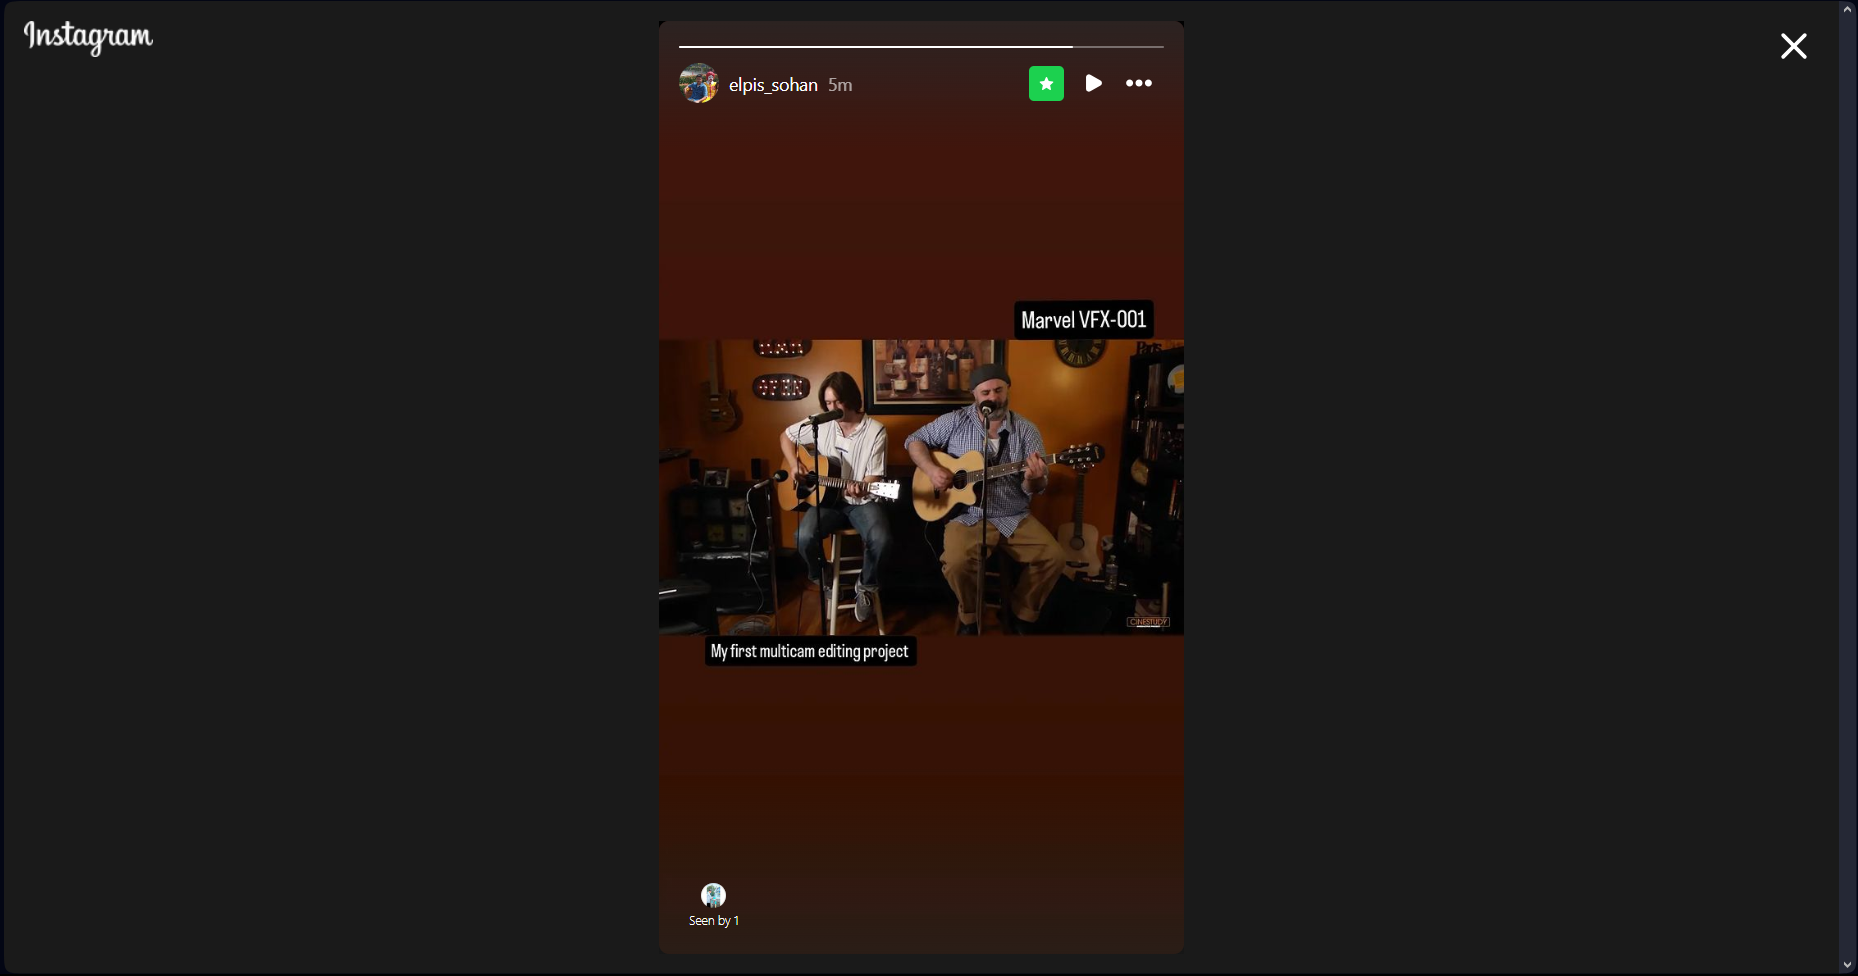
Once rendered, I exported the music video and transferred it to my mobile device.I then uploaded the video directly to my Instagram story.
Task : Fairlight
This is by far , my favourite task . First , I watched a couple of YouTube videos on how to use FX , dynamics , mixer , and Equalizer . Then I set upon a challenging task of removing all background noise from this video for Aditya teaching electronics , without applying any FX . After playing around and exploring all the options , I finally figured out a technique that worked really well:
- Step 1 : Use frequency analyzer FX and Loudness Meter to detect at which frequency and loudness does the noise affect the audio .
- Step 2 : Use gate in dynamics to cut off the noise as generally noise exist at low amplitudes , then use Equalizer to reduce those frequencies at which noise affects .
- Step 3 : Adjust the dynamics and Equalizer to get maximum noise reduction while making the voice smooth and audible .
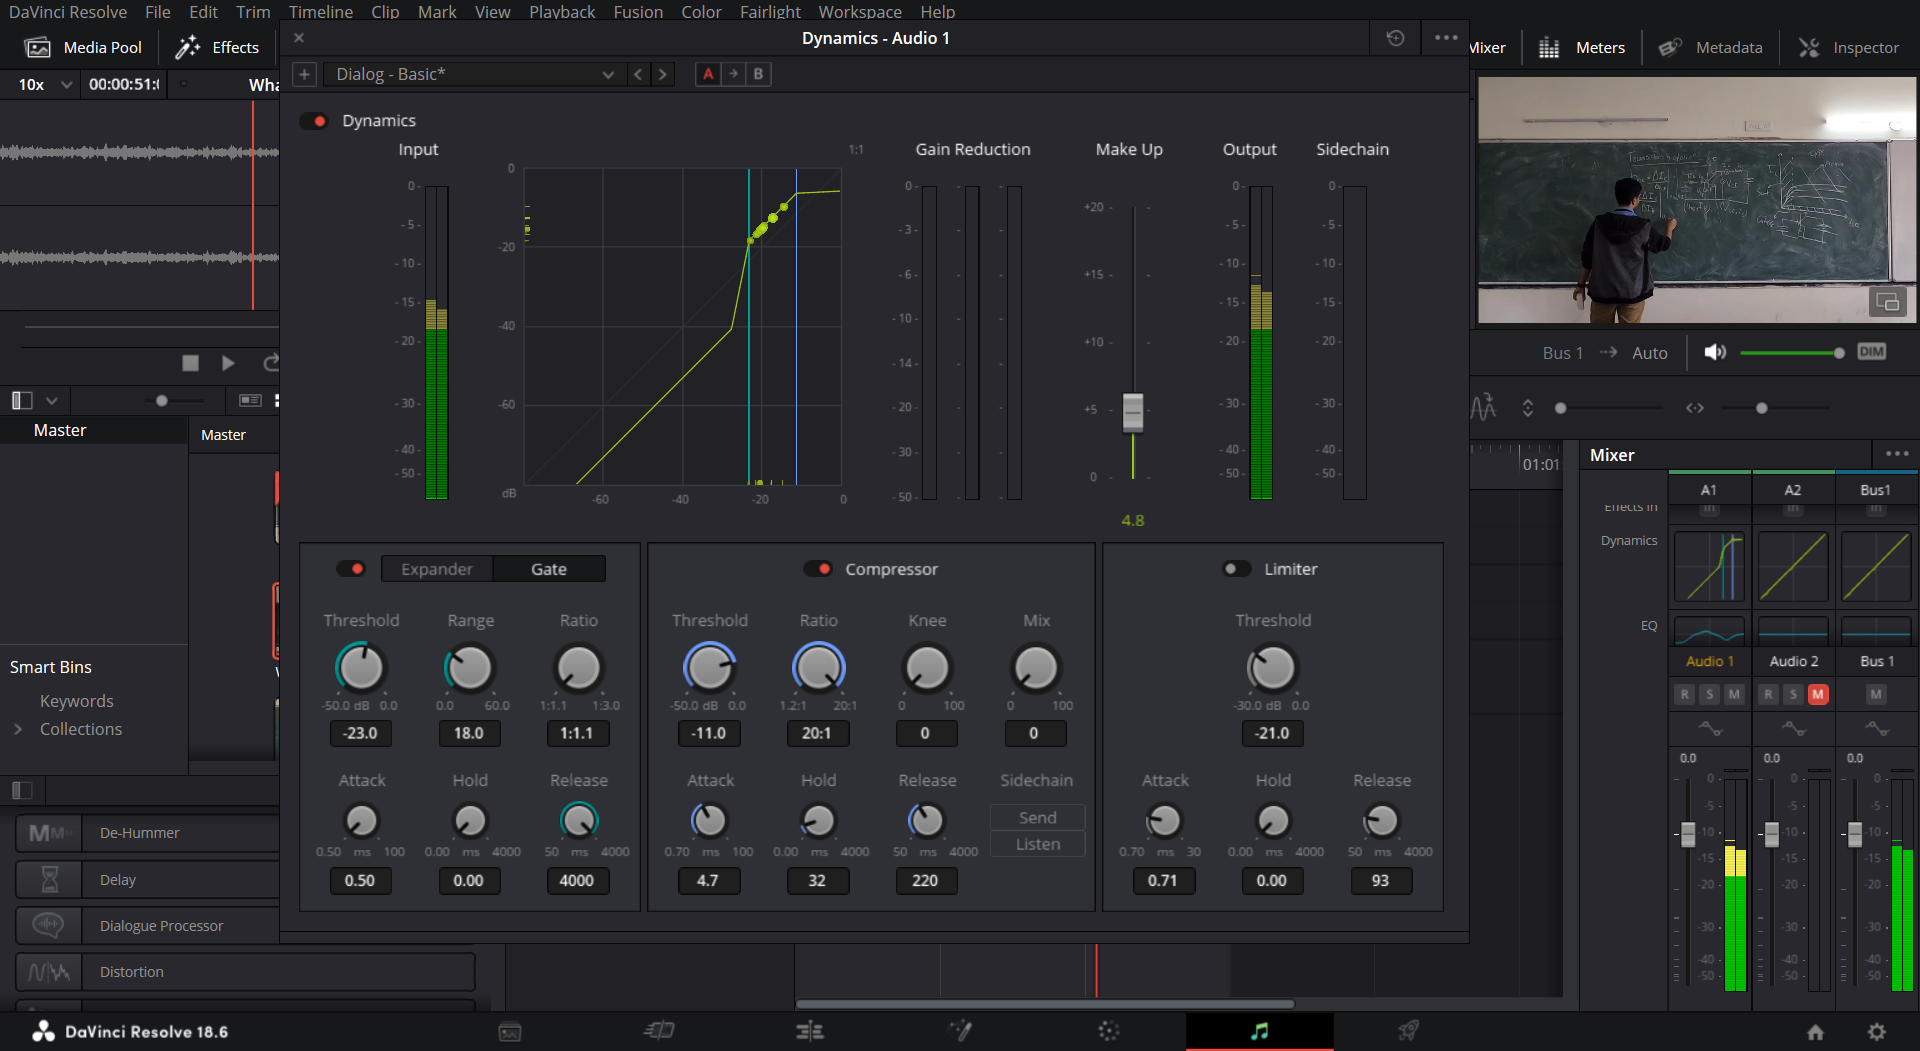
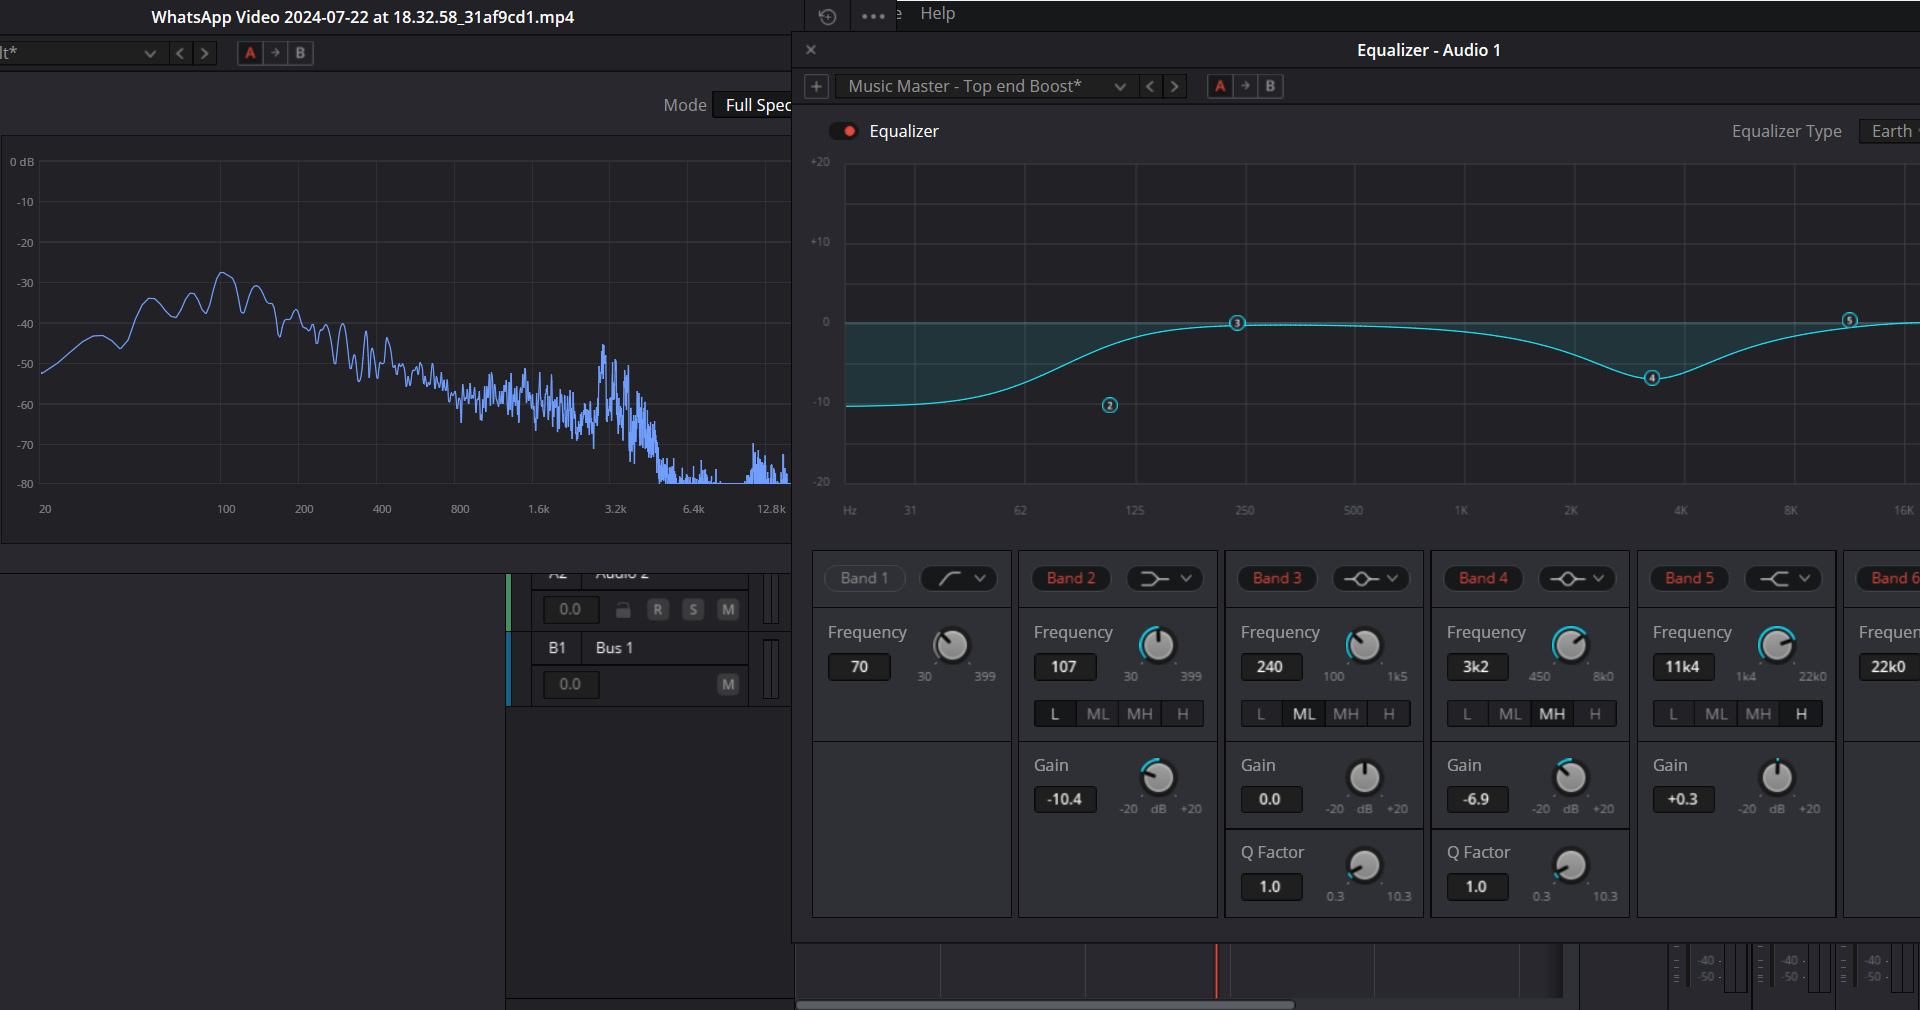
This is the Raw Video , which has lot of background noise :
This is the Finished video :
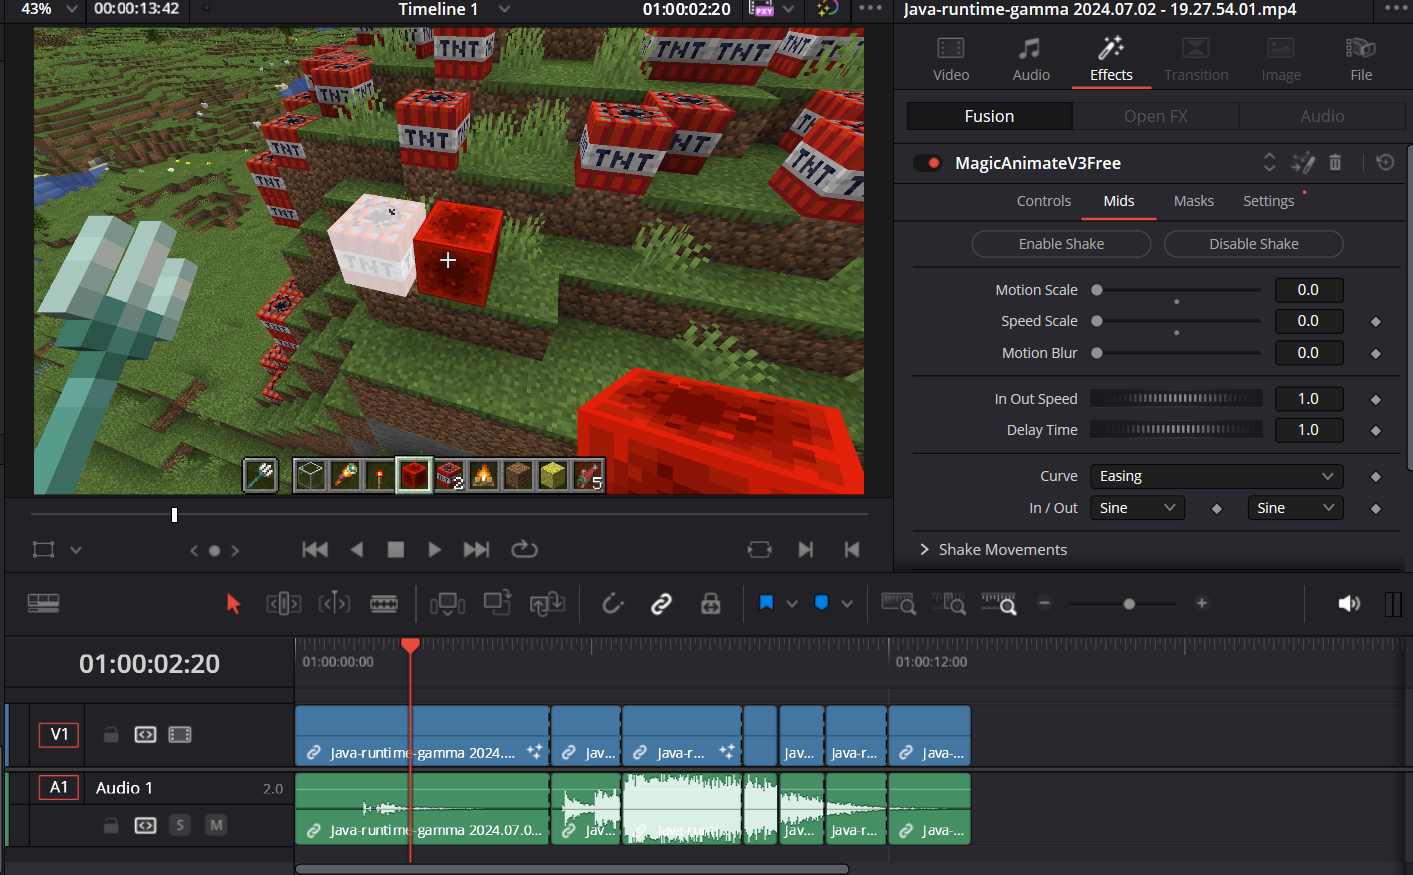
I was not able to find any free Audio Plugins , but I found an animation plugin by MrAlexTech , called MagicAnimateV3 , which I used on this Minecraft recording of mine where I add a cool intro and outro , and also a camera shaking effect from explosion . This task was pretty fun , and I had a great time doing it .
This has been a very fun journey . I went from a newbie into the world of video editing into someone who understands how all this stuff works , thanks to Marvel and all the coordinators . I'm very excited for level 2 . THANK YOU