Raviteja's Report
6 / 6 / 2025
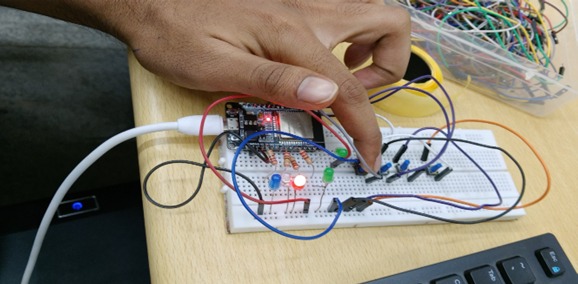
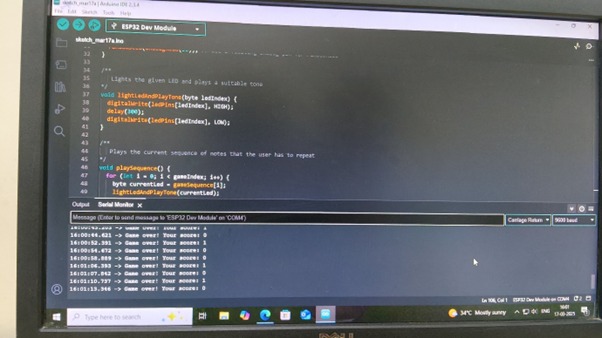
Task 1 - Simon Says
Simon Says is a fun and challenging memory game where players must replicate an increasing sequence of LED flashes by pressing the corresponding buttons. With each successful round, a new light is added, making the pattern more complex. To implement this game, I referred to a given simulation link and used an ESP32, pushbuttons, and LEDs. The ESP32 generates random LED sequences, with each LED linked to a specific pushbutton for user input. The program continuously checks if the player follows the correct sequence. If the player succeeds, the game progresses by adding another step; if they make a mistake, "Game Over" is displayed on the serial monitor, and the game restarts.
Task 2 - Basics of MQTT protocol and other communication protocols
MQTT (Message Queuing Telemetry Transport) is a simple and efficient communication protocol specially built for systems with slow internet, delays, or unstable connections. This makes it highly suitable for IoT (Internet of Things) setups. It follows a publish-subscribe system, where devices send messages to a central server called a broker, and other devices receive these messages if they have subscribed to them. MQTT works with many types of gadgets and systems — whether it’s for sending sensor readings or controlling devices remotely. It includes helpful features like different Quality of Service (QoS) levels to control how messages are delivered, Last Will messages to alert others when a device disconnects unexpectedly, and retained messages that save the latest update for new subscribers. These features improve message delivery and ensure reliability even when the internet connection is weak or inconsistent. I majorly refered from Wikipedia
Task 3 - Basics of creating a website
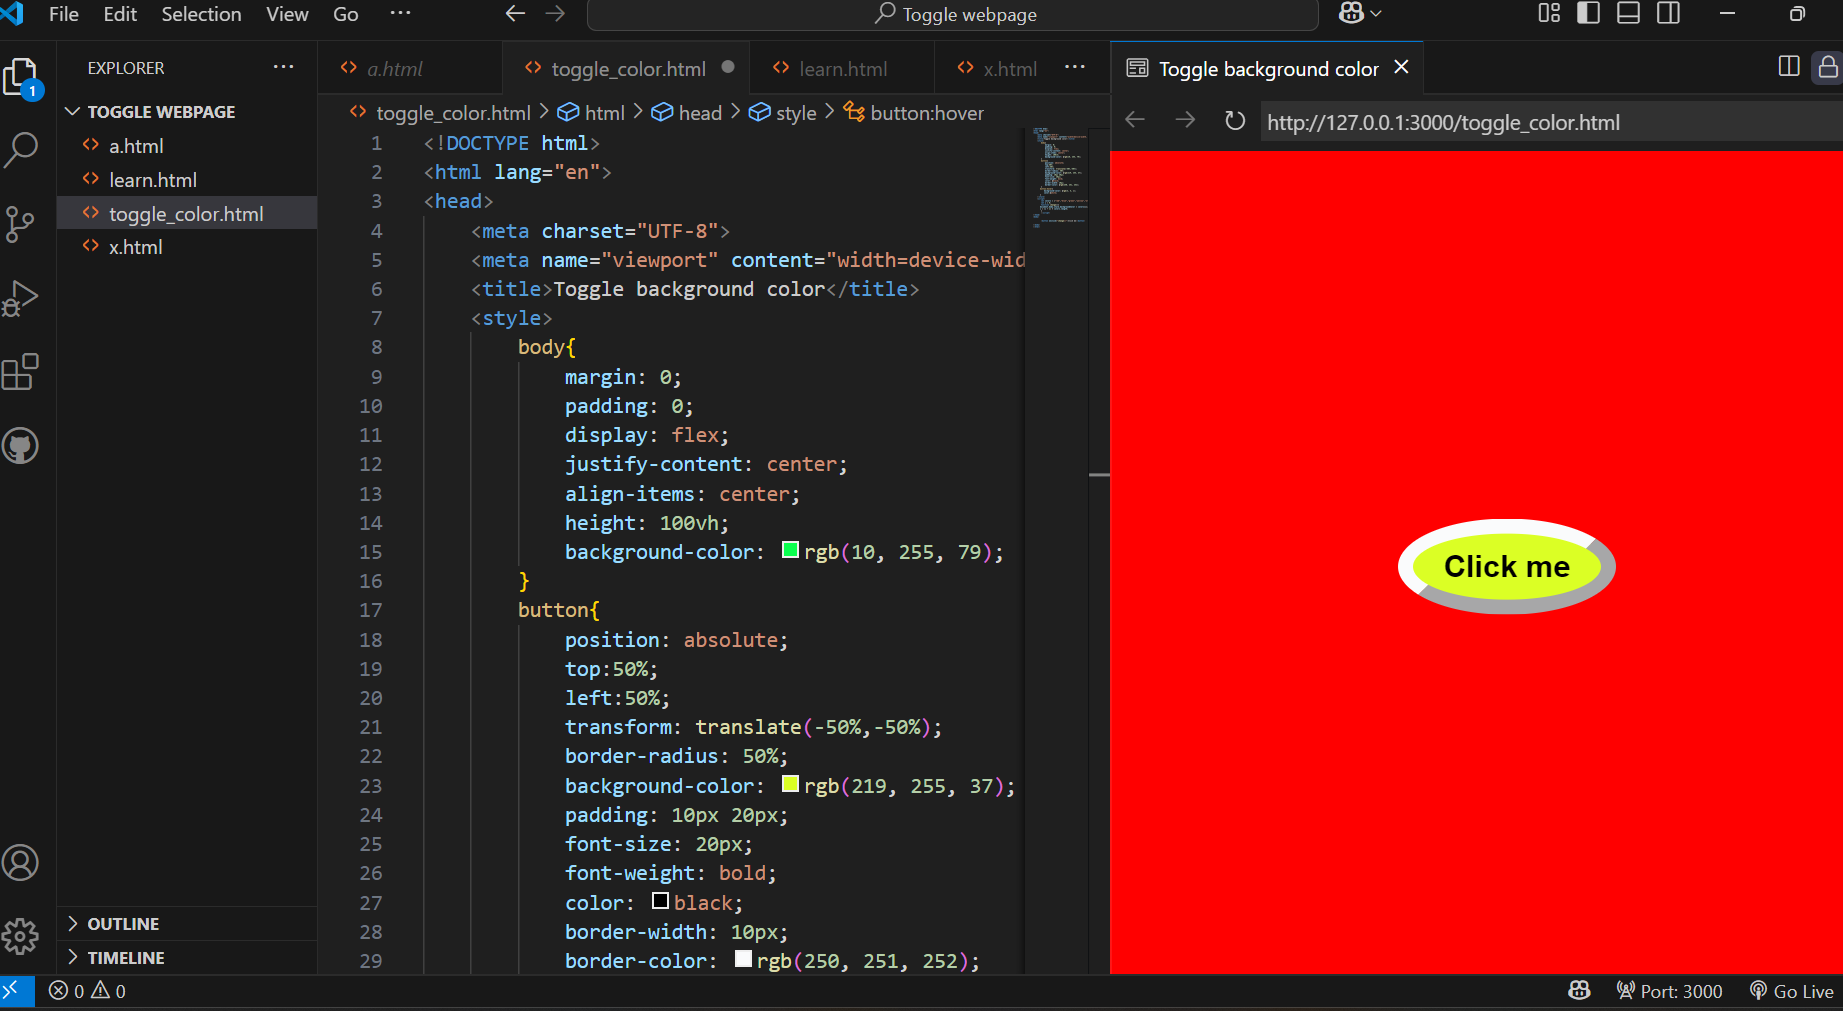
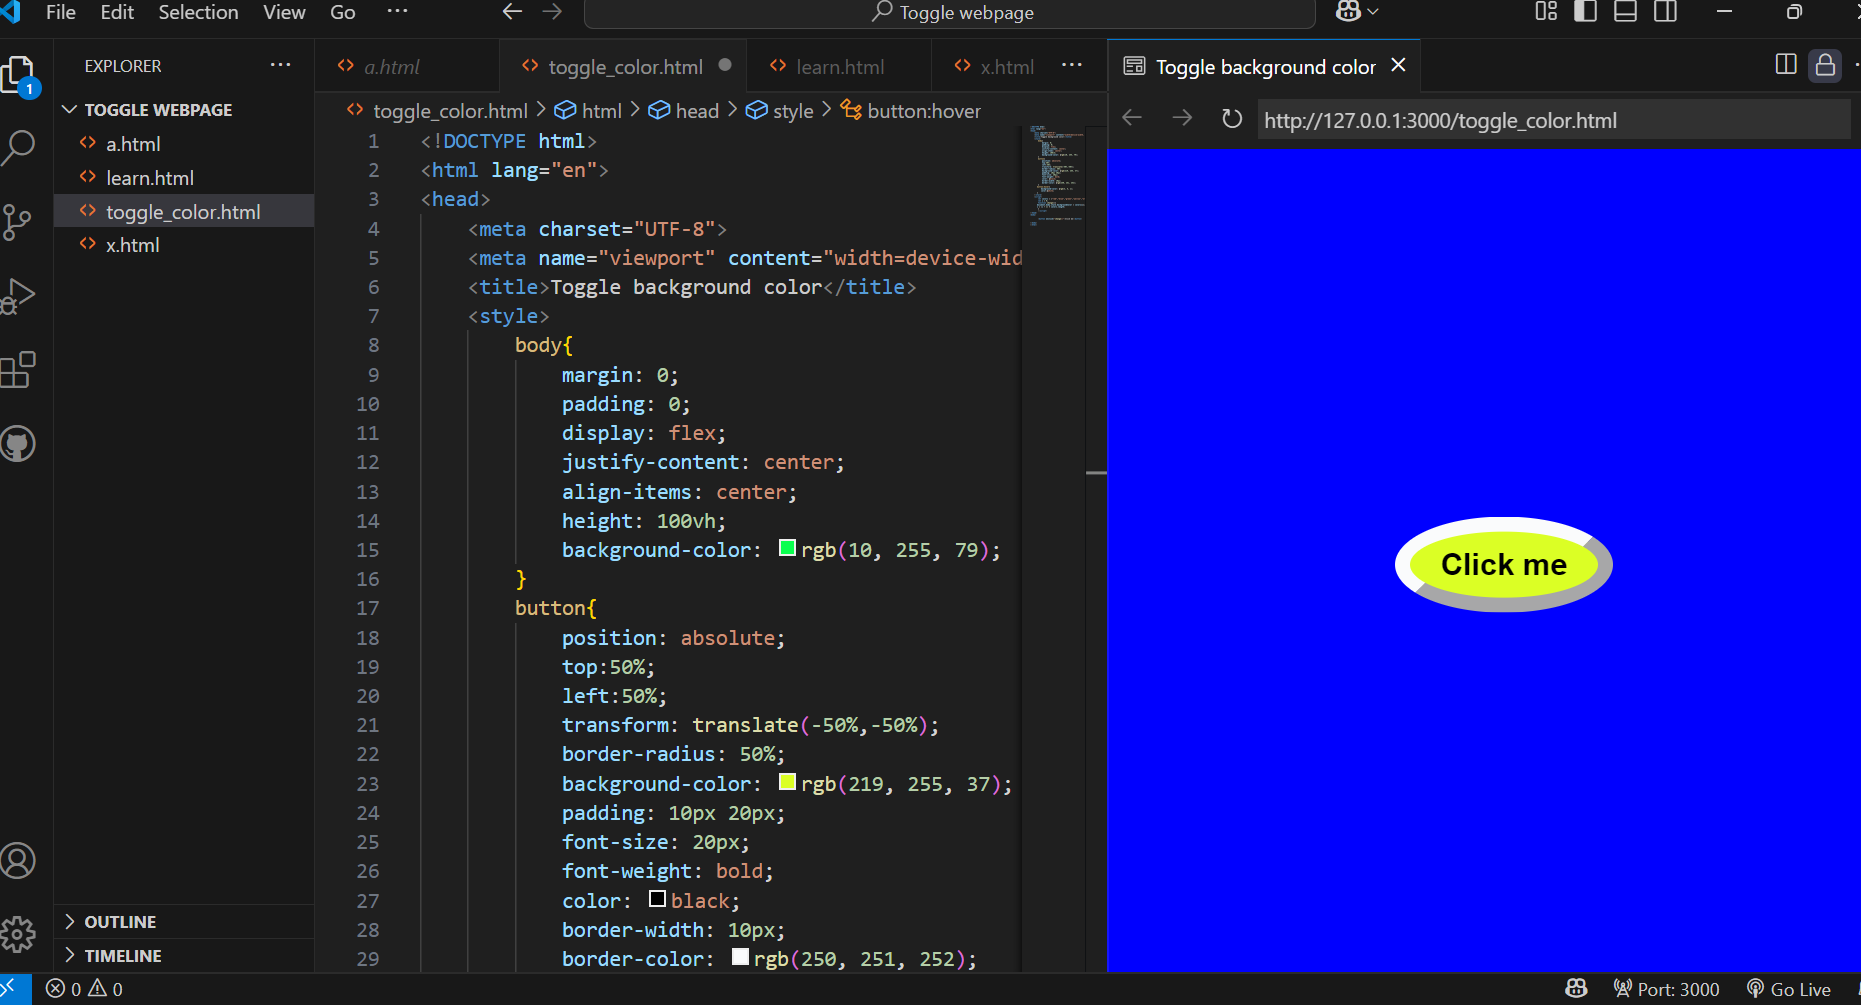
Learn how to create a website both front-end and back-end. Create a webpage with a button that when pressed toggles the color of the webpage. This simple project showcases how we can build a fully functional website using HTML, CSS, and JavaScript.
• HTML structures the webpage.
• CSS makes it visually appealing.
• JavaScript adds interactivity, making the page responsive to user actions.
In this task, I started with an HTML file, which is the backbone of website. Next, I used CSS for styling, also JS for backend effects. To create a button I used link provided in Marvel website. I tried new thing by toggling 10 different colors & it worked.
Task 4 - ESP32 CAM Based Surveillance Robot using Arduino IDE
Objective:
-To build a mobile surveillance robot using the ESP32-CAM module that can:
-Stream live video over Wi-Fi
-Be controlled remotely
-Use L298N Motor Driver for movement
-Upload or send data (images/video) to a website or app
Core Components Used:
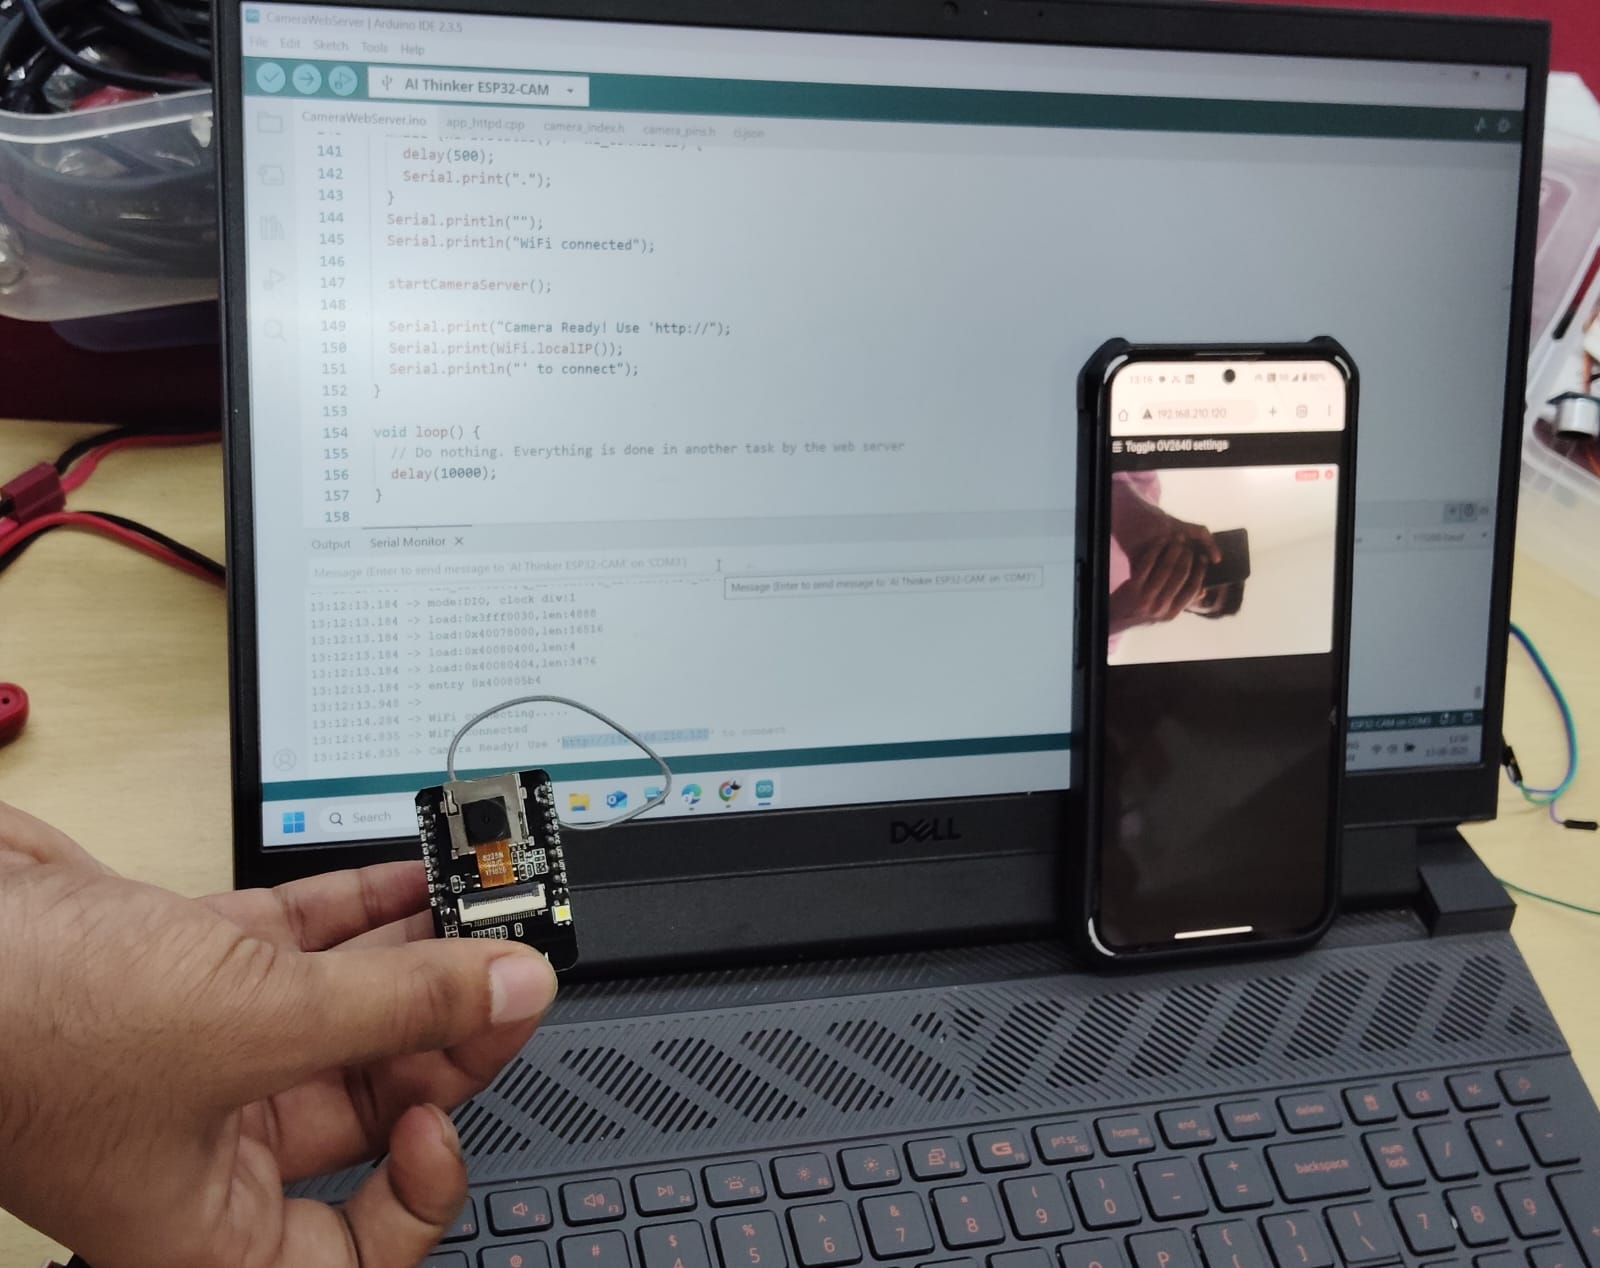
1.ESP32-CAM Module: Wi-Fi + Bluetooth microcontroller, Built-in camera (OV2640), MicroSD card slot for storage which operates on 5V (via AMS1117 regulator)
2.L298N Motor Driver, Dual H-Bridge motor controller which controls two DC motors independently.
In this task I faced lots of problems from starting, I checked Arduino setup and used Arduino cloud tried lot but actual mistake was found in Esp32 Cam microcontroller after changing finally got and setup
-Streamed live video over using WiFi and controlled through mobile.
-But can't complete the full process of Surveillance Robot.
Task 5 - MQTT PUBLISH AND SUBSCRIBE USING CLOUD MQTT
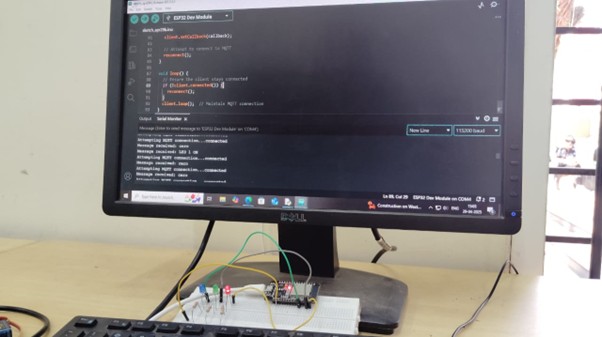
For this task, I used a HiveMQ public MQTT (Message Queuing Telemetry Transport) broker that facilitates communication between a Python script acting as the publisher and an ESP32 acting as the subscriber. The Python script publishes commands such as "LED 1 ON" or "LED 2 OFF" to designated topics on MQTT. The ESP32, which is subscribed to these topics, receives the commands and accordingly turns the next 2nd and 3rd LEDs on or off. This configuration enables accurate and remote control of each LED individually, making it highly suitable for IoT based automation applications.
Task 6 - Sending data to ThingSpeak
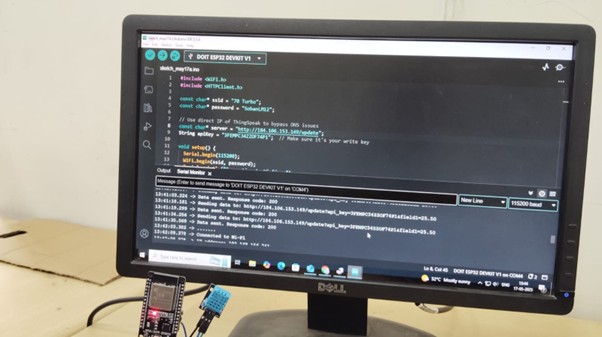
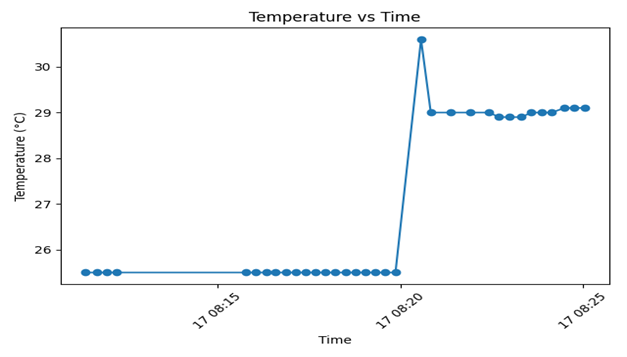
First step was that I created account in thingspeak where I get API key and Channel ID. For the circuit I used DHT11 sensor, ESP32 microcontroller, and ThingSpeak to track temperature data. The DHT11 captures temperature and humidity using its built-in thermistor and capacitive humidity sensor that can measure the moisture level in the air, then sends the readings to the ESP32. The ESP32 connects to the internet via WiFi and transmits the temperature data to ThingSpeak using HTTP requests. ThingSpeak records this data in a time-stamped format, allowing real-time monitoring. With Python, I accessed the data from ThingSpeak using the Channel ID and API key and visualize the temperature trends over time using Matplotlib.
Task 7 - Communication using I2C protocol
The I2C (Inter-Integrated Circuit) protocol is a serial communication method that enables multiple controllers and peripheral devices to exchange data over a common two-wire interface: SDA (data line) and SCL (clock line). It is widely used for short-range communication between microcontrollers and devices like sensors, displays, or motor drivers. I2C follows a master-slave architecture, where one master can control several slave devices, each identified by a unique address. In my setup, the ESP32 acted as the master while the Arduino UNO functioned as the slave. The communication messages from both devices were displayed on their respective serial monitors.
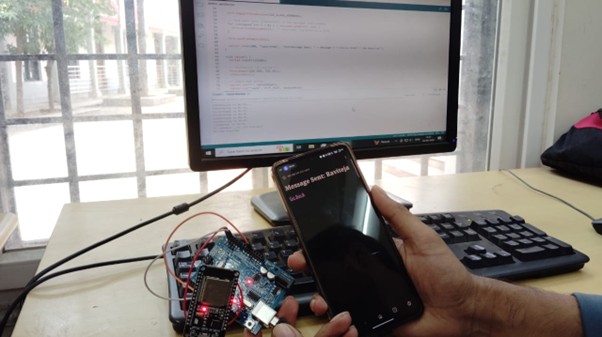
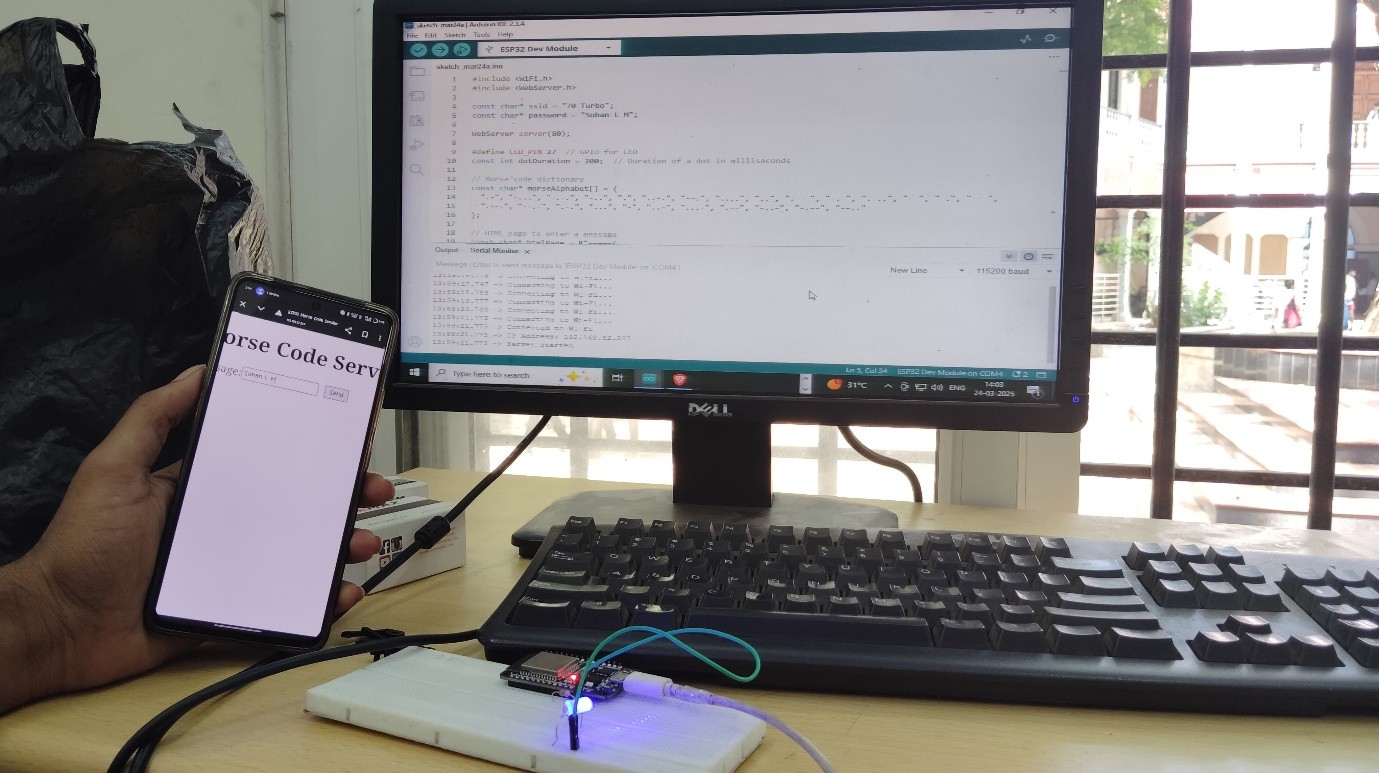
Task 8 - Flashing Morse Code
In this task, an ESP32 microcontroller is configured to host a web server, allowing users to input a message. The setup includes an ESP32 board, an LED, and basic wiring. When a user submits a message, the ESP32 processes the text, translates it into Morse code following standard timing rules, and blinks the LED accordingly. Each character is represented by a sequence of short (dot) and long (dash) flashes, effectively converting the text into a visual Morse code signal.
Task 9 - Soil Moisture Sensor
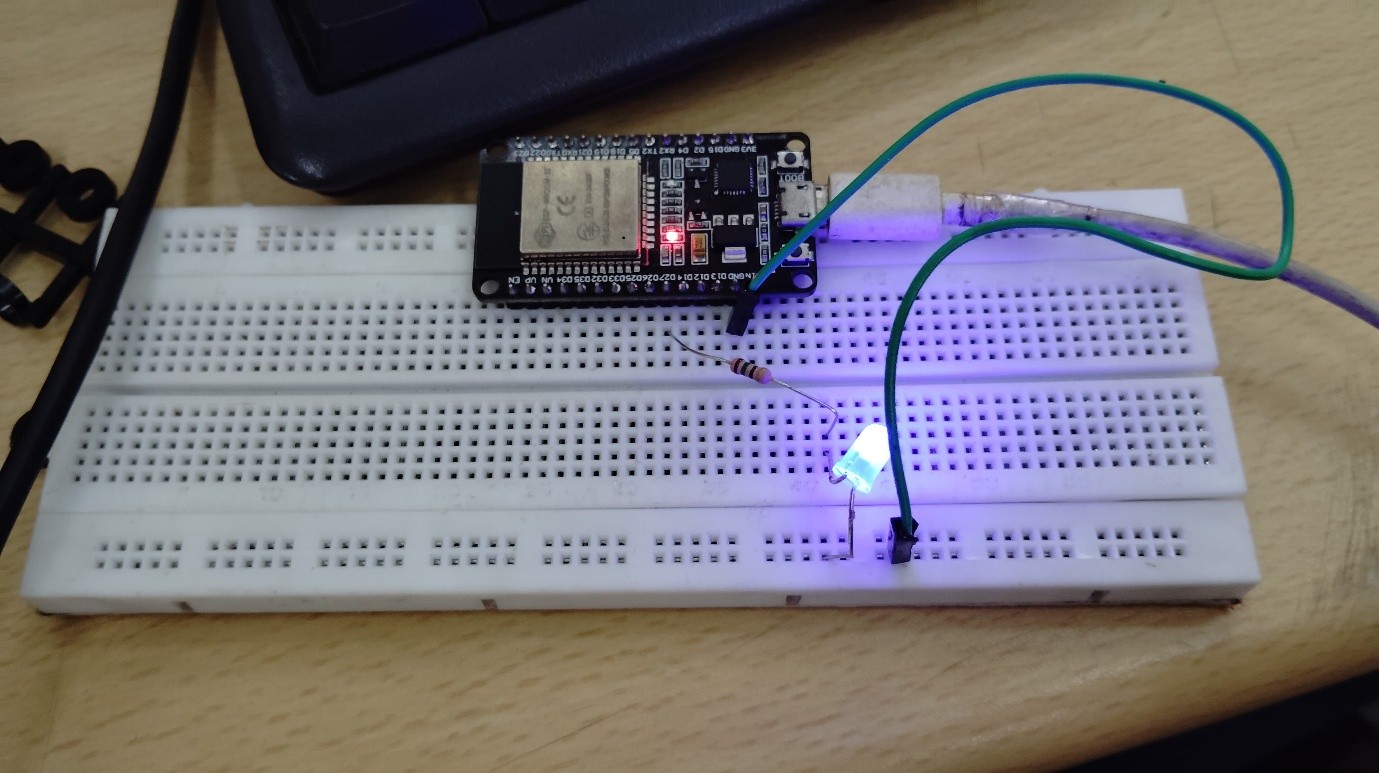
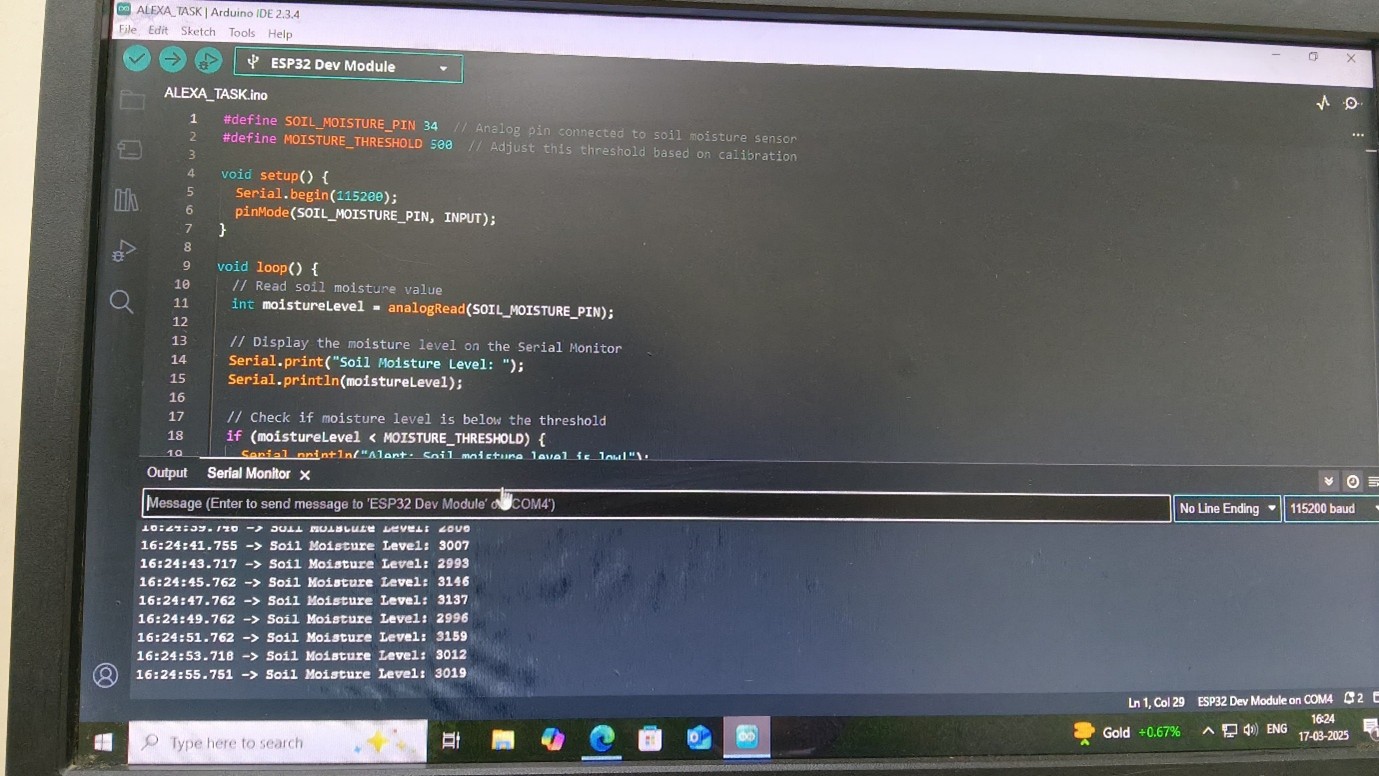
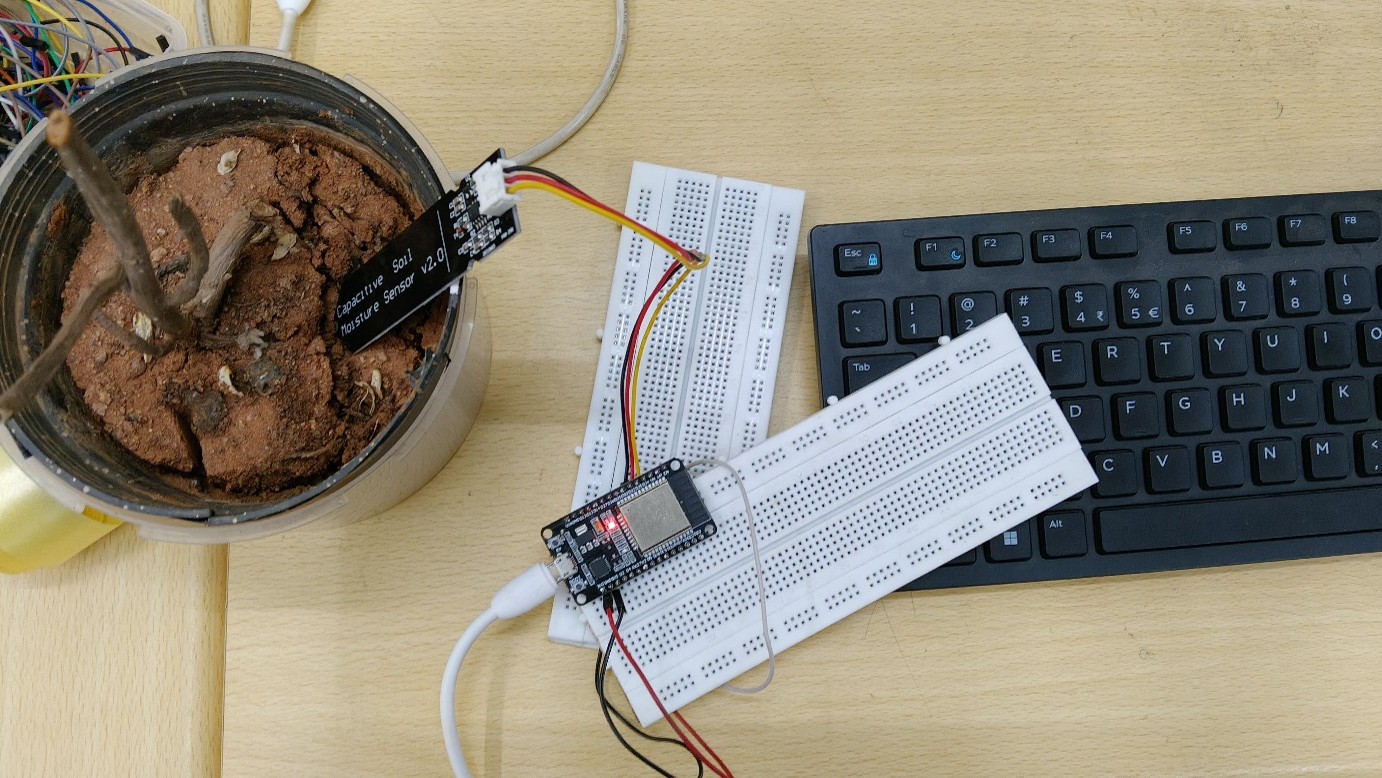
Soil moisture levels can be monitored using a Capacitive Soil Moisture Sensor and an ESP32. This sensor features a capacitive probe that generates an electric field, which interacts with the surrounding soil. The capacitance of the probe changes depending on the soil's water content, as water has a higher dielectric constant than air or dry soil. When moisture levels rise, the sensor's capacitance increases, producing a corresponding analog output signal. The ESP32 reads this signal to determine soil moisture levels—higher analog values indicate dry soil, while lower values suggest moist soil.
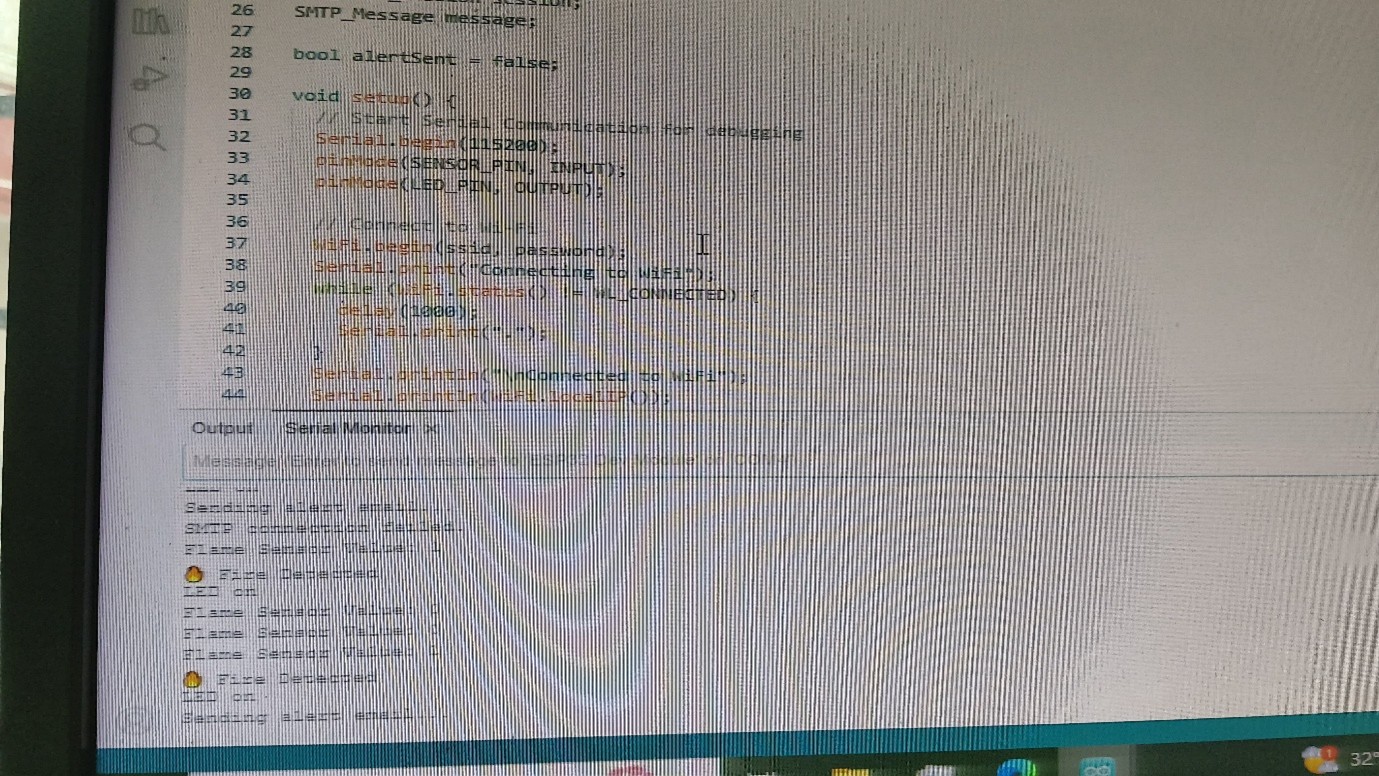
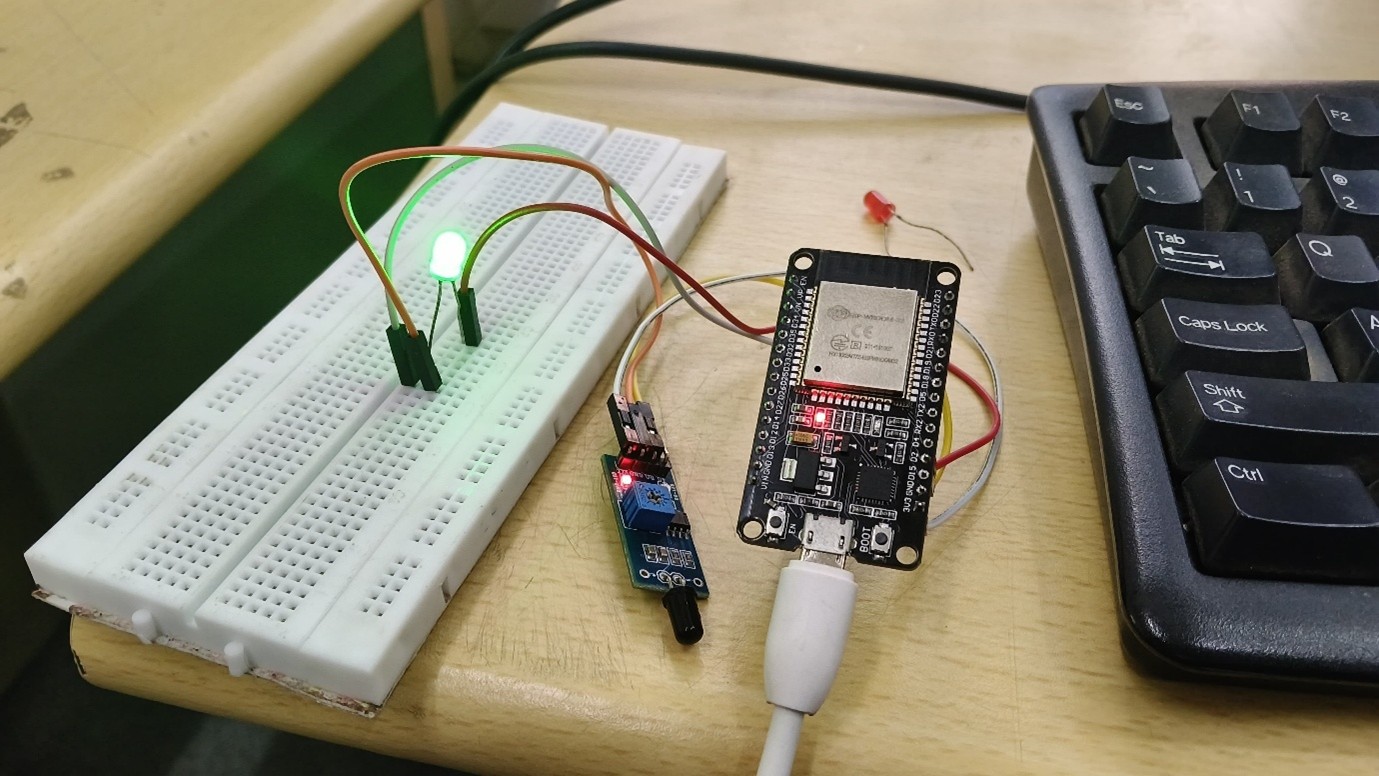
Task 10 - FIRE ALARM SYSTEM WITH EMAIL ALERTS
For this task, I used an Infrared flame sensor, an ESP32 microcontroller, and an LED. The flame sensor functions by detecting the infrared radiation emitted during combustion. It includes a photodiode that is sensitive to the specific light wavelengths produced by fire. When a flame is detected, the sensor outputs a digital signal that changes state, usually indicating the presence of fire. This signal is transmitted to the ESP32, which continuously checks the sensor’s output. If the ESP32 receives a high signal from the sensor, it responds by turning on the LED.