
COURSEWORK
Yashaswini's VFX-001 course work. Lv 2
| Yashaswini Bhushan | AUTHOR | ACTIVE |
VFX-001 Level 1 Report
16 / 9 / 2024
Yashaswini's VFX-001 Level 1 Report
Installation of DaVinci Resolve Software
Blackmagic Design is a company that creates the world’s highest-quality products for the feature film, post and broadcast industries. DaVinci Resolve Software is one of the products launched by Blackmagic Design.
I visited the Blackmagic Design website where I downloaded the free version of the Davinci Resolve Software. There was a registration process that gave me options of operating systems on which the software was to be downloaded. For the installation process to be completed, a set of terms and conditions must be agreed upon. This completes the process of installation and the software is ready to be used.
Upon running the software, I came across a page called Project Manager. This page is used to keep track of my future projects in Davinci Resolve. Upon creating a new project, I came across an interface called Edit Page. The software always directs the user to the Edit Page initially.
The Media Page:
The Media page is the first page according to the below panel of DaVinci Resolve. This page is used to import media from the computer. This page is the place where all the clips and pictures that will be used for the video will be assembled. A few things that I learnt while I was working around with the Media page are:
- Importing Media:
Importing media to the Media Pool is much easier. We can import the media using the standard procedure followed by the software, but I prefer dragging and dropping the folder containing all the clips and pictures required for my project.
- Organising Media:
The Media that is imported is organised to the user’s satisfaction. According to me, organising the media before the beginning of the editing is somewhat helpful in going through it.
- Selecting the Desired Part of the Clip:
The Media Page has a screen that shows a preview of the selected media from the media pool. The preview helps us in deciding which part of the clip is desirable. The desirable part is cut out using “I”, which denotes the point of mark in, and “O”, which denotes the point of mark out.
Transitions are the special effects that are provided by the software that are applied in between clips that help give the video a better outcome.
The Interface of the Media Page:

The Cut Page:
The Cut Page is the second page according to the below panel of the DaVinci Resolve. This page is used to trim and arrange the trimmed clips in an order that is to the user's satisfaction. This is a bit complicated when compared to the Edit Page of DaVinci Resolve Software. A few things that I learnt while working around the Cut Page are:
- Automatic Trim Tools:
Trimming is much easier in Cut Page where tools are specifically designed for this process. Trimming is much faster in Cut Page because trim tools are selected automatically which reduces the hassle of selecting the tools after each work.
Multicam Editing:
- Multicam Editing is a process where the clips from cameras at various angles are taken in and edited at the same time to produce an organised video combining all the clips. This is how a majority of the film industry makes their projects.
Proxy Media is a smaller, lower resolution of the original imported media. Proxy media is used to improve the performance and speed of the video editing process.
The Interface of the Cut Page:
The Edit Page:
The Edit Page is the third page according to the below panel of the DaVinci Resolve. This page is much easier to use when compared to the Cut Page. This is the first page that comes up when a user starts on a project. There are a few things that I learnt while working around this page. They are:
- Quick Import of Media:
The Media pool is situated at the top left of the interface where all the clips and pictures are portrayed. The clips and pictures are arranged by dragging and dropping them down on the timeline of the Edit Page.
- Markers:
Markers are situated on the overlay in the Edit Page interface. These are used to mark certain timeslots in the timeline that might require more attention along the period of the project. This also helps in marking out important slots in a video.
- Edit Tools:
These are similar to the Cut Page and are a bit of a hassle while trimming. For Editing purposes, these tools are easy to handle and apply. My favourite tools are Blade Edit Mode and Markers.
- Dual Screen: The Edit Page consists of Dual screens which are situated next to each other beside the media pool in the interface. The screen on the left is used to preview the selected clip while the screen on the right is used to show the result of the video.
Titles are features that allow the user to display certain quotes or sentences with transition effects in video. This makes the video appear better and portrays a certain message.
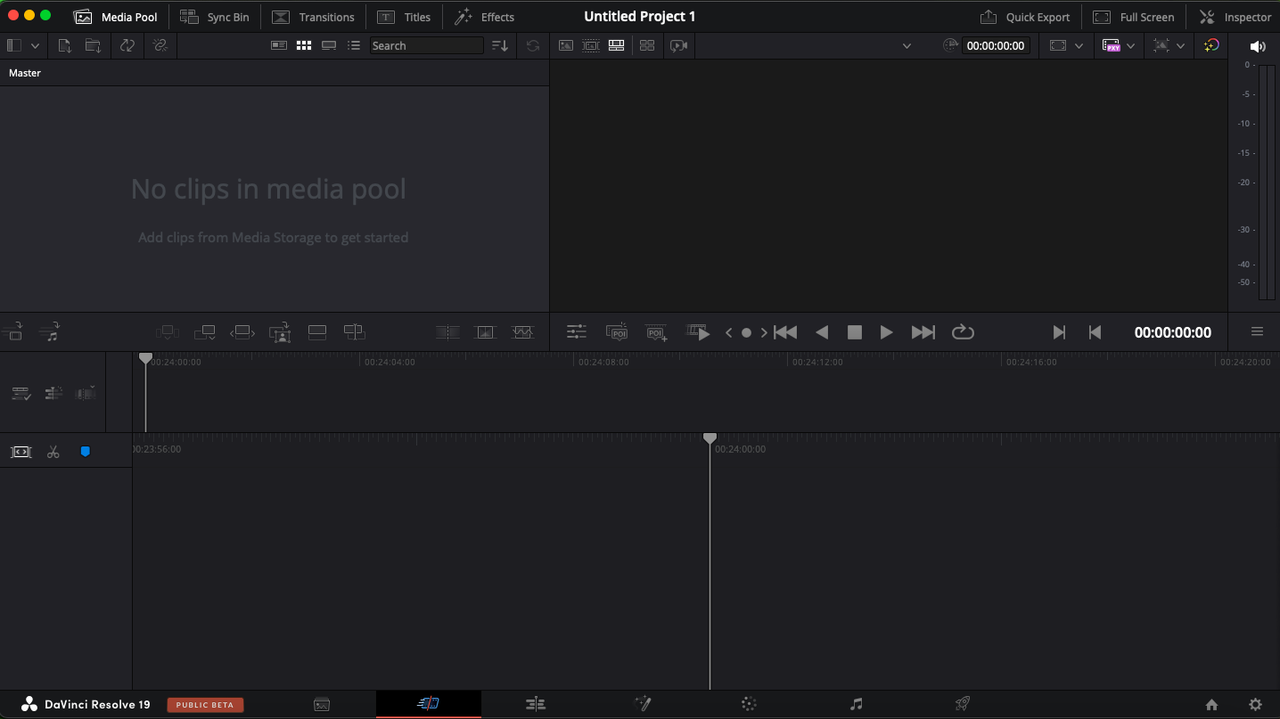
The Interface of the Edit Page:

The Color Page:
This is the fifth page according to the below panel in DaVinci Resolve. This page is used to perform colour corrections for the clips and pictures used for the project. Colour correction is very important as it sets the dramatic effect of a certain video when viewing. A few things that I learnt while working around the Color Page are:
- Balanced Image Color:
Balancing the colour of the clips and pictures matters so much in a video. This enables the viewer to see the pictures and clips of the video with better-enhanced colours. The colours are balanced using certain tools present on the Color Page like primary bars and primary wheels.
- Auto-Matching
This feature helps in the colour matching of different clips and pictures. This process matches the colour of every clip to the single clip that has already been colour-corrected. The single clip is colour-corrected using many tools present on the interface, one of them being the ‘YRGB’ corrector, which corrects the Yellow, Red, Green and Blue colours of the clips respectively.
The Interface of the Color Page:

The Fairlight Page:
The Fairlight Page is the sixth page according to the below panel of the DaVinci Resolve. This page is associated with editing and trimming of audio tracks related to the video. Background music is the most important aspect of a video as it helps a lot in defining a situation. Proper background music can change the whole point of view of the spectator. A few things that I learnt while playing around this page are:
- Multitrack Audio:
Managing many tracks at the same moment can be tiring in any other software, but DaVinci Resolve makes it much easier to manage all the tracks without hassle.
- Reduce Background Noise:
The Fairlight Page also helps in reducing the background noise that was captured during the recording of the clip. It uses Plug-Ins for this process. The Plug-Ins contain De-esser which reduces the annoying “s” sound while De-hummer reduces the humming in the background noise.
Mixer is a feature that is used to adjust the audio levels in a certain audio clip. It helps in reducing the shrillness and loudness of the clip so it doesn't affect the spectators' eardrum harshly enough to cause damage.
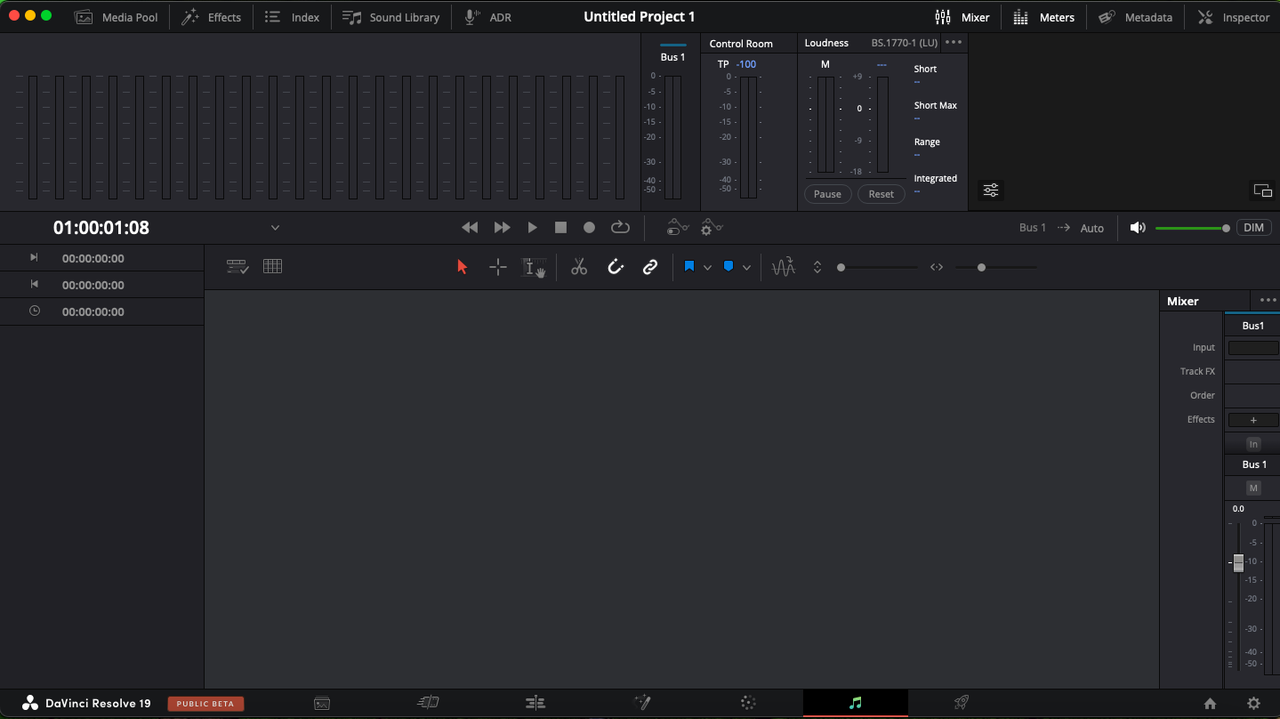
The Interface of the Fairlight Page:
The Deliver Page:
The Deliver Page is the last page according to the below panel of the DaVinci Resolve. This page is used to export the video of the required resolution and frame rate. The process of exporting a video is similar to every other software. The video is added to the render queue where the rendering of all the clips takes place and the final video is exported.
Render Settings is a part of the Deliver Page that allows the user to modify the resolution and frame rate of the video. It also allows the user to select a place on the computer where the exported video will be stored.
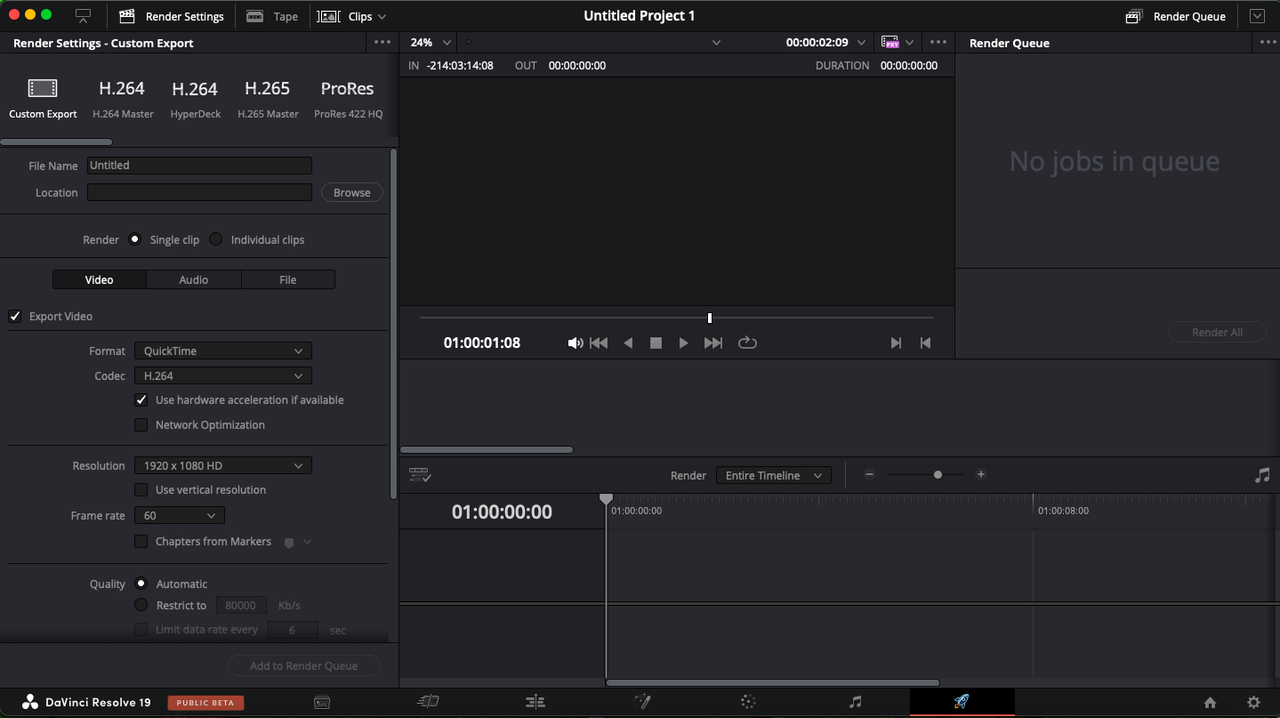
The Interface of the Deliver Page:
Assignments:
Task 1:
Task 1 was based on creating a 30-second video using the Edit Page including all the features present on the Edit interface. I thought of creating an introductory video of my college for this assignment. I started by making clips of the college surroundings using my phone and stored them in a single file. Coming to DaVinci Resolve software, I imported all the media and started working on the video.
I faced a few hurdles such as adjusting the clips to the proper frame rate of the timeline at the beginning, but I went through the DaVinci Resolve software website where they have brief descriptions about all the pages and referred to some YouTube videos that helped me overcome my hurdles and aided me in producing a video for my task.
The final result of the video:
Note: Use Royalty Music whenever editing as it does not come under the copyright act
Task 2:
Task 2 was based on creating a fast-paced 1-minute social media using the Cut Page, focusing on storytelling and quick assembly. For this task, I thought of creating a video dedicated to the nature of Bangalore. I had a few clips that I had taken when I was travelling around. I stored them all in a single folder and started working on the project.
I imported the folder to DaVinci Resolve and started by randomly arranging the clips. After all the clips were arranged on the timeline, I started organising them to my liking and according to the background music that I had downloaded for this video.
I didn't face that many hurdles on this Page because the Edit Page and the Cut Page are nearly similar in working and features. I did feel that the Cut page was a bit of a hassle because I had an experience with the Edit Page where every feature was much more easily accessible.
The final result of the video:
Tip: Try to use clips of the same clarity to ensure the video comes out well and neat.
Task 3:
Task 3 was based on creating a video that portrays my life story. For this task, I decided to do a video of my entire first year of college. I wanted to combine all the memories I made in 1 year with my friends in college and make a video of it. I collected all the clips, recordings and pictures that I could find and stored them in a folder.
In DaVinci Resolve, I imported the folder containing all the clips and pictures and started arranging them according to a storyline that I had in mind. I picked a few background music that I felt were good for the content of the video and made a few recordings of some quotes that I found intriguing in my voice. I added the audio and adjusted the audio levels.
The only difficulty I faced was difficulty in arranging so many clips on the timeline. It took a lot of time. However, one of my coordinators helped me out and taught me the easy way to assemble so many clips at once on a timeline.
Thefinal result of the video:
Tip: Use the ‘New Compound Clip’ option to arrange many clips together without much hassle.
With this, I would like to conclude my report on my experience with DaVinci Resolve Software. I would like to thank MARVEL for giving me such an opportunity to be a part of this course and introducing me to the software. I would also like to thank my Coordinators who helped me out during this course and have kept me motivated throughout the course. I hope I can keep doing work like this with MARVEL in future!