COURSEWORK
Pawan's AI-ML-001 course work. Lv 3
| Pawan PR | AUTHOR | ACTIVE |

GENERIC TASKS REPORT -PAWAN PR
13 / 4 / 2023
Task 1: 3D printing
Description:
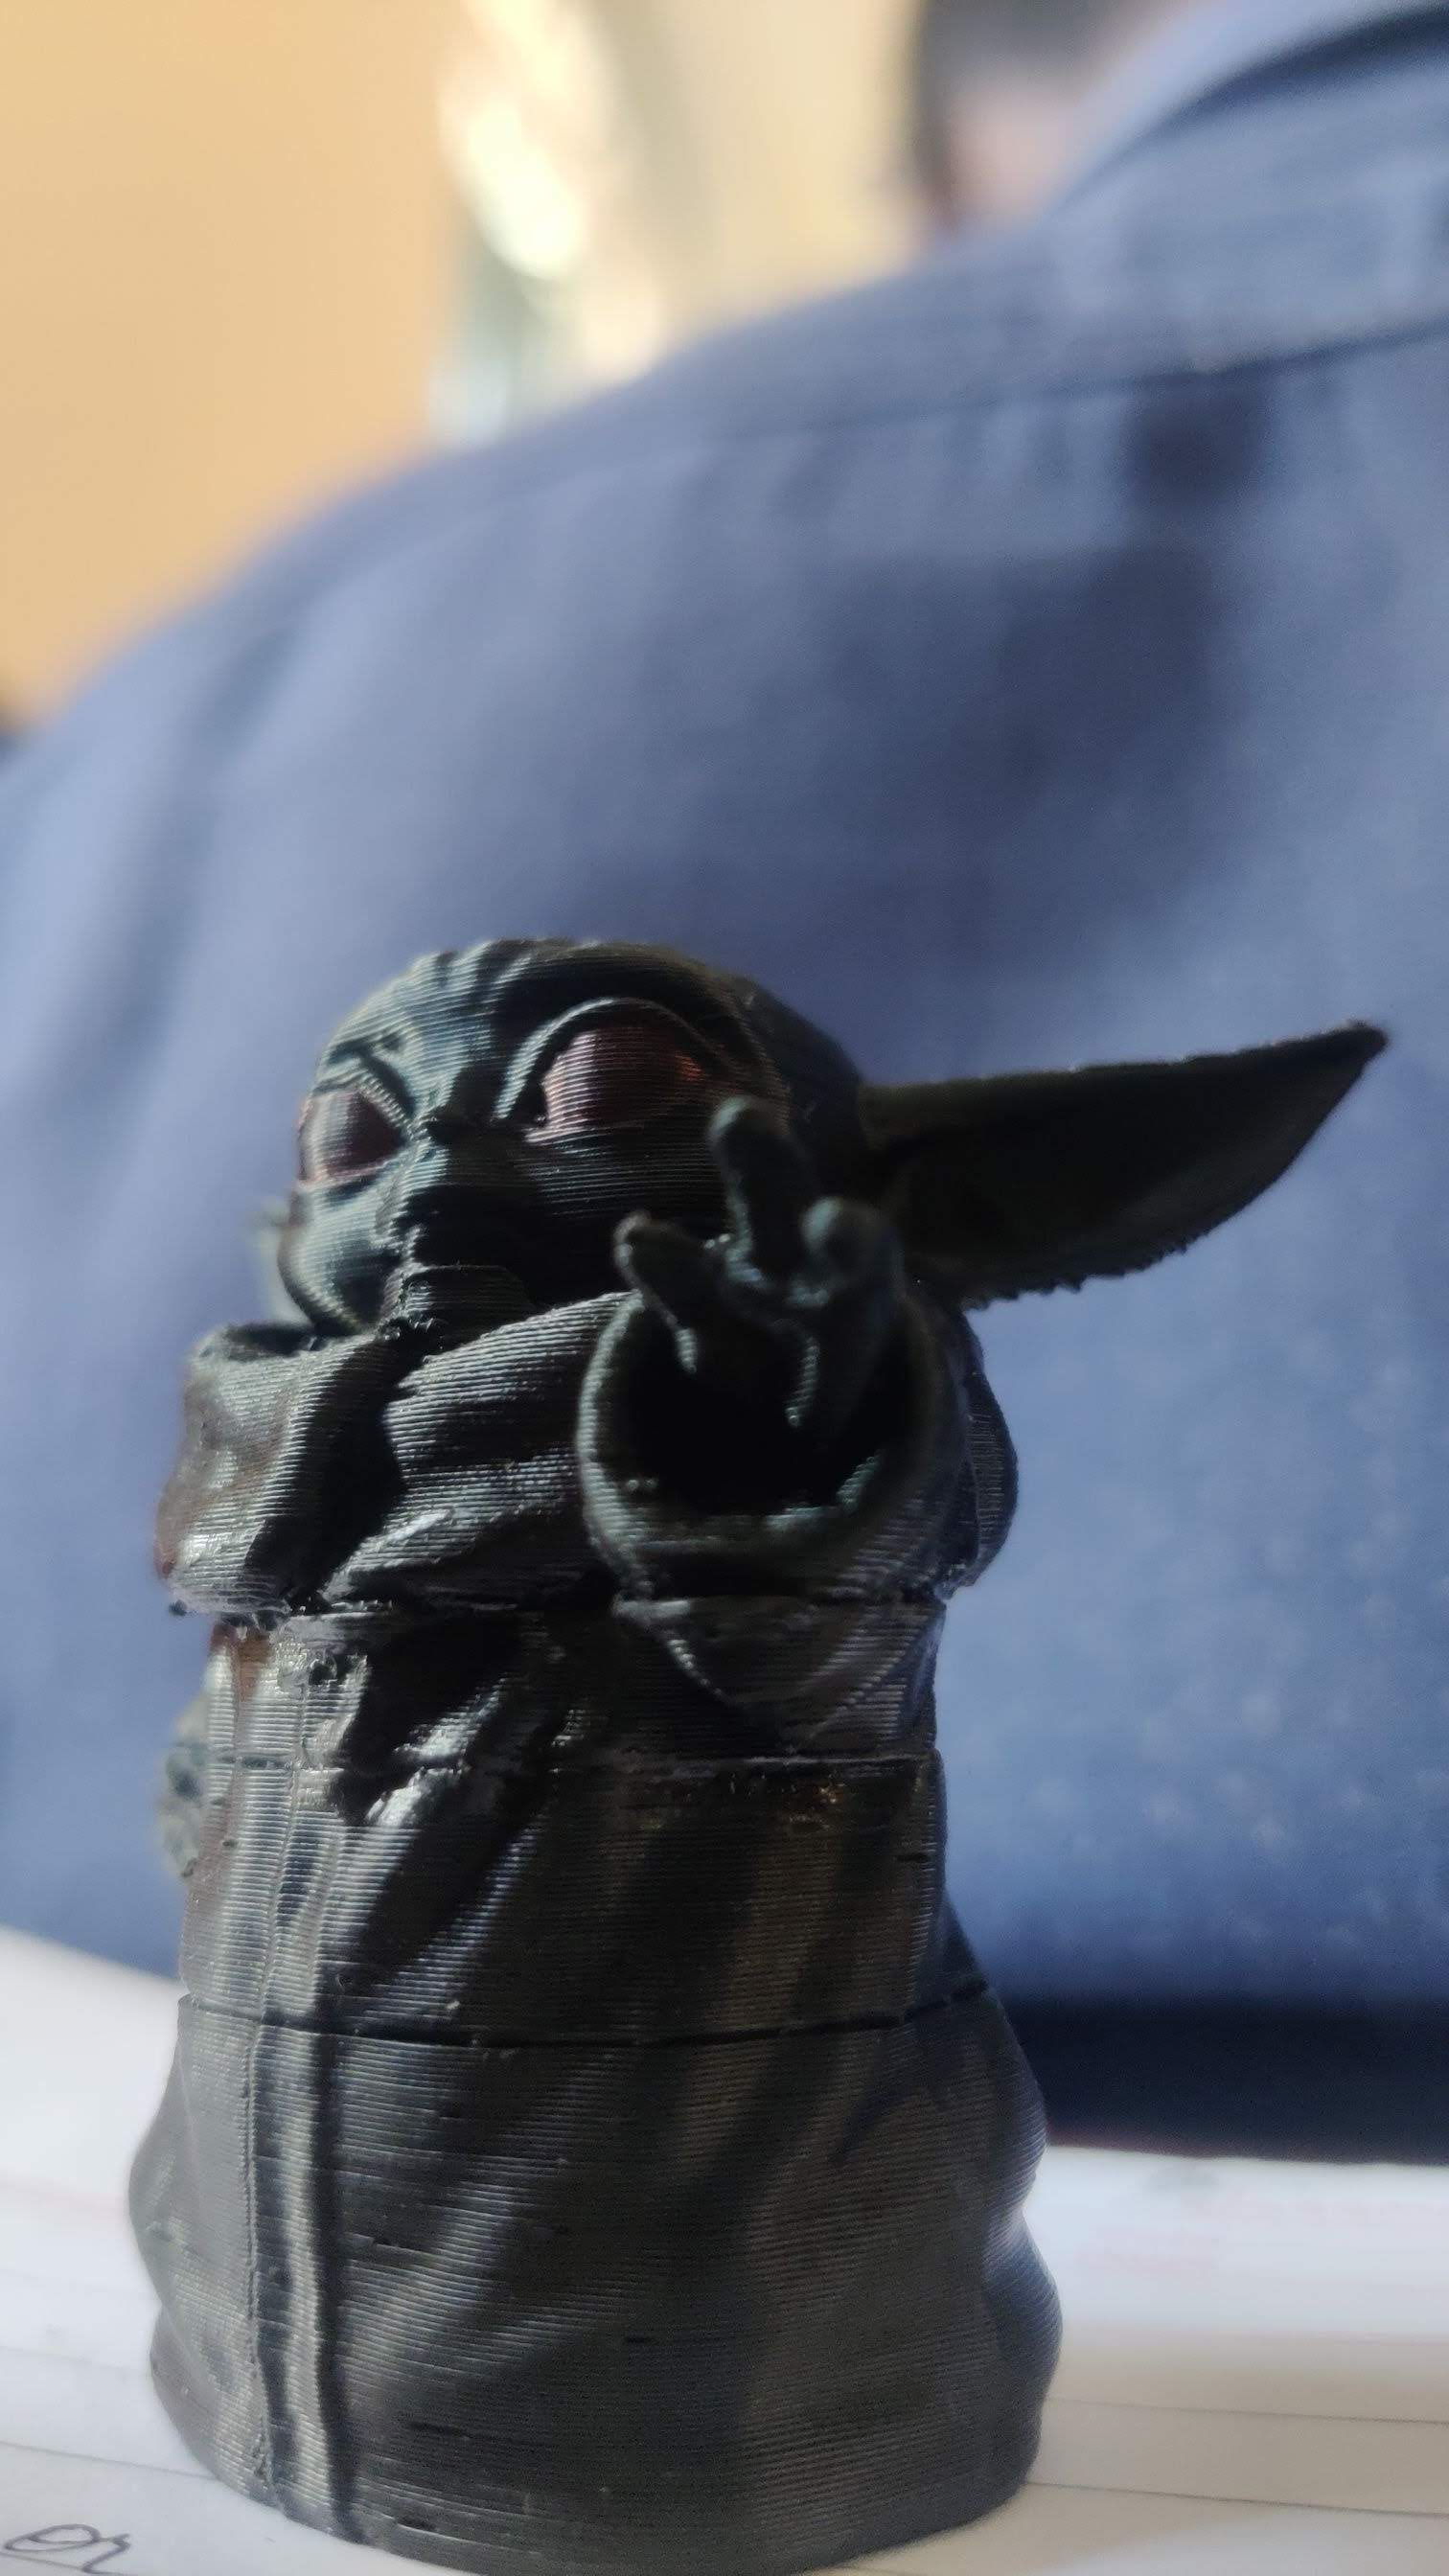
The model ‘Babyyoda’ was printed in 2 hr 19 mins using creality slicer CR-10 Smart Pro and PLA filament. Supports were removed post printing.
The output:

Downloaded the STL file: With the help of online platforms thingiverse.
Sliced the file: Using the Creality slicing software we sliced the stl file enabling us to move,; rotate,; scale and change the setting of the model.
Uploaded the g code: After slicing the time taken to print the object and amount of filament required is displayed and we made necessary changes and chose the appropriate settings.
Copying code to printer: The g code is copied to the sd card of the 3D printer to print. The model ‘Babyyoda’ was printed in 2 hr 19 mins using creality slicer CR-10 Smart Pro
The print in process:<iframe height=""1280"">
OUTCOMES: learnt how to use a 3d printer and the various settings that are possible.
Task 2: API:
Food recipe website using API:
Description:
Found the required API from theMEALDB.com
linked the api to html using javascript Used some CSS templates to make by website look great
THE OUTPUT
.png?raw=true) welcome screen
welcome screen
.png?raw=true)
.png?raw=true)
 The recipe is shown along with the link to the video.
The recipe is shown along with the link to the video.
.png?raw=true)
 the code
the code
OUTCOME: Learnt to uses APIs ,;their application along with some common recipes.
Task 3: Working with Github
Description:
Created a Github account and went through the introductory tutorial.
cloned the git-task repository
 Created a new branch
 The code with bug fixes to the initial code

Commited and generated pull request to the main branch(the clone)

Merged to the main branch

Deleted the branch created

OUTCOME: Became familiar with using github.
Task 4: Getting familiar with the command line on ubuntu
Description:
Got familiar with using ubutu from the tutorials section on the ubuntu website.
Created a folder 'test' ,;created a blank text file along with 2600 folders in the folder called sample(1-2600).
Concatenated two text files (file1 and file 2) into a file blank and displayed them on the terminal.


 OUTCOMES: got familiar with Ubuntu and its command prompt
Task 6: Working with Pandas and Matplotlib:
Description:
imported pandas and downloaded the data set displayed 5 rows of the data set using df imported matplotlib and displayed the line grap nbar graph,; piechart etc. grouped similar data together using groupby() function learnt to use the most suitable plot as per the task(scatter to discover correlatio ar plots to analyse categories etc)
.png?raw=true)
.png?raw=true)
.png?raw=true)
.png?raw=true)
.png?raw=true)
.png?raw=true)
.png?raw=true)
.png?raw=true)
link to the notebook: https://colab.research.google.com/drive/19EqRknVGnB9h_-5q90ZYr4IiCMBp2HS1?usp=sharing
Task 9:Tinkercad:
Build a circuit with infrared sensors to estimate the distance to an obstacle.
Description:
created a tinkercad account and got familiar with the website. Got familar with arduino and coded the arduino using help from the internet made the circuit as shown :
 circuit link:https://www.tinkercad.com/things/4AakEpqr4qc
code:
the infrared sensor successfully produced the distance of the obstacle in front of it on the LCD display.
OUTCOME:learnt to use tinkercad to build and simulate circuits
Task 10: Speed control of DC Motor:
Description:
Learnt about the different components used and their functions/applications. Made the connections as shown and upoaded the code into the arduino using arduino compiler Got incomplete output repeatedly due to insufficient voltage in the battery,; this problem was solved by using a dc voltage converter with 12v output
the push button reverses the direction of rotation when pressed while the potentiometer controls the speed of the dc motor.
The circuit

we were clueless on why we werent getting the output even thought the current seemed to flow. (^)
OUTCOME: learnt hardware debugging and was able to successfully control the DC motor
Task 11: LED Toggle Using ESP32
Description:
Learnt about the working of an ESP32. Uploaded the code to the ESP32 board. Made the circuit connections as shown in the image. Connected the ESP 32 with the web server(mobile hotspot) and updated the credentials in the code. Successfully controlled the LED's on the breadboard using the webserver on the phone.

OUTCOME: learnt to use ESP32
Task 12: Soldering
Description:
Learnt about the soldering equipment in the lab
Used soldering wick and soldering iron to desolder a board completely soldered a resistor and an led to a board
The board after desoldering the components previously soldered
 Getting ready to solder
 the final output :
desoldering:
OUTCOME:learnt to solder and desolder
Task 14: Burglar alarm
Description:
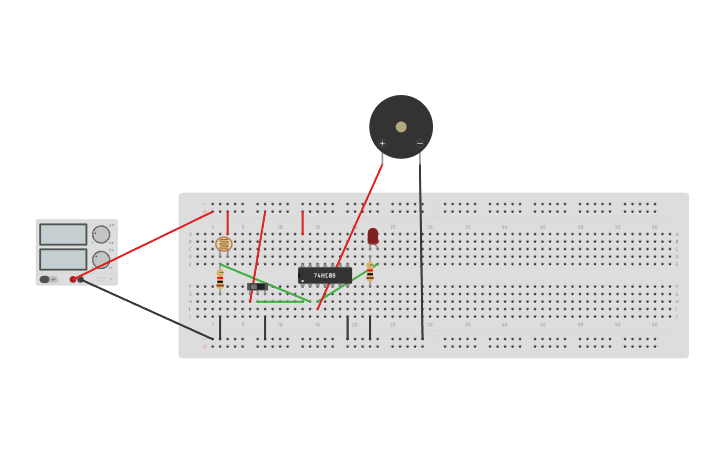
designed a burgular alarm using photosensitive diode which when triggered in presence on light rings the buzzer along with the light.
several components used.
the photosensitive diode can also be replaced by more suitable as per the need
OUTCOME : learnt to create a burgular alarm that can make alert the user when triggered ciruit link: https://www.tinkercad.com/things/8VHWQy43edH
OUTCOME:learnt to use karnaugh maps to comeup with circuits
Task 15: Active participation:
Description:
Participated and won second place in summit held during the impetus 22.0
Participated and presented a research paper about the link between cholesterol and depression in Kagada fest.

 "
"