LEVEL 2 TASK REPORT
8 / 3 / 2024
Task 1 : Watering plant
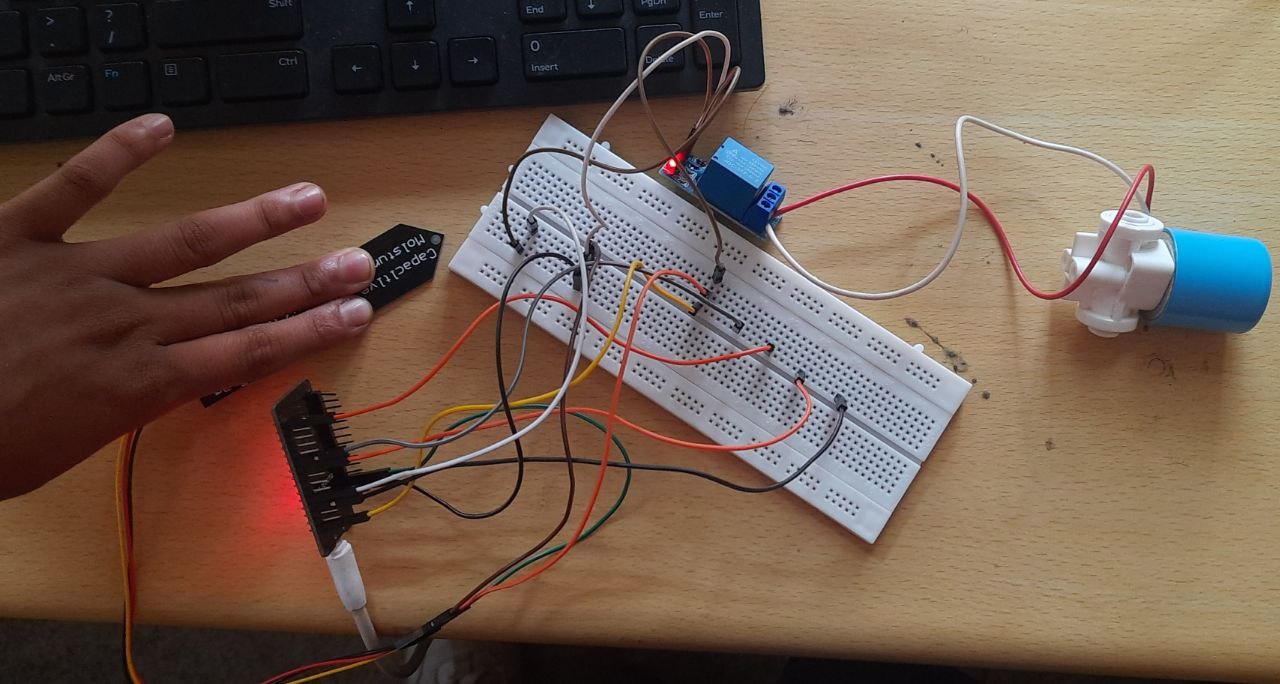
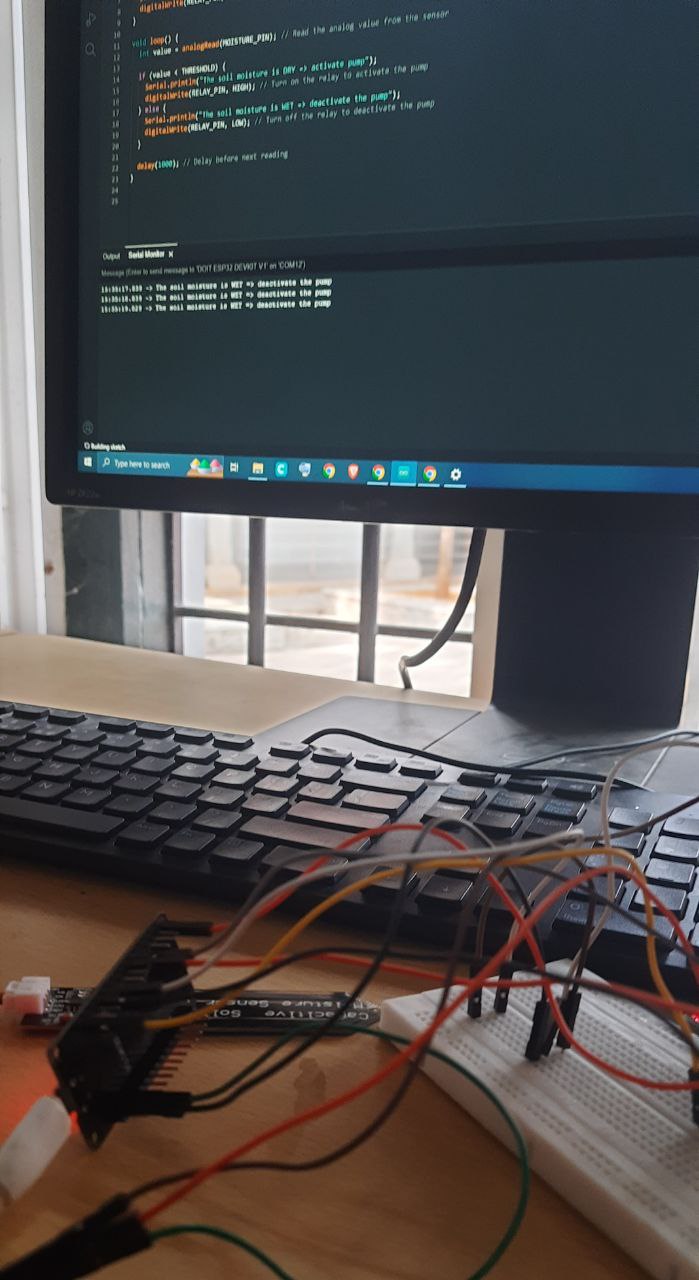
A system comprising a soil moisture sensor, ESP32 microcontroller, relay, and solenoid valve waters plants autonomously. The sensor measures soil moisture levels, triggering the relay when levels fall below a preset threshold. The ESP32 interprets sensor data and controls the relay, activating the solenoid valve to water the plant.
Skills acquired: Clearer understanding of what is relay.
Difficulties faced : Ensuring proper sensor calibration, understanding relay and solenoid valve interactions.
Task 2 : Introduction to RFID
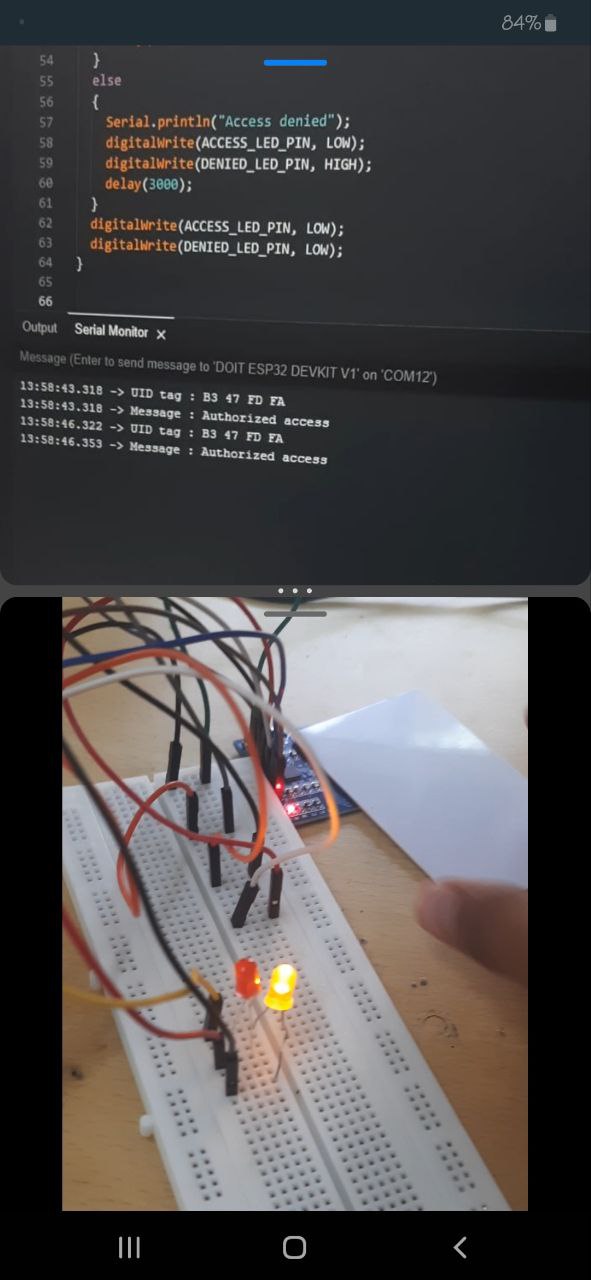
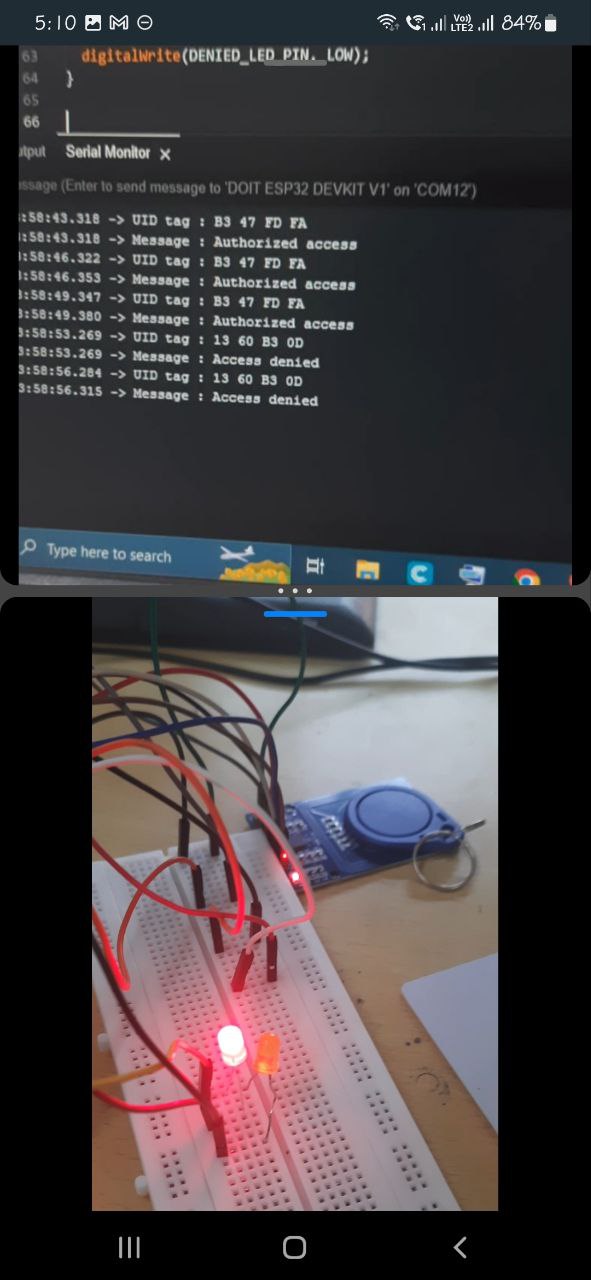
The task was to interface ESP32 to read an RFID card with a reader and display user code in the serial monitor. I interfaced the ESP32 with an RFID card reader by connecting the reader to the ESP32's GPIO pins. Utilizing the ESP32's RFID library, I programmed it to read RFID card data when detected. Upon card detection, I extracted the user code and edited the code to give access only if the code matches. When some other card is read with a different code, access is denied.
Skills acquired: RFID interfacing, ESP32 GPIO usage, serial communication, data extraction from RFID cards.
Difficulties faced : Ensuring correct wiring, understanding RFID card data format, and debugging communication errors between the RFID reader and the ESP32.
Task 3 : Interfacing RTC time module with ESP32
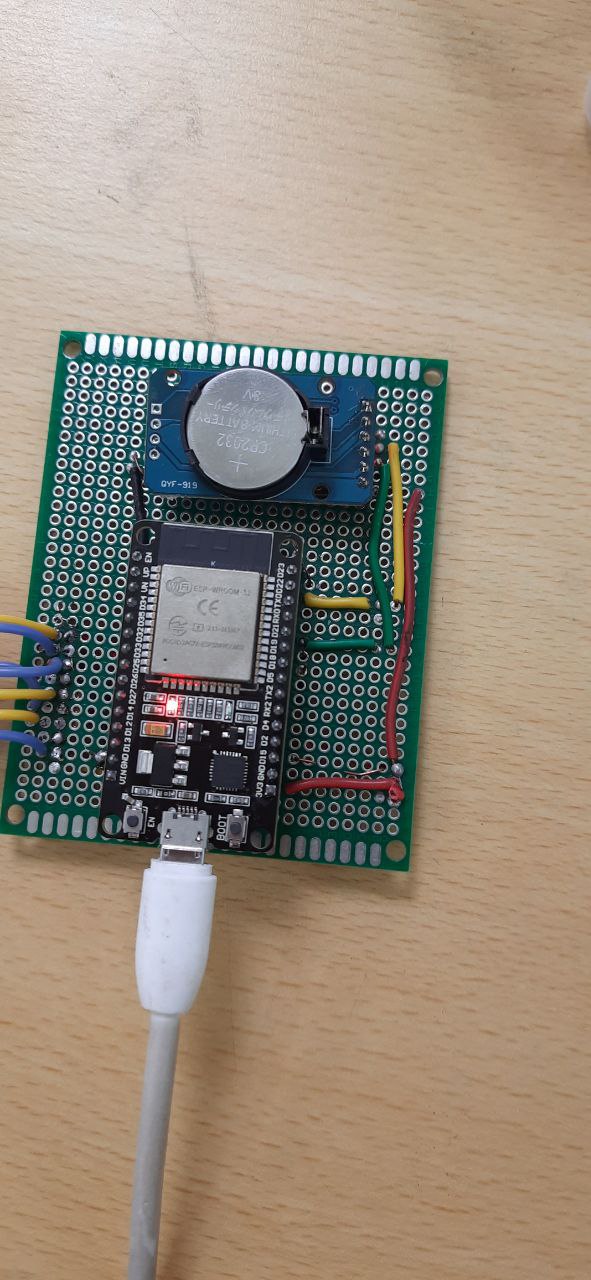
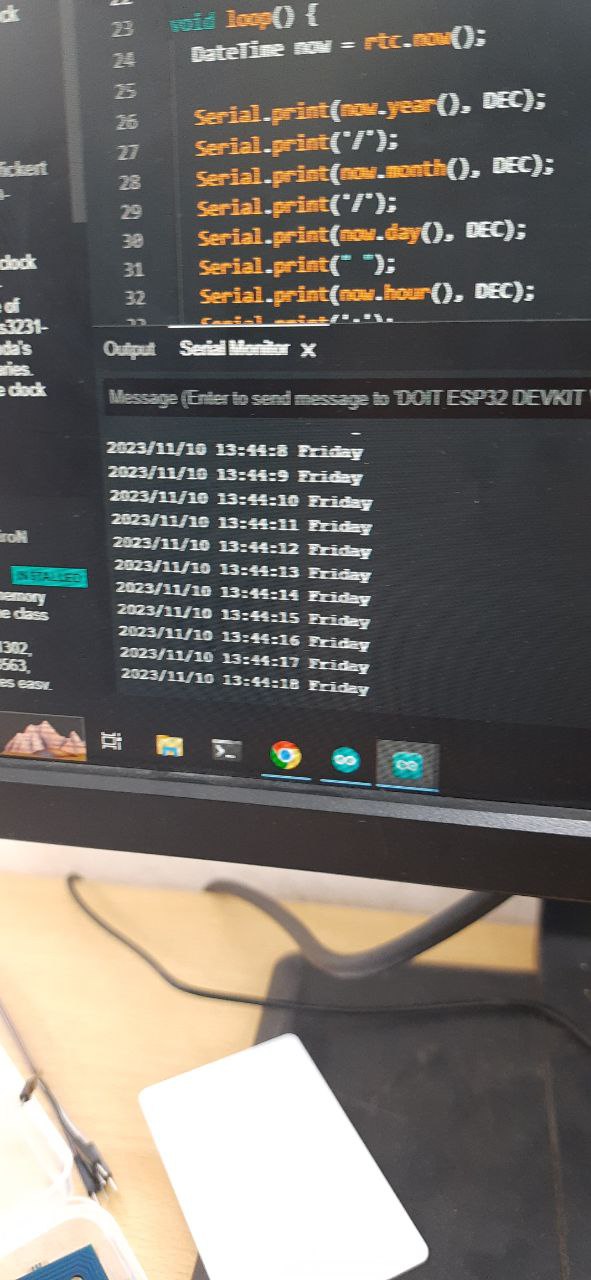
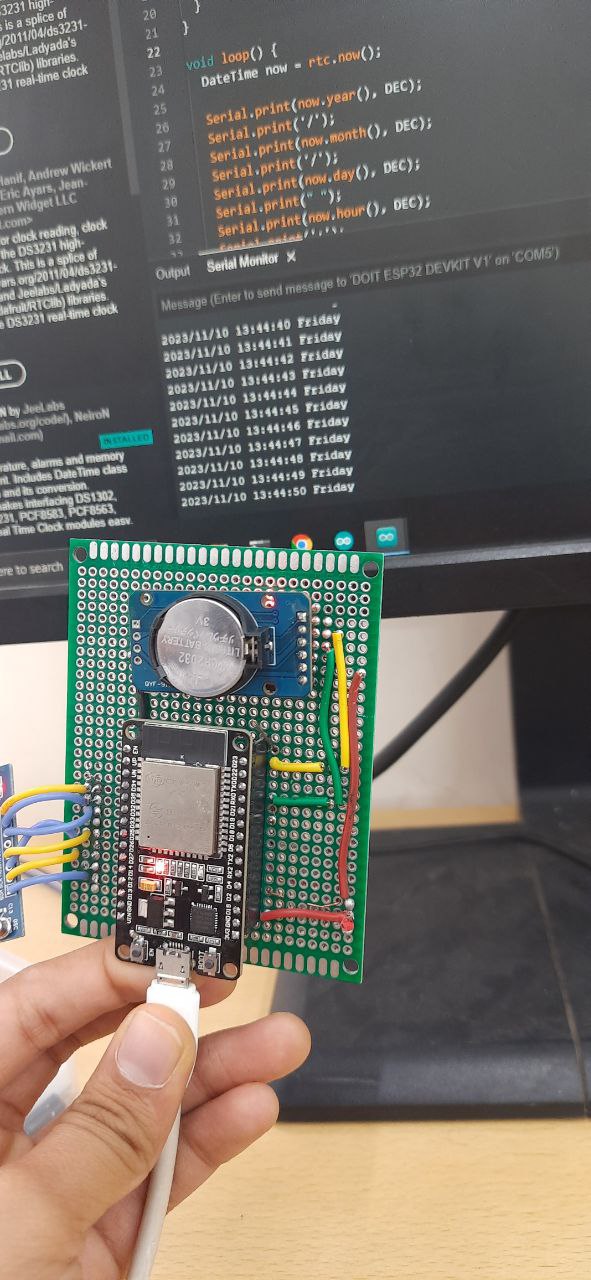
To interface a DS3231 RTC Module with an ESP32 and display the time on the serial monitor, I connected the RTC module's SDA and SCL pins to the ESP32's corresponding GPIO pins. Then, I utilized the ESP32's built-in I2C library to communicate with the RTC module. By sending appropriate commands, I retrieved the current time data from the DS3231 RTC. Finally, I formatted the time data and displayed it on the serial monitor for real-time monitoring.
Skills Acquired: Interfacing hardware modules with microcontrollers, using RTC modules, time data retrieval, serial communication with ESP32.
Difficulties Faced: Ensuring correct wiring and addressing, handling I2C communication errors, understanding RTC module documentation and register settings, debugging time synchronization issues, and formatting time data for display on the serial monitor.
Task 4 : Creating an attendance logger
To create an attendance logger using Google Sheets and ESP32, I started by setting up the hardware connections based on a video tutorial. Then, I defined a GScriptId variable to hold the Deployment ID of a Google Apps Script, which manages HTTP POST requests from the ESP32 and records data in a Google Sheets spreadsheet.The Google Apps Script handles HTTP POST requests and updates the Google Sheets accordingly. I obtained the Deployment ID by deploying the Google Apps Script as a web app and copied it into the ESP32 code. This allows the ESP32 to communicate with the Google Apps Script.
Skills Acquired: Hardware interfacing, Google Apps Script deployment, HTTP POST request handling, ESP32 programming with Google Sheets integration.
Difficulties Faced: Understanding and configuring Google Apps Script for HTTP POST requests, obtaining and implementing the Deployment ID, troubleshooting connectivity issues between ESP32 and Google Sheets, and adapting code from RFID tasks to suit the attendance logging system.

Task 5 : Communication using Zigbee protocol
The task was to establish a communication between Arduino and ESP32 using zigbee protocols and transfer data from a sensor from one device to the other.Zigbee has its ability to form mesh networks. In a Zigbee mesh network, devices can act as routers to extend the range and reliability of the network. If a device is out of range of the coordinator (main controller), it can still communicate by routing messages through other devices in the network. This enables robust and scalable communication networks, especially in environments with obstacles or varying distances between devices.Zigbee operates in the 2.4 GHz ISM (Industrial, Scientific, and Medical) band, which is license-free in most countries. Devices in a Zigbee network communicate using small data packets and can enter low-power sleep modes to conserve energy. This makes Zigbee suitable for battery-powered devices and applications requiring long battery life.
Difficulties faced: The zigbee modules were not working so couldn't complete the task as such.
Task 6 : Controlling multiple peripherals using SPI Protocol
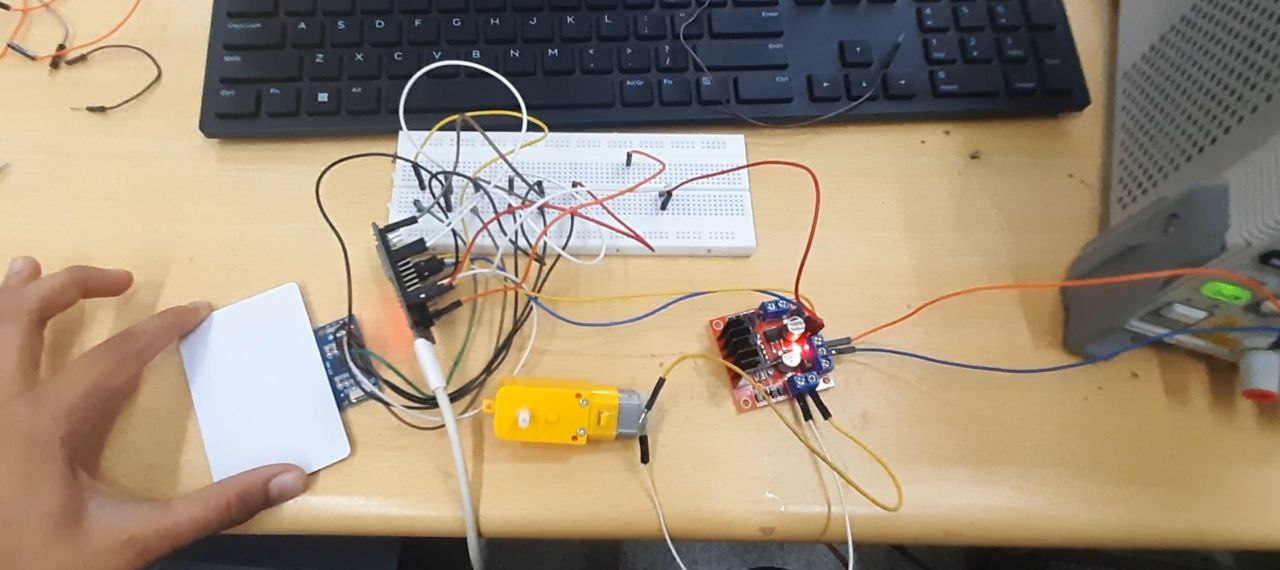
The task was to use SPI protocol, read from a RFID module and use it to control the direction of DC motor.I integrated a RFID module with an ESP32 and a DC motor controlled by a motor driver using SPI protocol. The RFID module communicates with the ESP32 via SPI to read RFID tag data. Based on the detected RFID tags, the ESP32 sends signals to the motor driver to control the direction of the DC motor.This setup enables directional control of the DC motor based on RFID tag detection, suitable for various applications requiring automated motor control.
Skills Acquired: SPI communication setup, RFID data sending, motor driver interfacing.
Difficulties Faced: Understanding SPI protocol for RFID communication, readings with motor control, ensuring reliable motor driver operation.
Task 7 : Telegram Bot Motor control
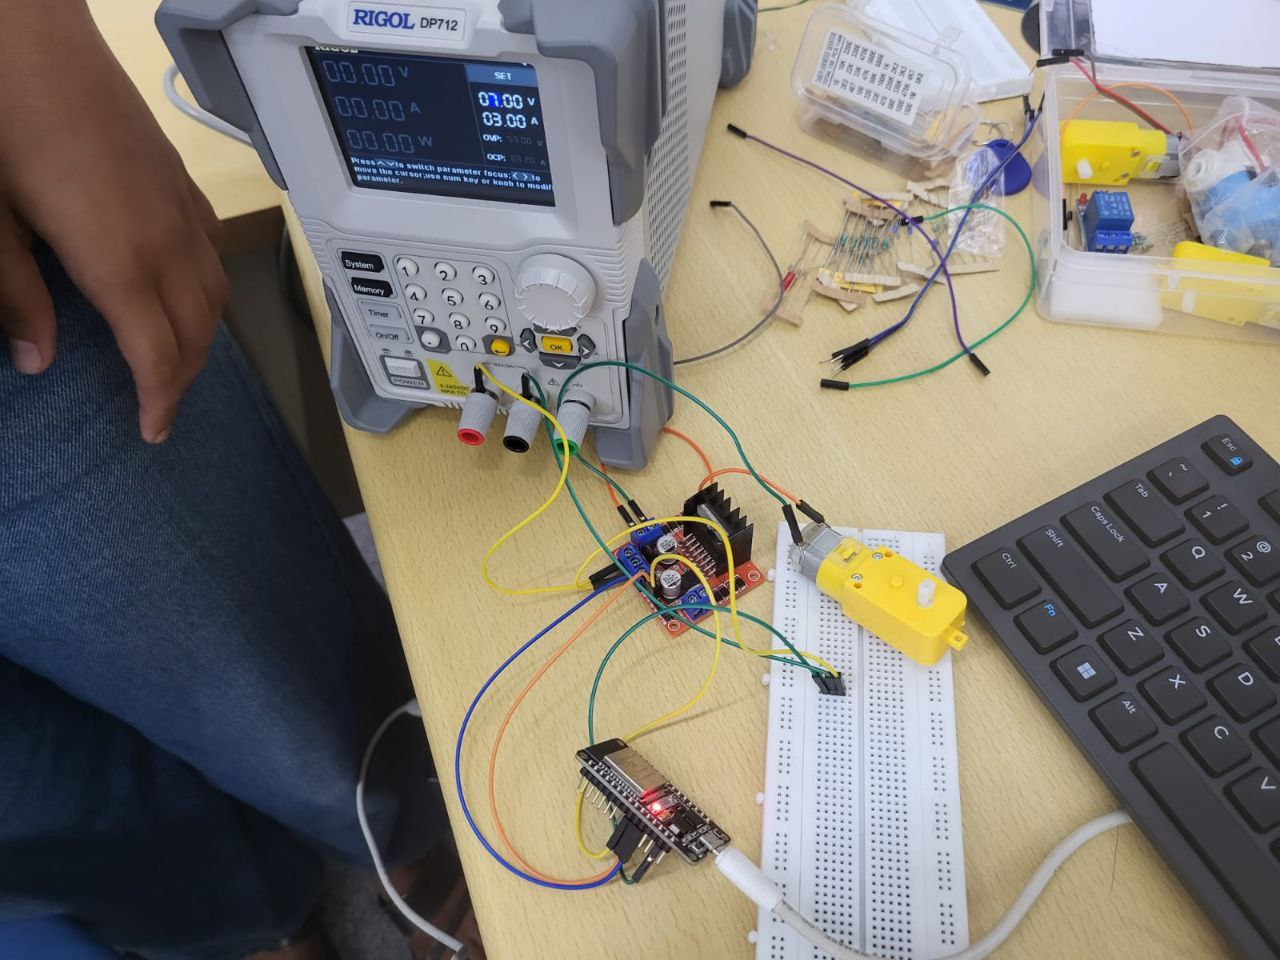
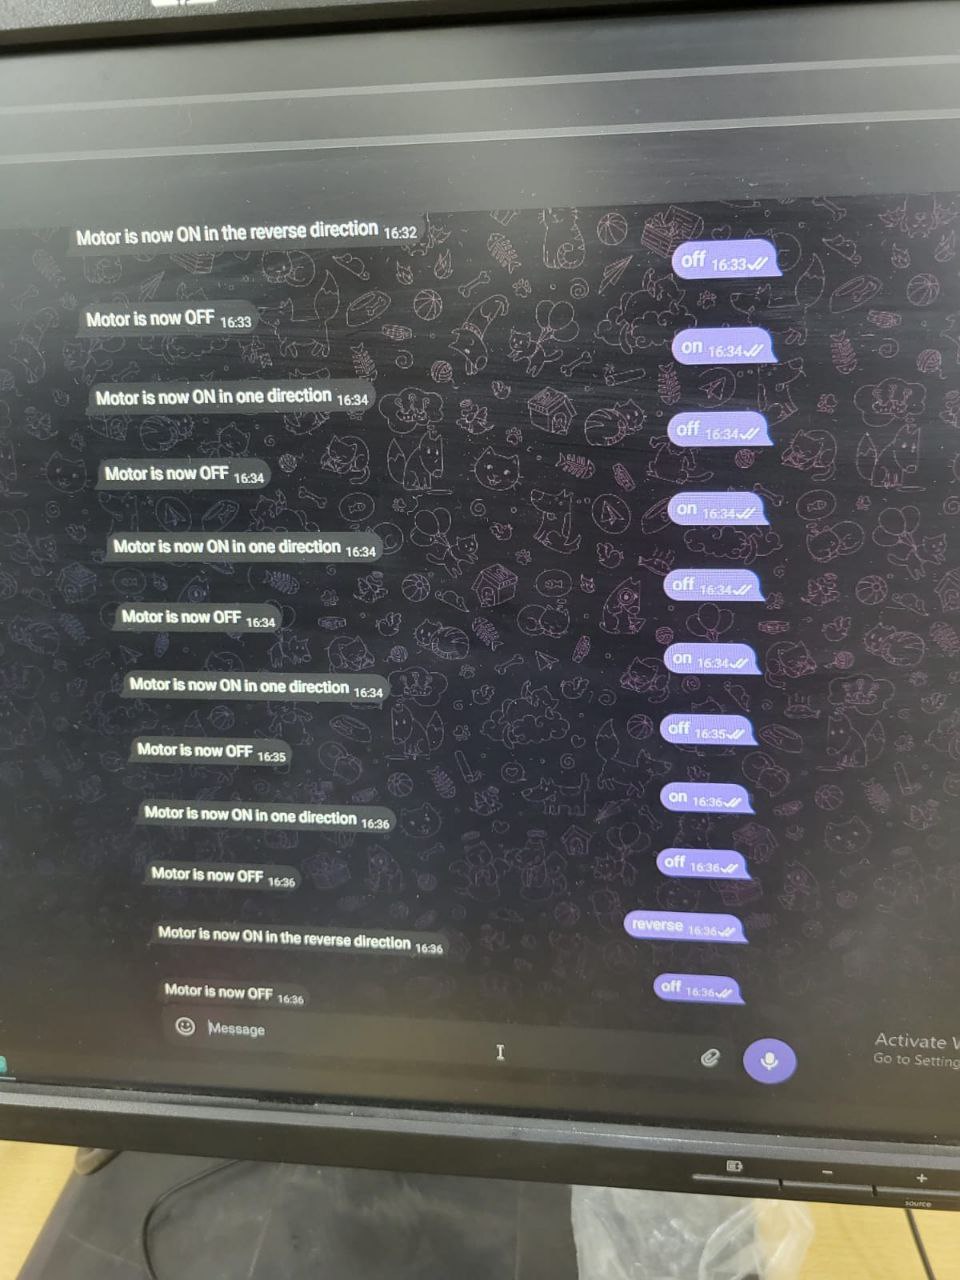
The task was to create a Telegram bot to turn on a motor in both the directions. We had to use ESP32 as the interface for this task.I made a Telegram bot using an ESP32 to control a motor in both directions. With the Arduino IDE, I set up Wi-Fi and linked to the Telegram Bot API. Using the Universal Telegram Bot library, I received commands from the Telegram app and managed motor actions accordingly. The code allowed me to start, stop, and reverse the motor based on user inputs. Also programmed it to send a welcome message with available commands if an unrecognized command is received.
Skills Acquired: Integrating ESP32 microcontroller with Telegram Bot API, Motor control interfacing
Difficulties Faced: Sending messages from Telegram API to ESP32 microcontroller
Task 8 : Alexa Light Control
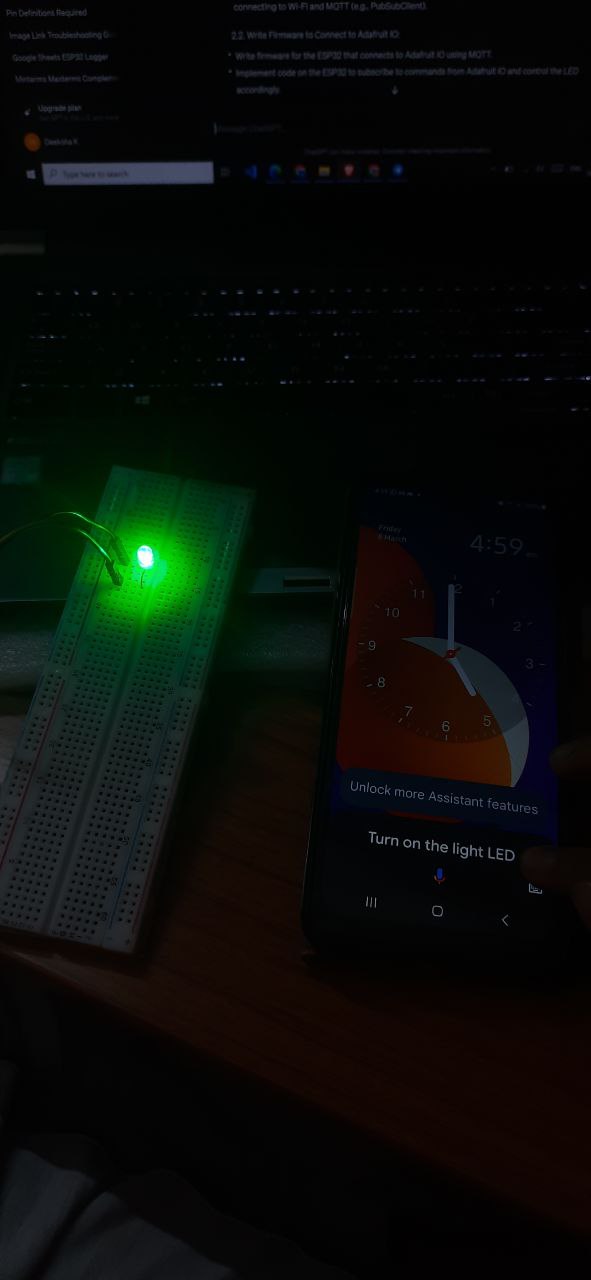
The task was to send voice commands to Alexa to turn off or turn on an LED bulb use ESP32 for the task.
