
COURSEWORK
NANDAN's IOT-001 course work. Lv 1
| NANDAN HAVALDAR | AUTHOR | ACTIVE |
17 / 10 / 2025
TASK 1 : 3D PRINTING
OBJECTIVE:
Understand the working of a 3D printer, check out the online resources. Understand what's an STL file, and then learn to slice it (using ultimaker or creality slicer).Go through the SOP'S regarding the 3d printer. Learn about bed temperature, infill density and other printer settings. Finally get an STL file from the internet, and slice it and put it for print.
OUTCOMES & LEARNING :
PLA (Polylactic Acid): A popular, biodegradable 3D printing filament made from renewable resources. It is easy to print, has low warping, and emits minimal odor, making it ideal for beginners.
Bed Temperature: For PLA, a heated bed is optional but typically set between 50–60°C to help with the first-layer adhesion and reduce warping.
Printing Speed: Generally set between 40–60 mm/s for standard PLA prints. Slower speeds improve print quality, especially for detailed or small models.
Pre-Procedure (Before Printing):
-
Download or create a 3D model and save/export it as an STL file.
-
Open the model in slicer software (e.g., Creality Slicer or Cura), select the appropriate printer model, and import the STL file.
-
Adjust essential print settings: layer height, print speed, bed temperature, nozzle temperature (around 190–220°C for PLA), infill density (affects strength and material usage), support structures, and bed adhesion methods.
-
Slice the model to generate G-code — the set of instructions the printer will follow.
-
Transfer the G-code file to the 3D printer (usually via SD card or USB cable).
Post-Procedure (After Printing)
-
Allow the print bed to cool down before removing the model to prevent warping or damage.
-
Carefully remove the finished model from the print bed, using a spatula if necessary.
-
Remove any support structures or rafts included in the print. Use pliers or cutters as needed.
Additional Essential Printer Settings:
-
Infill Density: Determines how solid the print will be inside. Standard values: 10–20% for most models, but higher for stronger parts.
-
Layer Height: Lower values (e.g., 0.1mm) yield finer details, while higher values (e.g., 0.2–0.3mm) print faster but with rougher surfaces.
-
Bed Leveling: Ensure the print bed is level before beginning to ensure proper adhesion and print quality.
These are the steps to be follwed to get a perfect 3D model.
TASK 2 : API
OBJECTIVE :
Learn about what is API and using any API of your choice, build a user interface (web app, mobile app, etc.) to make calls and display information.
OUTCOMES & LEARNING :
API stands for Application Programming Interface(API), which helps the user to interact with the server. It accepts the requests from the user and sends it to the server. After processing the data from the server is sent as output to the user using the same API medium.

TASK 3 : WORKING WITH GITHUB
OBJECTIVE :
Familiarize yourself with GitHub integrated workflows such as GitHub Actions, Issues, and pull requests. Visit the provided git repository and perform the tasks stated in the README file.
OUTCOMES & LEARNING :
GitHub is a platform for hosting and sharing code. It helps developers collaborate, track changes to their code, and manage projects using Git, a version control system. Think of it as a social network for programmers where they can work together on software projects.
WHAT I Learnt From GITHUB Task :
-
I learnt how to create a account in GITHUB .
-
And after that I learnt how to create a repository.
-
I learnt how to fork a repository .
Image of My Work

TASK 4 :Ubuntu LINE ON UBUNTU
OBJECTIVE:
Get familiar with the command line on Ubuntu by completing the following subtasks:
- Create a folder named test.
- cd into that folder.
- Create a blank file without using any text editor.
- List the files in that folder.
- Create 2600 folders in this folder, each named with a format like M90 or B56.
- Concatenate two text files containing random text and display them on the terminal.
OUTCOMES & LEARNING :
Ubuntu is a free, open-source Linux operating system known for its simplicity and user-friendly interface. It is widely used for desktops, servers, and cloud computing. Ubuntu emphasizes community, security, and regular updates.
What I learnt from UBUNTU Task :
- I lernt how to create a folder in linux.
- I created a blank file without using text editor.
- And at the end I created 2600 file using the function'touch'.
Image of My Work

REFERENCE : Mravel Website
TASK 7 : CREATE A PORTPOLIO WEBPAGE
OBJECTIVE:
Create a website to showcase your portfolio, including information about yourself, interests, projects, and social media profiles. Ensure the site is responsive and pushed to a git repository. Use any CSS framework of your choice.
OUTCOMES & LEARNING :
A webpage portfolio is a personal website that displays our work and skills. It helps showcase projects to potential clients or employers. Common sections include About Me, Projects, and Contact Info.
What I learnt from Task :
- I learnt how to create a webpage using HTML & CSS.
- With the help of resources from online I made my portpolio very attractive.
Image of My Work

REFERENCE: Online Resource
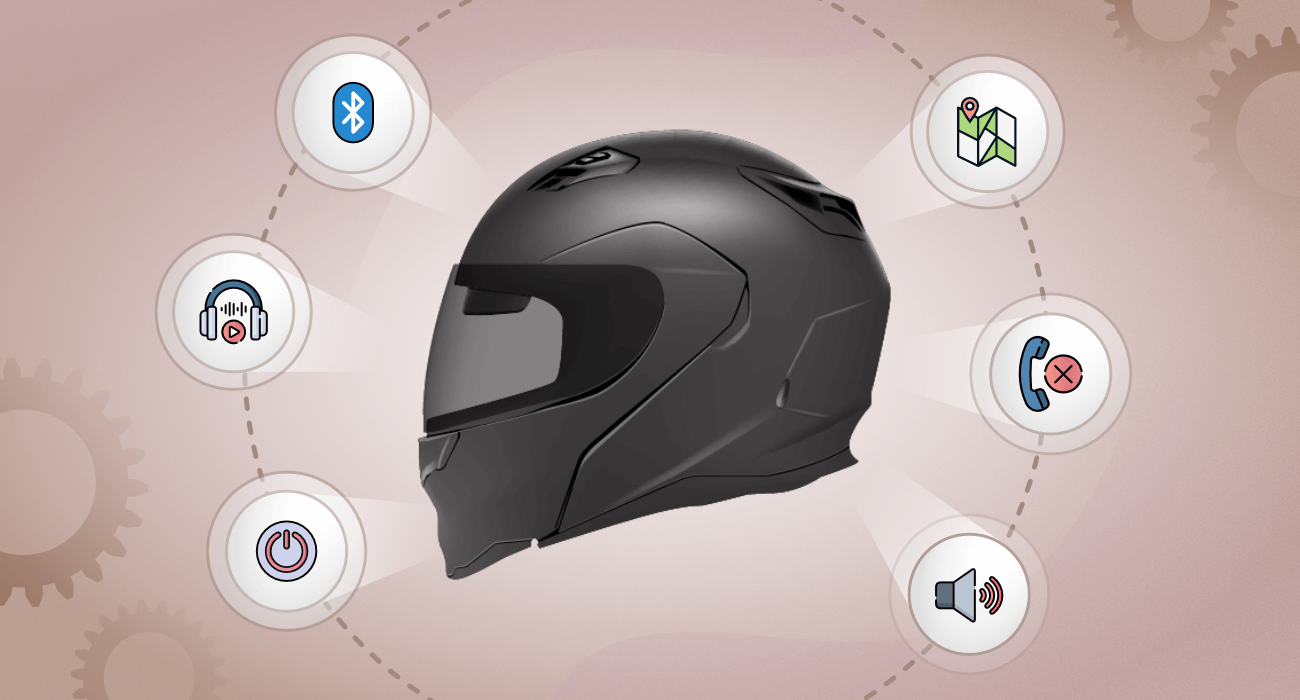
Smart Helmet for Accident Detection
TASK 9 : TINKERCAD
OBJECTIVE:
Create a Tinkercad account and familiarize yourself with the application. Simulate a simple circuit using an ultrasonic sensor to estimate the distance between an obstacle and the sensor, and display the results on the serial monitor. Create a radar system using an ultrasonic sensor and servo motor to detect objects within a certain range.
OUTCOMES & LEARNING :
INTRO ABOUT TINKERCAD :
Tinkercad is a free, easy-to-use online platform for creating 3D designs, simulating electronic circuits, and exploring visual coding, making it ideal for beginners in design, electronics, and coding.
What I learnt from TINKERCAD Task :
- I learnt how to build a circuit in tinkercad.
- And also I learnt how to simulate the circuit.
CIRCUIT CONNECTOINS :

Working principle of ultrasonic sensor :
The sensor first emits a short burst of ultrasonic waves using a transmitter (often a piezoelectric crystal).
These waves travel through the air until they encounter an object, at which point they are reflected back toward the sensor.
A receiver (sometimes the same transducer as the transmitter) detects the reflected echo.
The sensor then calculates the time taken for the emitted wave to return after hitting an object, known as the "time-of-flight".
Using the known speed of sound in air, the distance to the object is calculated with the formula:
Distance=(Time × Speed of Sound)/2
The division by 2 accounts for the round-trip (outgoing and incoming) journey of the sound wave .

Working principle of servo motor :
-
The servo receives a command signal, usually in the form of Pulse Width Modulation (PWM), indicating the desired position for the output shaft.
-
The internal control circuit compares this command signal with feedback from a position sensor, often a potentiometer or encoder attached to the shaft.
-
If there is a difference (error) between the actual and desired shaft positions, the control circuit generates an error signal that drives the motor to correct the shaft’s movement.
-
As the motor rotates, the feedback sensor continually updates the control circuit with the new position, maintaining accuracy until the desired position is reached and the error is zero.

REFERENCE : Online Website
Introduction :
Road accidents are one of the leading causes of death and serious injuries worldwide. In many cases, delayed medical assistance is the primary reason for loss of life. To address this issue, engineers and innovators are working on integrating technology with safety gear. One such innovation is the Smart Helmet for Accident Detection, a wearable device that not only protects the rider’s head but also helps in saving lives by alerting emergency services in case of accidents.
Concept of a Smart Helmet :
A smart helmet is not just an ordinary protective gear; it is embedded with sensors, microcontrollers, and communication modules that can detect accidents and automatically send alerts. The helmet functions as an intelligent system that bridges the gap between accident occurrence and immediate medical response.
Key Features :
- Impact Detection Sensors – Accelerometers and gyroscopes are used to sense sudden impacts or abnormal head movements.
- Microcontroller Unit – Acts as the brain of the system, processing sensor data and deciding whether an accident has occurred.
- GPS Module – Pinpoints the exact location of the rider in case of an accident.
- GSM/4G/IoT Connectivity – Sends automatic SMS or app notifications to emergency contacts or nearby hospitals.
- Helmet Locking System – Ensures the vehicle starts only when the helmet is worn, promoting safety compliance.
- Voice Assistance – Allows the rider to send distress signals manually if needed.
Working Principle :
When the rider experiences a crash, the impact sensors in the helmet detect abnormal force or vibration. The data is processed by the microcontroller, which confirms whether it is an accident scenario. If confirmed, the GPS coordinates are fetched, and the GSM module immediately sends an alert message to predefined emergency numbers. Some advanced models also connect to smartphone apps and alert the nearest hospitals or emergency services directly.
Advantages :
- Quick emergency response, reducing the chances of fatalities.
- Promotes helmet-wearing discipline with ignition-locking systems.
- Useful in remote areas where immediate help is not easily available.
- Enhances road safety and encourages responsible riding habits.
Conclusion :
The Smart Helmet for Accident Detection is an excellent example of how engineering and technology can save lives. By combining protective gear with intelligent systems, it not only reduces the severity of road accidents but also ensures that medical assistance reaches victims on time. With continuous innovation, such devices could soon become a standard for all two-wheeler riders, creating safer roads and a more responsible riding culture.
Task 11: LED TOGGLE USING ESP32
OBJECTIVE :
Learn how to use an ESP32 to create a standalone web server that controls an LED connected to the ESP32 GPIOs. Use the Arduino IDE to code and upload the program to the ESP32.
OUTCOMES & LEARNING :
Toggling an LED using an ESP32 means turning it on and off repeatedly by controlling a digital GPIO pin. In the code, the GPIO pin connected to the LED is set as an output, and its state is changed between HIGH and LOW. This switching creates a blinking effect, and is commonly done using a delay between each toggle in the loop.
What I learnt from TOGGLE Task :
- I learnt the working principle of ESP32.
- I learnt the circuit connection of breadboard.
Components Required For this Task:

CIRUIT CONNECTION :


click here to watch the video of this task.