COURSEWORK
Krishna's VFX-001 course work. Lv 1
| Krishna Prasad | AUTHOR | ACTIVE |
This Report is yet to be approved by a Coordinator.
Krishna Prasad's Level 1 report
17 / 8 / 2025
Installation
First, I went to the Marvel UVCE VFX course site and clicked on the link for DaVinci Resolve, which redirected me to the official DaVinci Resolve website. I completed the sign-up process and downloaded the free version of the software.
Once the download was completed, I installed the software and was introduced to the home page.
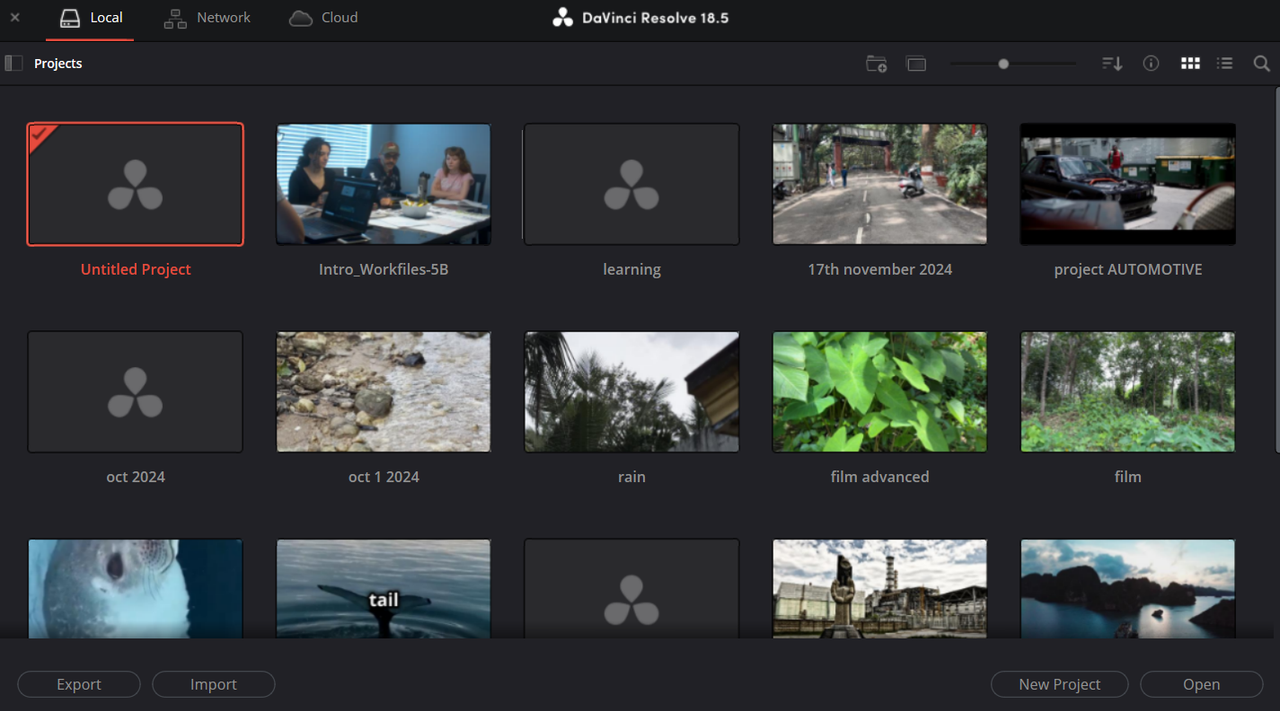
Home Page
On the home page, I was introduced to several options. I selected New Project, named it, and pressed Enter. This opened the Cut Page.
I also learned how to import media into the editor by clicking the File menu or by using the shortcut Ctrl+I.
Media Page
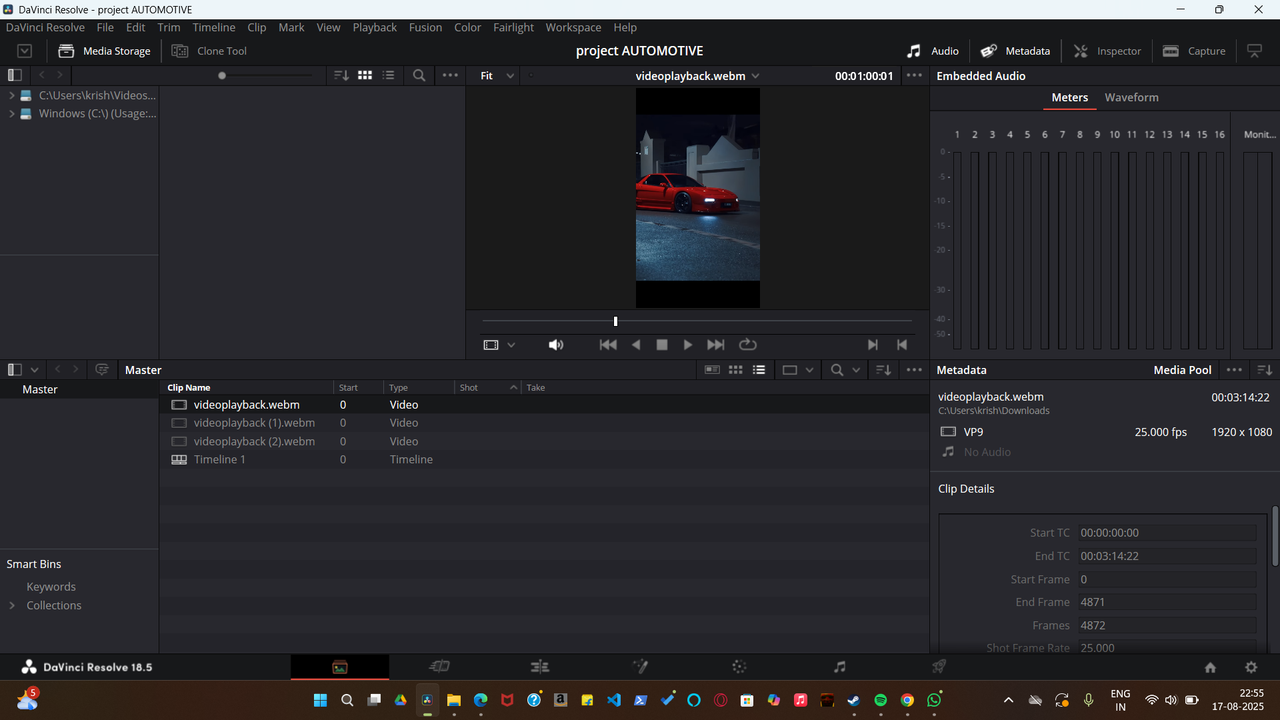
- Media can also be imported directly from the Media Page.
- I explored the video file details, such as metadata (frames per second, resolution, etc.).
- It also displayed clip information like video length, start frame, and end frame.
- A resizable video player was available for previewing clips.
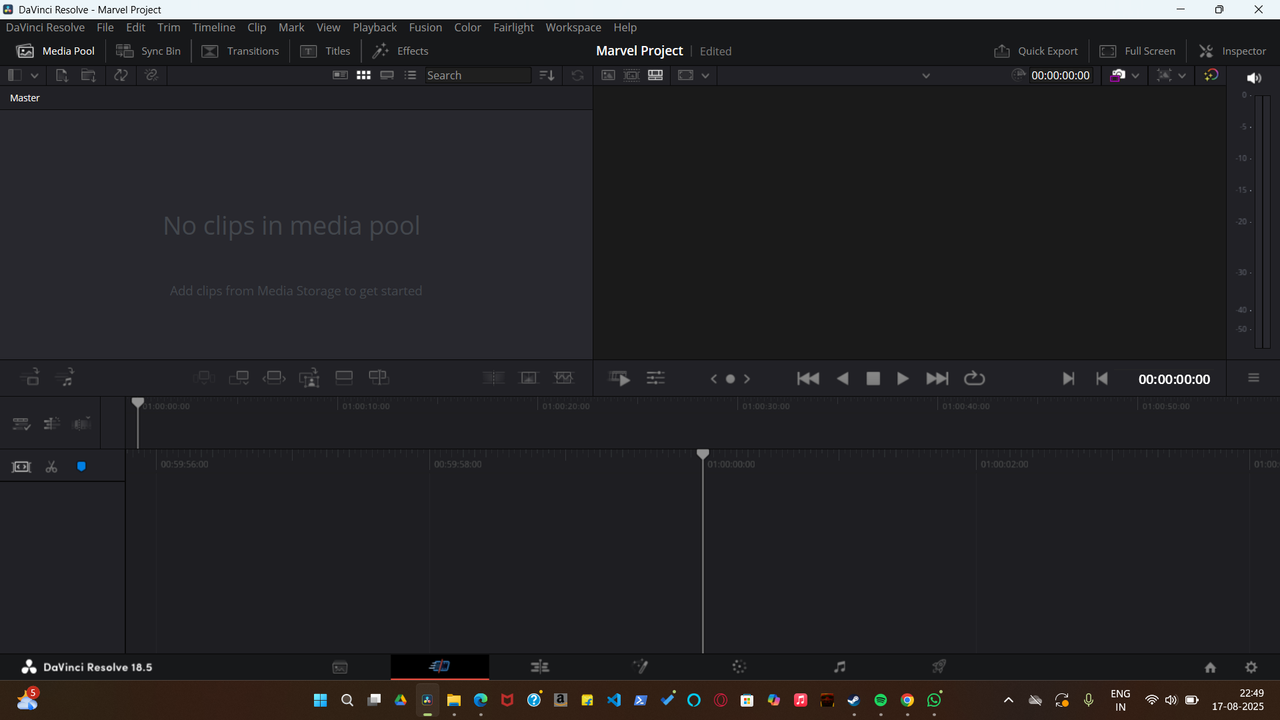
Cut Page
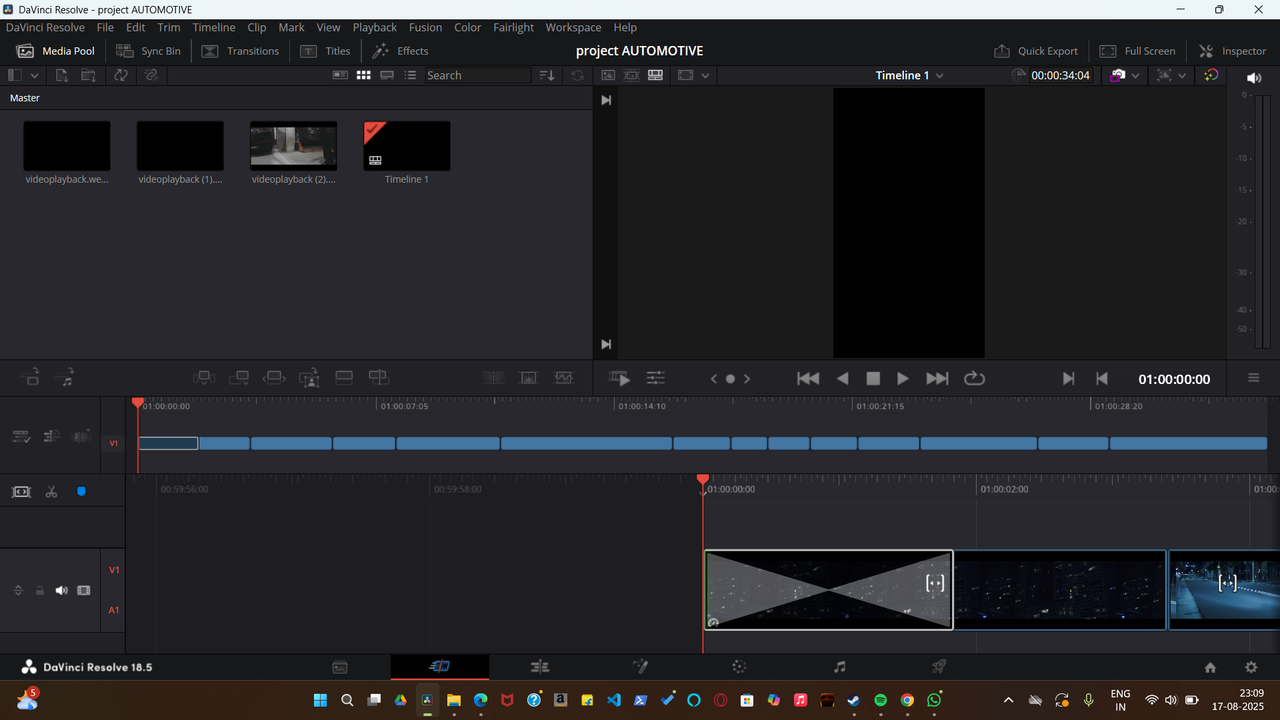
- This page contained more useful tools compared to the Media Page.
- I could see my media files, the video player, and the timeline.
- By hovering over video files, I could preview them.
- When multiple clips were added, they appeared in the timeline in sequence.
- The video player played the video as I scrubbed through the timeline, showing a live preview.
- Timeline tools included cut, place on top, append, smooth cut, and more. I mostly used the cut tool, as it’s the most basic and essential for editing.
- The timeline was divided into two parts:
- The upper part had a movable playhead.
- The lower part showed the clip moving under a fixed playhead.
- I mainly used this page to cut and merge videos.
Edit Page
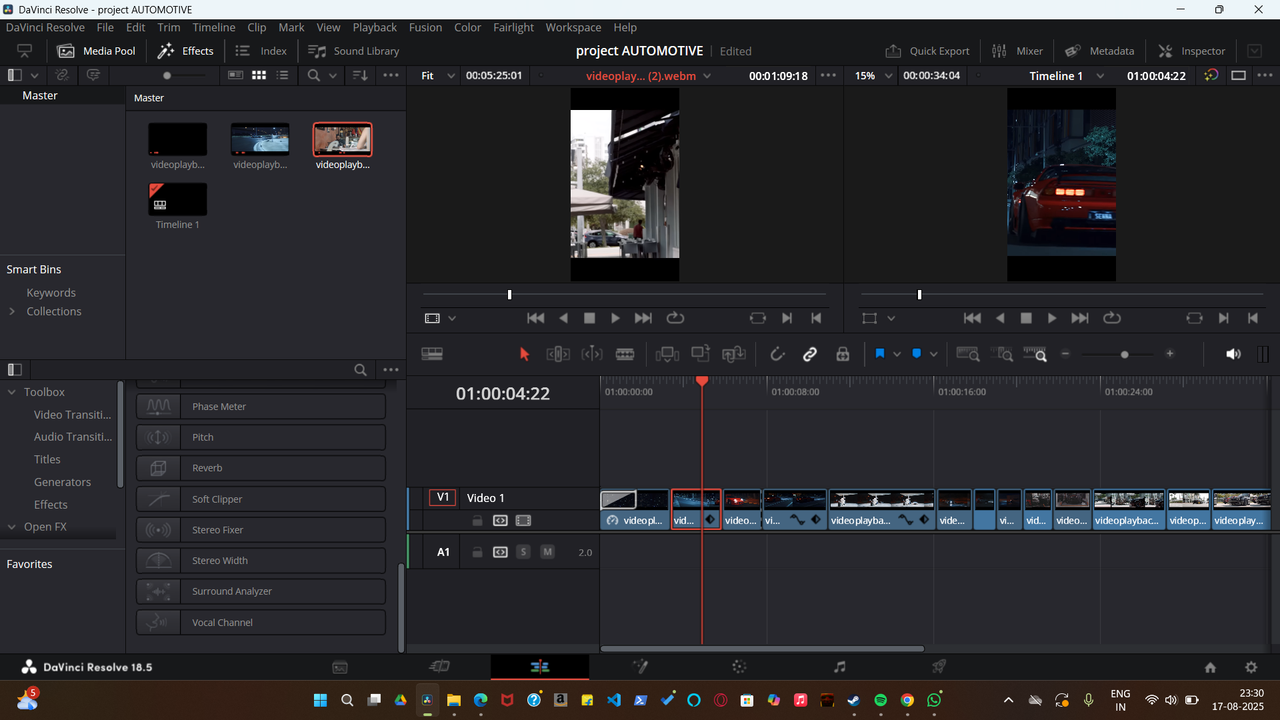
- The Edit Page included features from the Cut Page, plus additional tools like transitions, the inspector, and effects.
- There were two video players: one for the entire timeline and another for specific segments.
- The inspector allowed me to adjust positions, crop clips, and use features like dynamic zoom (which made clips look more cinematic).
- Text editing was also possible here.
- The Toolbox menu contained video and audio transition presets, which I used to create smooth transitions.
- The timeline offered trimming tools, as well as flags and markers for identifying important parts for effects like speed ramps or transitions.
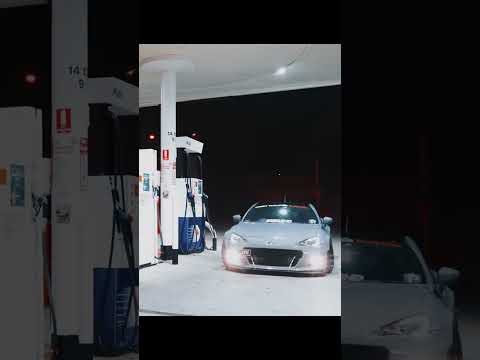
- Since I was editing car videos, most of my trimming, merging, transitions, and zooming happened here—it was less fiddly and more productive.
Fairlight

- This page is dedicated to sound editing.
- Initially, my videos were silent because I had removed the original audio.
- Fairlight was a game-changer, offering familiar tools like merge and trim, making it easy to use.
- I imported a non-copyright BGM and some sound effects.
- The BGM was placed across the full timeline, and I trimmed and placed sound effects at appropriate points.
Deliver Page
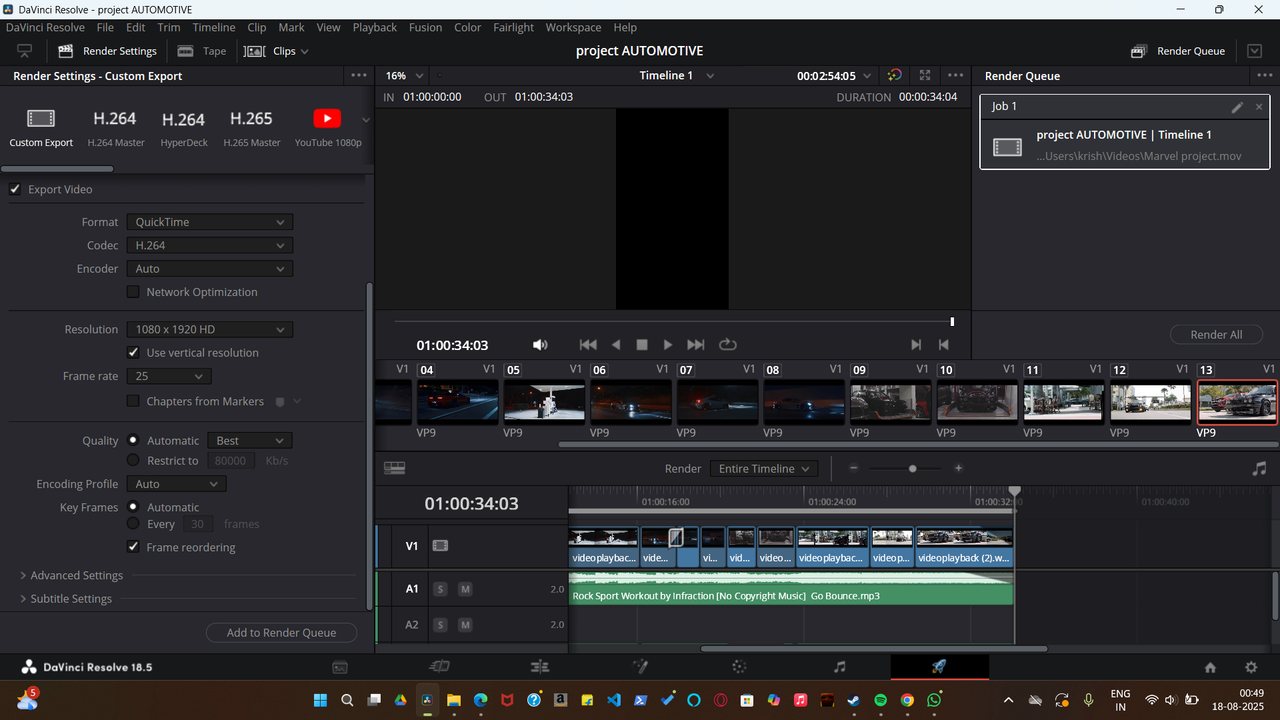
- Finally, I rendered the finished project.
- The Deliver Page allowed me to choose resolution, frame rate, and other export settings.
- I selected 1080x1920 HD resolution to produce a vertical video in HD.
- I set the frame rate to 24 fps for a cinematic look (as opposed to 50–60 fps, which feels smoother and sportier).
- I kept the other settings as default, added the project to the Render Queue, and clicked Render All.
- After a few minutes, my video was ready.
Final Output
Thank you!
Final Video: