
COURSEWORK
Riya's VFX-001 course work. Lv 1
| Riya K Alex | AUTHOR | ACTIVE |
Riya's VFX-001 Report
18 / 8 / 2025
Introduction
DaVinci Resolve is one of the most versatile video editing platforms available today. It combines video editing, colour grading, visual effects, and audio post-production in a single application. DaVinci Resolve began as a professional tool for Hollywood colour grading and has now evolved into a complete video editing software, enabling users to edit footage, add effects, and refine audio, providing an all in one platform.
This report documents the process, techniques, and insights gained throughout the project.
Installation and Setup
Setting up DaVinci Resolve properly lays the foundation for a smooth editing workflow. I installed DaVinci Resolve by first downloading it from the official website, then running the installer and following the on-screen instructions. After installation, I set up the project preferences such as timeline resolution and frame rate. Once everything was ready, I launched the software and verified that it was working properly before starting my project.
You can click this link to install: DaVinci Resolve Official Website
Tips & Tricks:
- Install the software on an SSD for faster load times and rendering.
- Configure keyboard shortcuts for frequently used tools—it dramatically speeds up editing.
- Set your default project settings to match your most common workflow.
Media Management
Effective media management is crucial for saving time and avoiding frustration.
- Import Media: Drag and drop files or use the import tool.
- Organize Assets: Create bins for videos, audio, graphics, and images.
- Metadata Management: Rename clips, add markers, and check frame rate and resolution.
Tips & Tricks:
- Use colour-coded labels to categorize clips for faster navigation.
- Smart Bins can automatically sort clips based on metadata like resolution or clip type.
- Preview clips and mark in/out points to save time during editing.
Editing Techniques
Cut Page
The Cut Page is designed for speed and efficiency:
- Ideal for rough cuts and quick assembly of clips.
- Source tape view allows browsing all clips sequentially.
- Trim, ripple, and insert clips quickly without losing workflow.
Tips & Tricks:
- Use Shift + Space to play only selected clips.
- Mark key scenes for faster navigation during rough editing.
- Preview edits in full-screen to detect pacing issues early.
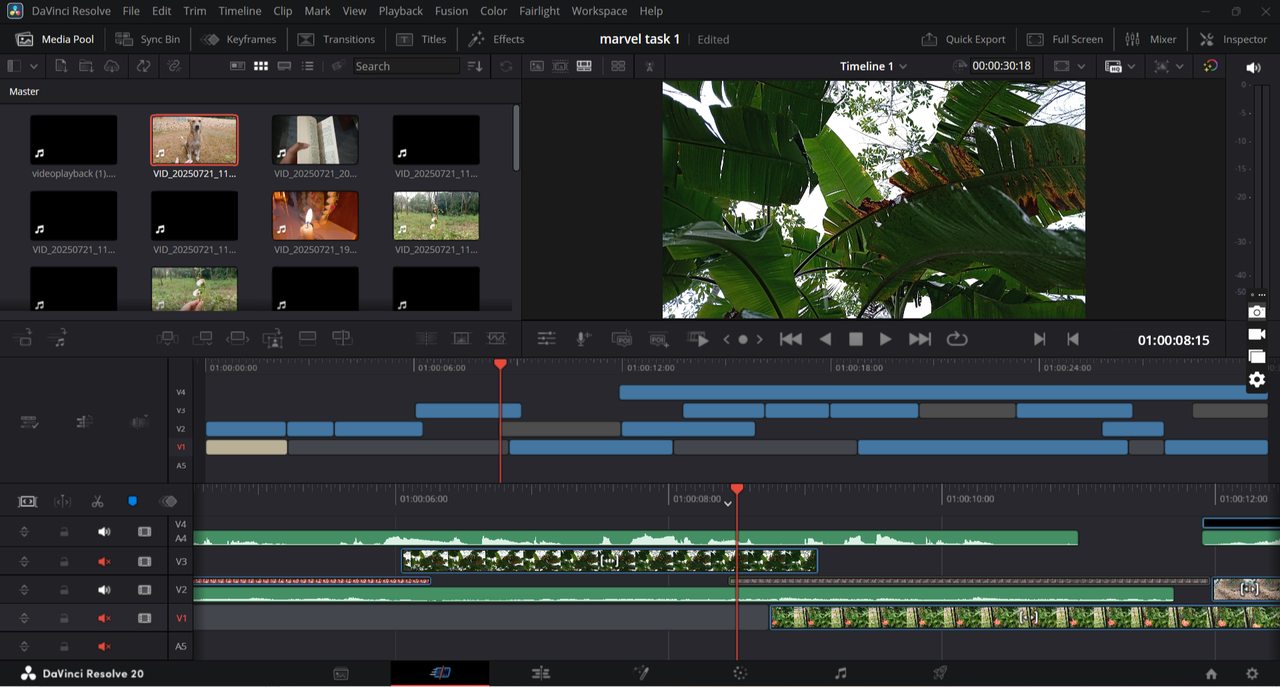
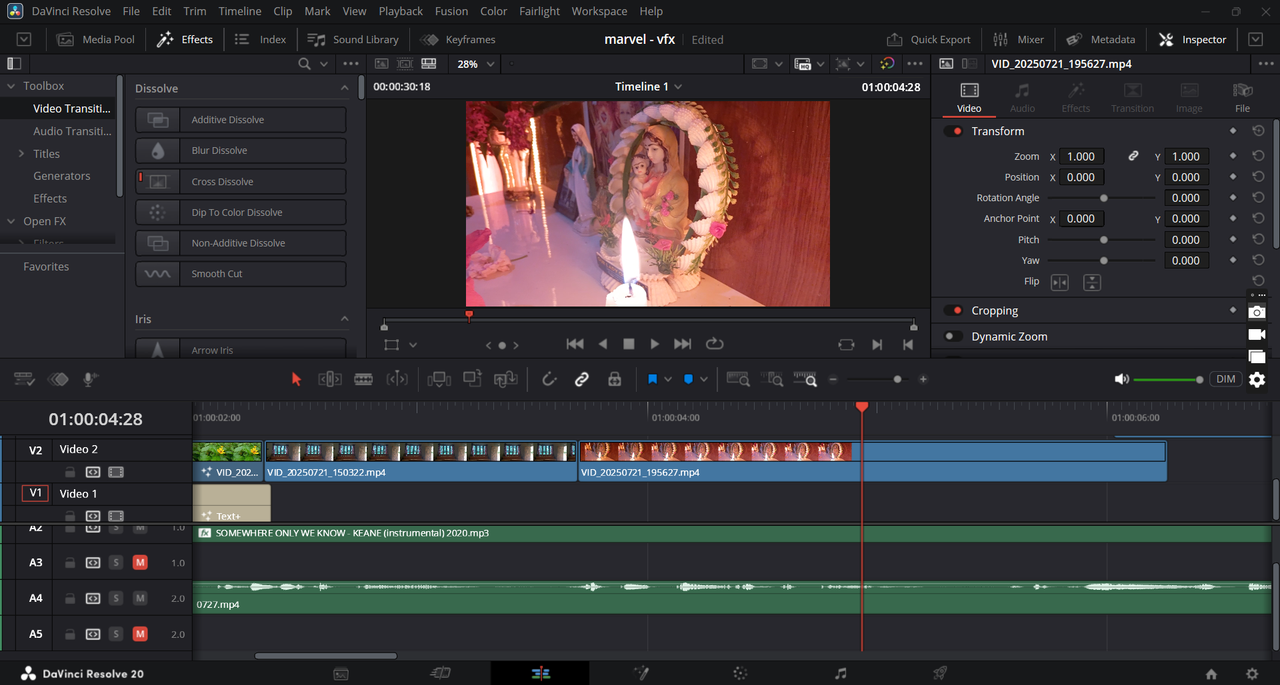
Edit Page
The Edit Page provides precise control over the project:
- Add transitions, text overlays, and keyframe animations.
- Synchronize audio and video accurately.
- Nest timelines to manage complex sequences efficiently.
Tips & Tricks:
- Duplicate timelines before experimenting with major edits.
- Use markers to note important frames or cues for audio/video synchronization.
- Group similar clips for smoother batch edits.
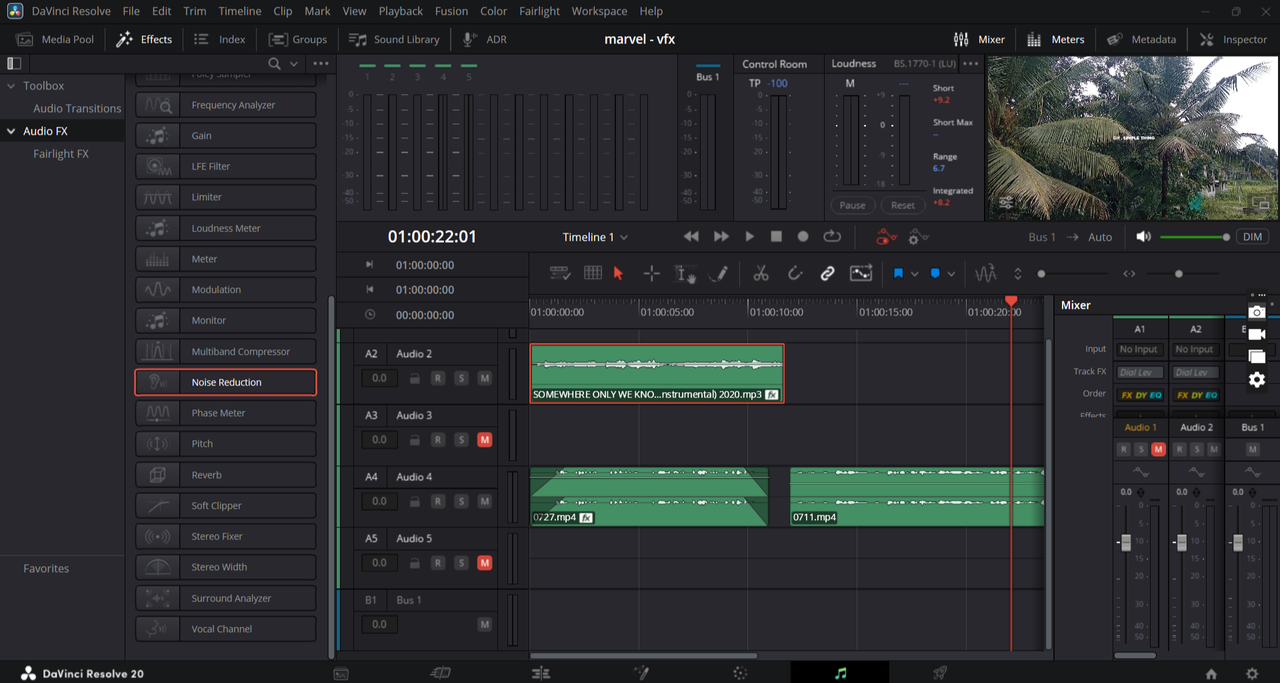
Fairlight Page
The Fairlight Page in DaVinci Resolve provides a professional environment for audio editing, mixing, and mastering. It allows precise control over all audio elements, making the video sound as polished as it looks.
- Edit Audio Clips: Trim, fade, and adjust volume levels.
- Audio Effects: Apply EQ, compression, reverb, and other effects to enhance sound quality.
- Track Management: Organize multiple audio tracks for dialogue, background music, and effects.
- Automation: Use volume and effect automation to create dynamic audio changes.
Tips & Tricks:
- Use markers to sync audio perfectly with video events.
- Apply subtle audio effects to background music to prevent overpowering the voiceover.
- Monitor audio using meters and scopes to ensure levels are consistent and clear.
Colour Correction and Grading
Colour transforms the project visually and emotionally:
- Adjust contrast, saturation, and exposure for each clip.
- Use nodes for primary and secondary corrections.
- Apply LUTs to achieve consistent cinematic looks.
Tips & Tricks:
- Always check scopes (waveform, vectorscope, histogram) to maintain colour accuracy.
- Use still references to match colours across multiple shots.
- Make subtle adjustments—minor tweaks can drastically improve visual storytelling.
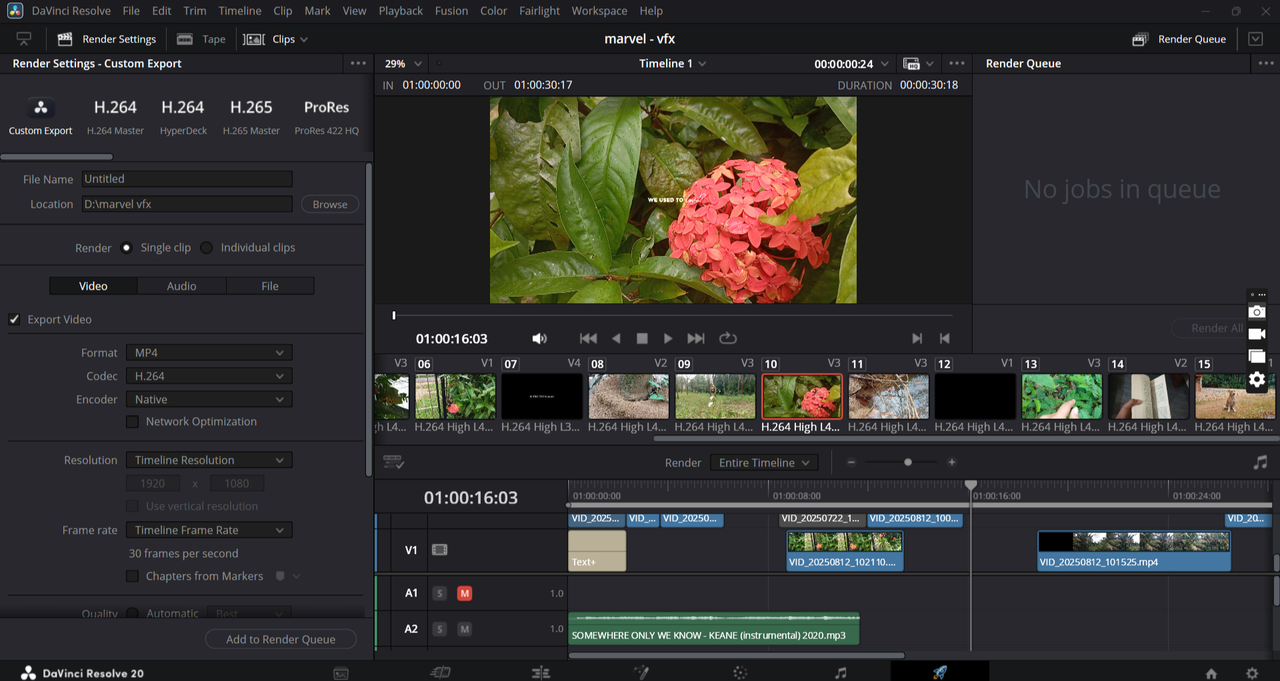
Exporting
Exporting correctly ensures your video looks great on any platform:
- Set format, resolution, and codec based on delivery requirements.
- Use Quick Export for social media-ready videos.
- Verify the final output for colour consistency, audio quality, and smooth playback.
Tips & Tricks:
- Export a short test clip to check visuals and audio before full render.
- Use render presets for different platforms (YouTube, Instagram, Vimeo).
- Maintain consistent file naming conventions for easier project archiving.
Advanced Features
Fusion Page
- Node-based system for creating visual effects, motion graphics, and compositing.
- Allows layering multiple effects and precise control over adjustments.
Tips & Tricks:
- Label nodes clearly to avoid confusion in complex compositions.
- Group nodes to simplify editing and improve workflow efficiency.
- Experiment with small effects and refine gradually for professional results.
Colour Page
- Professional-grade colour grading with scopes and masks.
- Apply selective colour correction for precise adjustments.
- Maintain consistency across scenes using still references and grading presets.
Tips & Tricks:
- Review footage on multiple screens to ensure consistent colours.
- Create a colour grading template for recurring projects.
- Use secondary corrections to highlight subjects without affecting backgrounds.
Time-Saving Editing Techniques
- K Key: Pause playback while editing.
- J Key: Play video backward.
- L Key: Play video forward.
- Shift + L/J: Increase playback speed forward/backward for faster review.
- Ctrl/Cmd + Z: Undo last action.
- Ctrl/Cmd + Shift + Z: Redo action.
- Ctrl/Cmd + C / Ctrl/Cmd + V: Copy and paste clips or attributes.
- Ctrl/Cmd + B: Cut clip at playhead position.
- Alt + Drag Clip: Duplicate a clip quickly.
Tips & Tricks:
- Keyboard shortcuts save significant time and make editing much more efficient.
- Using D to deactivate clips is useful when comparing different versions or temporarily removing unwanted sections.
- Separating audio and video allows precise control, like adjusting audio levels independently of video movement.
Tasks & Assignments
For my project, I combined the requirements of Assignment 1 and 2 into a single video. I used clips recorded around my house and imported them into DaVinci Resolve. I arranged the footage on the timeline, trimming and adjusting each clip to create a smooth flow.
I added a voiceover, incorporated text overlays, and applied subtle effects to enhance the visuals. As part of enhancing the video, I added a text overlay of a song’s lyrics to few clips. To ensure it didn’t distract from the visuals, I lightened the text so it blended smoothly with the footage while remaining readable.
Combining recorded clips with voiceover and text overlays adds a personal and professional touch to the project.
You can access the completed project here: Watch Final Output
Riya's VFX-001 Level 2 Coursework Report
Introduction
In this assignment, I worked on creating a short cinematic video using DaVinci Resolve. The goal was to understand how the Fusion page can be used for visual effects and how the Color page can enhance the overall look of a clip. I tried to keep the output simple while still making it visually appealing.
Colour Grading
Colour grading is used to adjust brightness, contrast and colors in a video to improve its visual quality and create a certain mood.
I started by importing the clips into the timeline and opening the Color page. To make controlled adjustments, I added multiple corrector nodes so that each change could be handled separately.
In the first node, I increased the contrast to make the details more visible. Then in the next nodes, I adjusted the colors slightly. I pushed the shadows a bit towards blue tones to give a cooler night feel, and adjusted the highlights slightly towards warm tones to balance the overall look.
I kept the changes subtle so that the clip still looks natural but more visually enhanced. The final result had better contrast and a slightly cinematic color tone.

Fusion
Fusion is a node-based compositing system where different elements are combined using nodes.
For this part, I worked with a city night clip and a fireflies overlay. First, I placed both clips in the timeline, with the fireflies clip above the city clip, and then converted them into a Fusion clip.
In the Fusion page, I used two input nodes: MediaIn1 for the city clip and MediaIn2 for the fireflies clip. I added a Merge node to combine them. The city clip was connected to the background (yellow input) and the fireflies clip to the foreground (green input).
Initially, the fireflies clip had a black background. To remove it, I changed the blend mode of the Merge node to Lighten. This made only the glowing particles visible while removing the black areas.
To enhance the overall look slightly, I added a Soft Glow node after the city clip, which helped in making the lights look a bit more vibrant.

The final output showed the city scene with subtle glowing particles, making it look more dynamic and cinematic.
Outcomes
Through this assignment, I learned how to use node-based workflows in both Fusion and Color pages. I understood how combining small effects and adjustments can significantly improve the visual quality of a video.