COURSEWORK
Mythili's IOT-001 course work. Lv 1
| Mythili Shetty | AUTHOR | ACTIVE |
IoT Level-1 Tasks Report
29 / 3 / 2024
TASK 1: SIMON SAYS
After understanding the virtual game given in the resource, we had to build a working model of the game using an ESP32 microcontroller. After making the proper connections using LED’s and push buttons along with a few modifications of the resource code, I was able to make the game. If the user had pressed the wrong buttons, it gave clear indication by lighting up all the LED’s.
I had to try this task 3-4 times to properly tweak the code and upload it successfully to the ESP32 microcontroller.
TASK 2: BASICS OF MQTT PROTOCOL
MQTT (Message Queuing Telemetry Transport) is a messaging protocol for restricted low-bandwidth networks and extremely high-latency IoT devices. Since Message Queuing Telemetry Transport is specialized for low-bandwidth, high-latency environments, it is an ideal protocol for machine-to-machine (M2M) communication.
MQTT works on the publisher / subscriber principle and is operated via a central broker. This means that the sender and receiver have no direct connection. The MQTT broker is the center of every Publish / Subscribe protocol. The broker is responsible for receiving all messages, filtering the messages, determining who subscribed to each message and sending the message to those subscribed clients.
TASK 3: BASICS OF CREATING A WEBSITE
We had to create a basic website which toggled its background colour using a button. This task helped me learn the basics of HTML, CSS and Javascript.
Toggle website
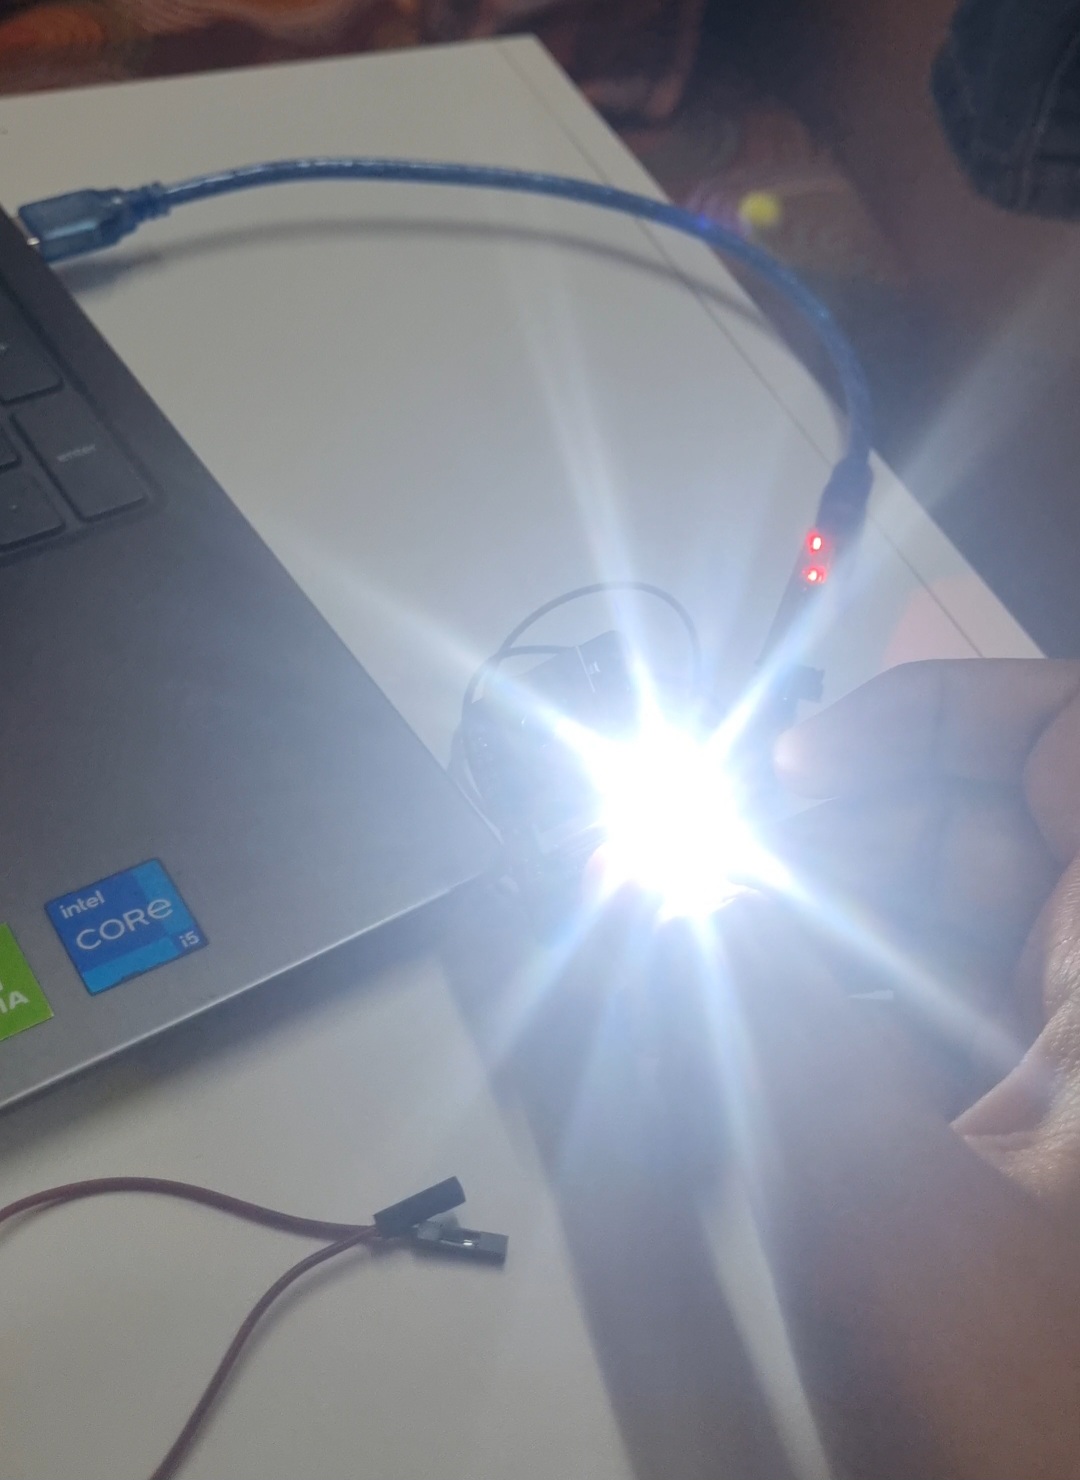
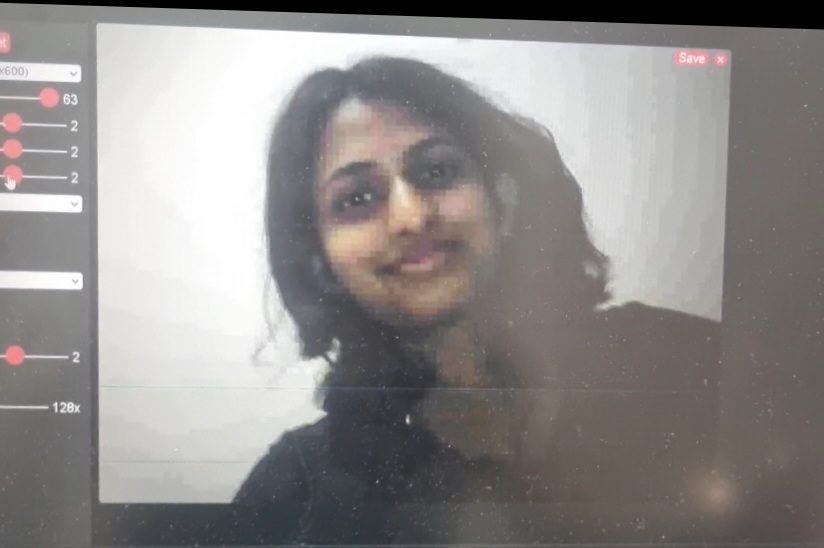
TASK 4: ESP32 CAM
The task was to learn the functioning if ESP32 CAM using the example code provided in the Arduino IDE along with a few basic connections. I worked on this task quite a bit as it I was unable to upload the code to the ESP32 Cam successfully. Also, unlike an ESP32, the ESP32 CAM didn’t have a USB port. So, we had to make use of an FDTI programmer. Also, we had to ensure to connect the GPIO 0 to GND when uploading the code so that it is in programming mode and ready to accept new code.
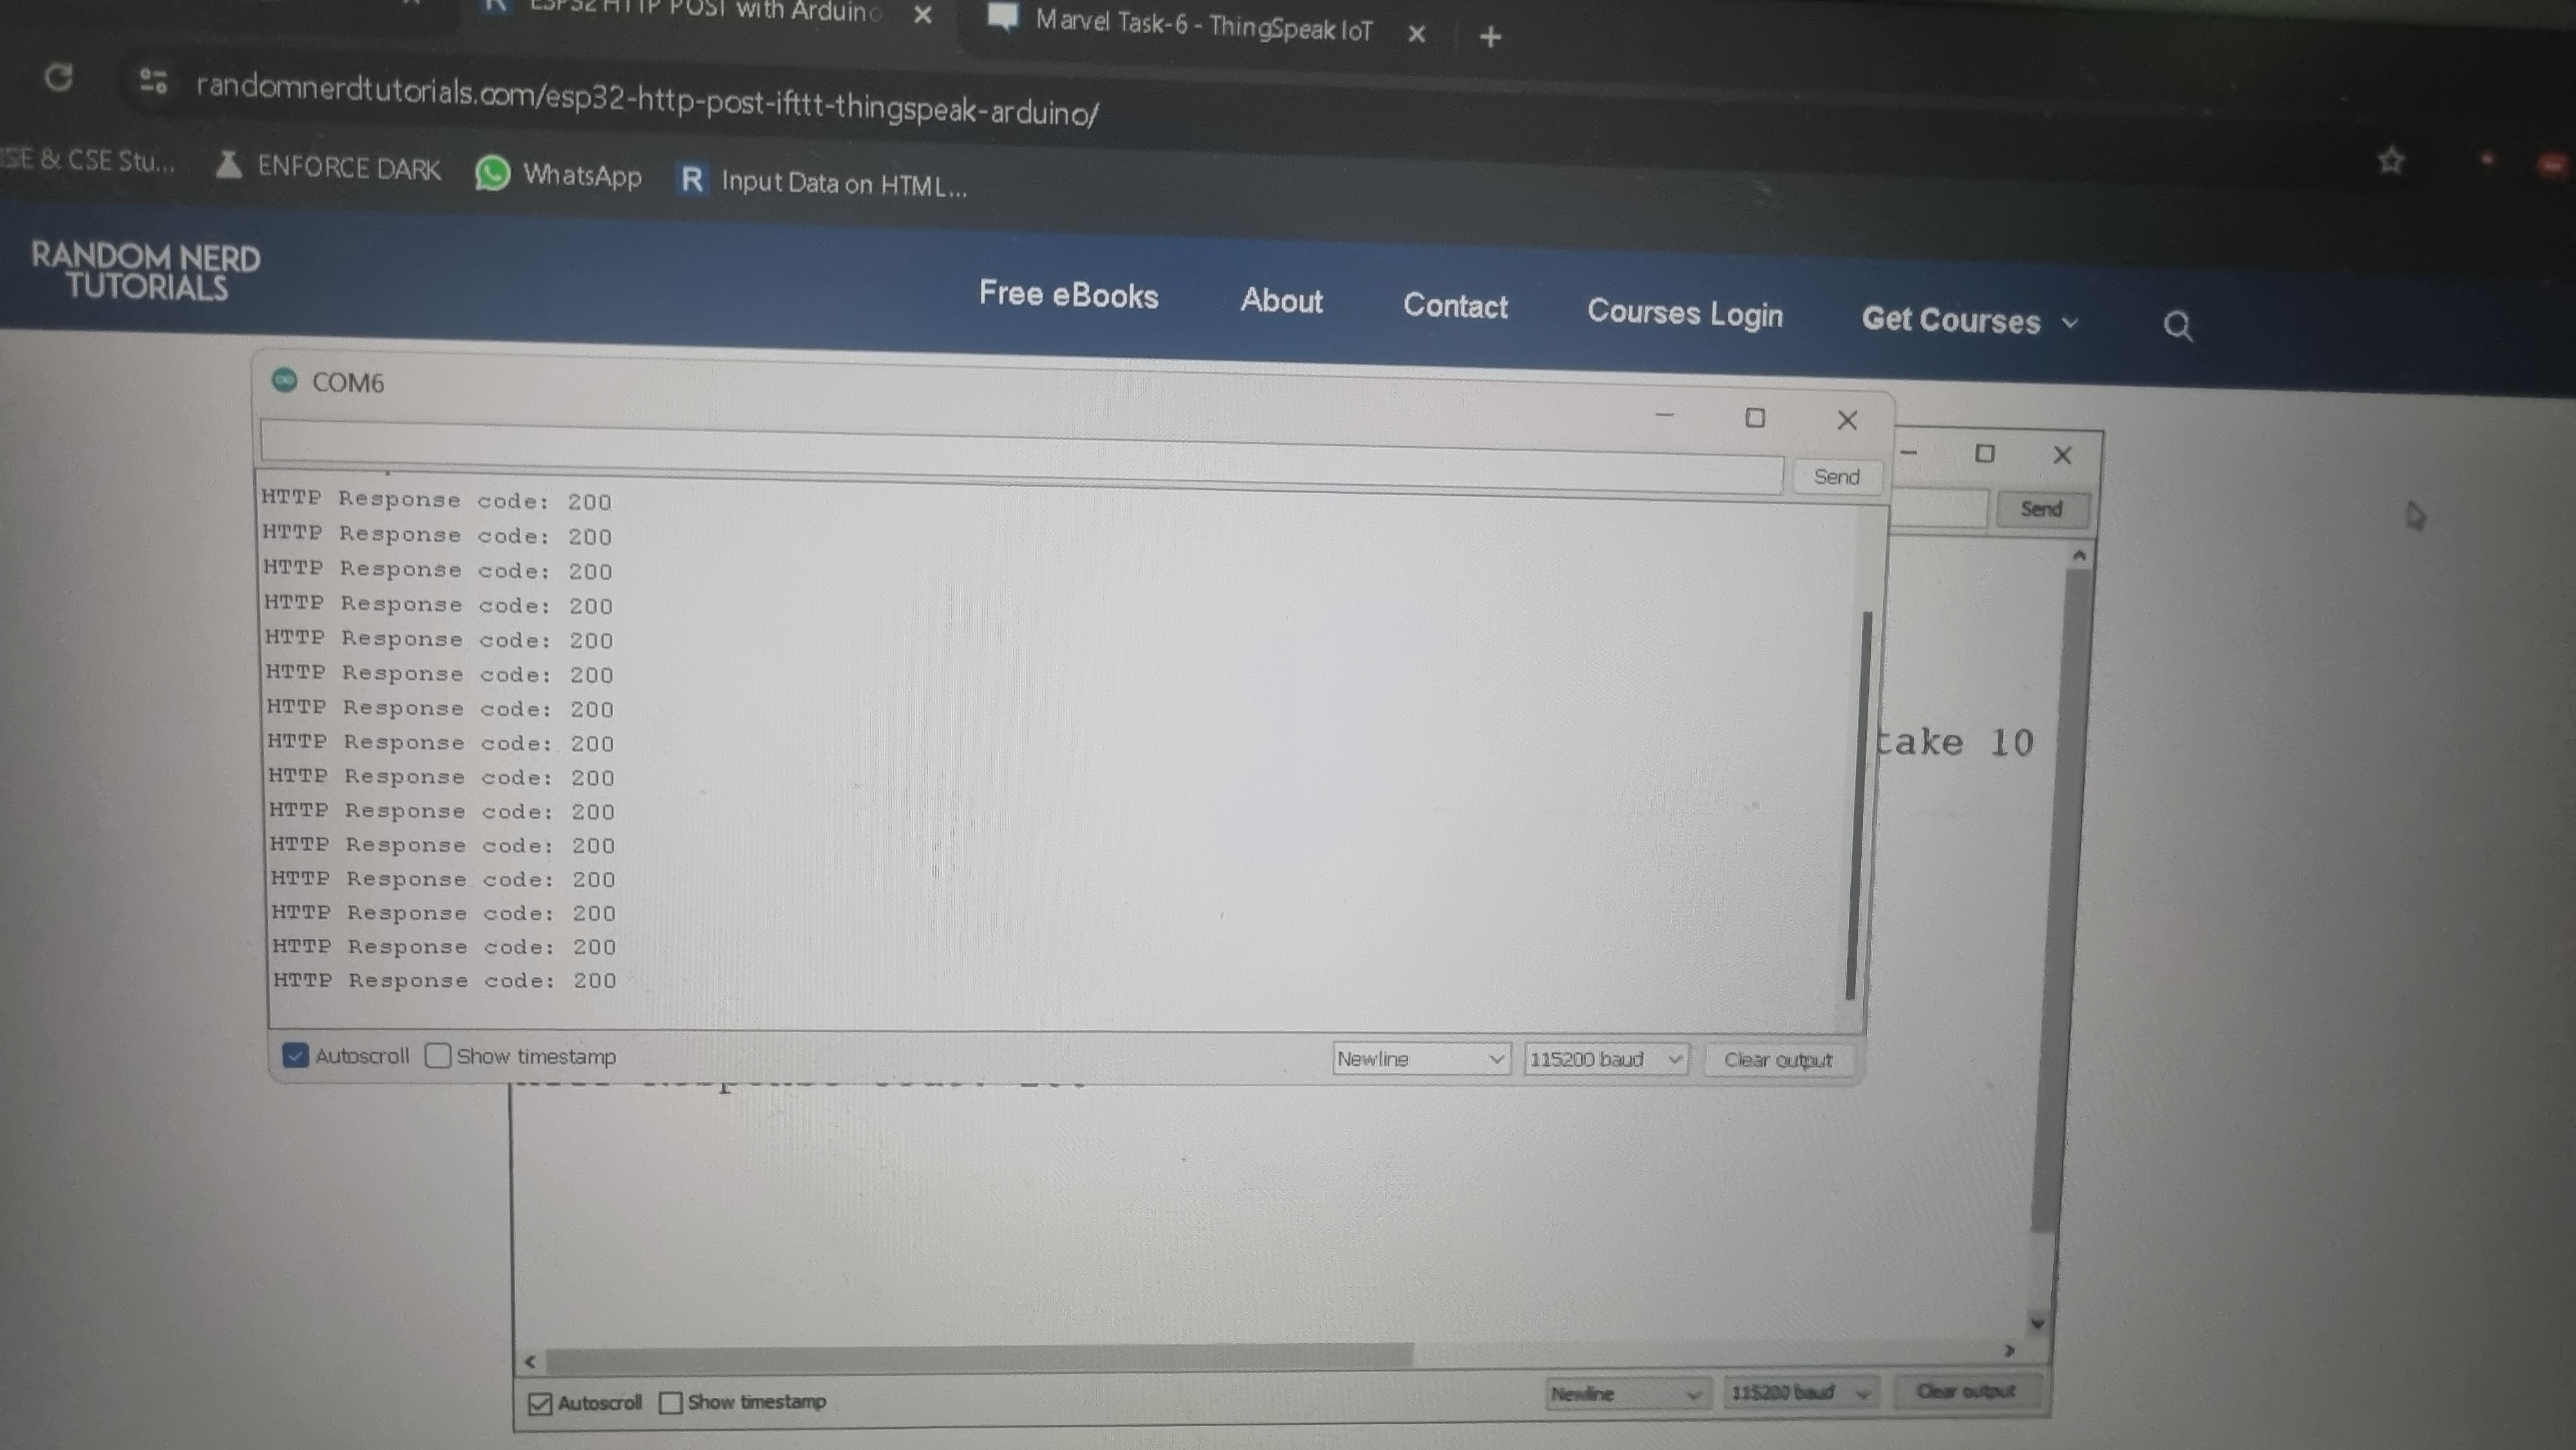
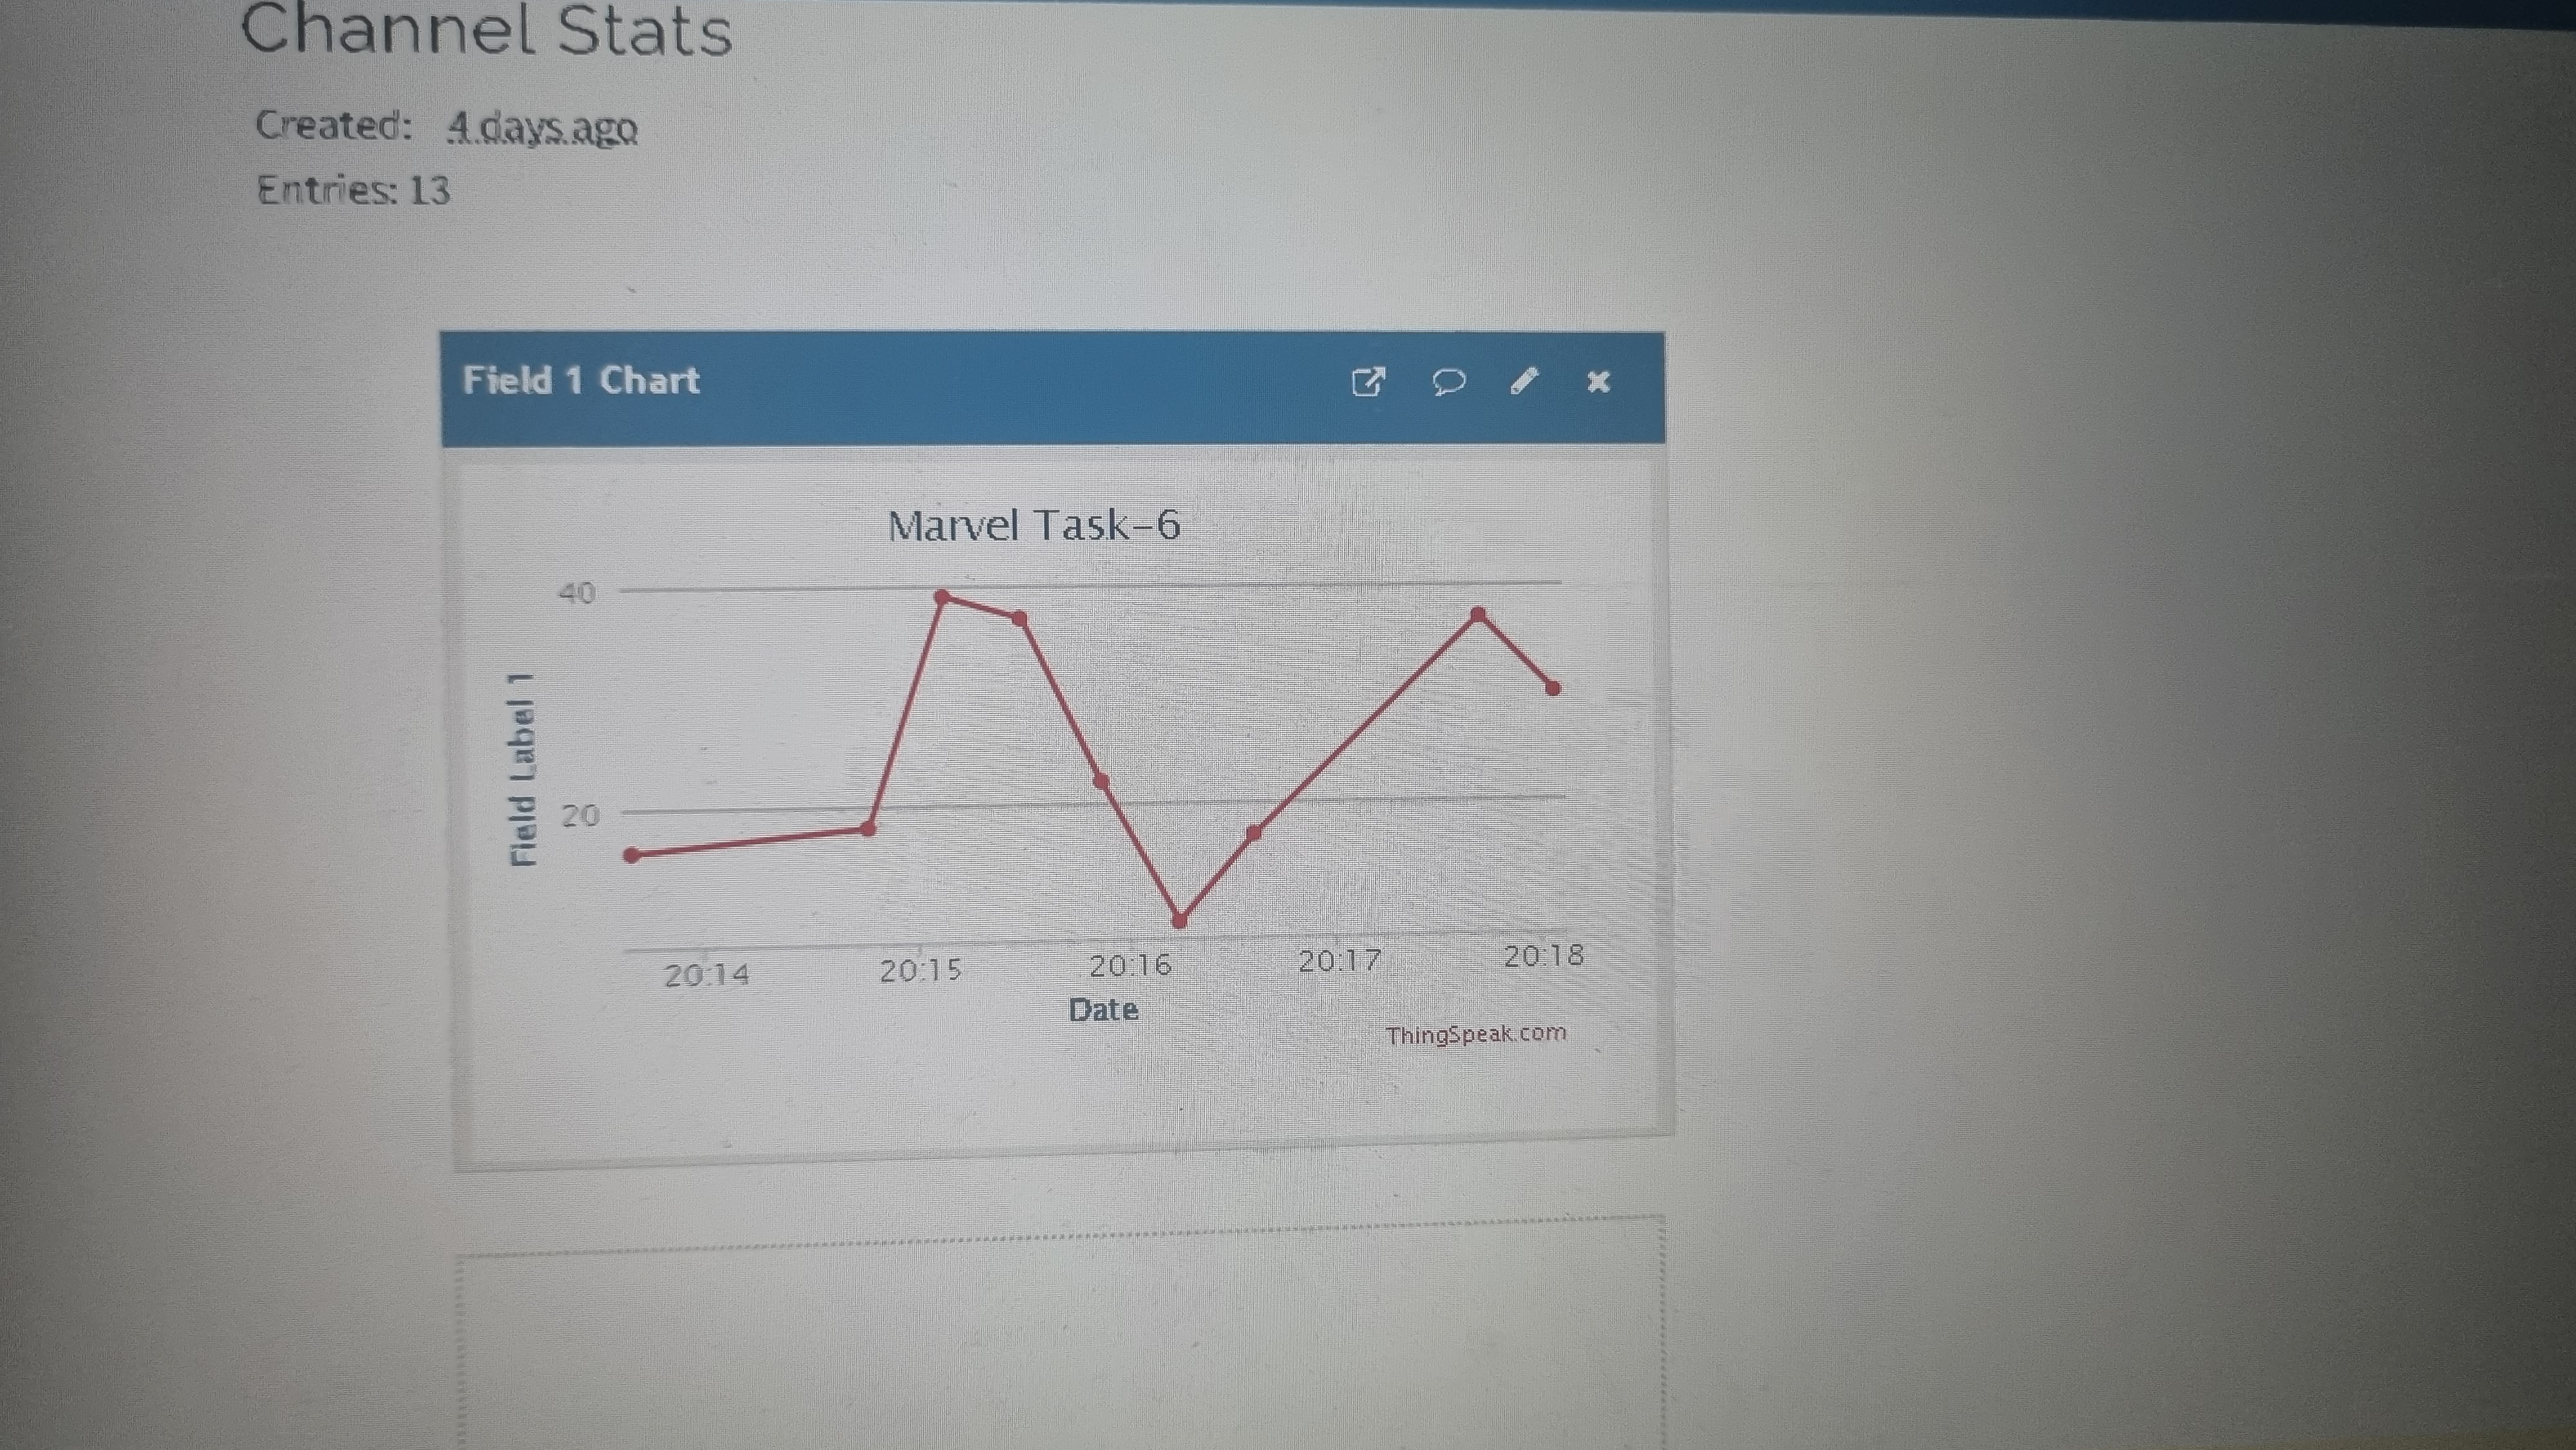
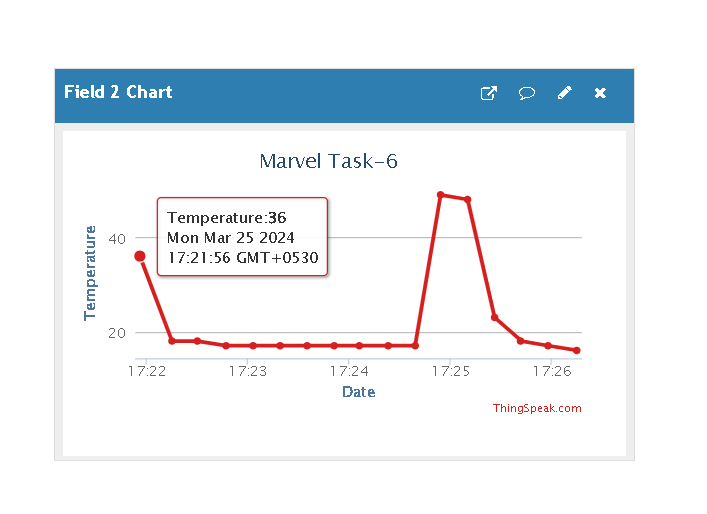
TASK 5: SENDING DATA TO THINGSPEAK
The task is to upload data to thingspeak, so first I made a thingspeak account and understood it’s functioning. The connections and the entire task in overall was pretty easy to implement using the resource article provided. To first understand the data is sent and received on thingspeak, we had to carry it out using an ESP32 only. Using the serial monitor I was able to figure out if the request was successful or not. After this I connected a DHT11 Temperature sensor to upload the temperature data to thingspeak.
TASK 6: COMMUNICATION USING I2C PROTOCOL\
The I2C (Inter-Integrated Circuit) protocol is a serial communication bus that uses two wires, the serial data line (SDA) and the serial clock line (SCL), to send and receive data. The protocol supports multiple target devices on a communication bus and can also support multiple controllers that send and receive commands and data. I found a resource article online which set-up a serial communication between the ESP32 and Arduino Uno. After uploading the code properly by ensuring I selected the right COM, I was able to see that the message was sent using the Slave’s serial monitor i.e. the ESP32.
TASK 7: FLASHING MORSE CODE
I faced a lot of difficulty in this task as I wasn’t able to generate an IP address in order to access the webserver to input the message. As I was unable to figure out the issue, I resorted to inputting the message using the serial monitor. When a message is input, it is converted to morse code using the Morse code library. A short LED blink indicates a dot (.) and a long LED blink indicates a dash (-).
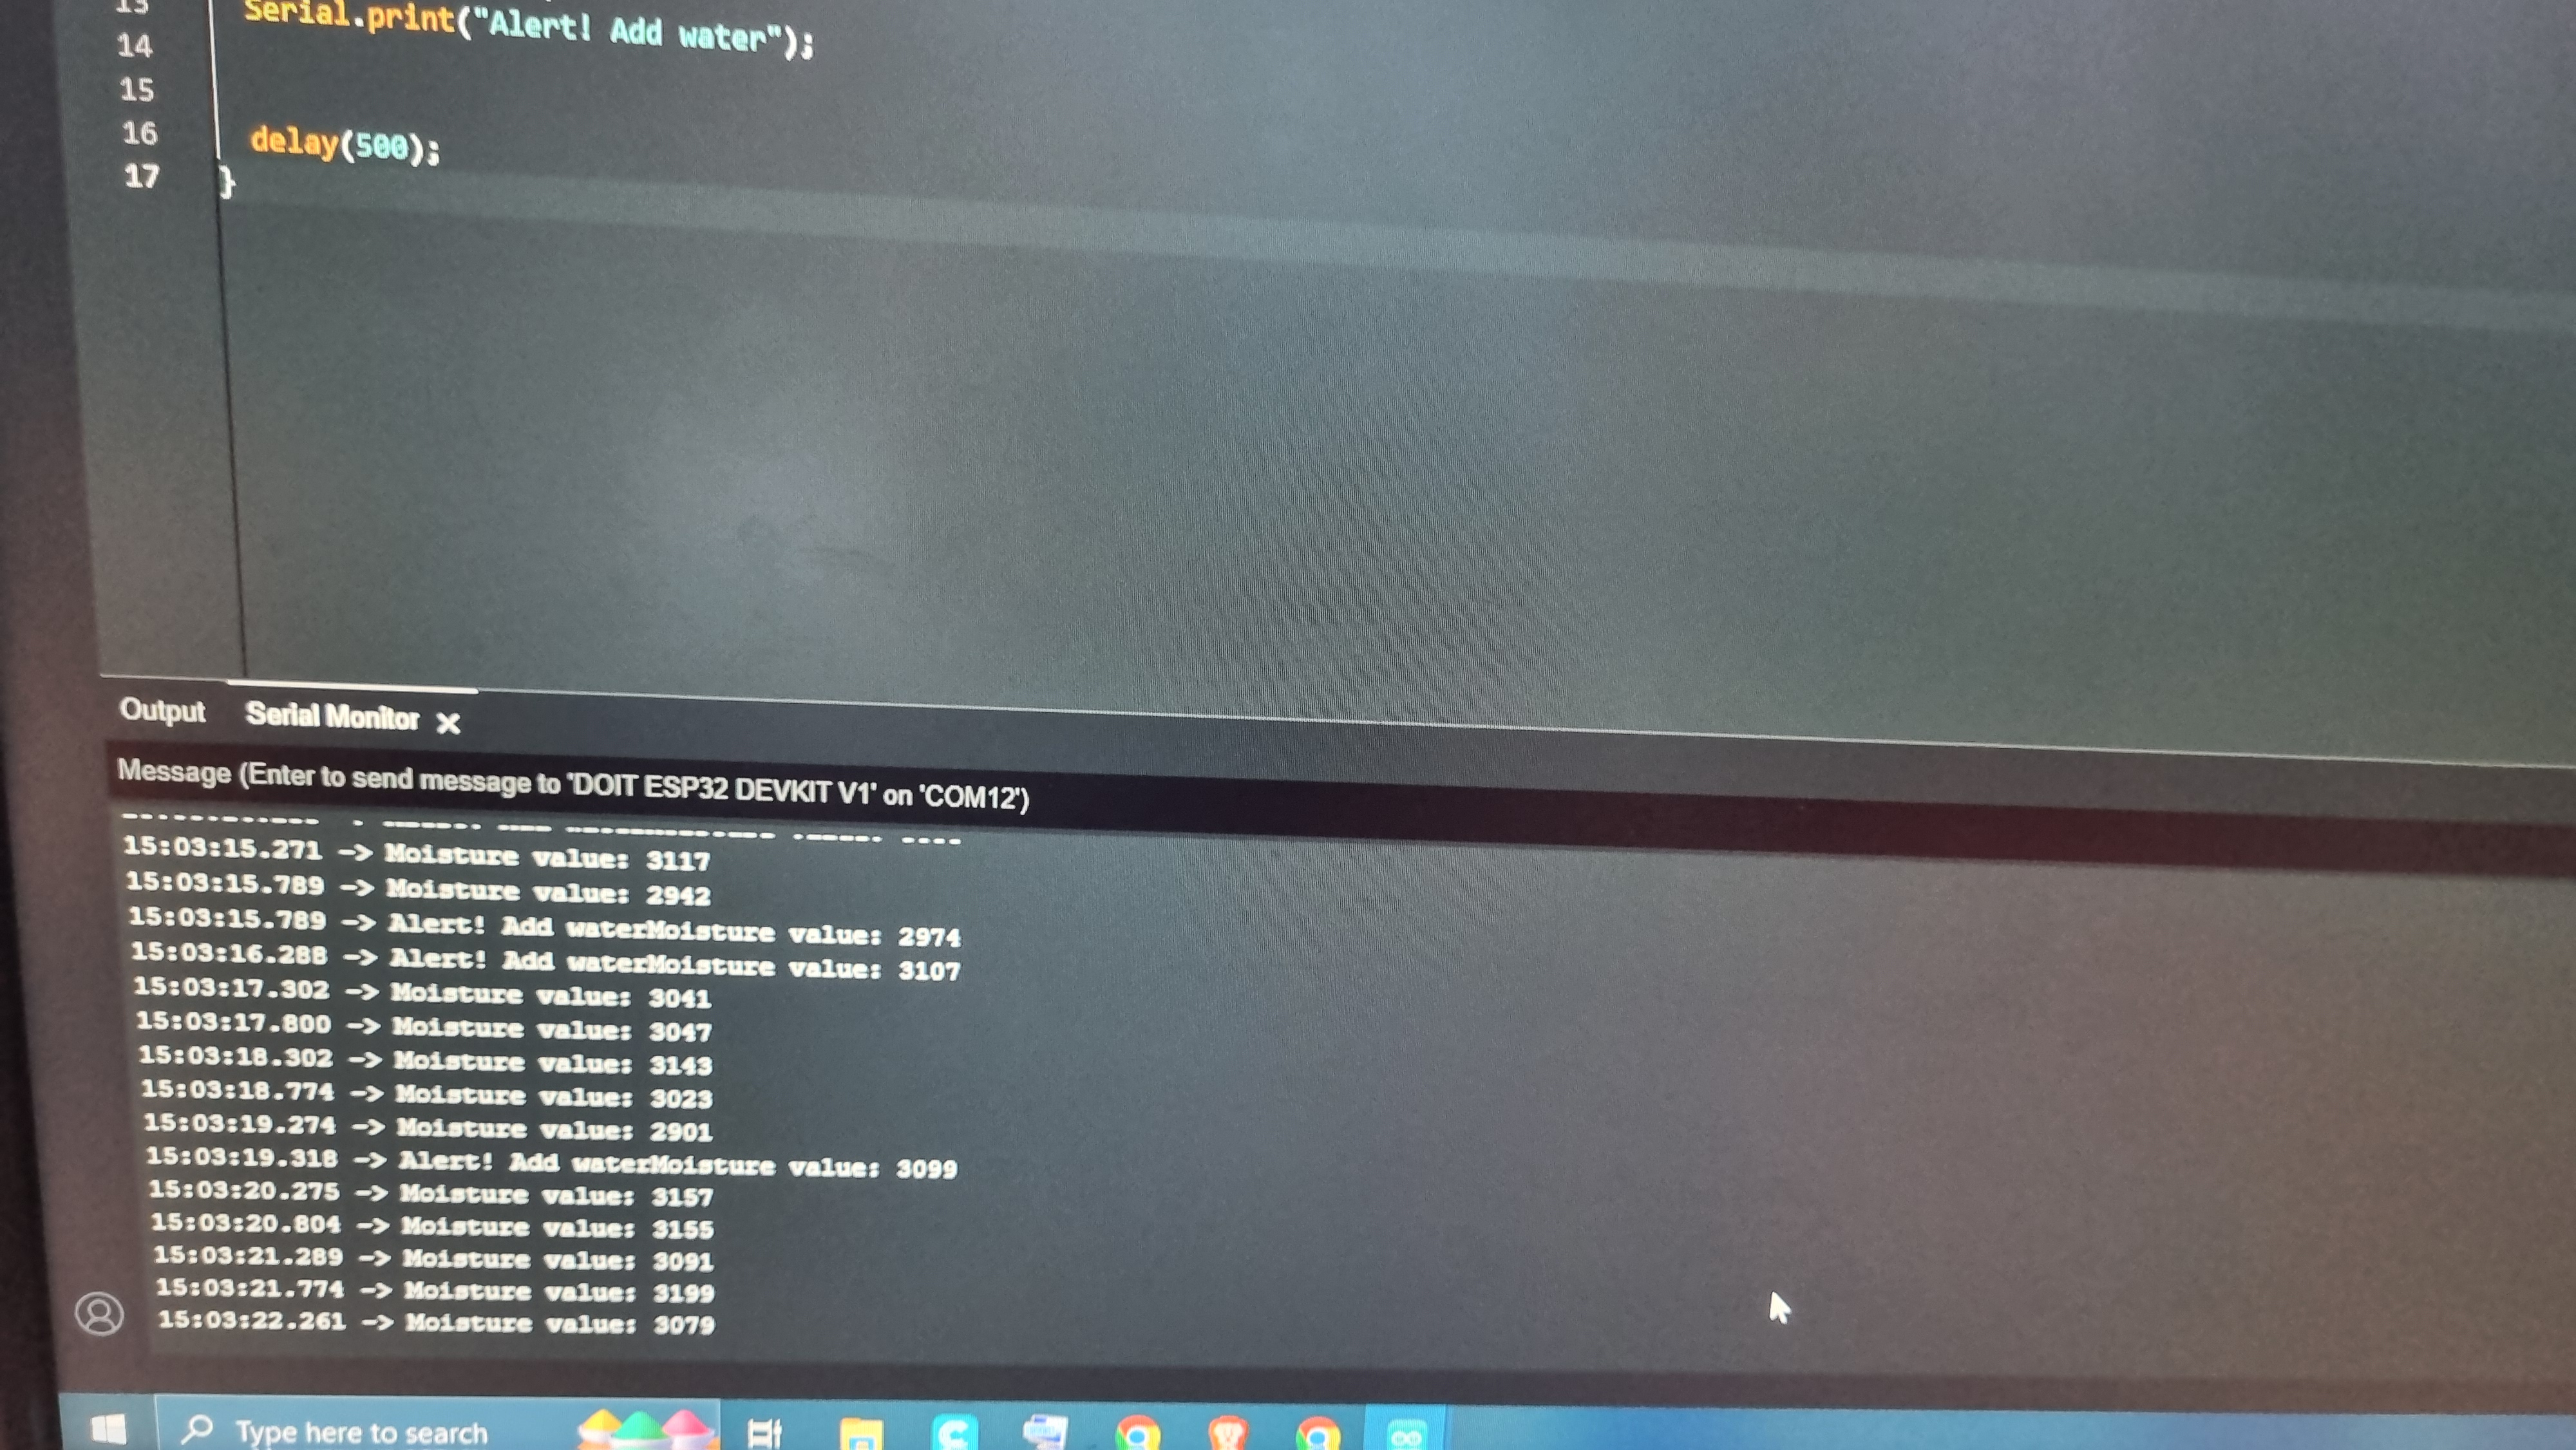
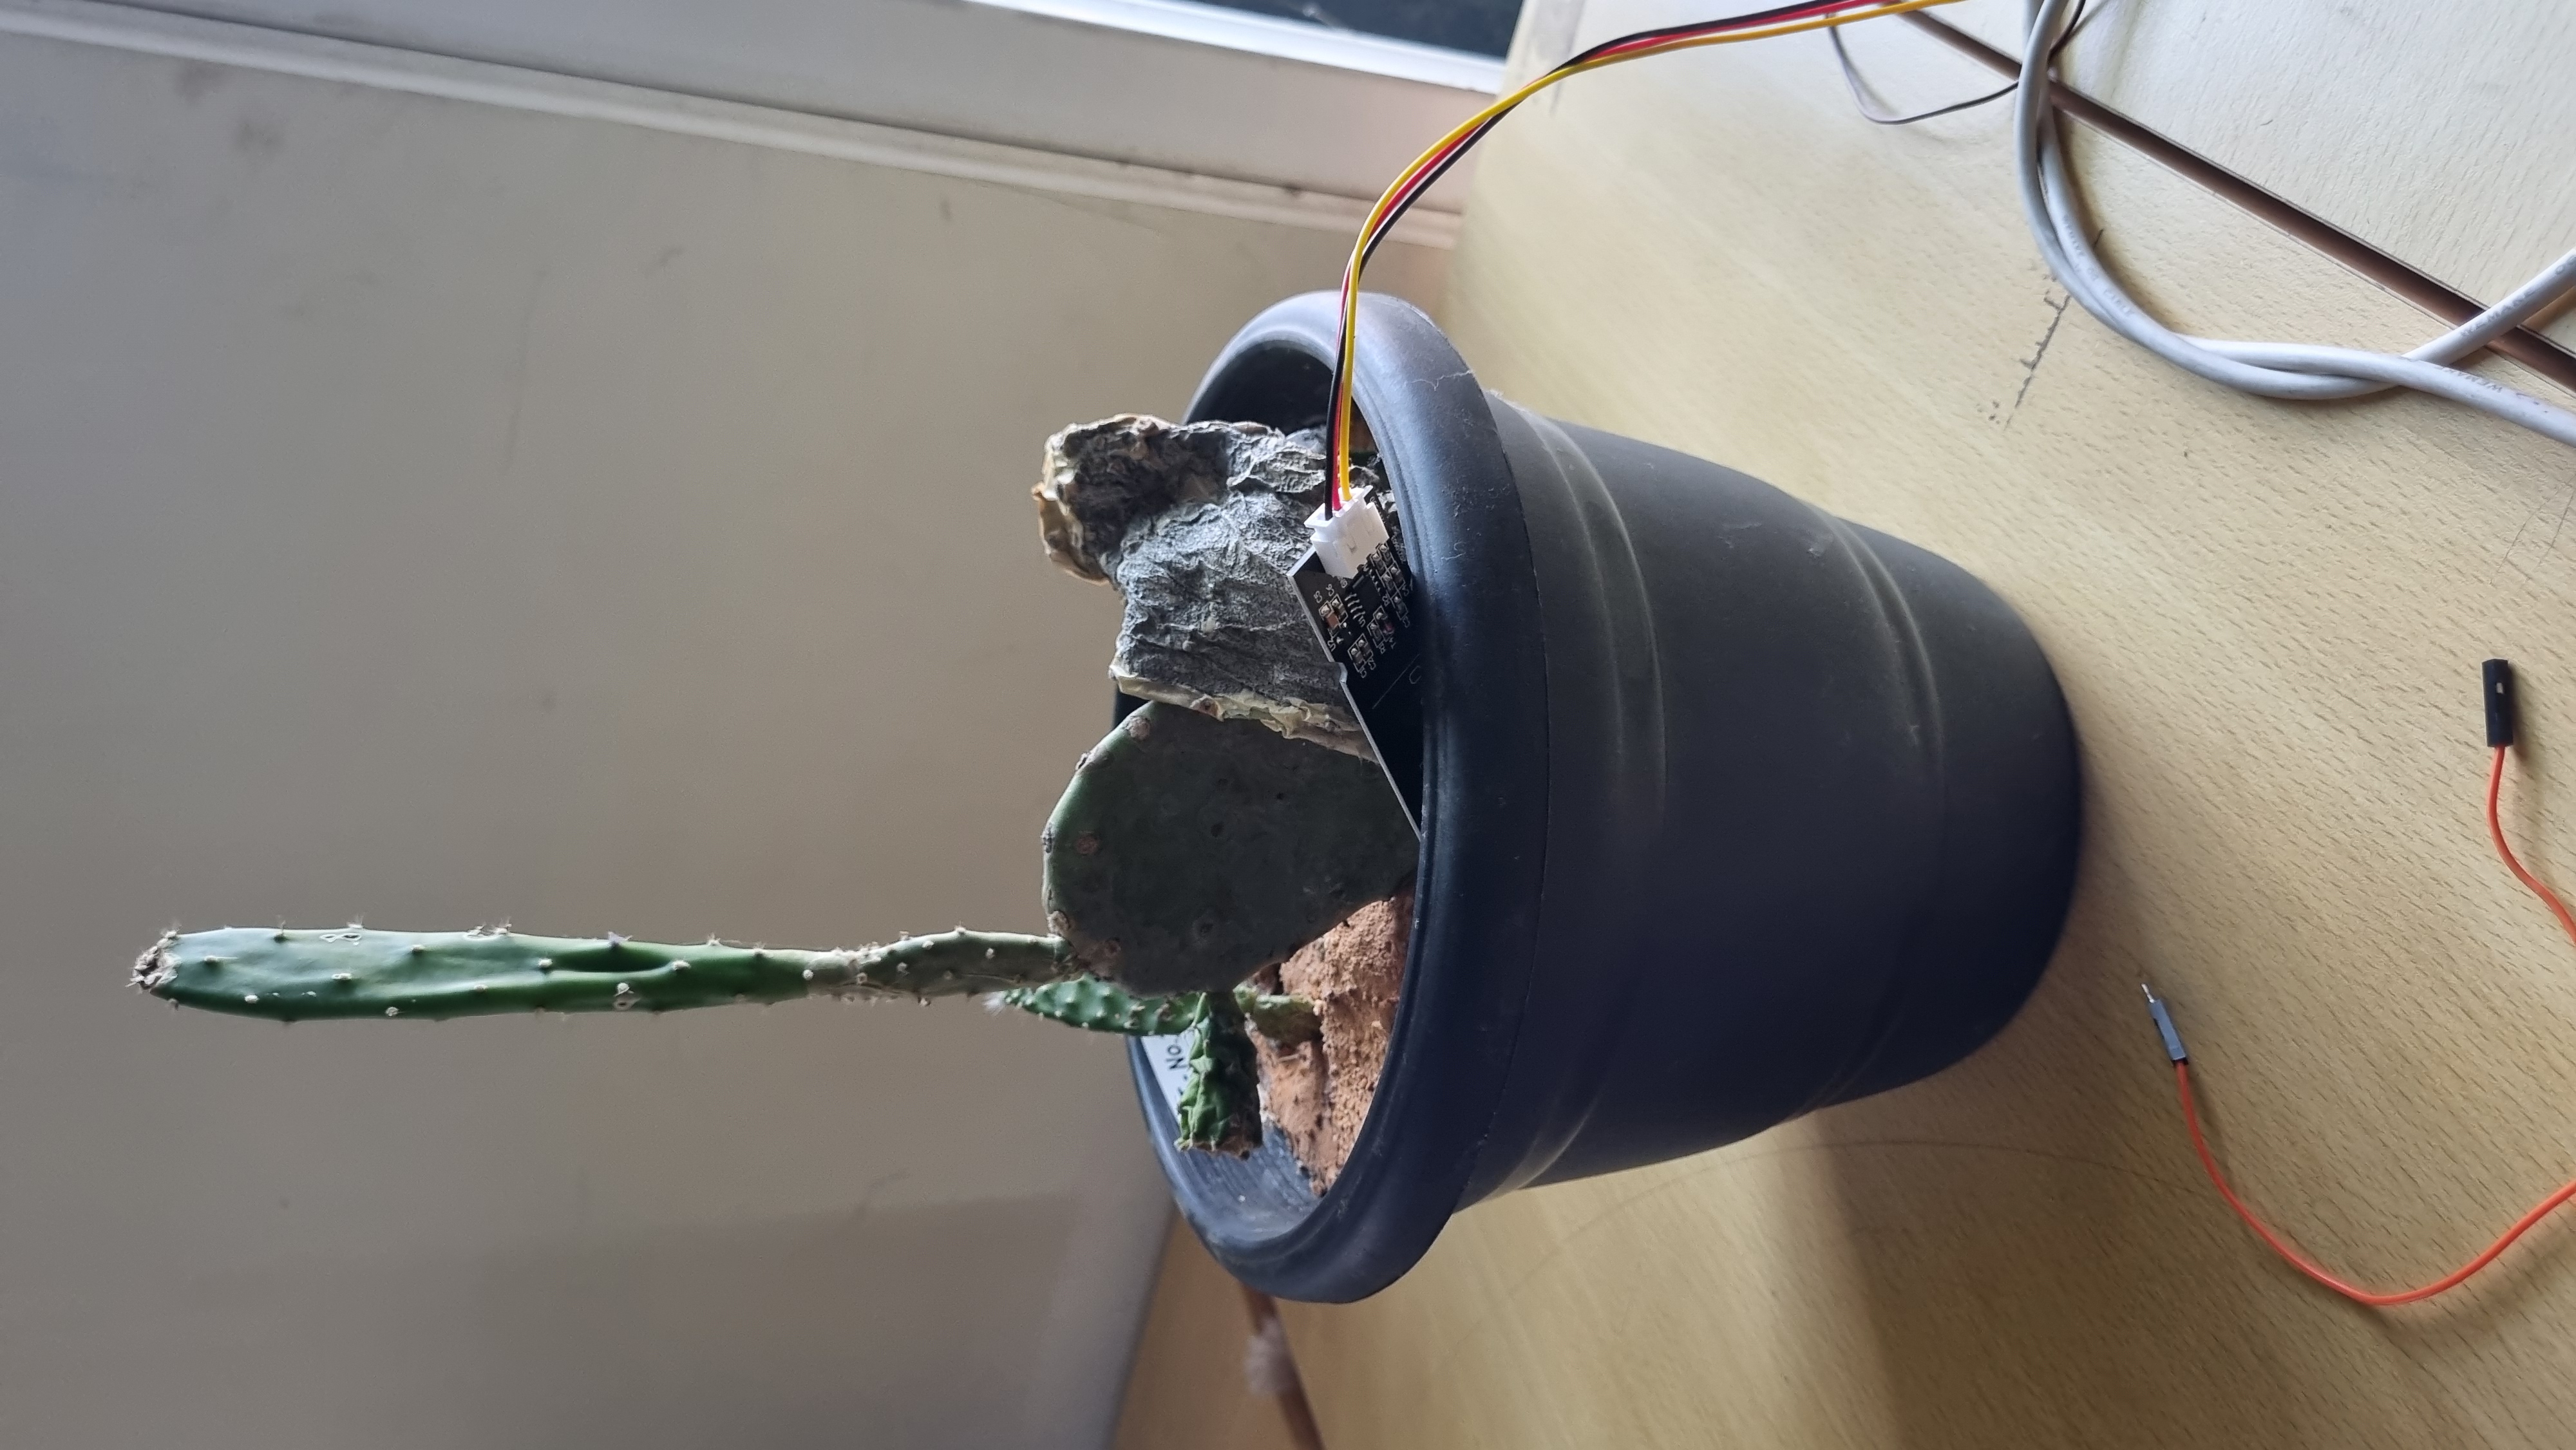
TASK 8: SOIL MOISTURE SENSOR
The resource article provided helped me figure out this task quite easily. We had to monitor the moisture level using the serial monitor and alert the user if the moisture level dropped below a certain level. The water level was monitored using the AOUT pin. The voltage in the AOUT pin is inversely proportional to the water level.
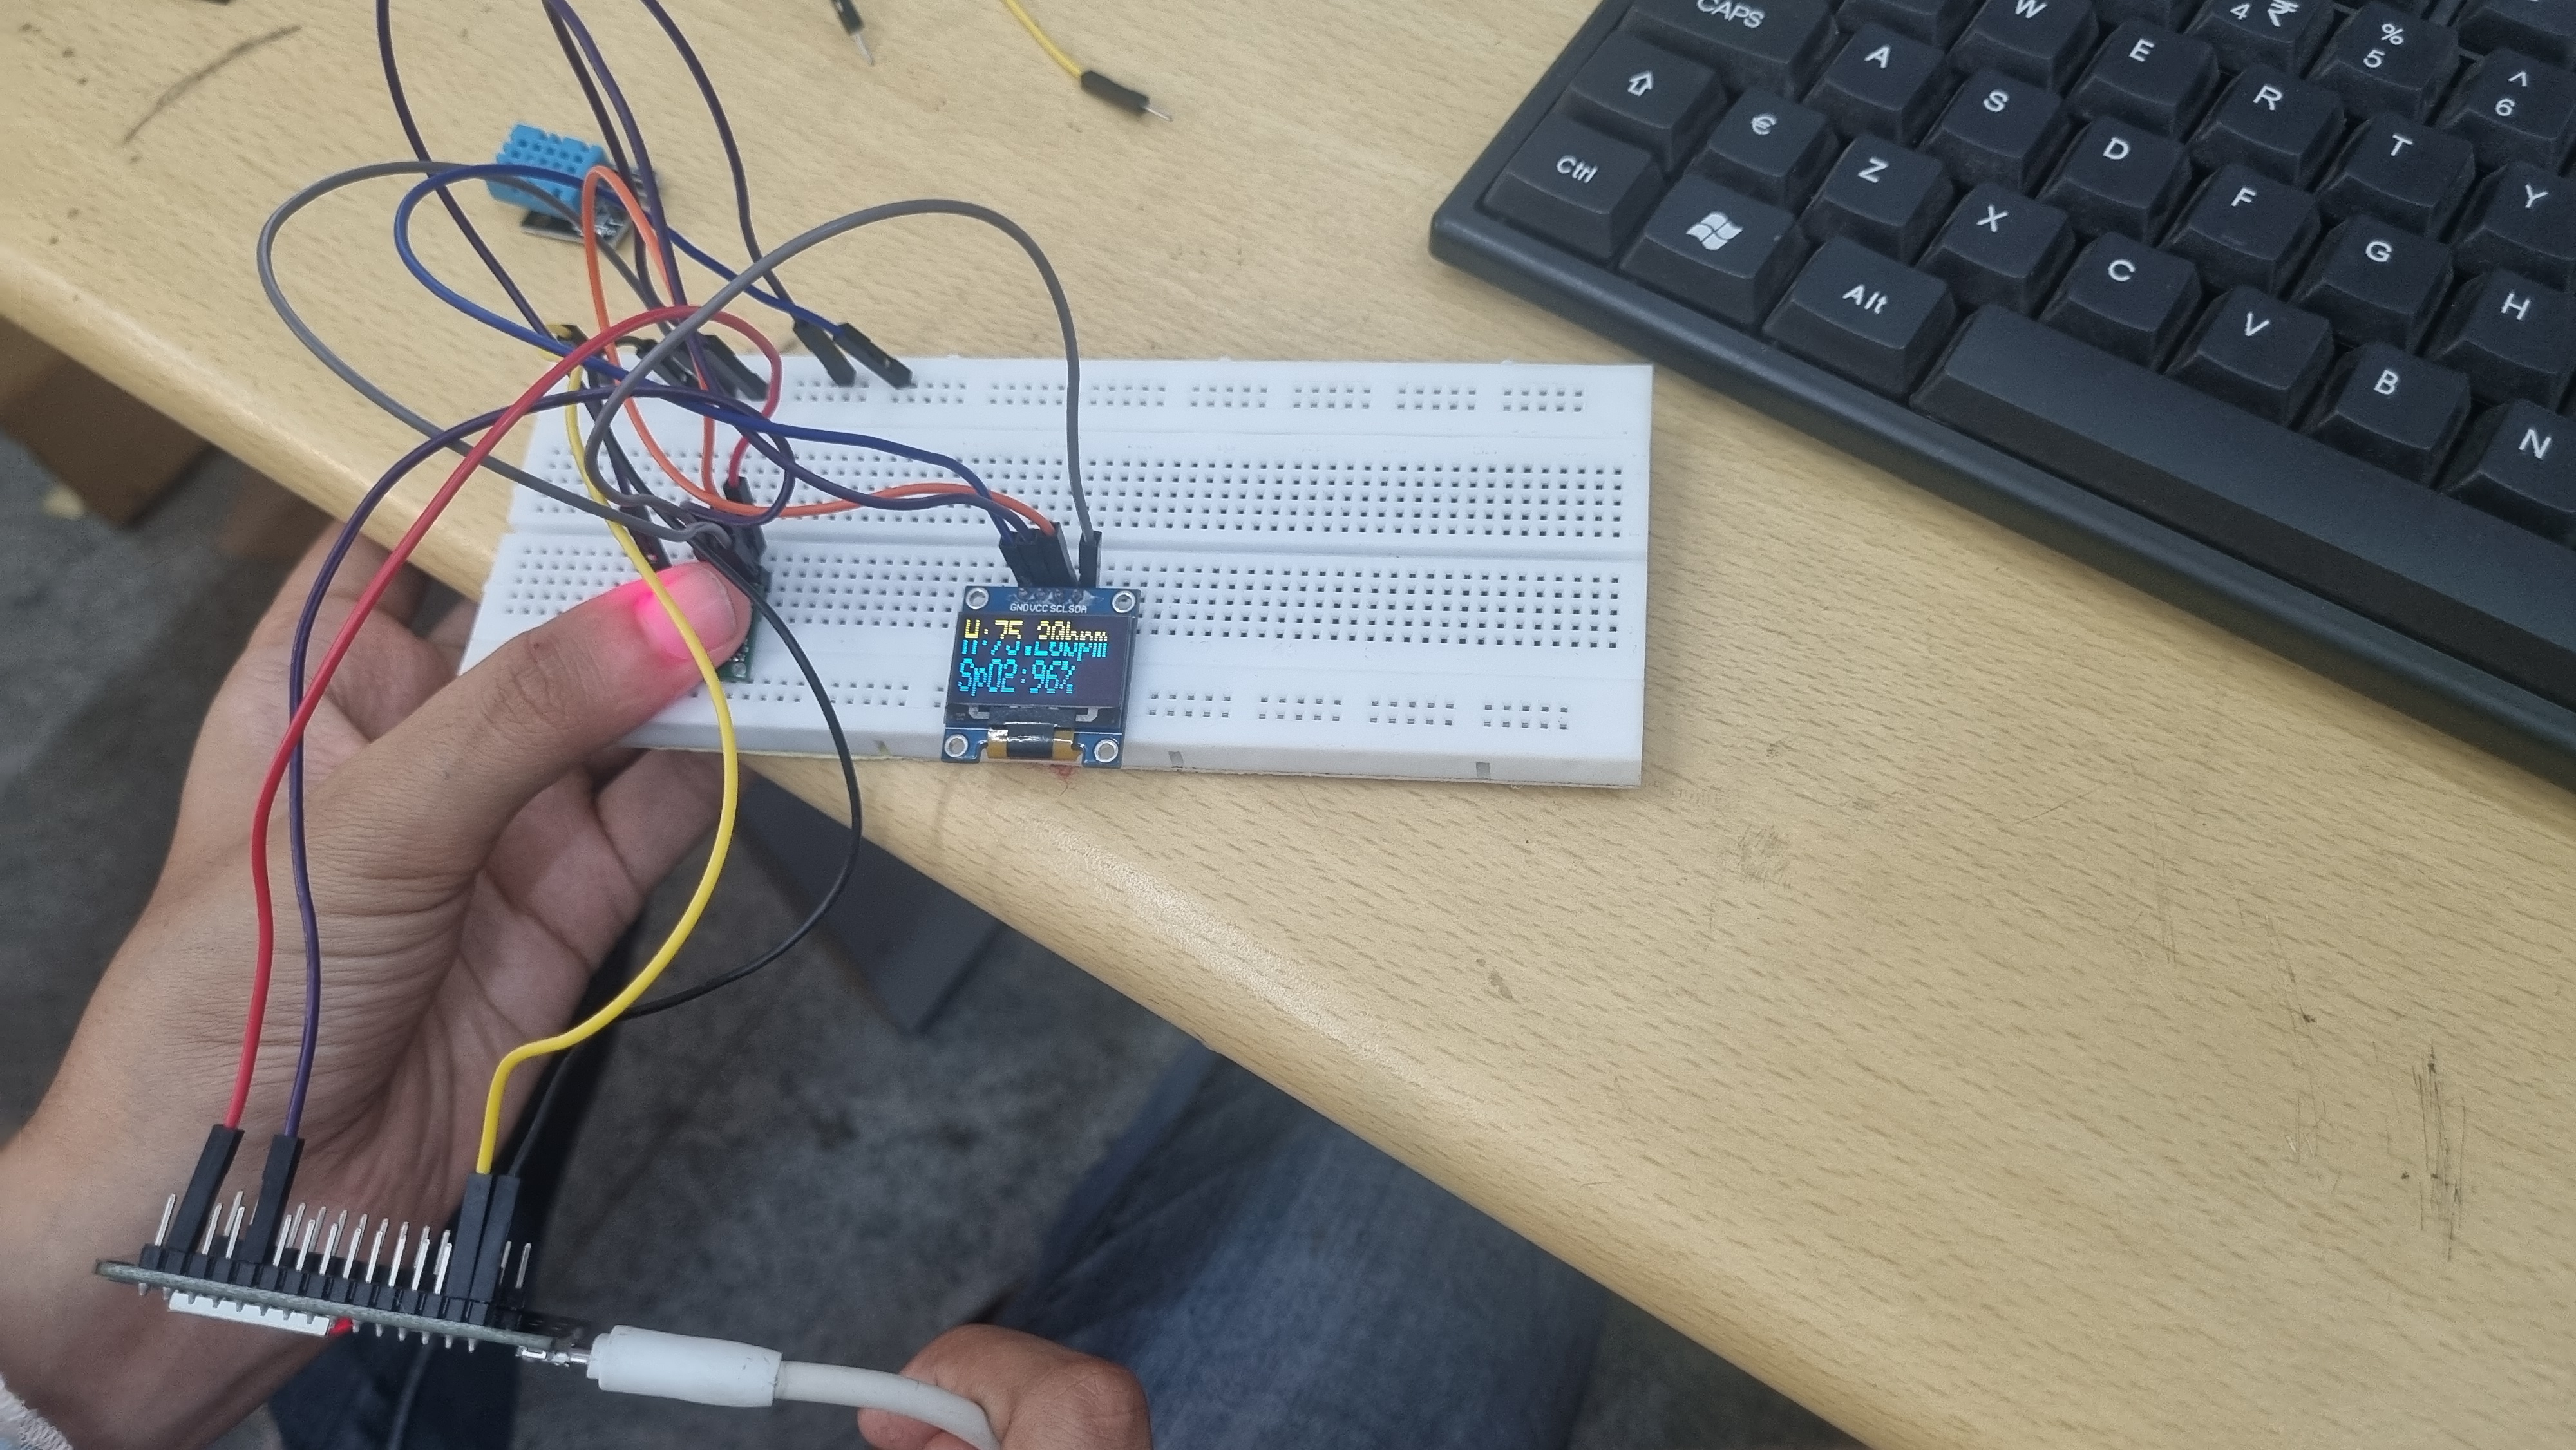
TASK 9: READ AND DISPLAY VITALS
We had to measure heart rate and blood oxygen levels using MAX30100 sensor. Following the given resource article, I was able to the display the vitals using an OLED display.