
COURSEWORK
Sujay's AI-ML-001 course work. Lv 1
| Sujay Vikram G S | AUTHOR | ACTIVE |
level 1
21 / 7 / 2023
 \n\nwas pretty excited to use the 3D printer at last.\n\ndownloaded and worked with ultima cura and creality 3d software.\n\nlearnt a bunch about STL, GCODE and the difference between them and finally printed a vegeta bust in filament\n\n\nfollowing is the youtube video to the stl version sliced into gcode\n\n<iframe height="\315"">\n\n
 \n\nwas already aware of how apis worked and how each apis have documentation and how some require api keys while some don't\n\nwas researching cool api's to work with when i stumbled into this api that fetches memes ( essentially posts ) from subreddits on reddits and was pretty excited to try working on it and was finally able to get a decent webpage running after some trial and error\n\nLINK to check the results :: https://html-css-js-1.sujay-vikramvik.repl.co/ \n\ni used this api " https://meme-api.com/gimme "\n\nfollowing is the video to the results being tested \n\n<iframe height=""315"">\n\n\n
 \n\nfinally got to learn git and github and also the difference between the two after installing them to complete the task\n\nlearnt as to how to fork from a repo\nchanging branch\nraising issues in the main branch the code \nmerging code and also as to how sometimes the edit option in the wrong hanfs is bad\n\nhere's a video that i took when my github username showed up in the list on the marvel repo\n\n<iframe height=""315"">\n\n
 \n\nhave been using linux for quite some time already and the commands like\n1, mkdir\n2, cd\n3, pwd\n4, rmdir\n5, ls\n6, touch\n7, cat\n8, echo\nare the ones that i got to revisit and use\n\nthe video of us making 2600 files using the \nrmdir heheh{1..2600} command is as under on youtube\n\n<iframe height=""315"">\n\n\n
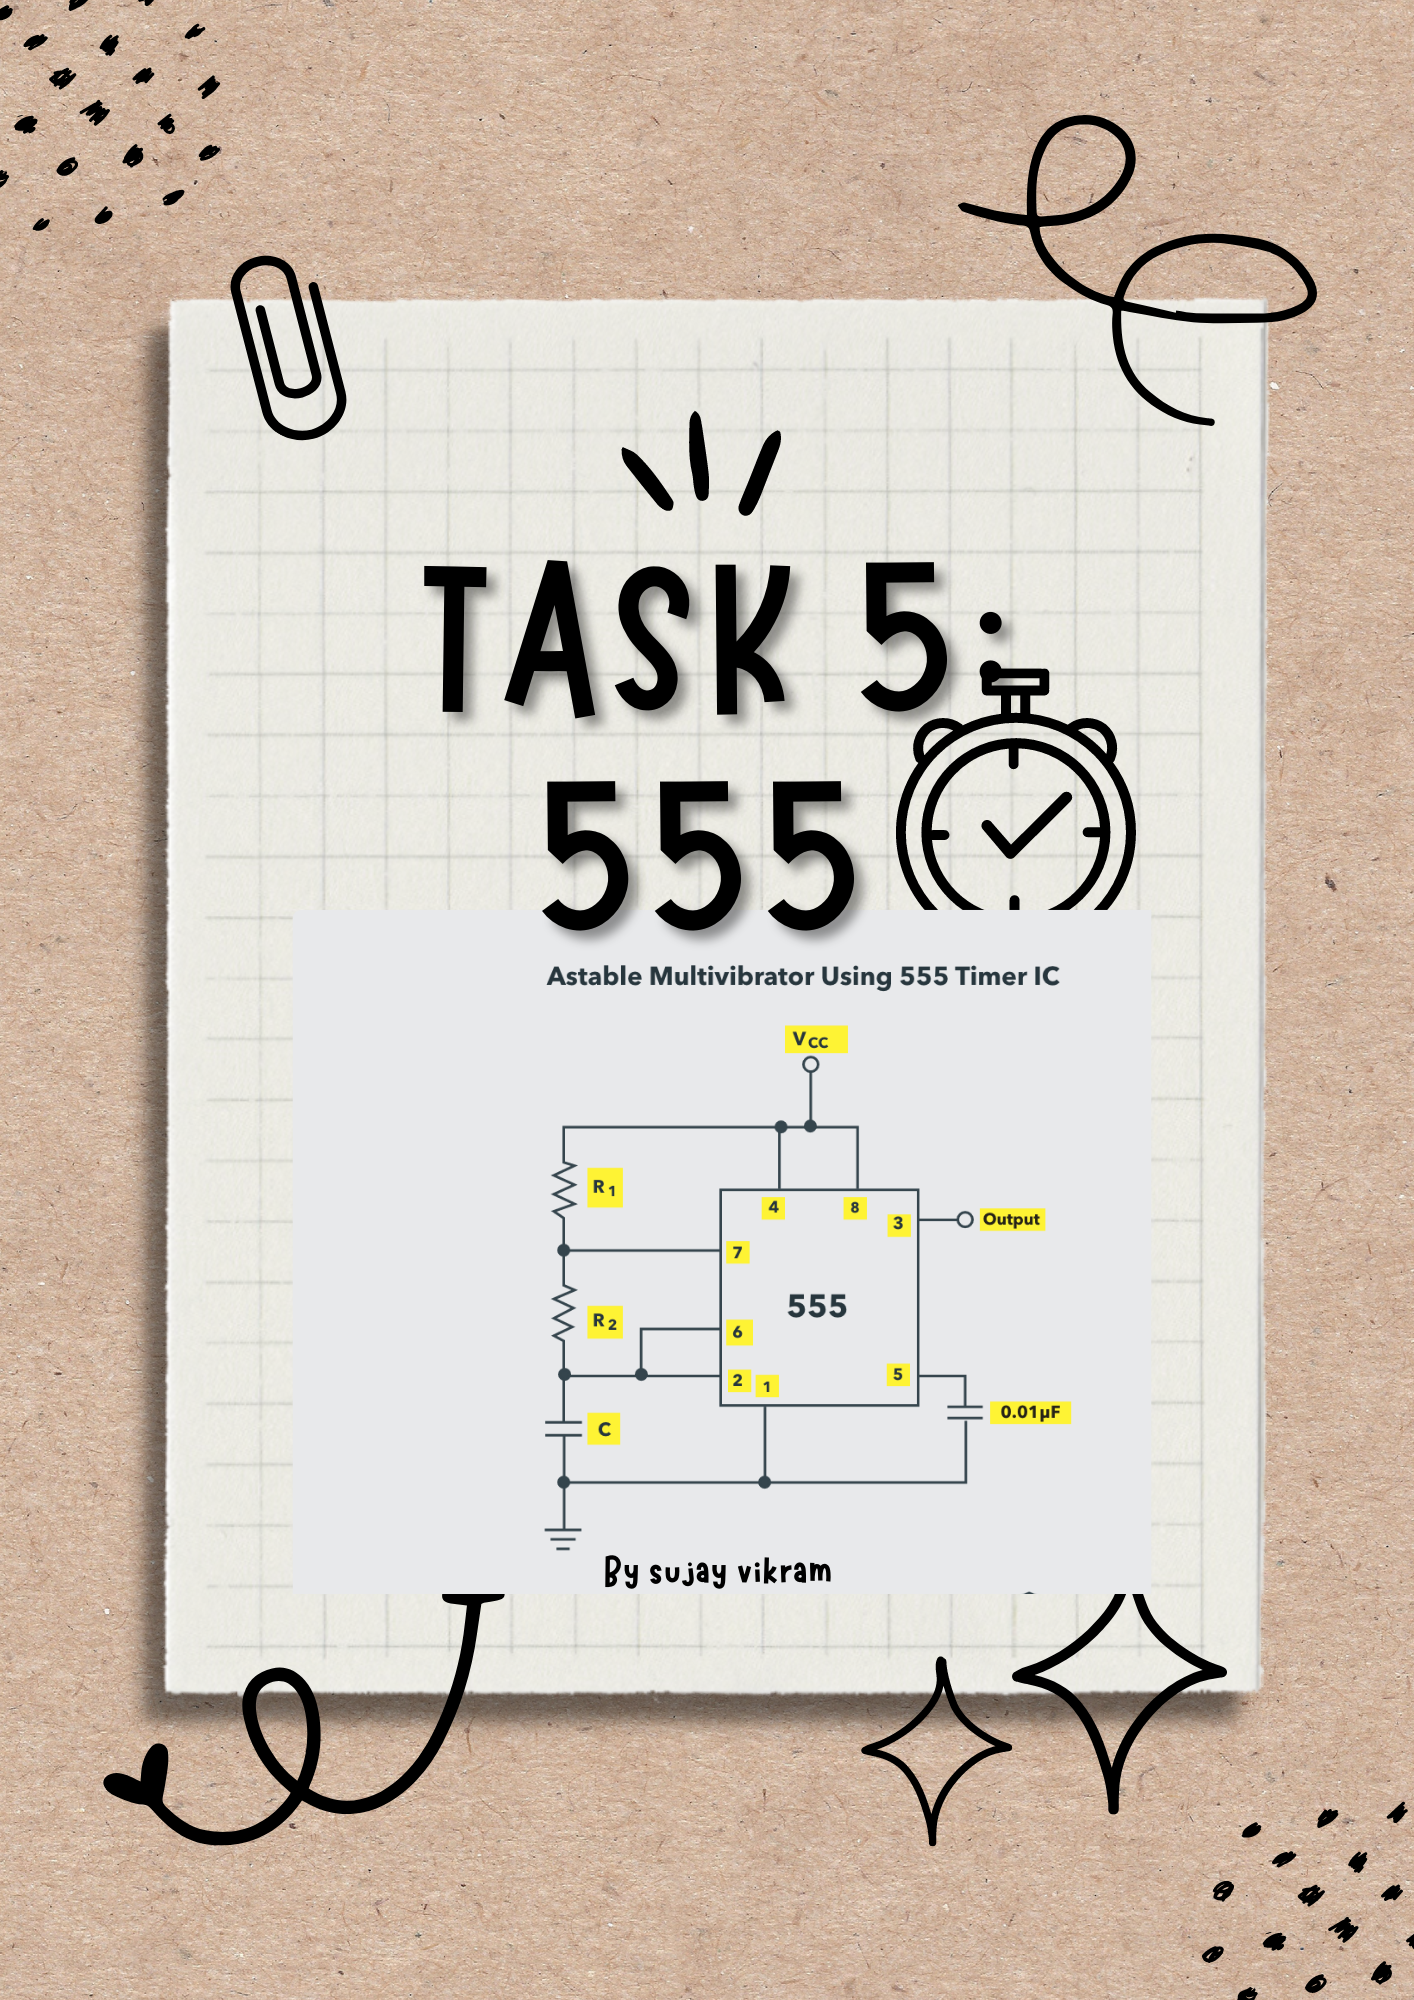 \n\nfellow coordinator on probation, bhavid helped me understand the ckt diagram and how it worked essentially\n\nunderstood what the duty cycle meant and how for the requisite duty cycle we'd need a 1:2 ratio of R1 and R2 and rigged the ckt on a bread board and then checked the output waveform on the DRO at the lab and was amazed at how it is more advanced than the once at our elec labs\n\nhere's a video to the output waveform as seen on the DRO\n\n<iframe height=""315"">\n\n\n\n
 \n\nwell well, working with data and drawing inputs from the same is interesting and i got to do exactly that\n\ni went through a list of 'cool' datasets and came across this data set that followed the naming trends in america \n\nthe same has been analyzed and graphs drawn using matplotlib and pandas and the adjoining youtube video gives us a glimpse of the same\n\n\n<iframe height=""315"">\n\nworked on google colab and here is the link to my notebook \n\nhttps://colab.research.google.com/drive/1uawvN0aC5nE8FSFKksxVLJDXWWvVKrNc?usp=sharing\n\n
 \n\nhad explored tinkercad and used it thoda when i had attended a workshop organised by ieee uvce pes society\n\nhad no problem rigging up the circuit but faced difficulty in getting the lcd working and then found out that you could use an already rigged up lcd and arduino to your benefit from hamza and proceeded to get the desired output\n\n\nheavily depended on the resource article given and would like to delve deeper into embedded C language\n\nfollowing is a video to my online simulation of an ultrasonic distance detector circuit ( working on making it tidier)\n\n<iframe height=""315"">\n\n
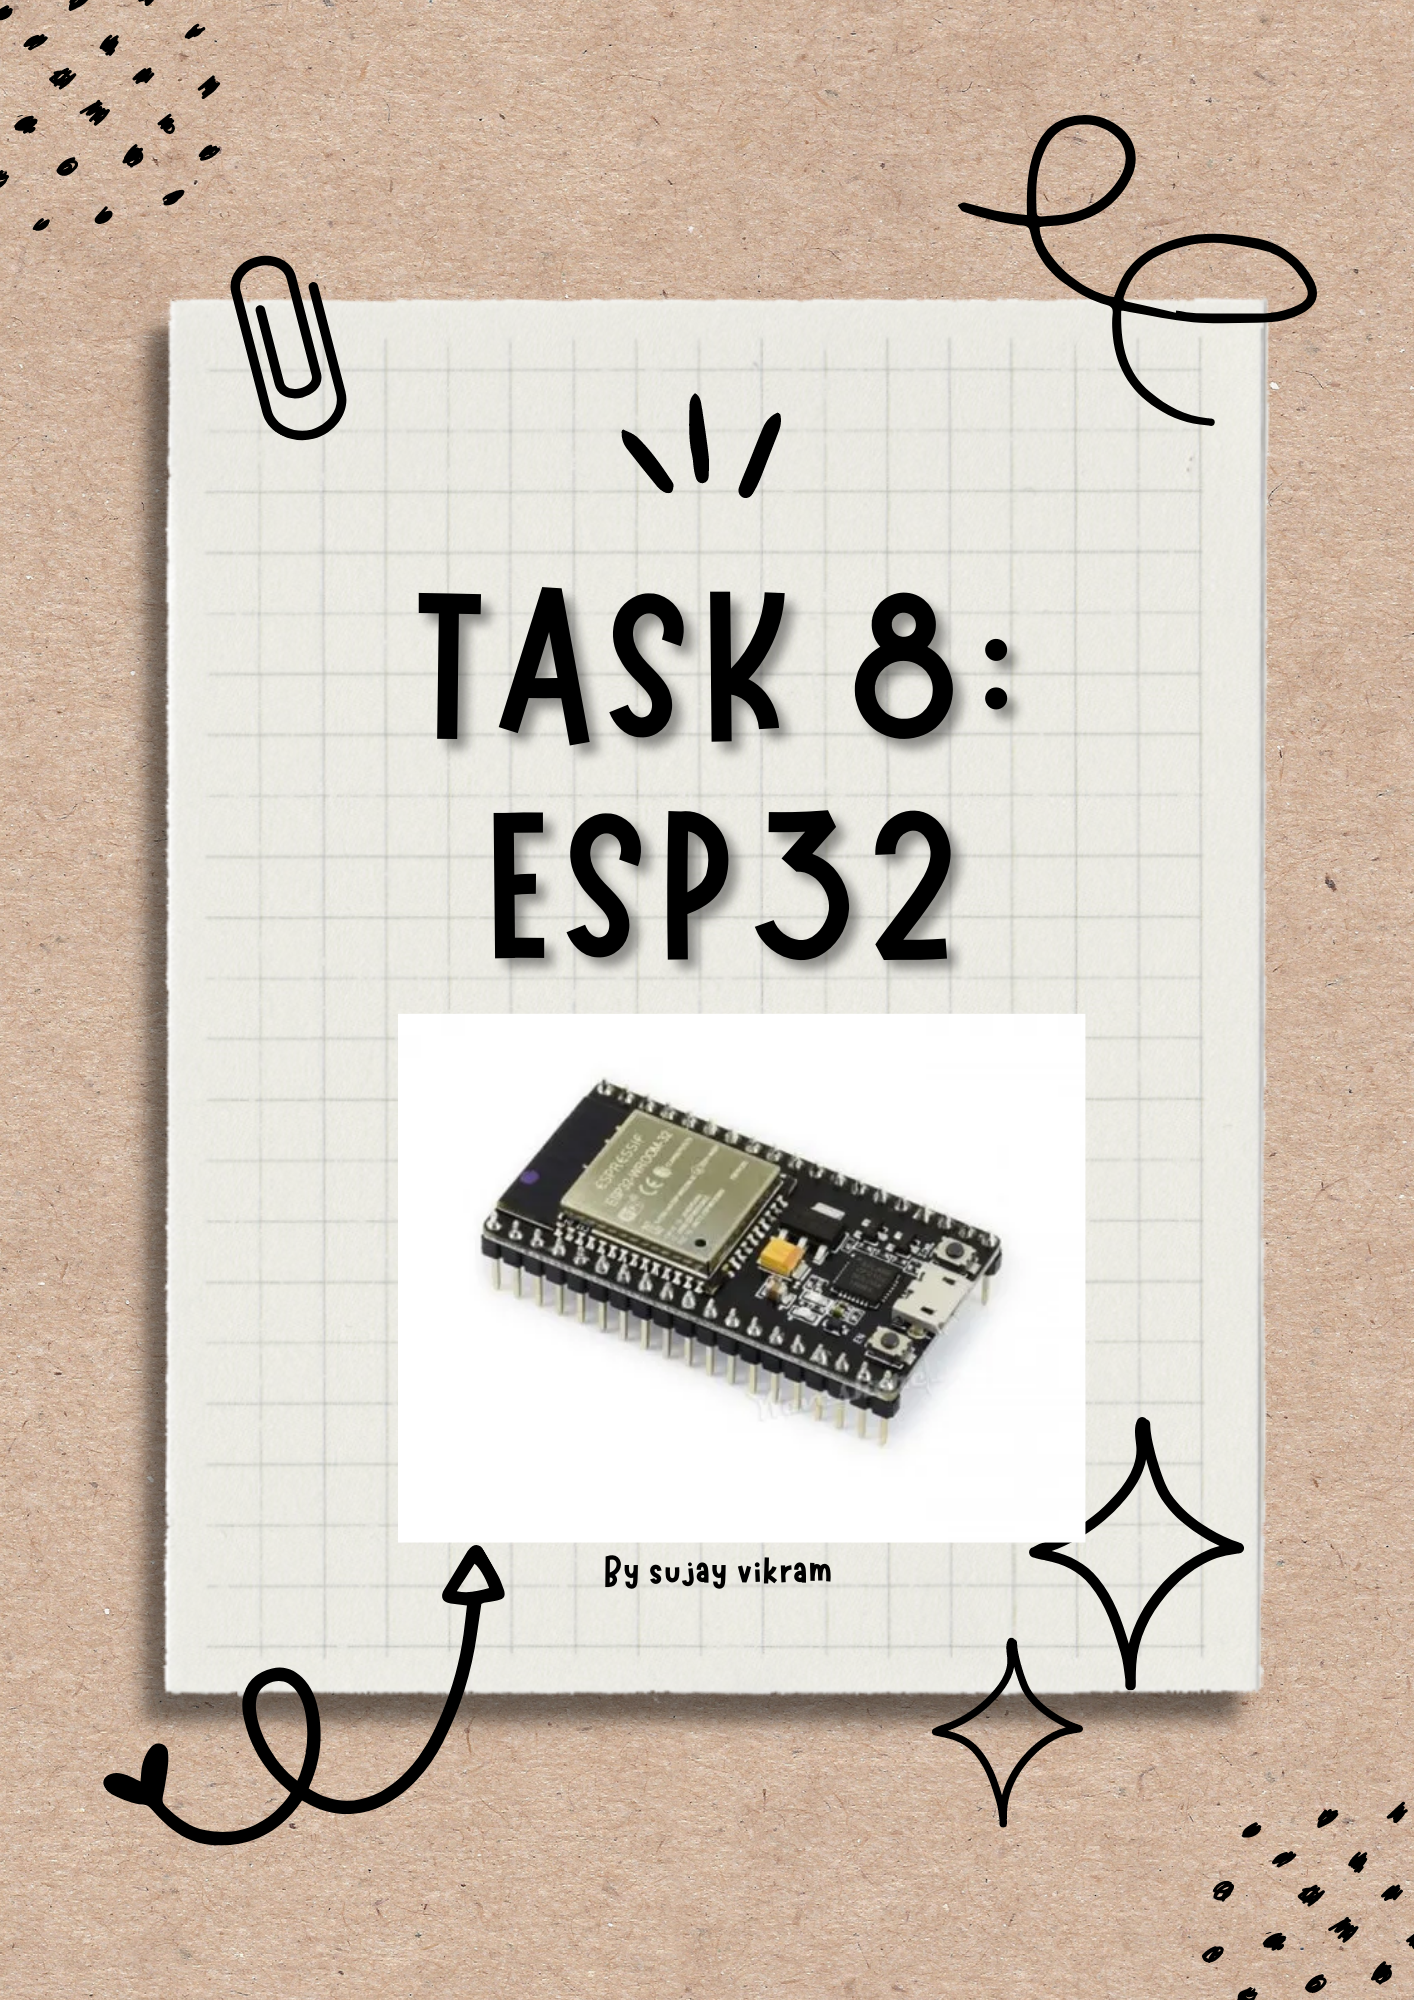 \n\neesp32 was my intro to iot and again attending one of those ieee uvce pes workshops on this helped me get a better look in to the same\n\ni rigged up the circuit as was shown in the resource article and made use of a breadboard a few leds and a bunch of resistors and realised that most of the beauty of this task lay in the code and the way we added ssid as the one in marvel and password to the same is all seen on the code\n\nit was obvious that some leds were not working and figuring out the correct orientation for the same while rigging was important is what i learnt\n\nI realised that we had to install a bunch of software to run an "ESP32" board on an "ARDUINO IDE" and how baud rate mattered throughout\n\nfollowing is a video link to the led toggle task\n\n<iframe height=""315"">\n\n
 \n\nbeen seeing my seniors use the soldering iron and the wick and so on for really long\n\nhad a hard time getting over the fear of using something potentially dangerous and the coordinators who taught us the same help us rid ourselves of the fear and got us to solder some resistors on the perf board\n\ni had the opportunity of teaching the same to a bunch of other students and that absolutely helped me \n\ni understood the use of the flux, the wire, the (Wet) sponge, the wick and how to reverse soldering too\n\nthe following is a video of me taking on soldering\n\n<iframe height=""315"">\n\n\n
 \n\nhave been active as a participant and organiser in the recent tech fest organised by ieee uvce \norganised a tech event called AR wizards, an ar based event\nand participated with shreyas and abhilash and came first in an elec hackathon\n( the image attached under)\n\n
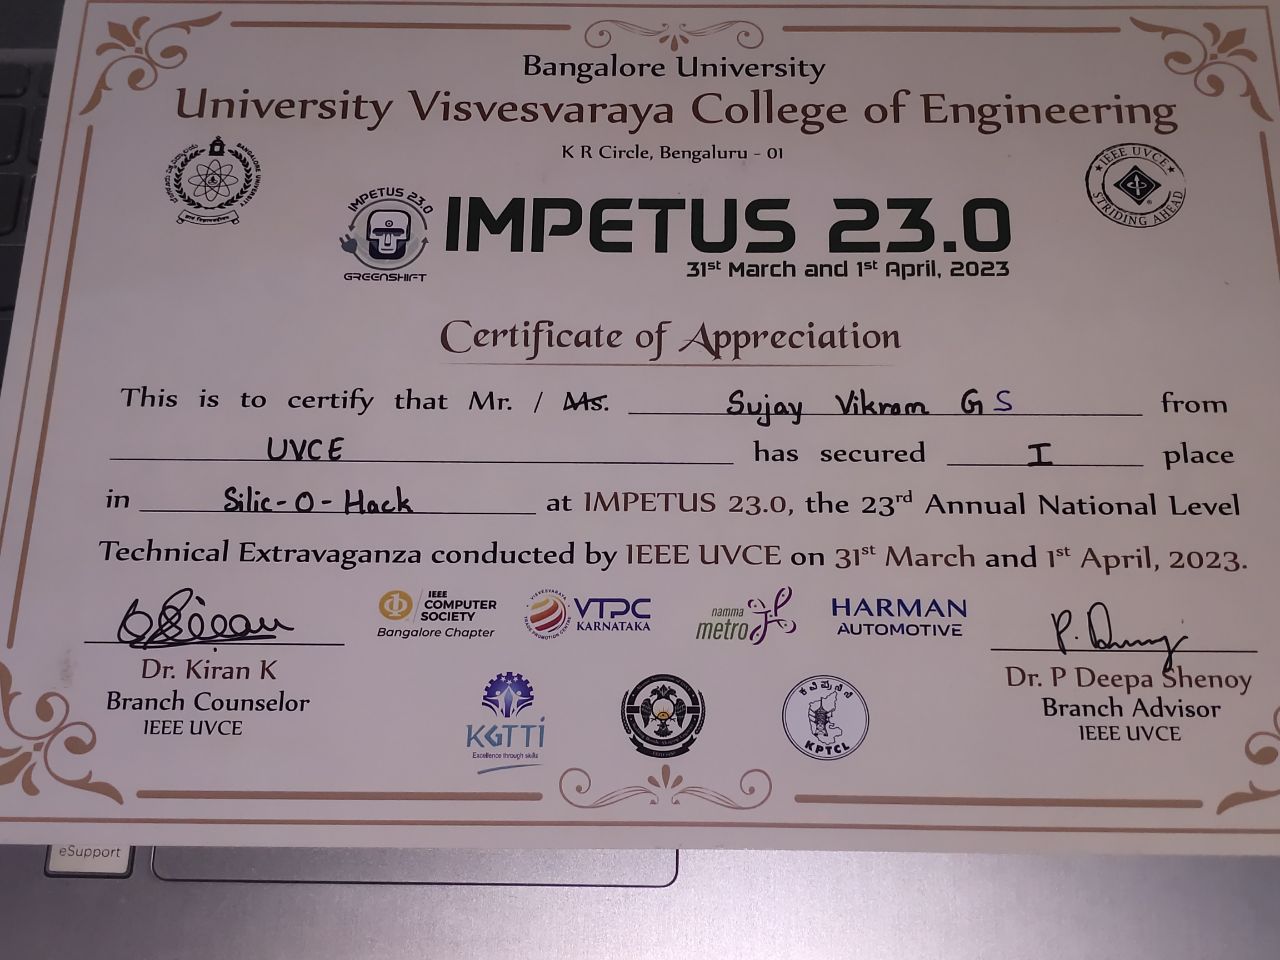 \n\nalso completed this mooc on the basics to ML under the website called mygreatlearning.com and completed the mooc completely and passed the quiz too and am now waiting for receiving the certificate of completion \n\n( i learnt the importance of ML and the types of ML like supervised and unsupervised learning the math behind ML, essentially linear regression)\n\nheres a video showing my progress in the course \n\n<iframe height=""315"">\n\n
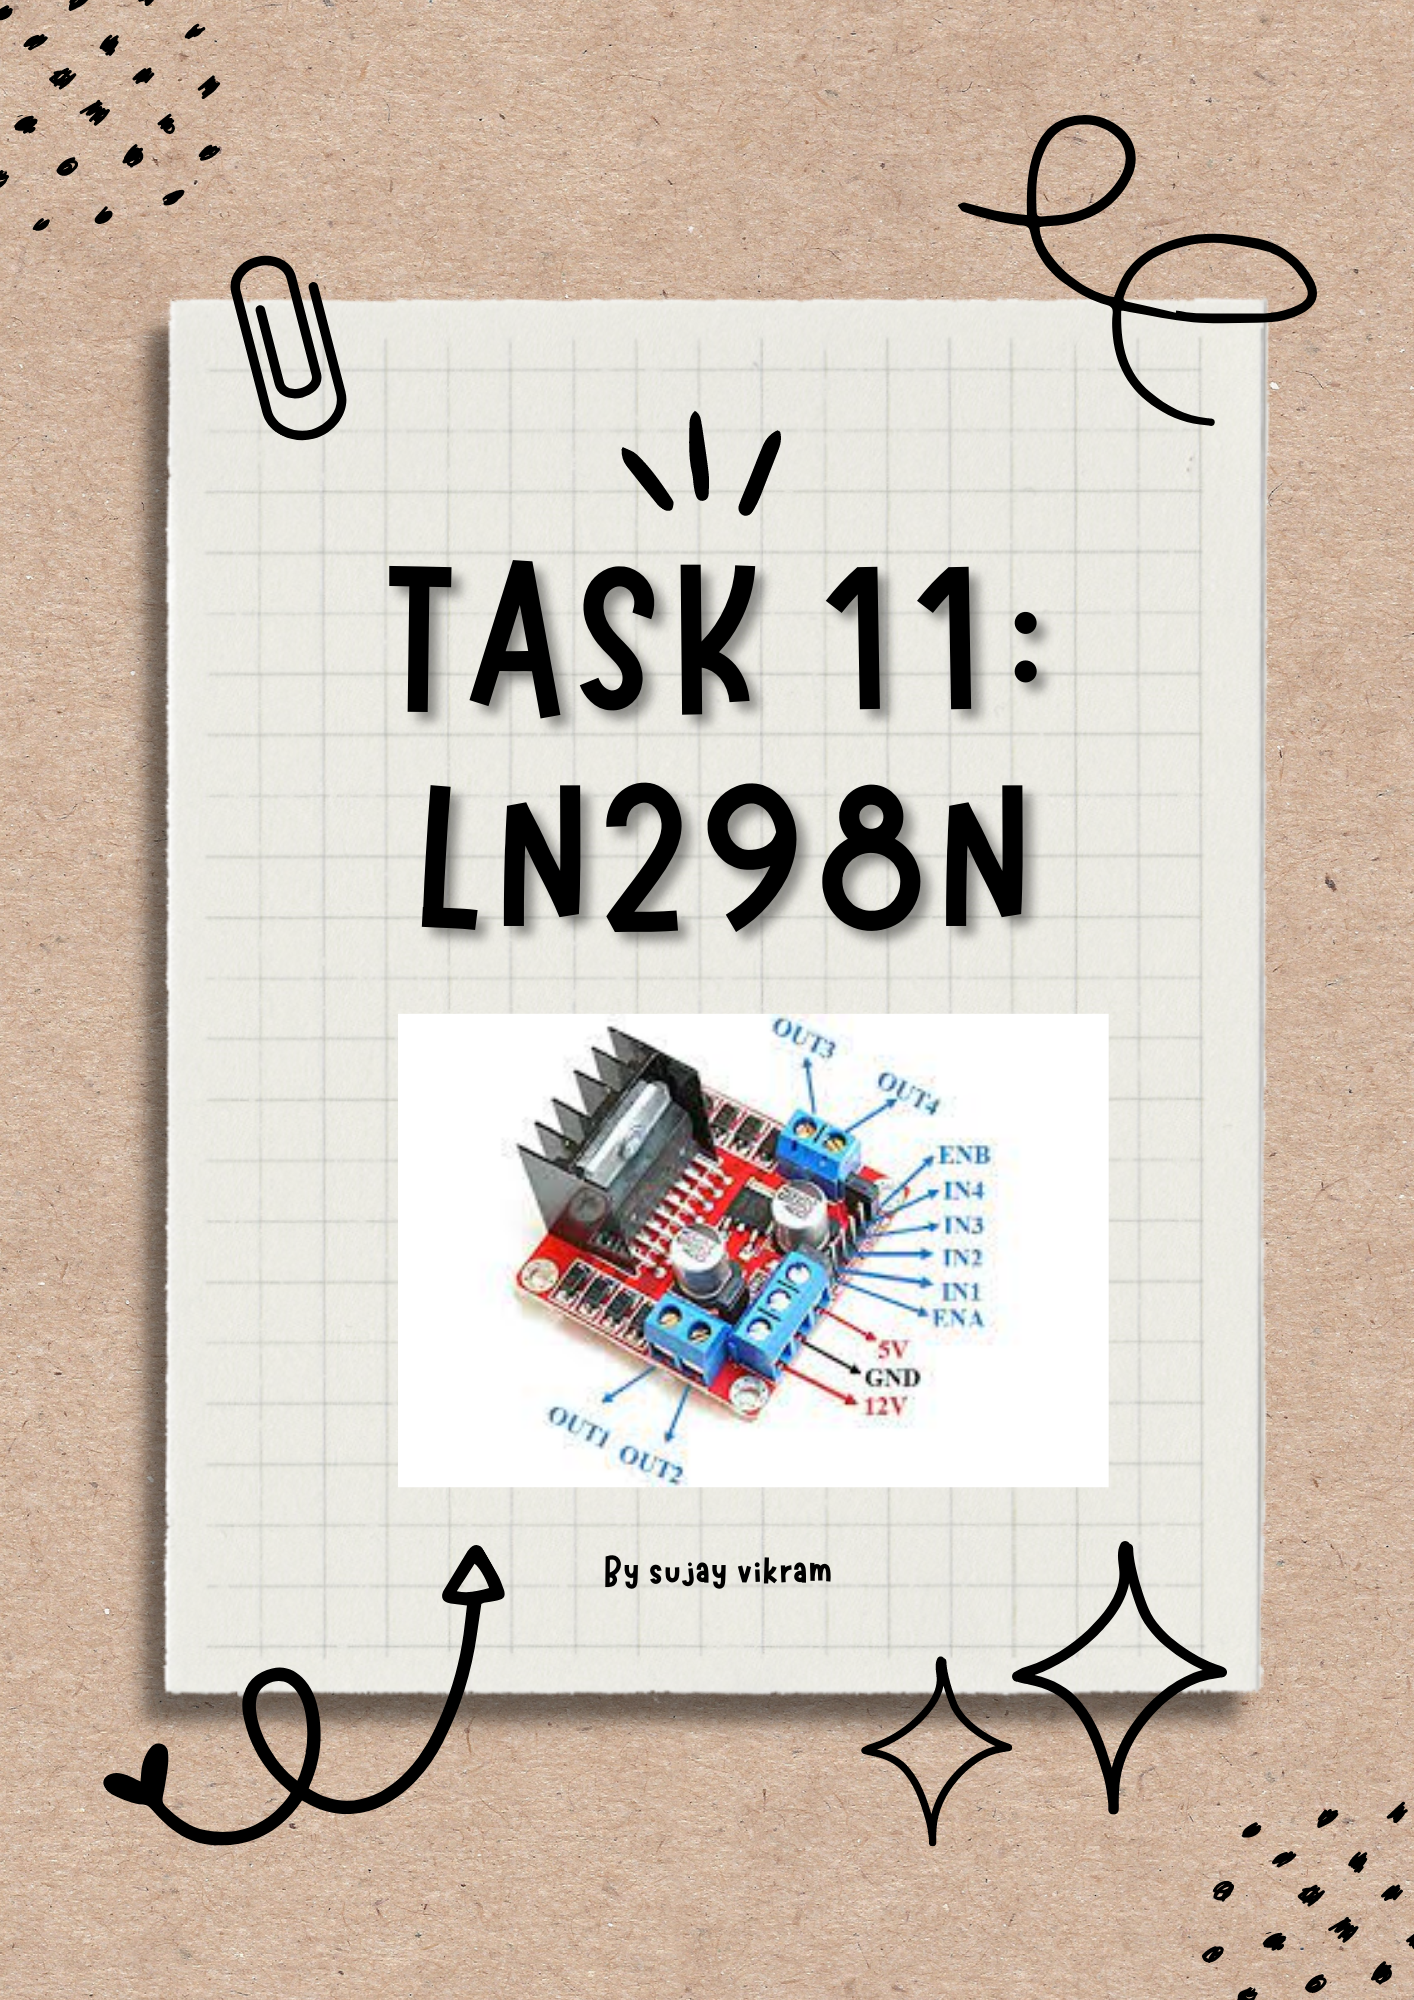 \n\nln298n is essentially a motor driver and i learnt that you can control ( drive ) two dc motors and it takes in the dc input either ( 5v or 12 v) and you can control the speed using an arduino and its ide\n\ni shorted the right side of the motor driver and used the left end of the same to connect the motor in consideration, it is of importance that the load of the same is not a lot and the battery output power should be necessary to drive the motor and also a mutimeter was used to make sure of such things\n\nfollowing video shows the circuit that we ( harsha and i collabed) came up with following a tutorial\n\n<iframe height=""315"">\n\n
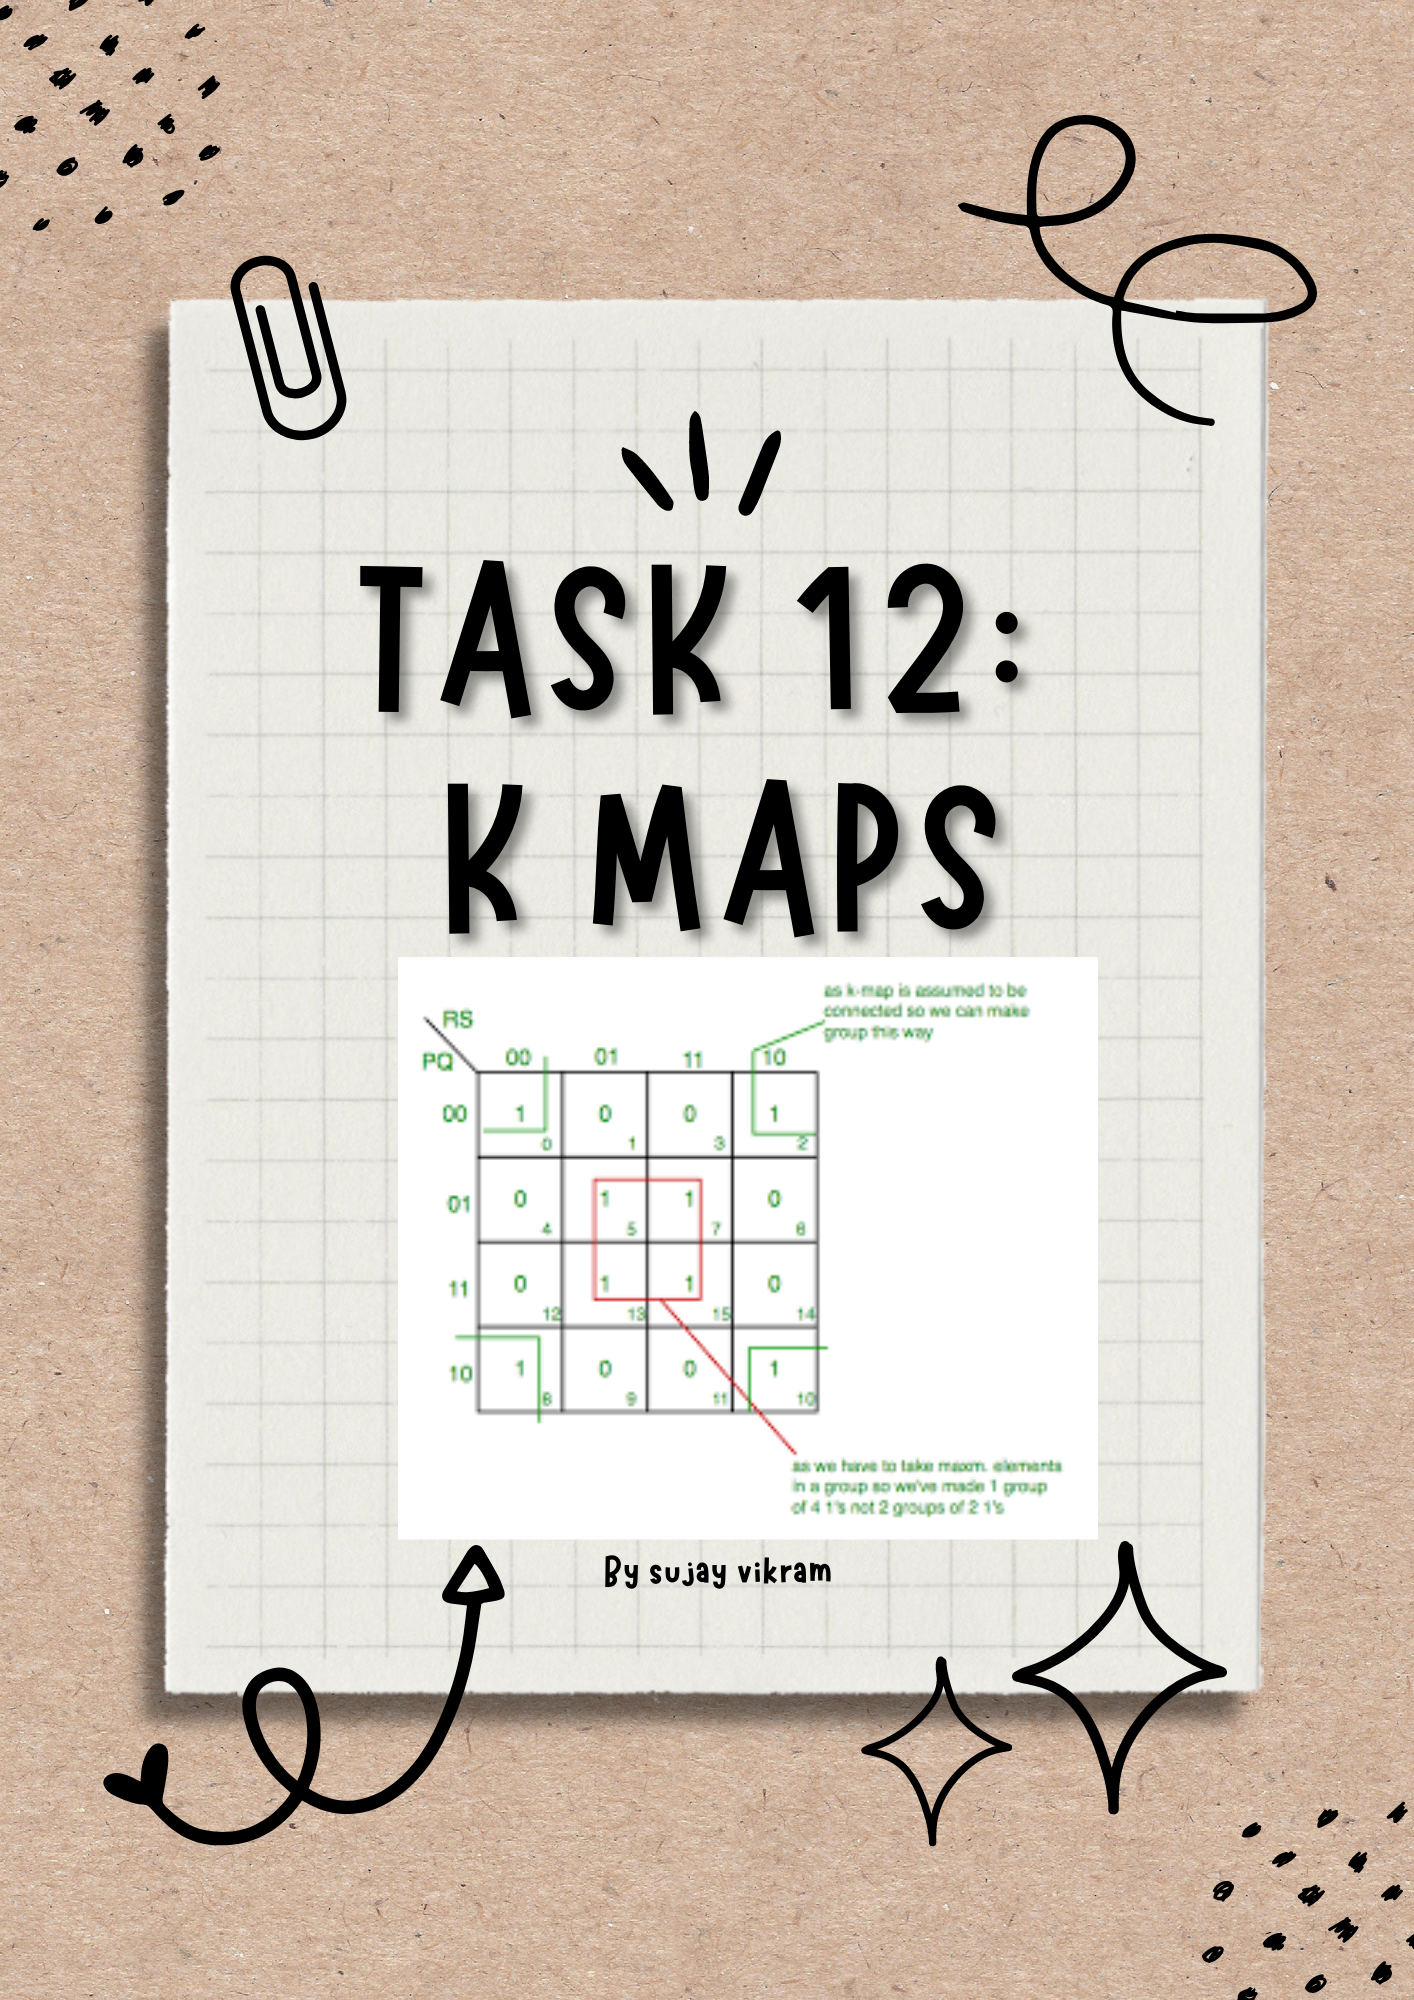 \n working conditions based on the door lock/open and key pressed/not pressed:\n\nthe truth table for that would be:\n
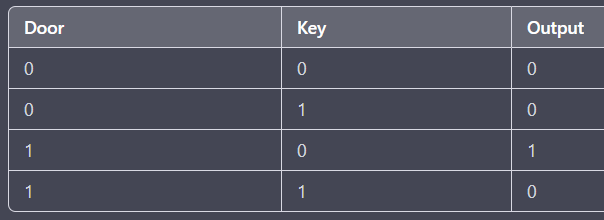 \n\nrequired k map:\n\n\n\n\ntherefore the logic circuit to the required burglar alarm is as follows\n \n\nIn this circuit, the 'Door Lock/Open' input is connected to one input of the AND gate, and the 'Key' input is connected to the other input. The output of the AND gate is then connected to the input of the inverter, and the output of the inverter is connected to the buzzer or LED. When the door is open and the key is not pressed, the output of the AND gate will be 1, which will be inverted by the inverter to give a 0 output. This will turn on the buzzer or LED to indicate that the conditions for the burglar alarm have been met.\n\n
 \n\nwent through a bunch of resource articles and figured i'd touch on web3 and try learning what blockchain was\n\nthe article given a brief overview of the same essentially and is as under\nthe file is here for reading and the video is available as under for viewing\n\nllink to read:\nhttps://hub.uvcemarvel.in/article/f86ec40f-aa64-44bb-9ae5-735294f5bef2\n\nvideo:\n<iframe height=""315"">\n\n
 \n\ndid discover kaggle a long time back and tried working with the titanic task and here is how it looks like ( video attached )\nessentially learnt the use of pandas and matplotlib and a few other libraries, dealing with data and also csv's, importing the same and getting a model up and running to arrive at the task \n\nalso kaggle holds a treasure chest of datasets and i had a great time discovering cool data sets and so on \nthis is the video with my progress on the same\n\n<iframe height=""315"">"