COURSEWORK
Sarah's VFX-001 course work. Lv 1
| Sarah Shaikh | AUTHOR | ACTIVE |
18 / 8 / 2025
LEARNING DAVINCI RESOLVE
Installing Davinci Resolve
I went on my browser and looked up DaVinci Resolve. I downloaded and set it up on my pc. This could alternatively also have been done by clicking on the link given in the coursework. The set-up process was quite simple and easy. On starting and new project I was taken to the following page
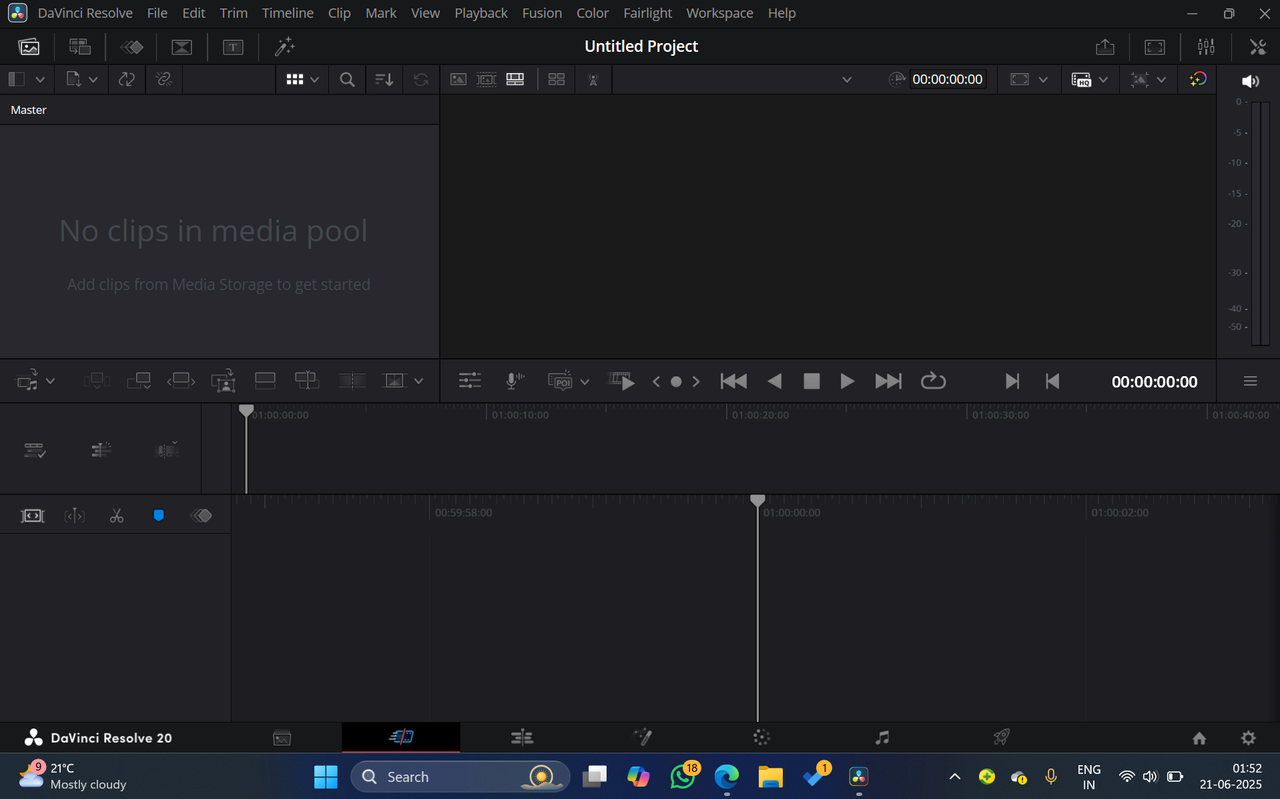
Which in the beginning looked a little complex but on reading the course work and looking up videos on the internet made it less intimidating. Now I can conclude that Davinci resolve has 7 pages or interfaces which are as follows
- Media
- Cut
- Edit
- Fusion
- Deliver
- Color
- Fair light
MEDIA PAGE
From what I have understood is that the media page allows you to keep track of the media you bring in by dragging it into the media pool. To make organization better there are bins which are basically folders where u can store your videos, audios and images. From here on we can start playing with the audio and video, moving around the timeline and getting our desired output.
TASK: EDIT PAGE
For this task scoured the internet for raw footage and found a camera footage of a fight scene. Which I have attached below
These I imported on to the media pool and began using marking clips to section out portions of the footage. Majorly I used my mouse to cut the footage that I wanted in my final cut. By attaching the shots from the raw footages my final result was ready. I also added tittles and music to my edited piece and the end result came out looking as follows.
TASK: CUT PAGE
A very popular project among editing students is the Gunsmoke project. Following this rite of passage I began my second task. The interface of the cut page looked like this during my editing process
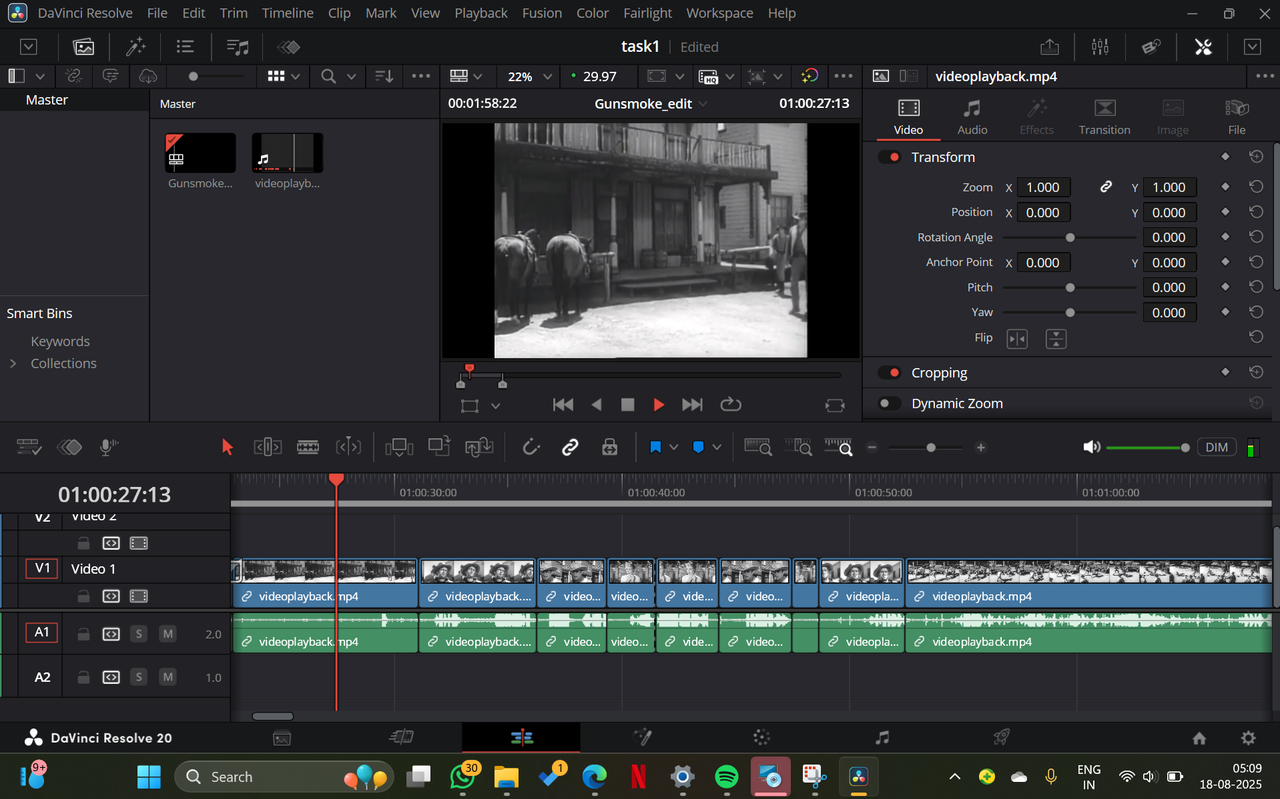
This task allowed me to learn how to add transitions in between cuts. The cut page was very easy to use and honestly the editing felt very hassle free. I quite enjoyed piecing together and trimming the clips according to my liking. I used tittles and also added a slide at the end of the video. Unfortunately, with respect to audio I only did trimming considering the actors dialogues and the soundtrack was pretty great in Gunsmoke. Here is how the final output looked like
TASK: FAIRLIGHT PAGE
While the edit page has quite a few audio editing options Fairlight page opened up a whole new world of audio editing for me. On the top of the page are the meters, which allow us to look at each of the audio tracks. One of the meters show us the true peak of each audio. The next feature I made use of in the fairlight page was the mixer, here the dynamics, frequencies and a lot of things can be manipulated. While doing this I came to the realization that fairlight had a lot of features for me to deep dive into and my assignment here barely scratched the surface. Here is how my my video turned out after removing the background noise
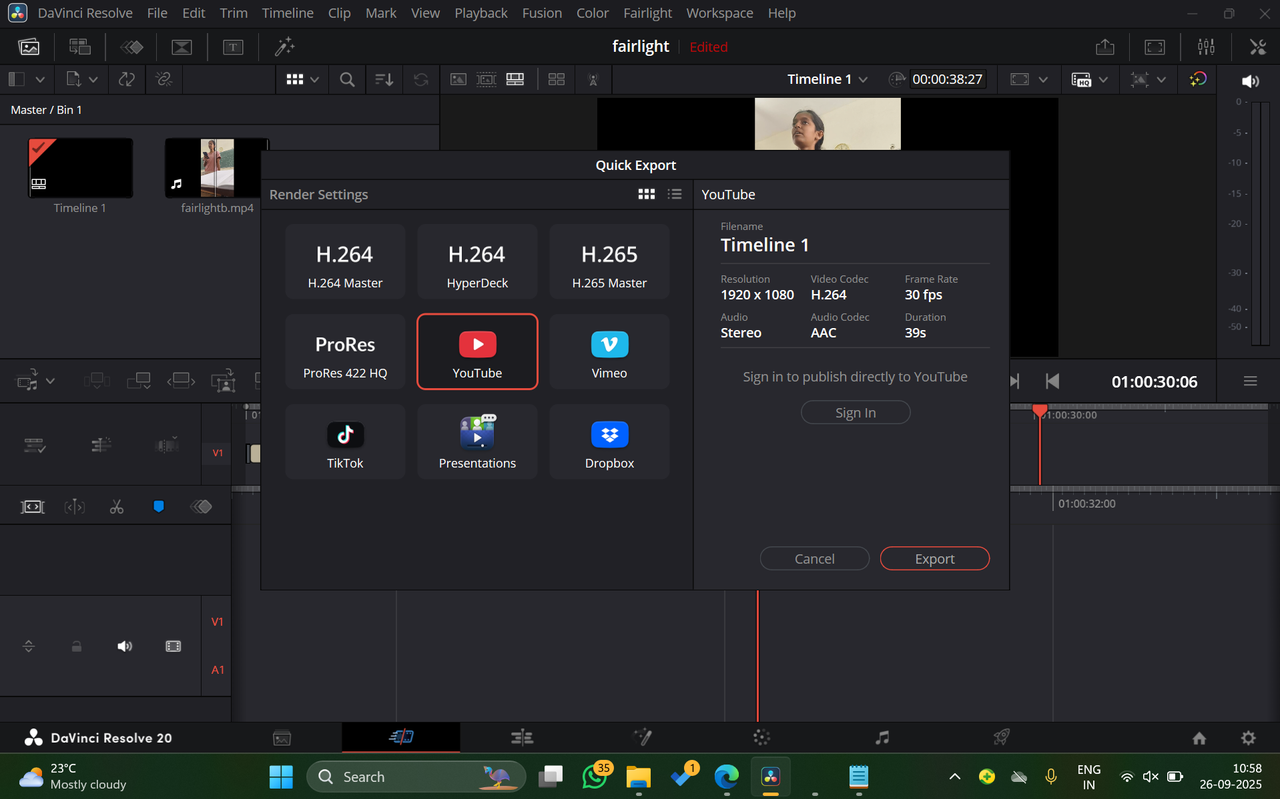
TASK: DELIVER PAGE
Throughout all the tasks that were done in this level I exported my final output using the delivery page. I exported them onto youtube where the resolution, framerate and lot of things can set before the rendering process begins. This is how the page looked like