
COURSEWORK
Sonu's VFX-001 course work. Lv 2
| Sonu Priya | AUTHOR | ACTIVE |
Sonupriya's VFX - Level 1 Report
7 / 1 / 2025
VFX - Level 1 Report
Installation of DaVinci Resolve
To begin my project, I needed a powerful video editing tool. DaVinci Resolve by Blackmagic Studio was the prescribed software. Here's how I installed it:
- Visit the Blackmagic Studio Website: I navigated to the official Blackmagic Studio website to download the latest version of DaVinci Resolve.
- Download the Software: On the DaVinci Resolve page, I clicked on the "Download" button and selected the appropriate version for my operating system.
- Install the Software: Once the download was complete, I opened the installer and followed the on-screen instructions to install DaVinci Resolve on my computer.
Learning DaVinci Resolve Task Bar Pages
DaVinci Resolve is a robust video editing software with various features accessible through different pages on the taskbar. Here's a more detailed overview of what I learned about each page:
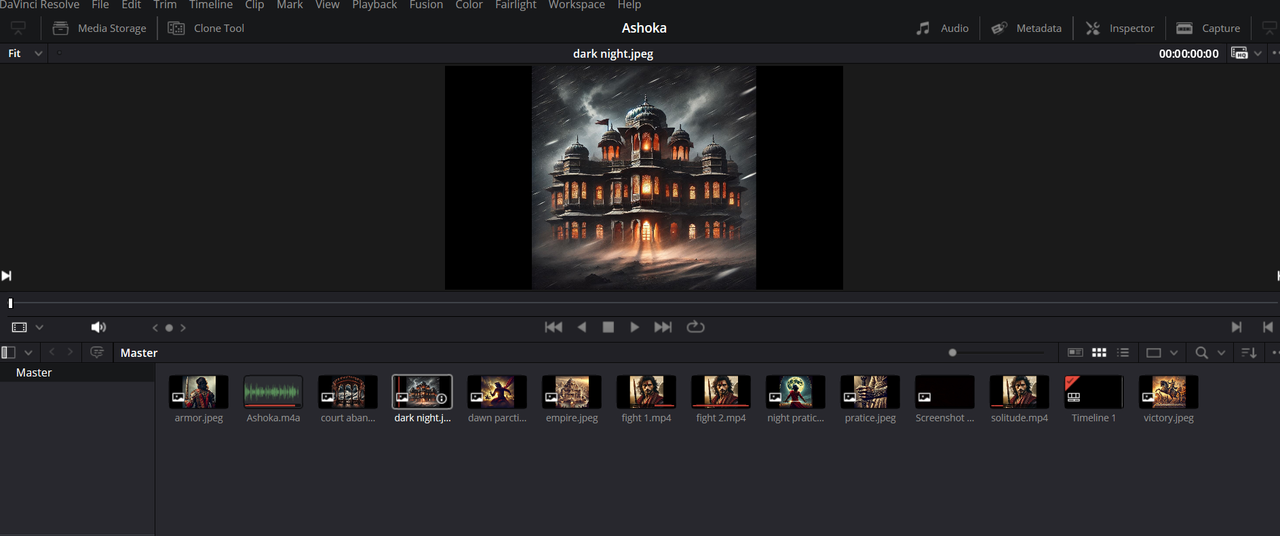
- Media Page:
- This page allows users to import, manage, and organize media files. It provides a workspace for viewing and preparing media assets for editing.
- Key features include a media pool, where all imported media is stored, and a preview window to review clips before adding them to the timeline.
- Cut Page:
- Designed for quick edits, the Cut Page is perfect for trimming and arranging clips in a timeline. It's efficient for assembling rough cuts of a video.
- It offers a dual timeline feature, allowing users to see both the entire timeline and detailed sections simultaneously, making the editing process faster and more intuitive.

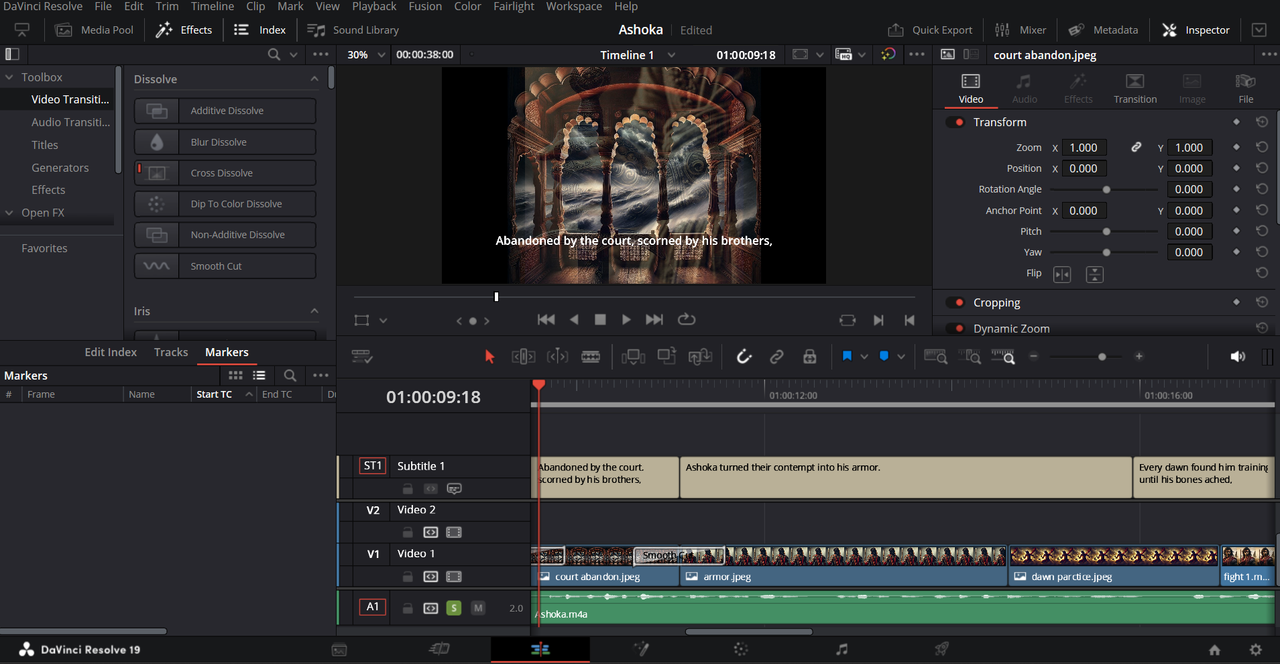
- Edit Page:
- The Edit Page offers a more comprehensive editing environment. It includes advanced tools for timeline editing, adding effects, and fine-tuning the video.
- Users can utilize multiple tracks for video and audio, apply transitions, use keyframes for precise adjustments, and incorporate effects and titles.
- Fusion Page:
- This page is used for creating visual effects and motion graphics. It integrates node-based compositing, offering powerful tools for creating sophisticated visual effects.
- Features include a wide array of tools for 2D and 3D compositing, keying, tracking, and particle effects.

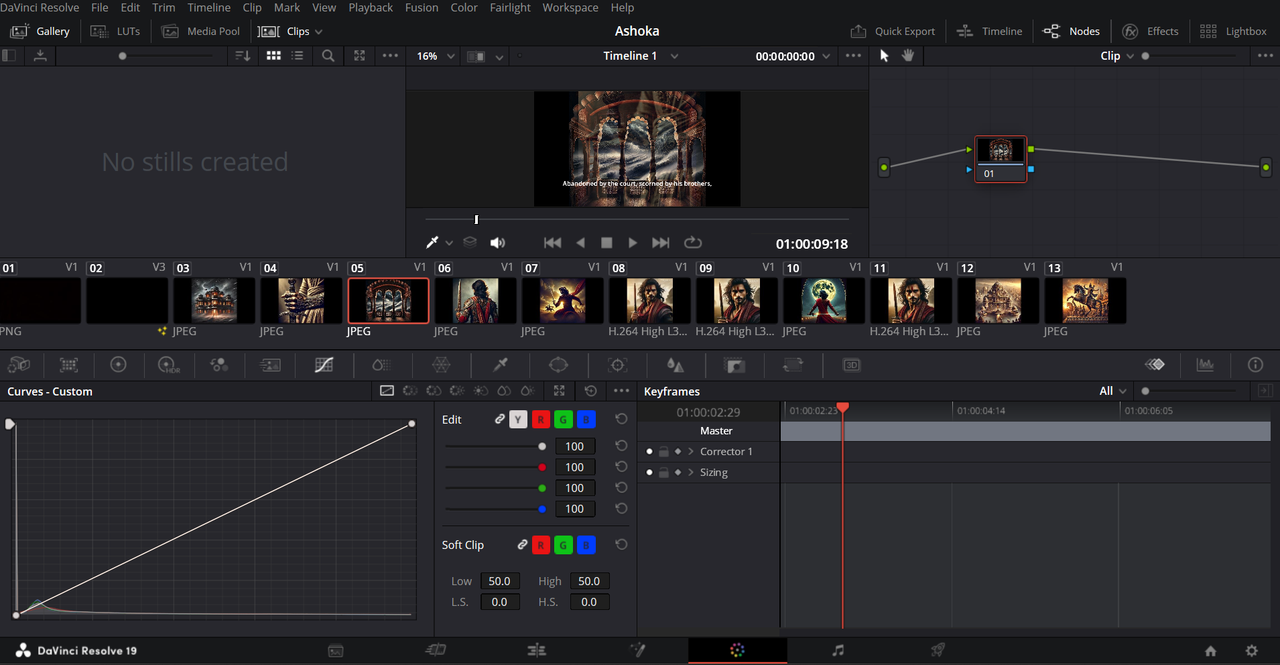
- Color Page:
- The Color Page is where color correction and grading happen. It provides advanced color correction tools, allowing precise control over the look and feel of the video.
- Key features include color wheels, curves, color warper, and scopes for monitoring color balance, exposure, and saturation.
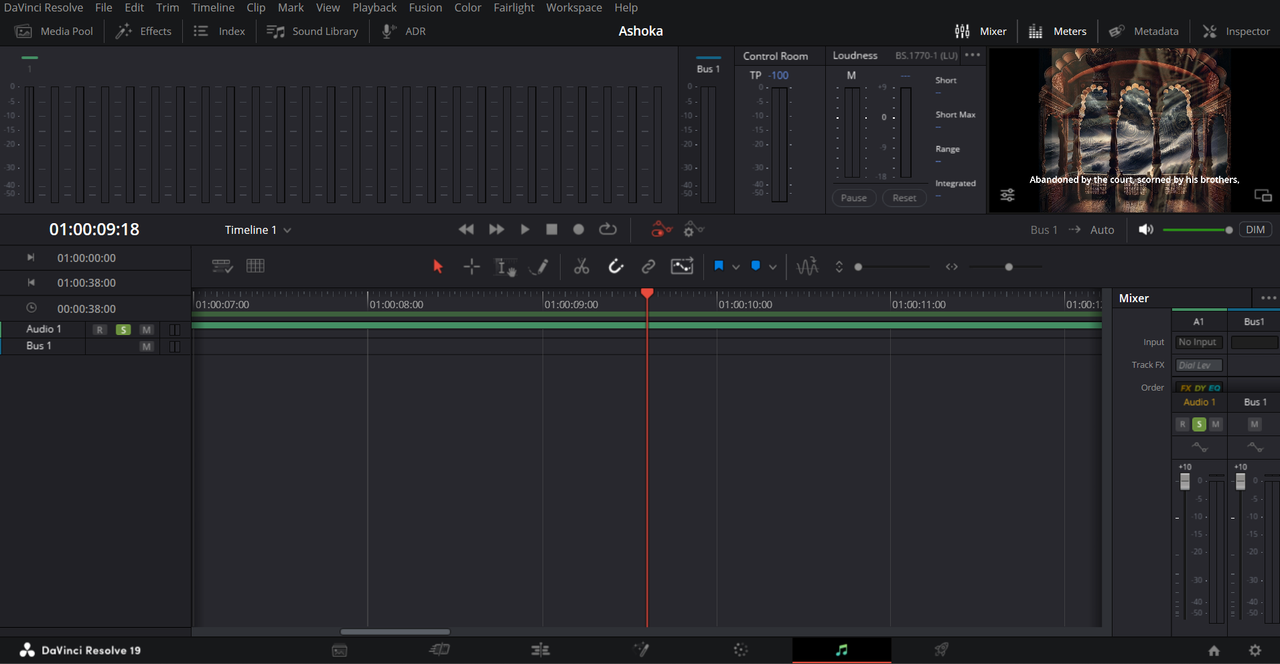
- Fairlight Page:
- This page is dedicated to audio post-production. It offers tools for editing, mixing, and mastering audio tracks.
- It includes a full mixer, equalization tools, dynamics processing, and support for Fairlight audio plugins, enabling professional-level sound design.
- Deliver Page:
- The final step is the Deliver Page, where users can export their edited videos in various formats and resolutions.
- It provides options for setting the codec, resolution, and bitrate, as well as presets for different delivery platforms like YouTube, Vimeo, and more.

Combining Assignments into One Video Project
For my project, I combined two assignments into a single creative endeavor: a video on Chakravarty Ashoka. Here's how I went about it:
- Generating Images and Clips: I utilized the Microsoft Bing Image Generator to create relevant images and clips for my video. This tool allowed me to generate high-quality visual content efficiently.
- Video Creation: Using DaVinci Resolve, I combined the generated images and clips to create a cohesive 30-second video. I employed various editing techniques, such as trimming, adding transitions, and applying color grading to enhance the visual appeal of the video.
- Final Export: Once the video was complete, I exported it using the Deliver Page in DaVinci Resolve, ensuring the final output met the required specifications.
Conclusion
Through this project, I not only enhanced my understanding of DaVinci Resolve but also experienced firsthand the advantages it offers over other editing software. DaVinci Resolve's comprehensive suite of tools, intuitive interface, and professional-grade features set it apart in the realm of video editing. The software's integration of multiple pages for media management, editing, visual effects, color correction, and audio post-production allows for a seamless and efficient workflow. Additionally, the ability to generate high-quality visual content using Microsoft Bing Image Generator streamlined the content creation process, allowing me to focus on the editing and storytelling aspects of the video. The final result was a well-crafted 30-second video on Chakravarty Ashoka, showcasing both my technical skills and creative vision.