
COURSEWORK
Vinith's AI-ML-001 course work. Lv 1
| Vinith M 0467 | AUTHOR | ACTIVE |
This Report is yet to be approved by a Coordinator.
Detailed report regarding level-1 common task.
13 / 4 / 2023
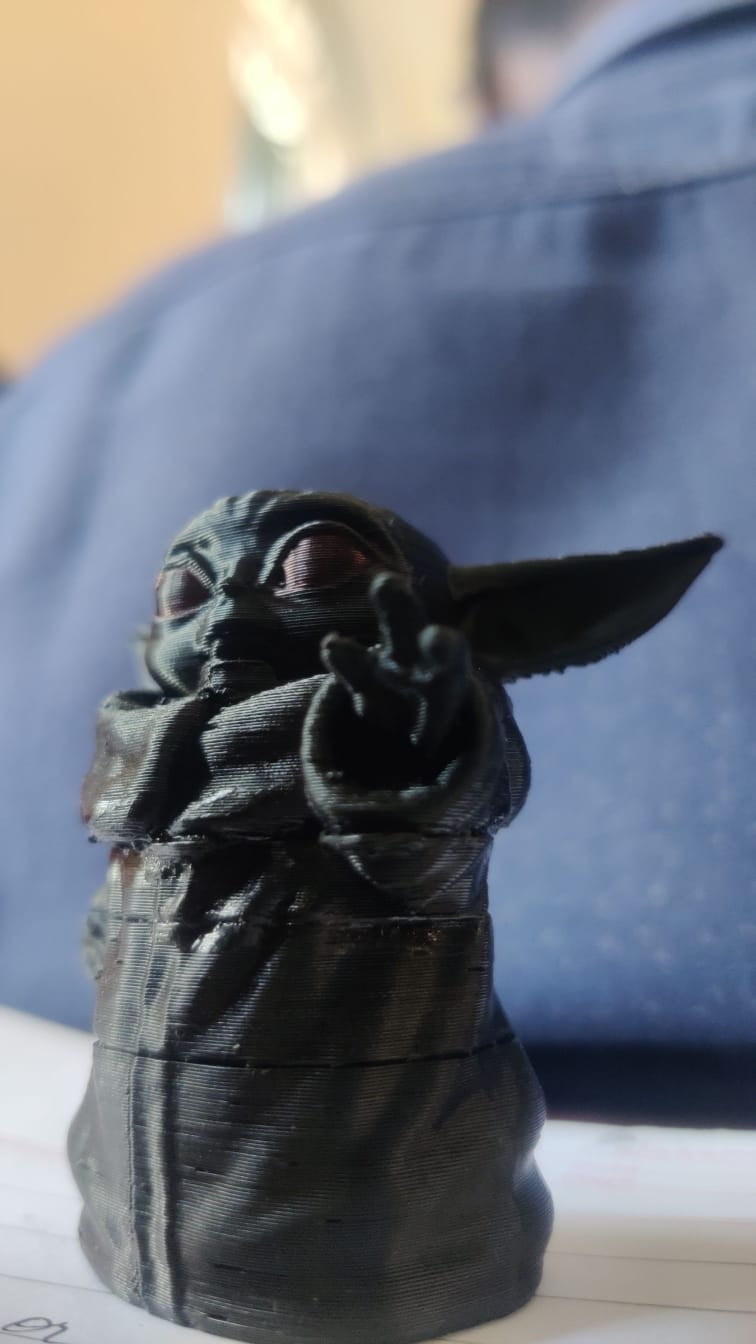
3D PRINTING:
- 3D printing was an entirely new thing for me to learn till date of my learning career. First time I have done a 3D model using 3D printing concept.
- It has been a great experience doing this for me , as I could learn a lot of new things while doing this 3D model using the concept of 3D printing.
- I have learned how to make a 3D model using 3D printing and learnt slicing operations and many of the slicing features that are used during 3D printing.
- I have learnt about PLA tips that come to handy when we are doing 3D printing.
- I have learnt about how much should be the bed temperature for creating a 3D model and also about the infill density that we should know during 3D printing.
- Using Ulti-maker we have a lot of options through which we can easily make or create a new 3D model using 3D printing.
- I even came to know about STL file which is commonly used for 3D printing and computer aided design. STL is an acronym that stands for stereolithography- a popular 3D printing technology.
- To describe briefly about STL , STL file stores information about 3D models. we can identify STL files by the .stl" file extension.
- STL file when used in conjunction with a 3D slicer, it allows a computer to communicate with 3D printer hardware.
- I came to know about the bed temperature should be in the in range of 55-65 degree Celsius.
- I came to know about the infill density that is the amount of plastic used on the inside of the print. For a visual purpose around 20 percentage of infill density is used.
- I came to know about the purpose of slicing and what is actually slicing is, like slicer is a of 3D printing software that acts as a link between the digital model and the actual model. The 3D printing slicer software transforms the digital model into printing instructions , called G-code.
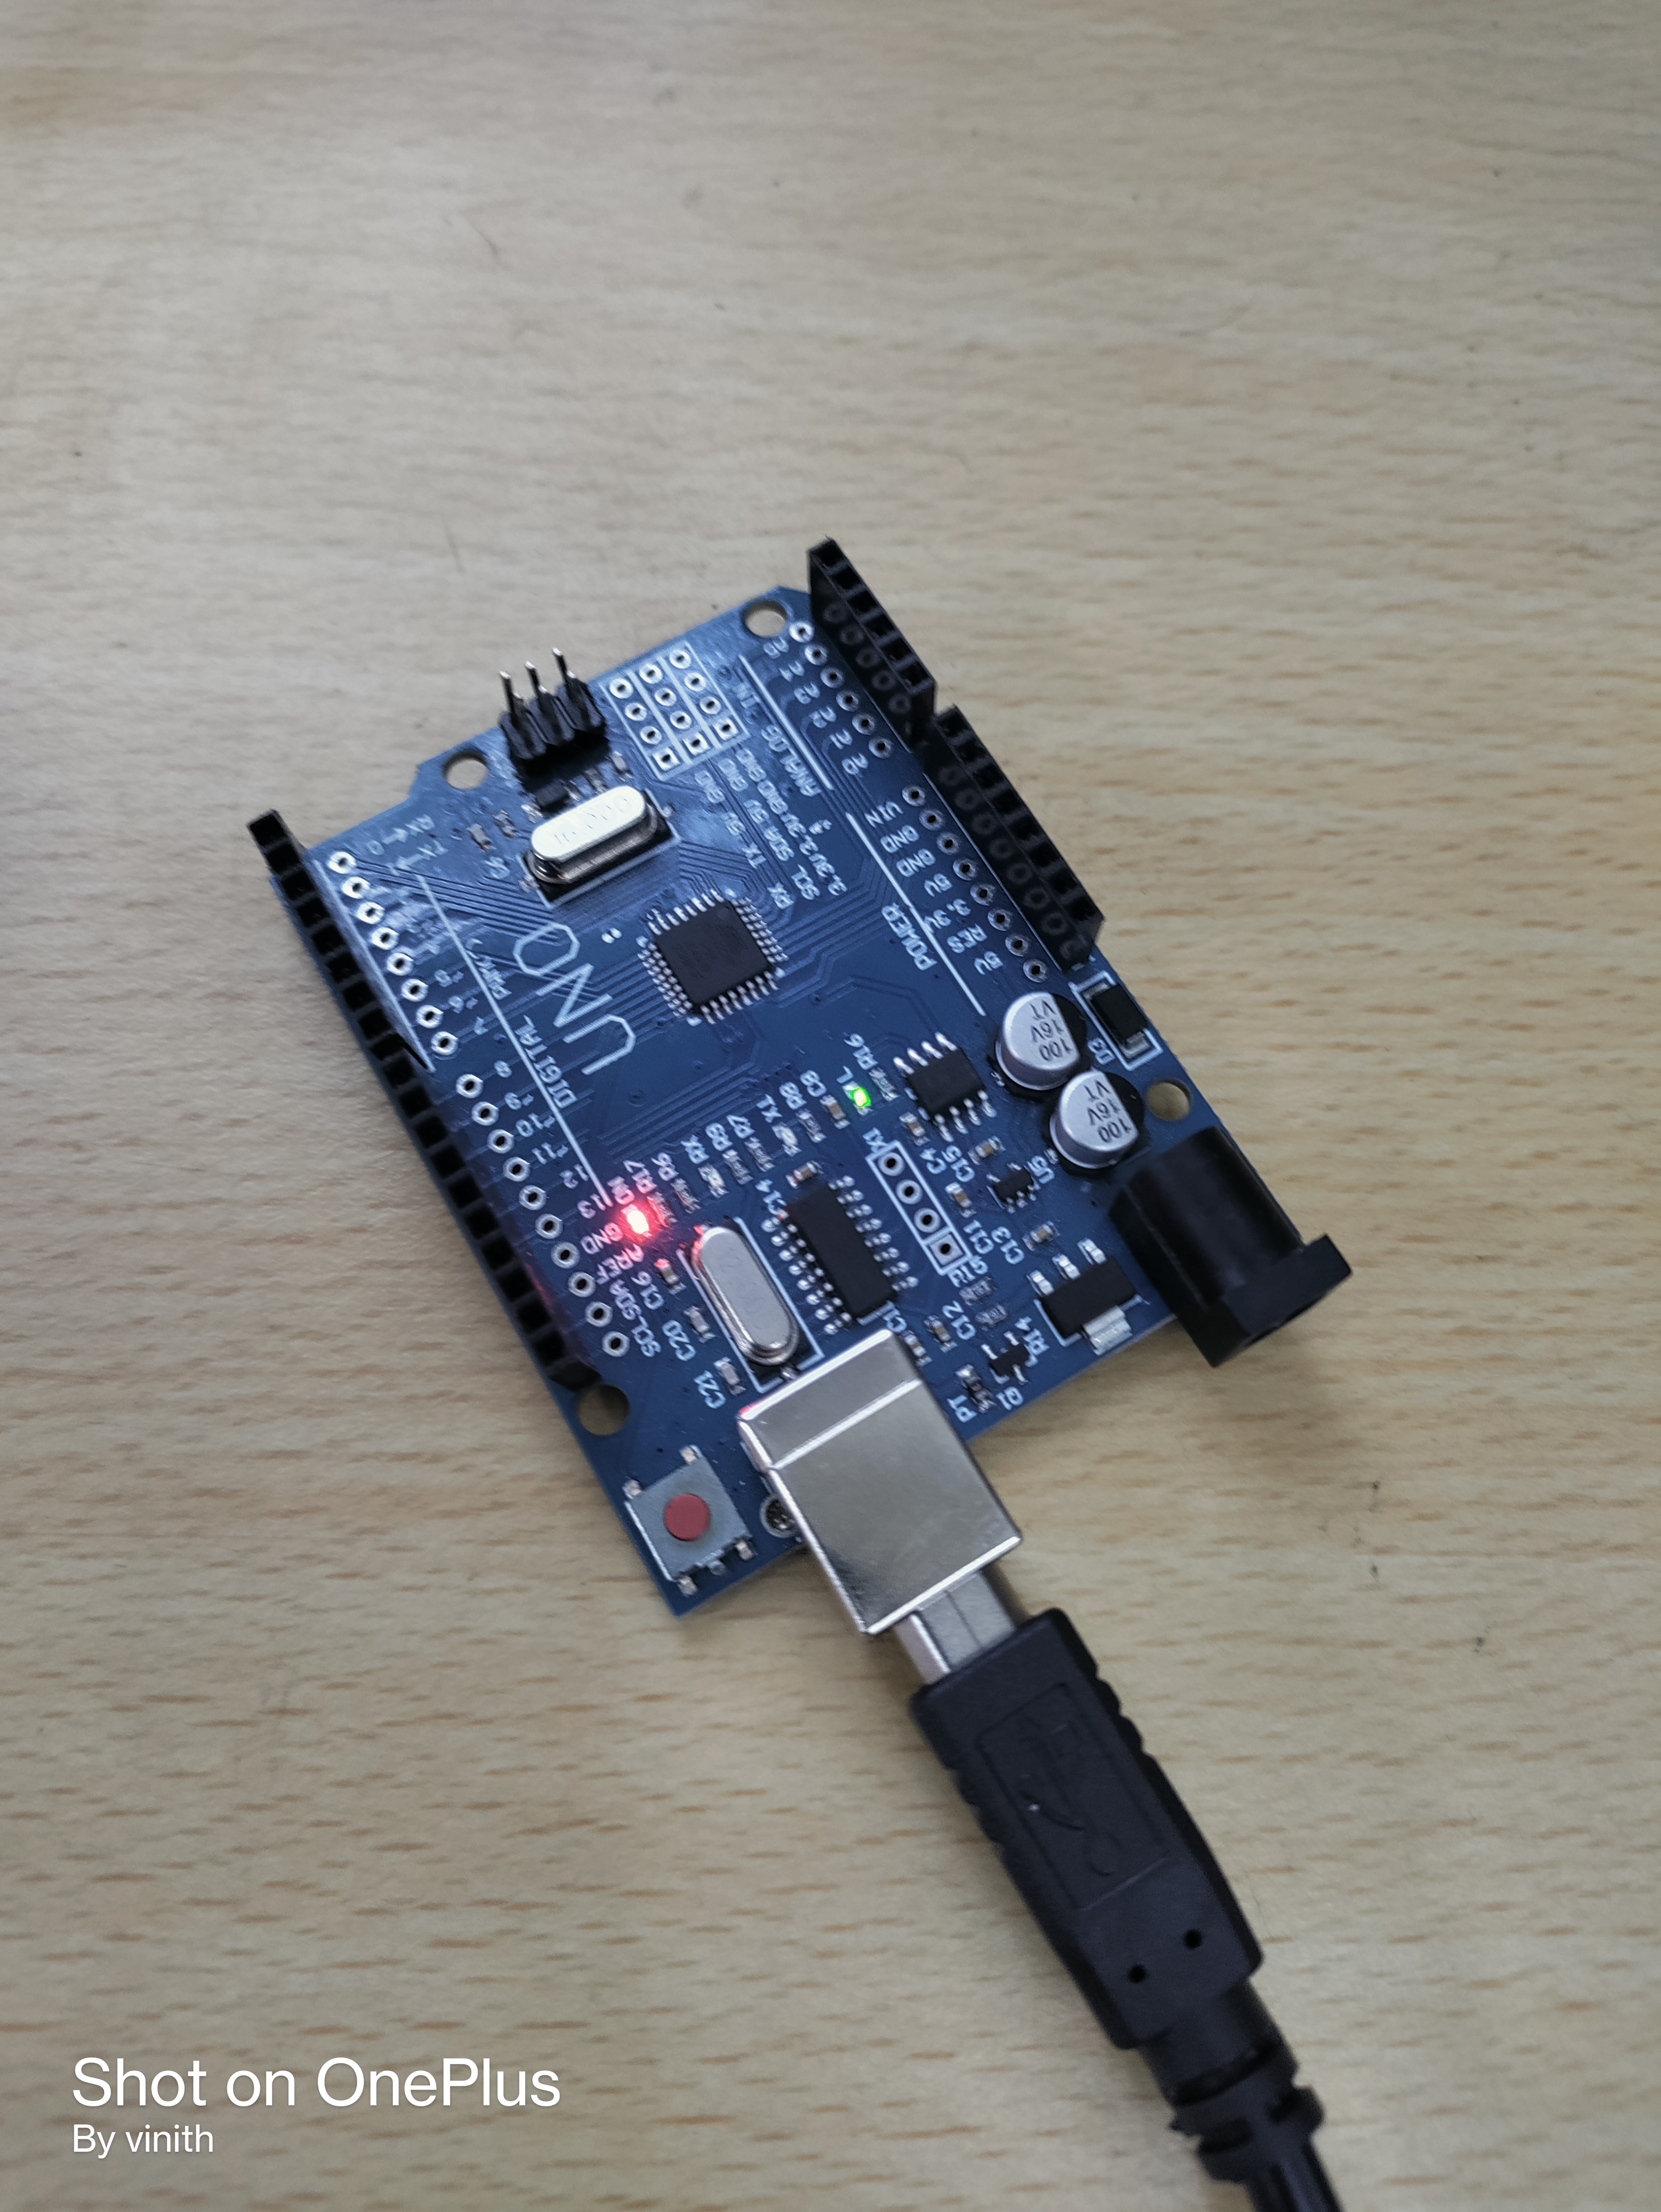
SPEED CONTROL OF DC MOTOR.
- Firstly I learnt how about PWM DC MOTOR CONTROL where PWM stands for pulse width modulation and is a technique which allows us to adjust the average value of the voltage that,s going to the electronic device by turning on and off the power at a faster rate.
- Depending on the size of the motor , we can simply connect an Arduino PWM output to the base of transistor and control the speed of motor by controlling the PWM output.
- I learnt about what is the use of H-Bridge DC Motor control. By using the H-Bridge we can have a control over the rotation direction of the motor.
- That is by just inversing the flow of of current through the motor.
- The L298N is a dual H-Bridge motor driver which allows speed and direction control of two dc motors at the same time.
- The major requirements for this to be done is an L298N motor driver , a dc motor , a potentiometer , a push button and Arduino board.
- Here potentiometer is used to control the speed and push button is used to change the rotation direction .
- At the end we have a Arduino code that we use to program microcontroller boards such as the Arduino Uno to interact with the sensors , actuators, and other devices connected with the board.
- Firstly, we performed this thing on Tinkercad and then performed on hardware.
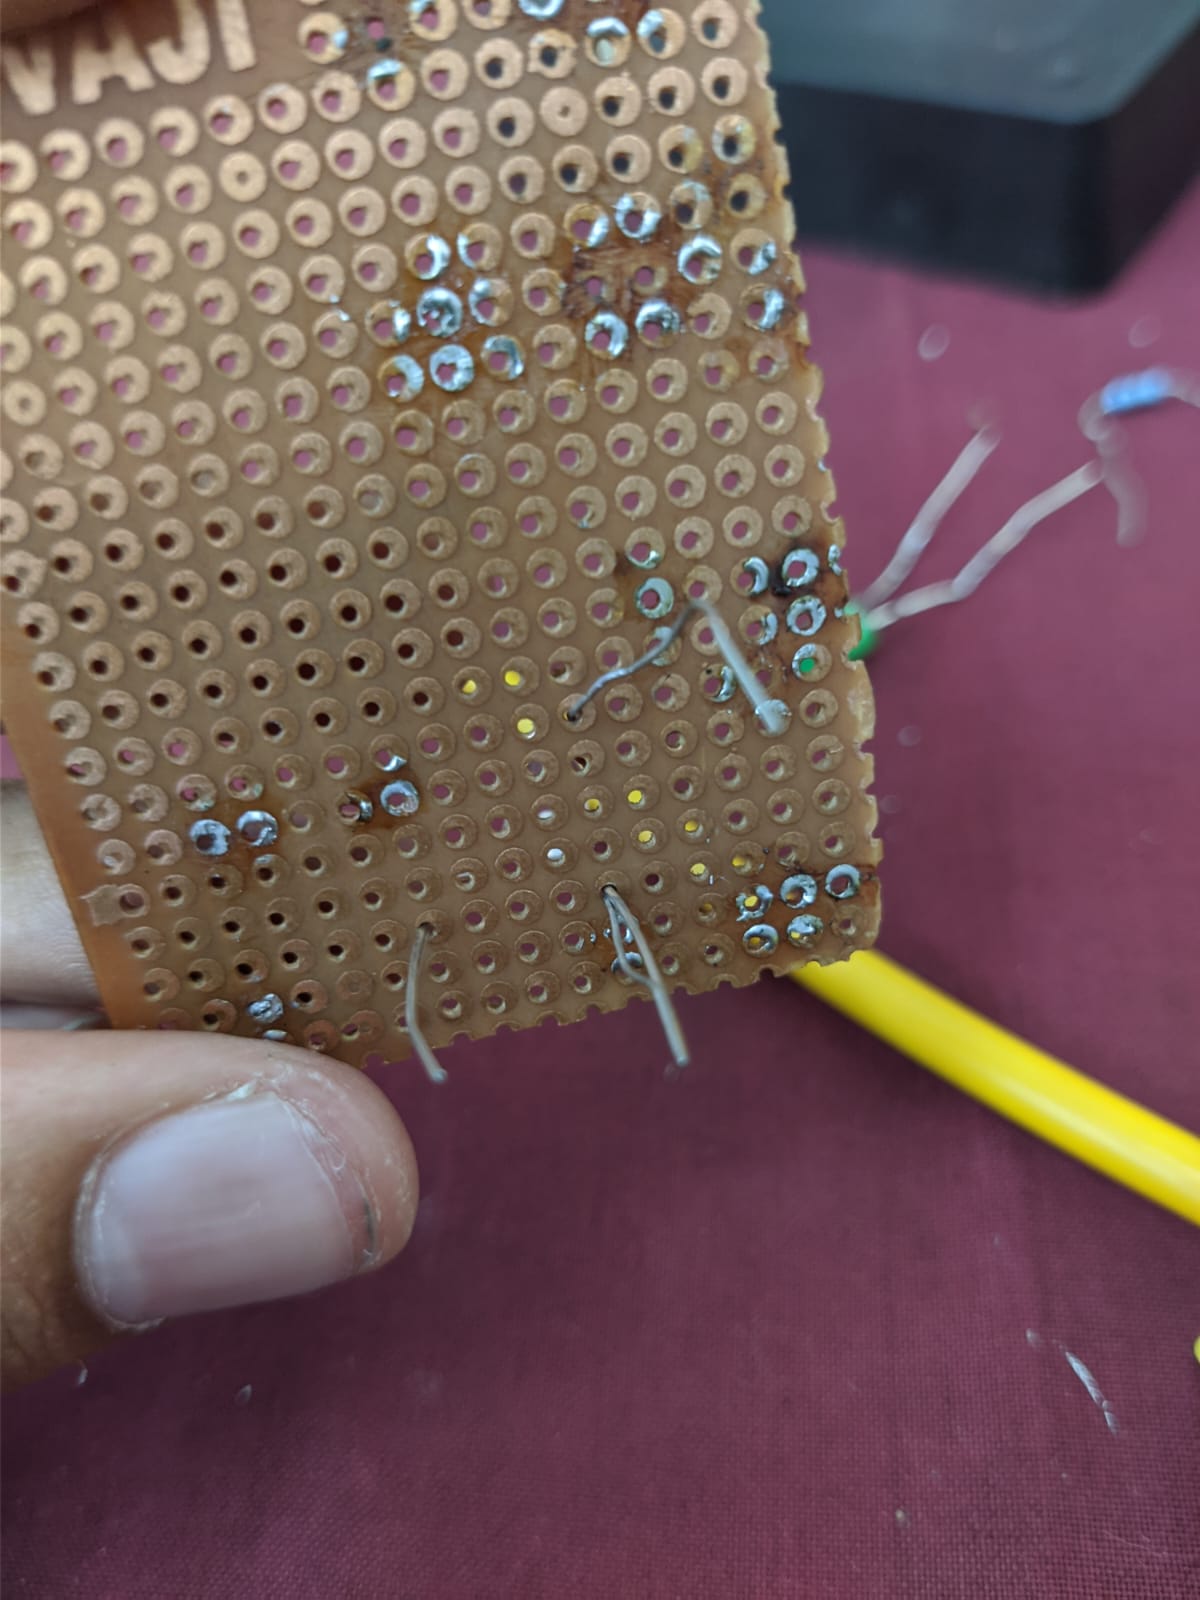
SOLDERING PREREQUISITES.
- I learnt a lot about how to solder and the things that we use in soldering. Like we use the solder, the soldering iron, soldering wick, flux, etc.
- Firstly I learnt about soldering, that is the process of joining two or more electronic parts together by melting solder around the connection.
- Solder is a metal alloy and when it cools it creates a strong electrical bond between the parts.
- A soldering iron is a hand tool that plugs into a standard 120v AC outlet and heats up in order to melt solder around electrical connections.it is available in the form of pen or gun form.
- A soldering station is a more advanced version of the basic soldering pen.
- The main benefit of the soldering station is the ability to precisely adjust the temperature of the soldering iron.
- Soldering iron tips is another part which has many variations which is present at the tip of soldering iron and is used for many purposes.
- For example used for delivering heat to smaller areas etc.
- Brass or conventional sponge that helps the soldering iron tip to remain clean by removing the oxidation that forms.
- There are particularly four steps for soldering , they are:
-> Step-1 : Mount the component
-> Step-2 : Heat the joint
-> Step-3 : Apply solder to joint
-> Step-4 : Snips the leads
- Using helping hands and by using our hands we can solder the wires.
- By doing all the above steps , I have learnt how to do soldering.
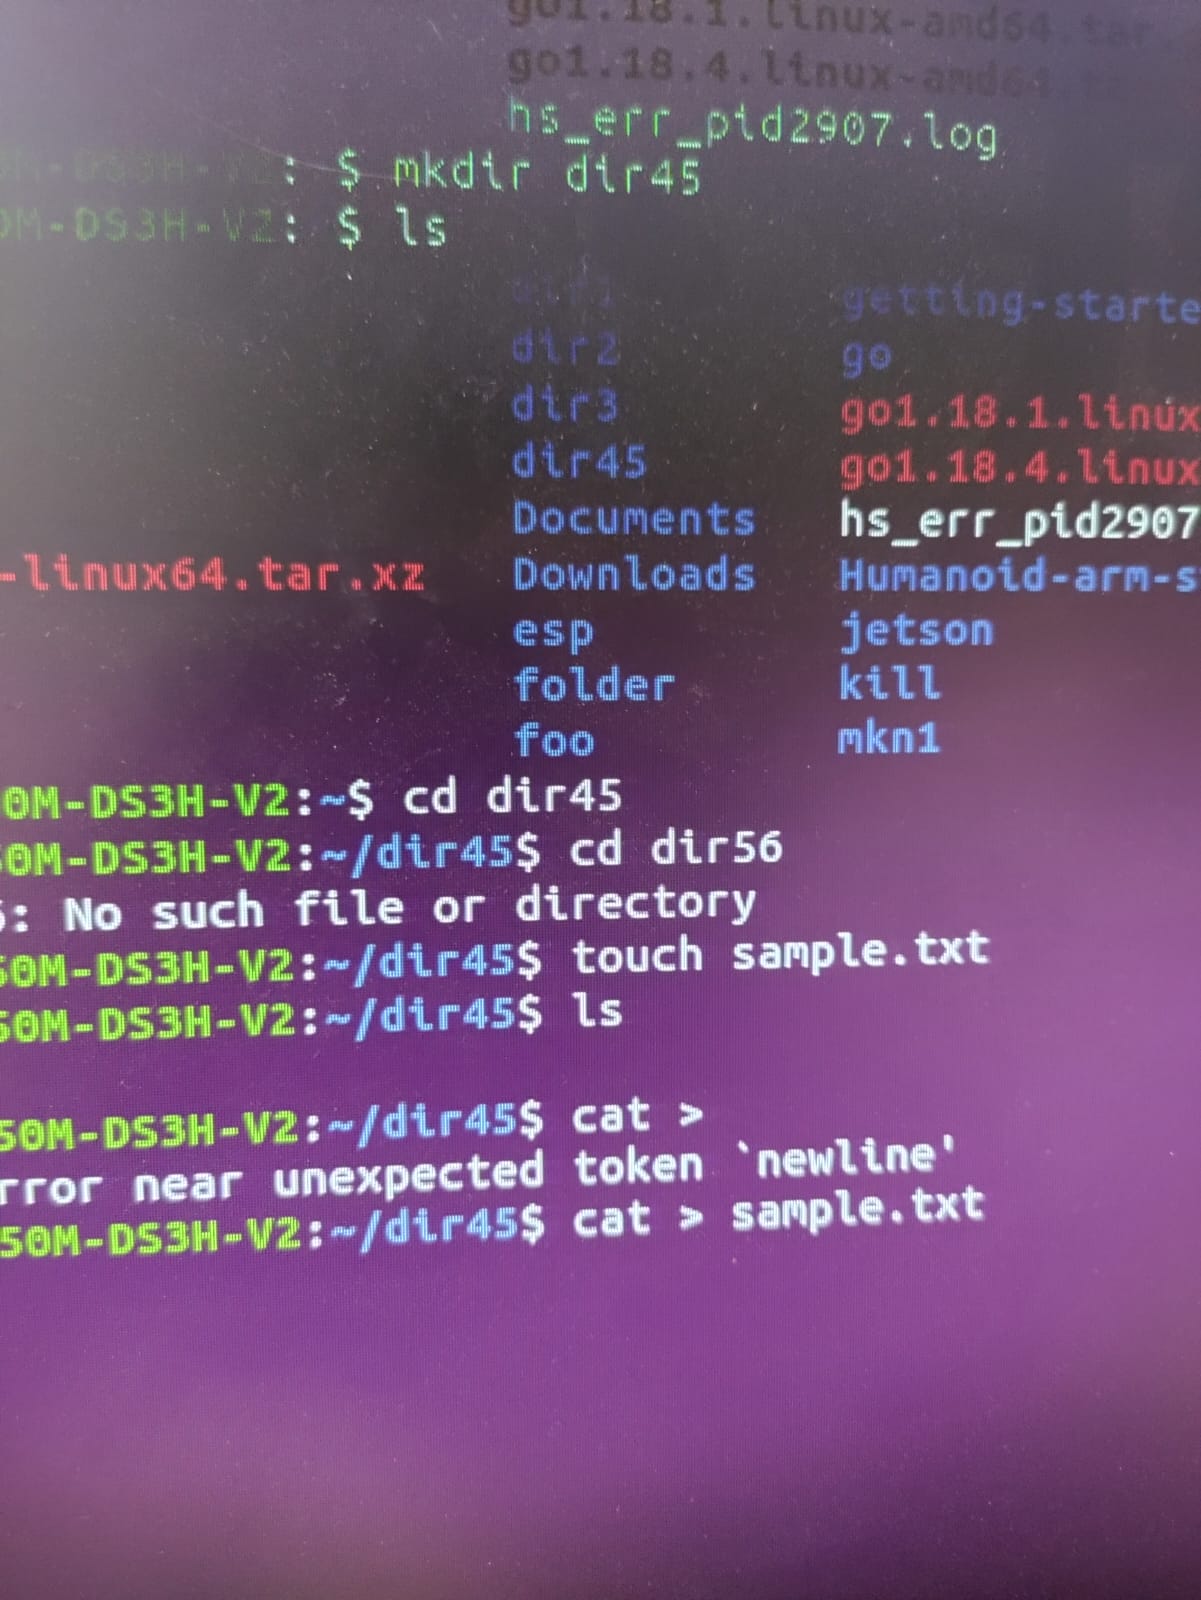
GET FAMILIAR WITH THE COMMAND LINE ON UBUNTU.
- I have created a new folder named on ubuntu using the command line: mkdir test.
- To cd into the folder , I have written : cd
- To create an empty file , I have written : cat > filename
- To list all files in the current directory , I have written : |s -| chap 1
- To concatenate two text files , I have written : fmerge basefile fileA fileB - o outputfile.
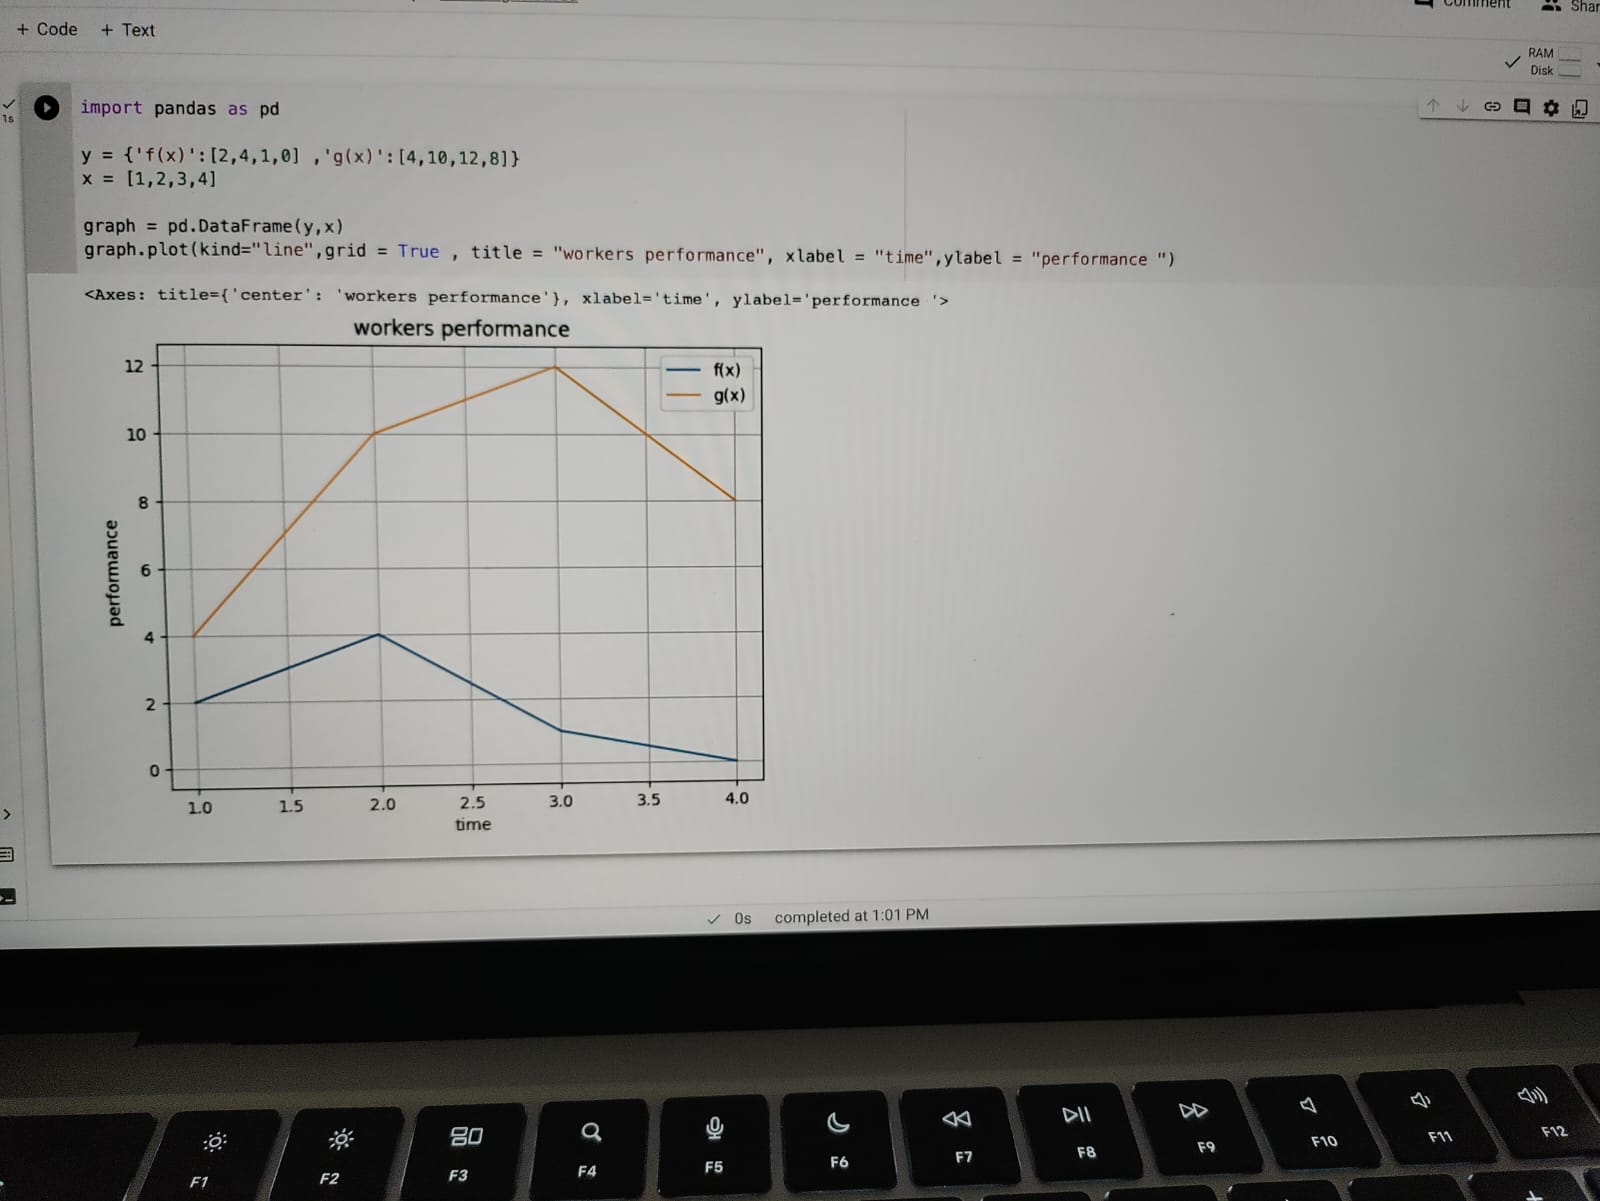
WORKING WITH PANDAS AND MATPOTLIB.
- I have worked in a Jupyter notebook in my laptop to do the particular graphs.
- We need a working Python environment including pandas.
- Once our environment is set up, we,re ready to download a dataset. In the graph that I have done is based on the data analysis of majors sourced from the American community survey 2010-2012 public use microdata sample.
- Firstly, download the data by passing the download url to pandas.read_csv():
- To display plots we need to setup our jupyter notebook to %matpotlib.
- By following the above steps and other steps we can easily plot the graphs related our dataset that we have taken.
- By this graphs we can analyze various things that are very useful for many ways.

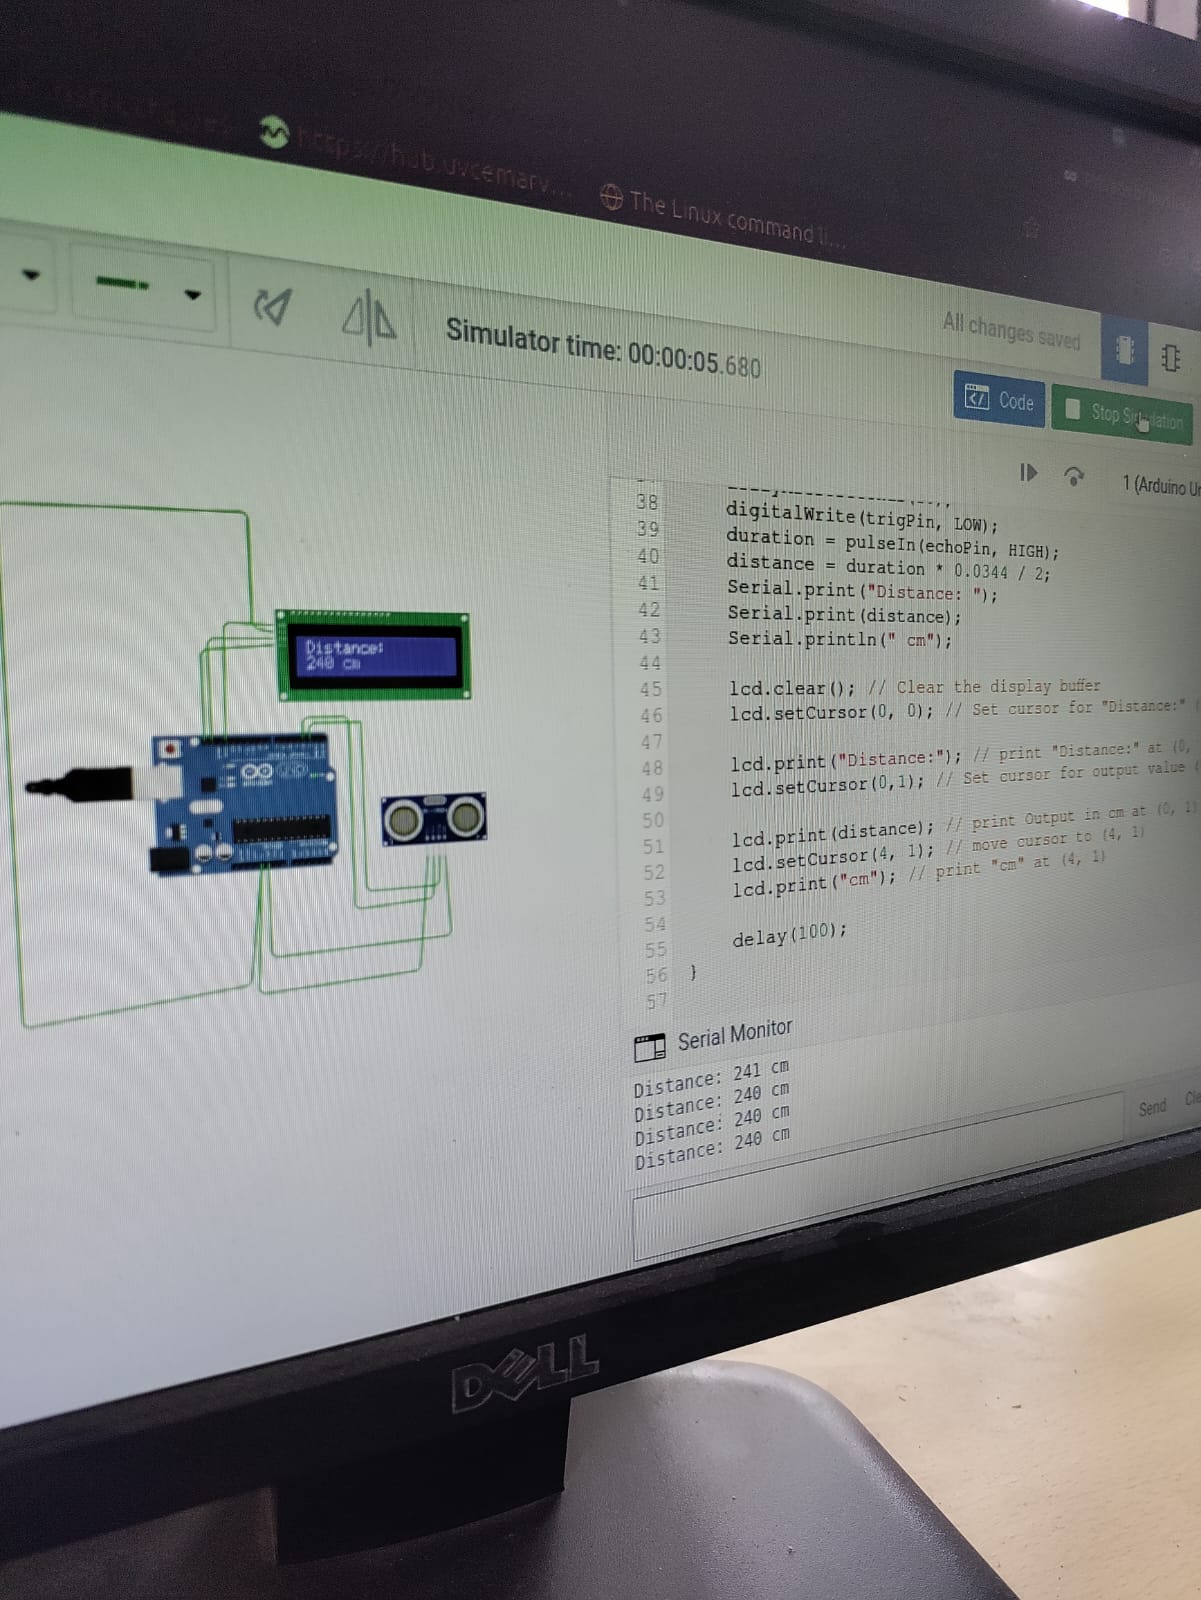
TINKERCAD:
- By doing this task I learnt how to measure the distance using ultrasonic sensor and Arduino.
- Arduino is an open -source electronics platform. It consists ATmega328 8-bit microcontroller in the Arduino.
- It can be able to read inputs from different sensors and we can send instructions to the microcontroller in the Arduino.
- It provides Arduino IDE to write code and connect the hardware devices like Arduino boards and sensors.
- Ultrasonic sensor is a device used to measure the distance between the sensor and an object without physical contact . This device works based on time-to-distance conversion.
- By doing this task I came to know the use of ultrasonic sensor and the Arduino in calculating the distance between the source and the object.
- The main principle of ultrasonic sensor is it sends and receives the ultrasonic waves.
- The Arduino calculates the time taken by ultrasonic pulse wave to reach the receiver from the sender.
- We also need 16*2 LCD |2C Display and Jumper wires for doing this task.
- To monitor the output without a PC, we have to interface display devices to monitor the output, here we use the above mentioned LCD display.
- We have a code for both Arduino and to setup LCD interface.
- There are a lot of applications of ultrasonic distance measurement, especially in RADAR system.
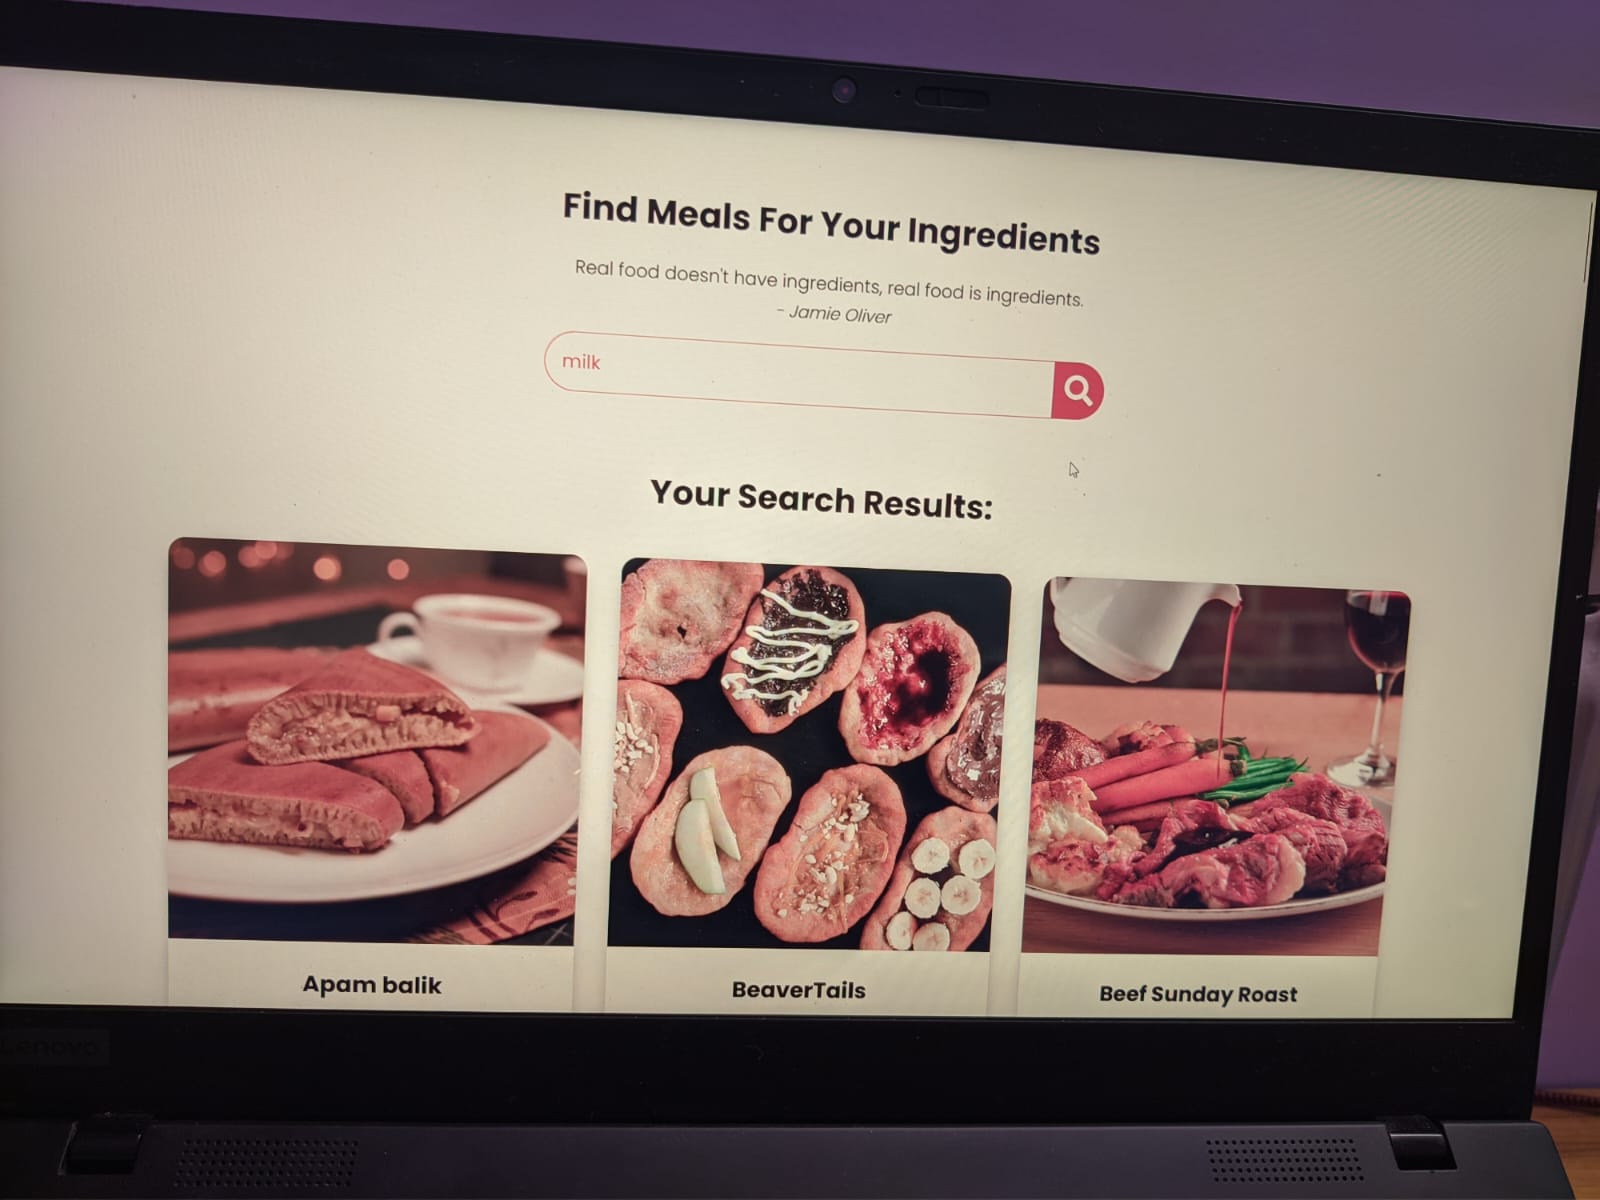
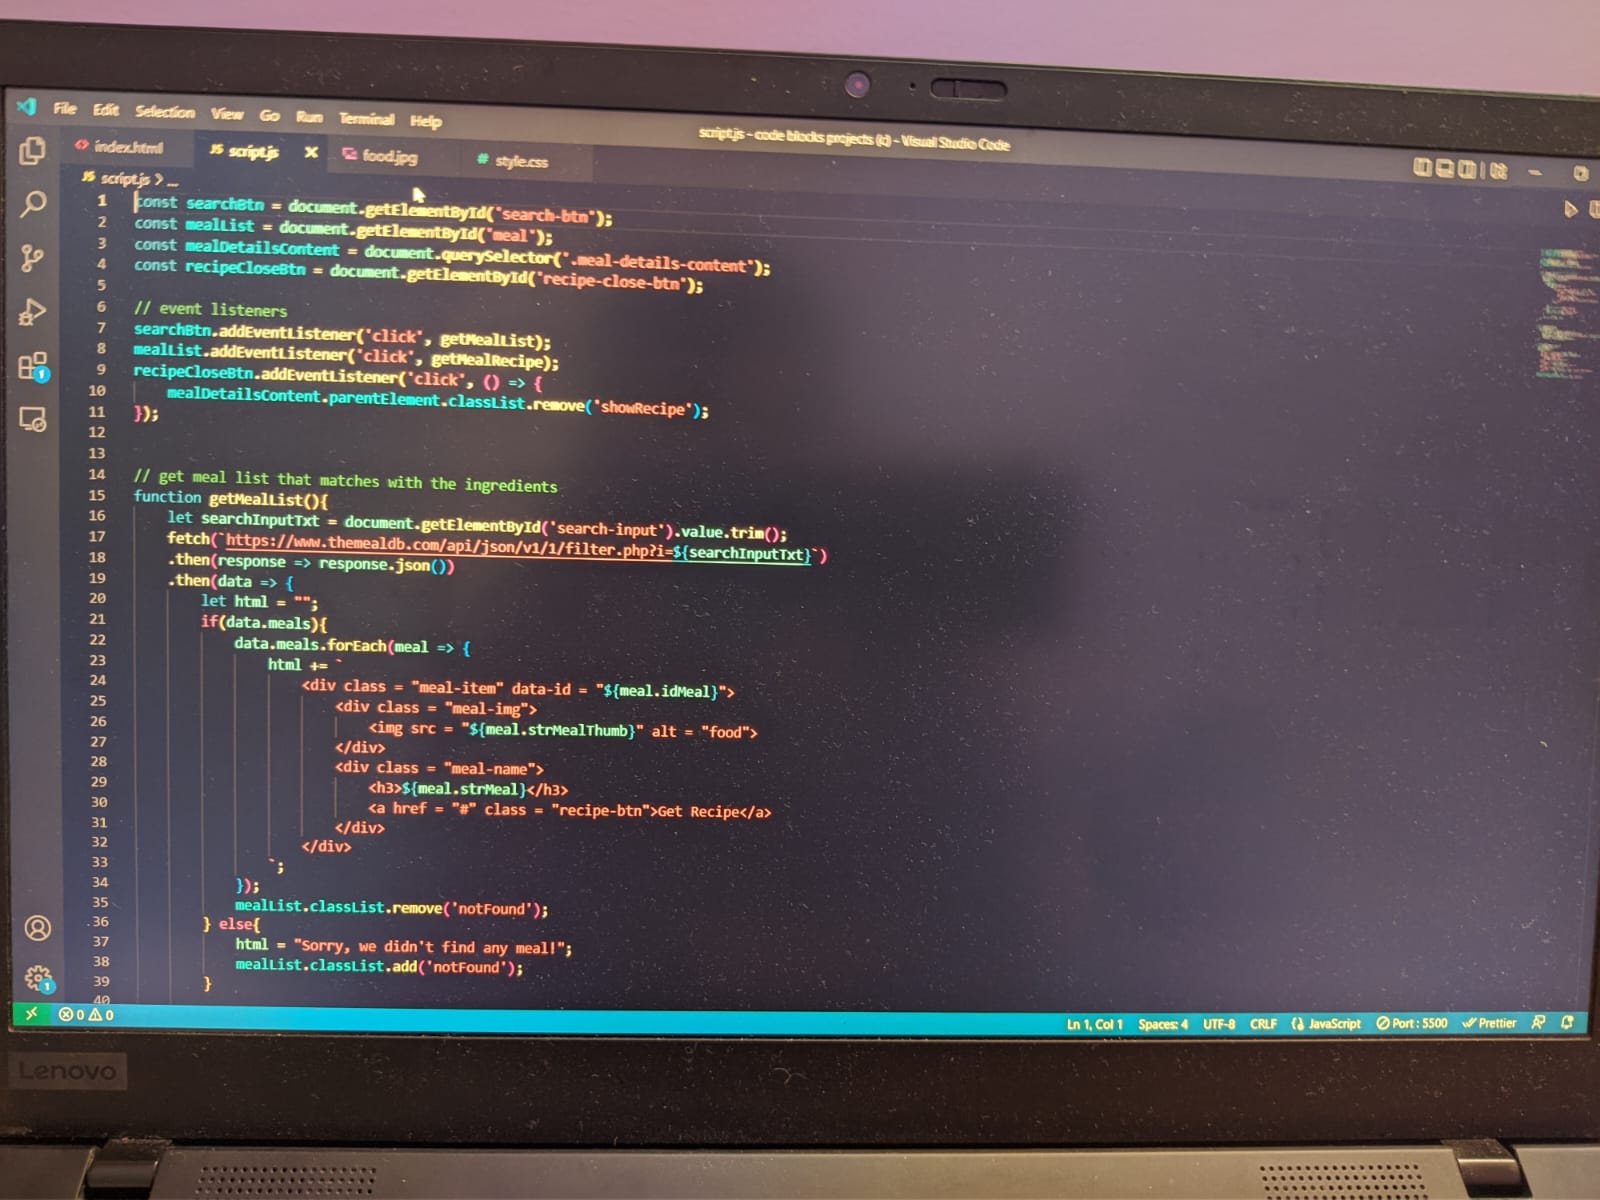
API
- By doing this task I got to learn about the API and how it,s being widely used in the development industry and how efficiently we could make use of it without any loss in privacy of the main software.
- I did make an interface where u can find meals on the basis of ingredients.
- This interface makes things easy and we can find the meals easily on the basis of the ingredients.
- Backend- was built using javascript while for frontend i did use cpp for styling and html for building its structure.
- This is the first time I have built an API by doing all the above steps.
- This webpage takes input in the form of ingredients and users have the flexibility to give out ingredients of their choice that is ranging from western to asian culture.
- Once the user enters the input in the form of ingredients, we get the output in the form of meals.
- The output:
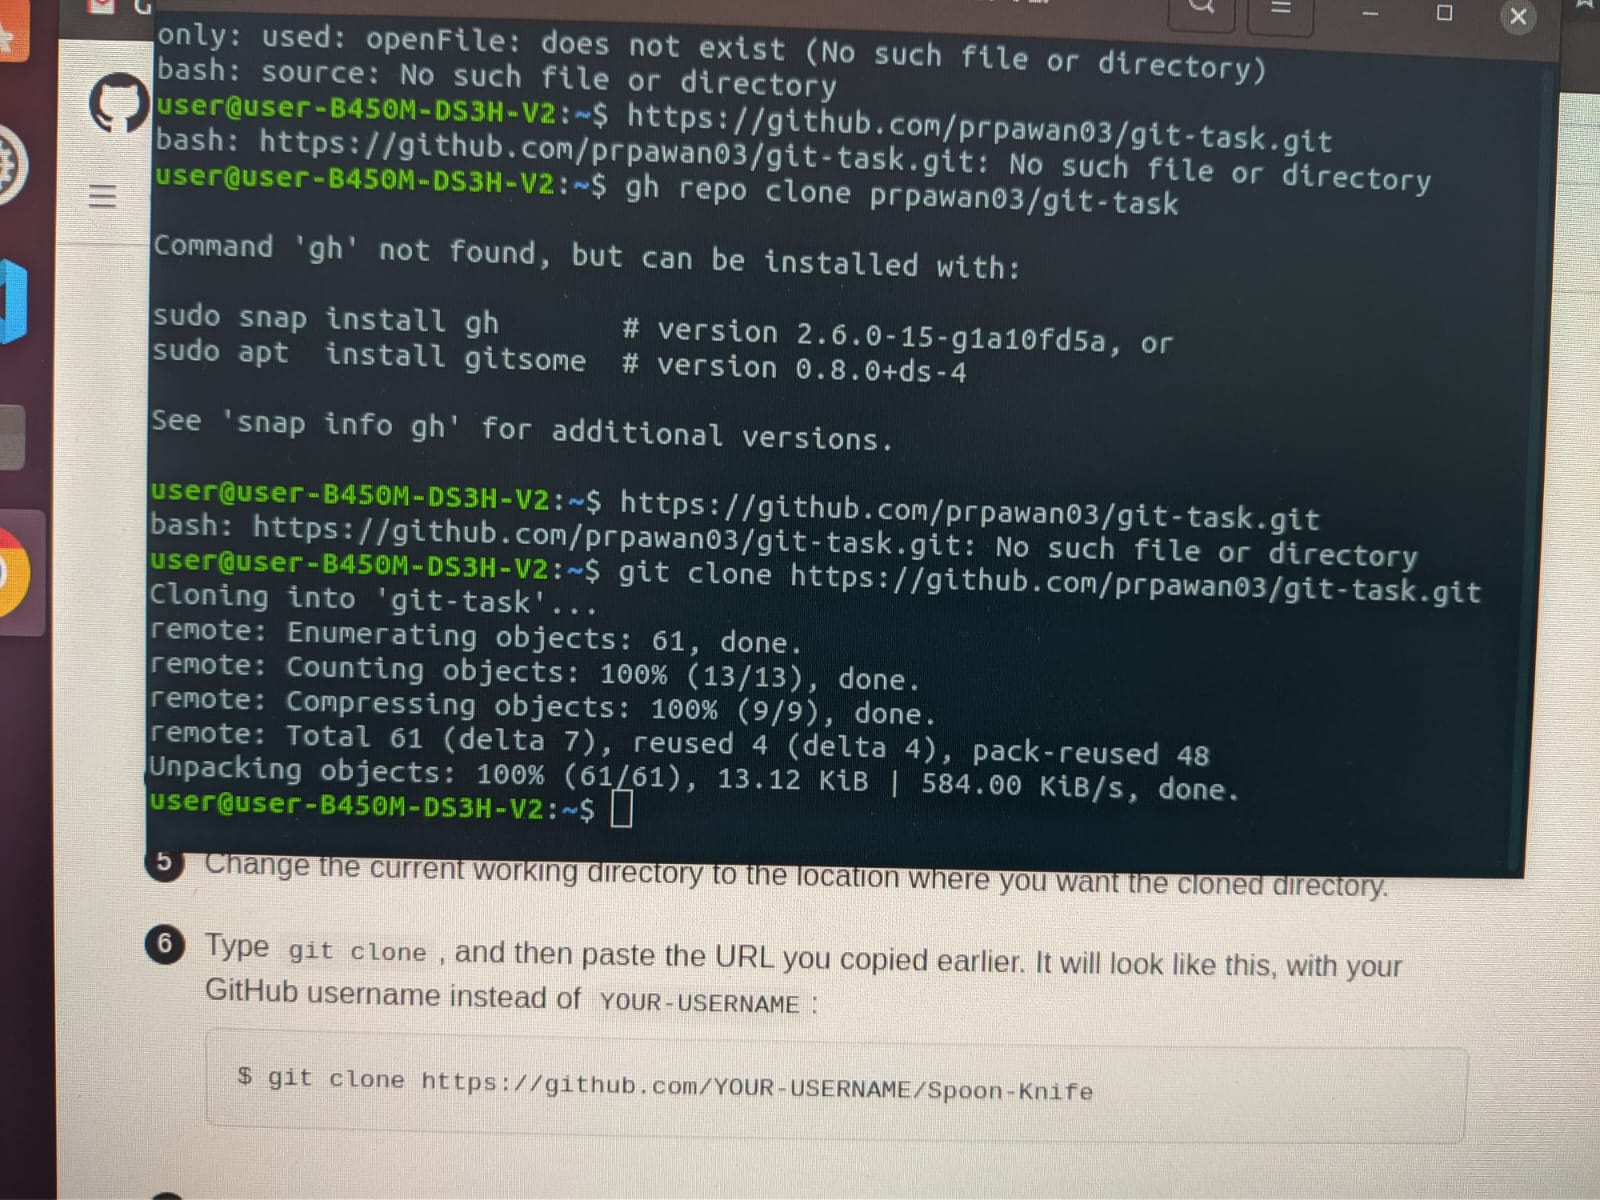
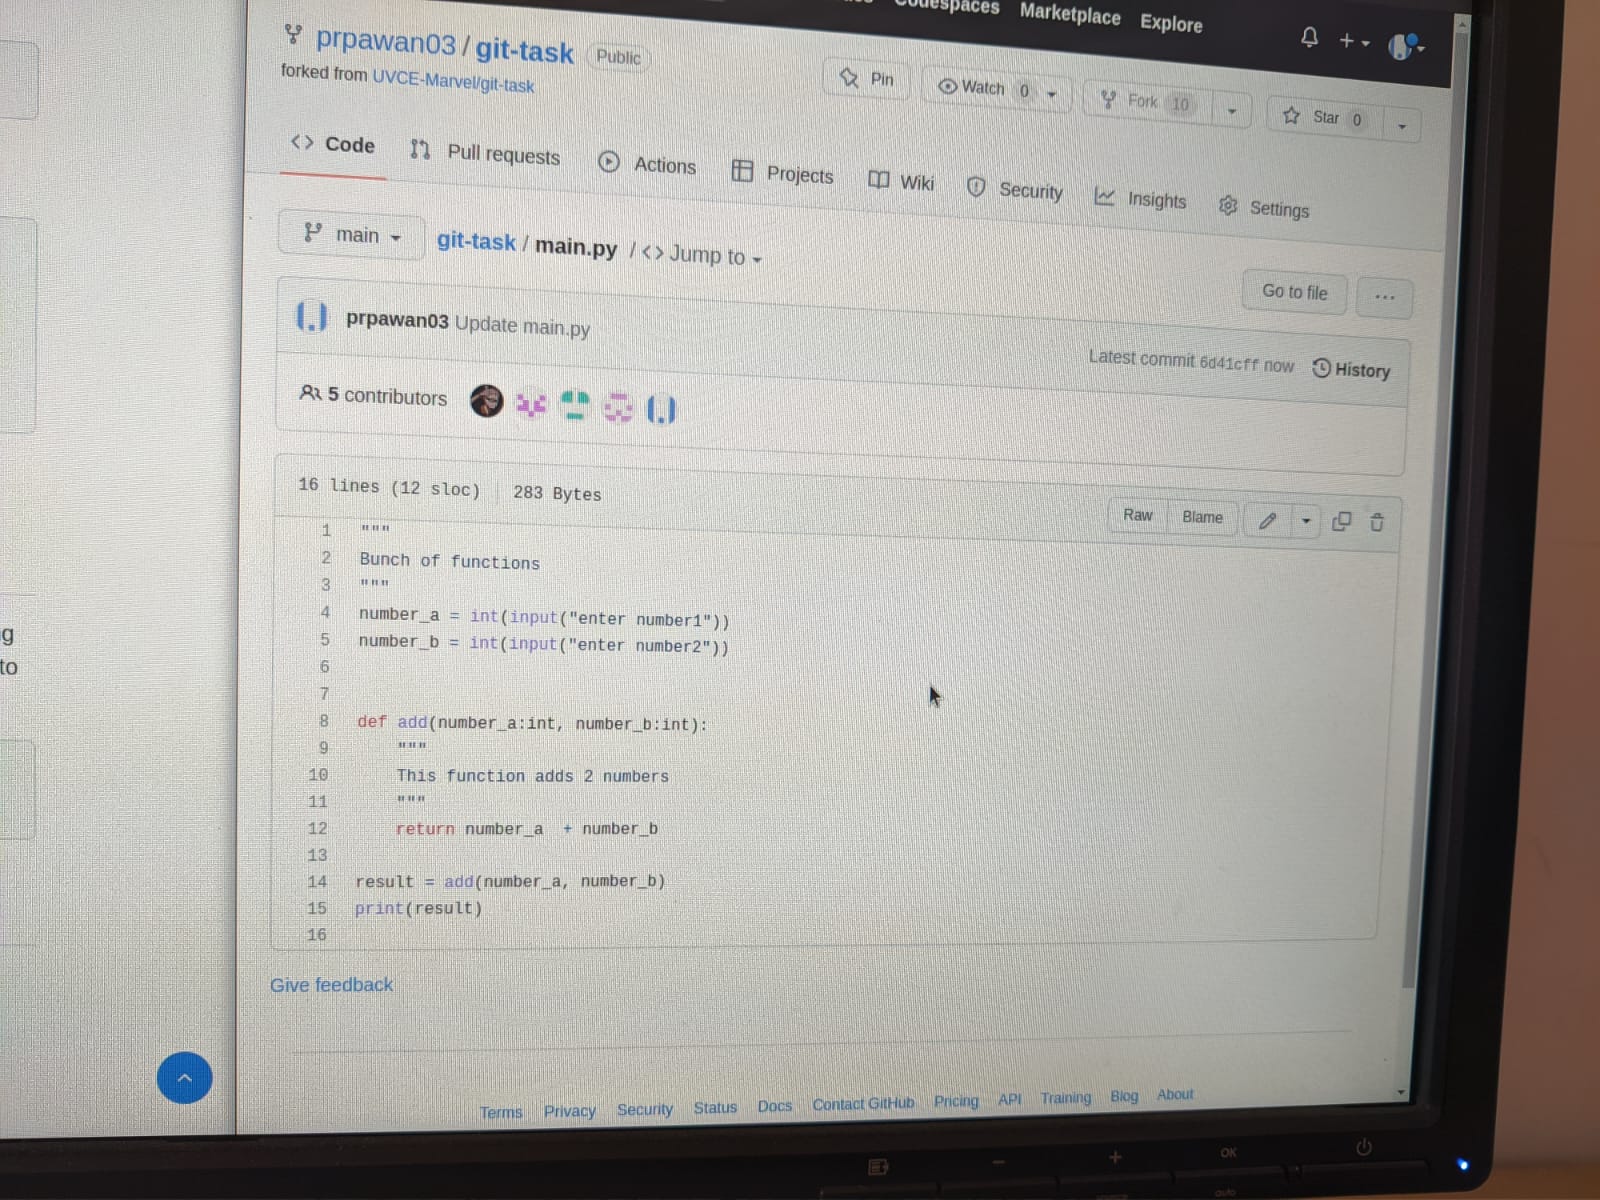
WORKING WITH GITHUB:
- I got to learn about the workflow of GitHub and how it acts as a repository for various source codes and came to about various other useful things about the workflows and the repositories.
- I learnt about how the source can be shared across various platforms and can be worked on it simultaneously by a large number of people.
- I even came to know about the pull request that is present in github, that i nPull request : is of a repository which was failing a test because of errors.
- For sorting these things out we should make a default branch that helps us to make the changes.
- We should Merge the pull request to main source and close it after it has been fixed.
- Once we fix all the errors , the test is able to process to the next step.

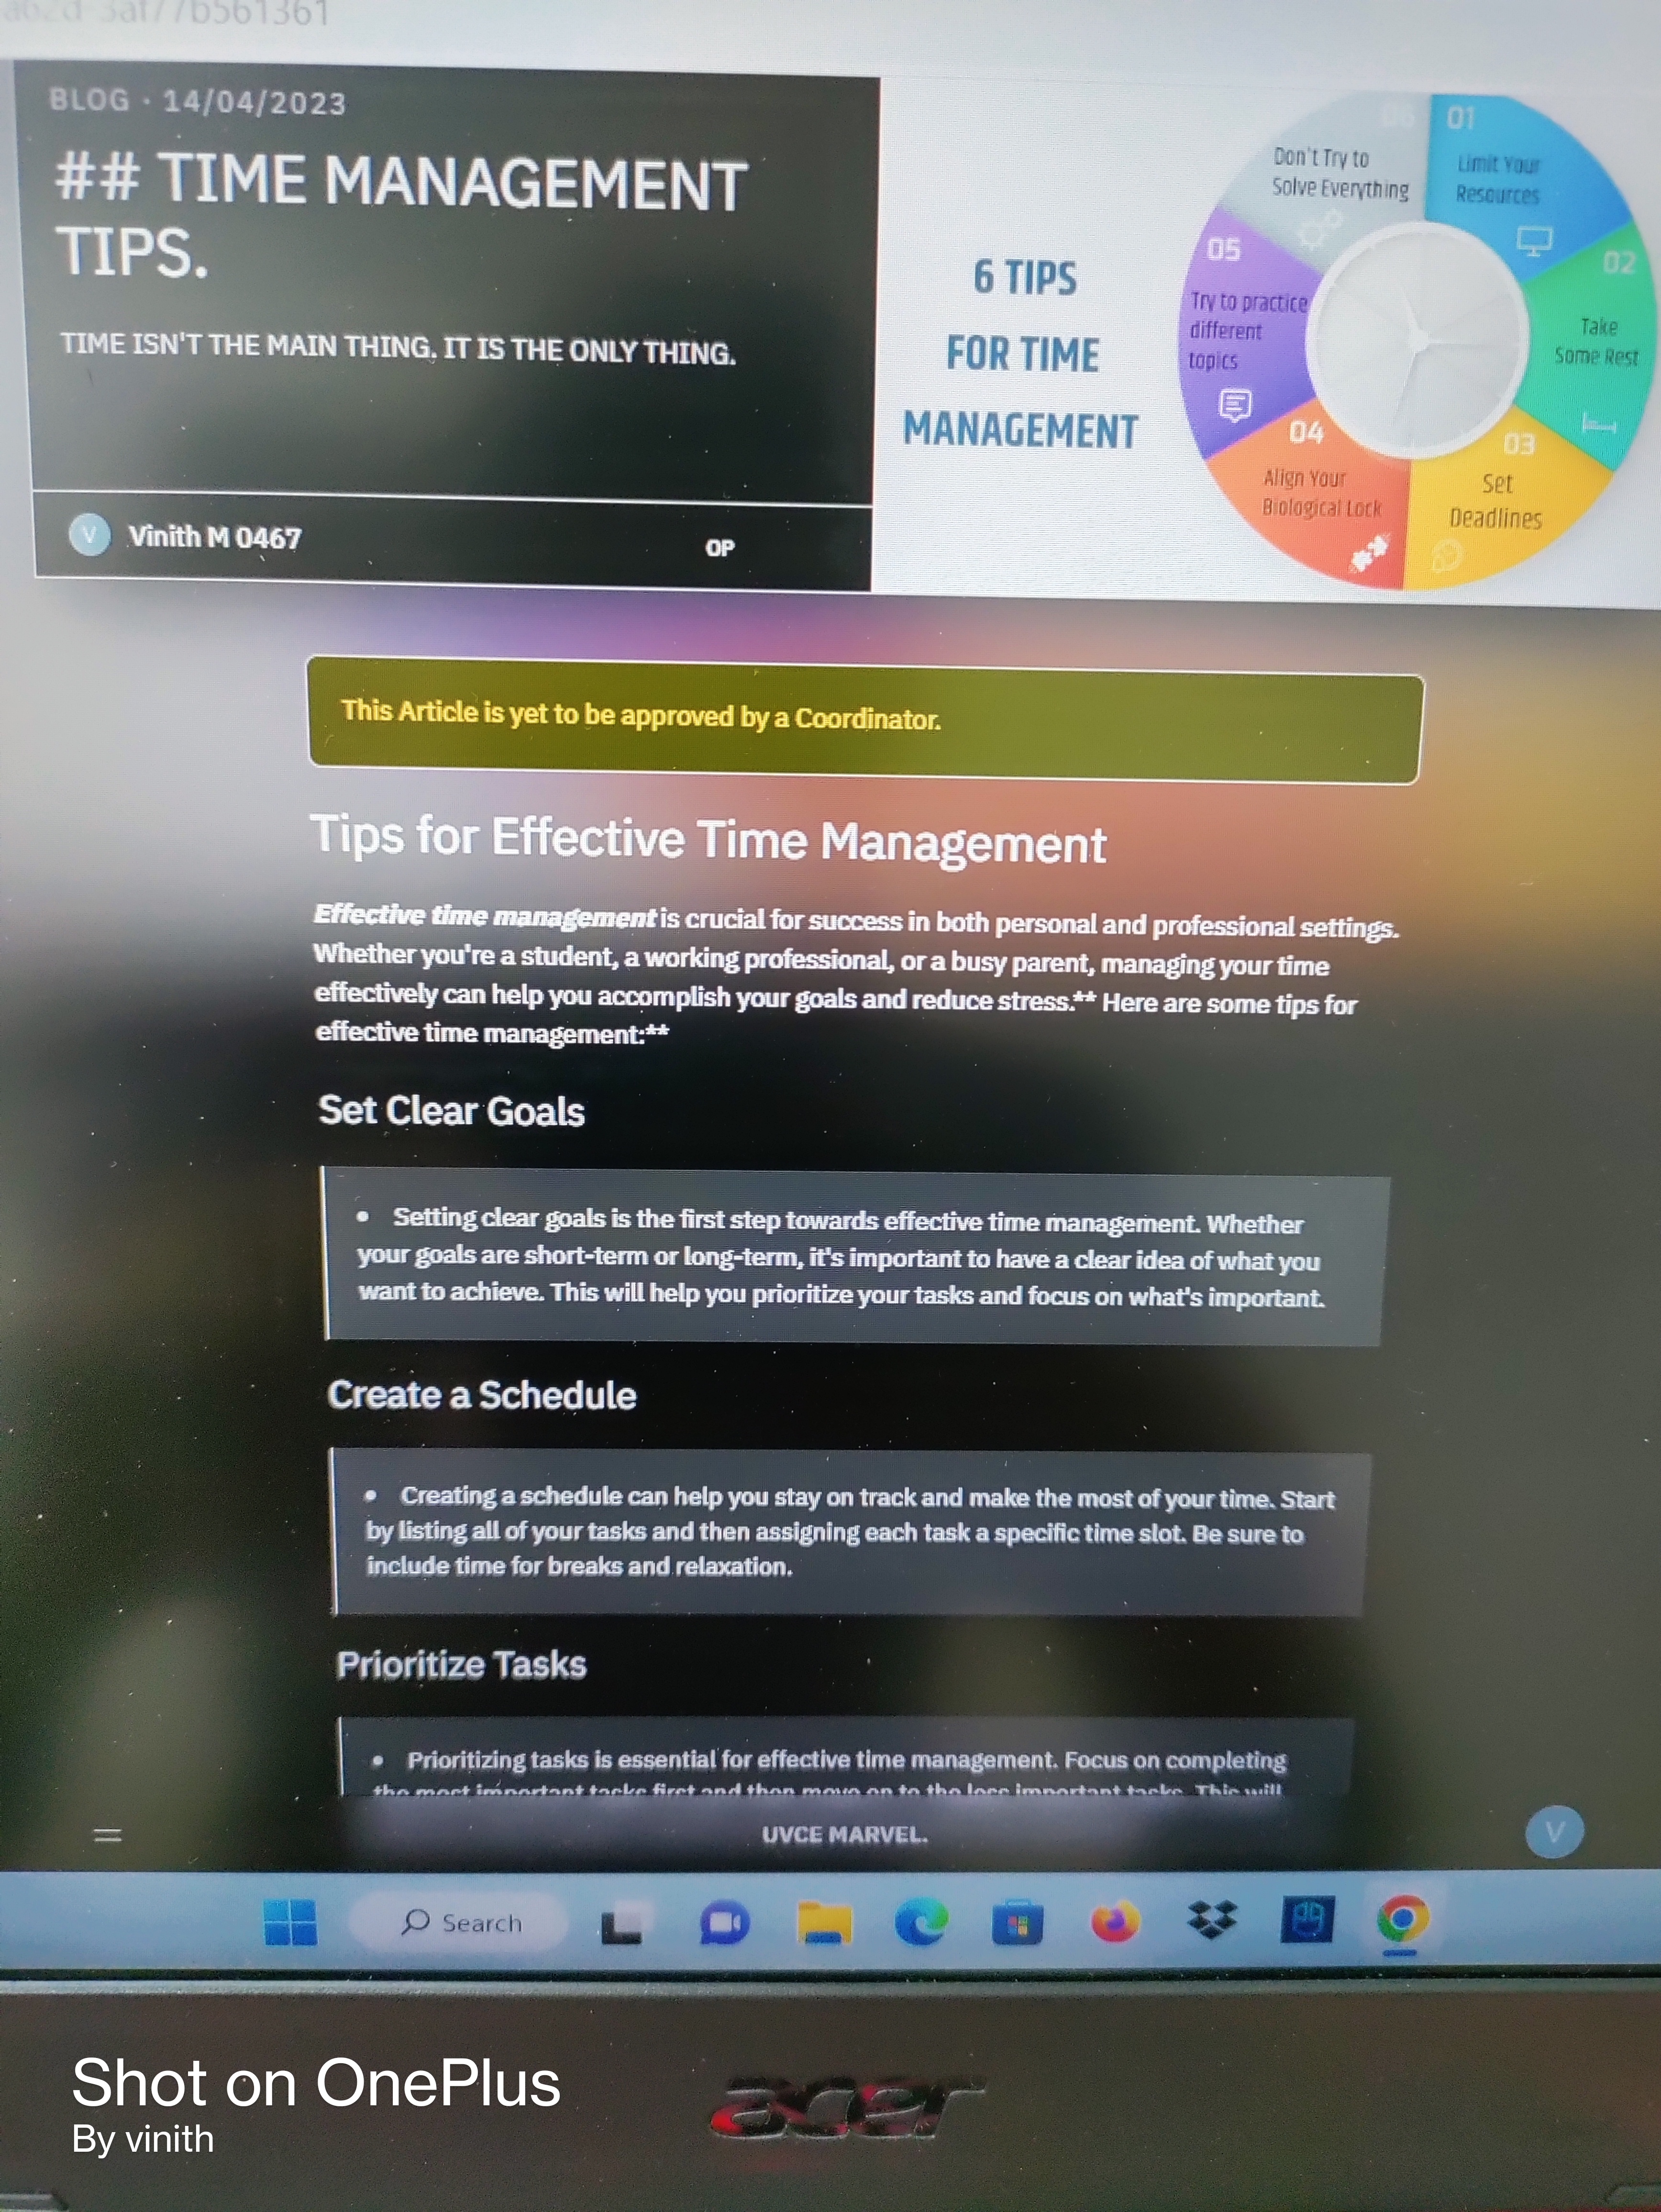
WRITING RESOURCE ARTICLE USING MARKDOWN:
- By doing this task I came to know about most of the things that are to be used while writing an article using markdown.
- I came to know how to write headings in markdown.
- I came to know how to write the words in bold and in italics.
- I came to know about how to write the blockquotes.
- I came to know about how to write the links .
- I even came to know about how to even write an image link etc.
- I have written a resource article on blog post.
"