
PROJECT
Goodboy robo dog
| Akanksh K | AUTHOR | ACTIVE |
| Adrian P Isaac | COORDINATOR | ACTIVE |
Abstract
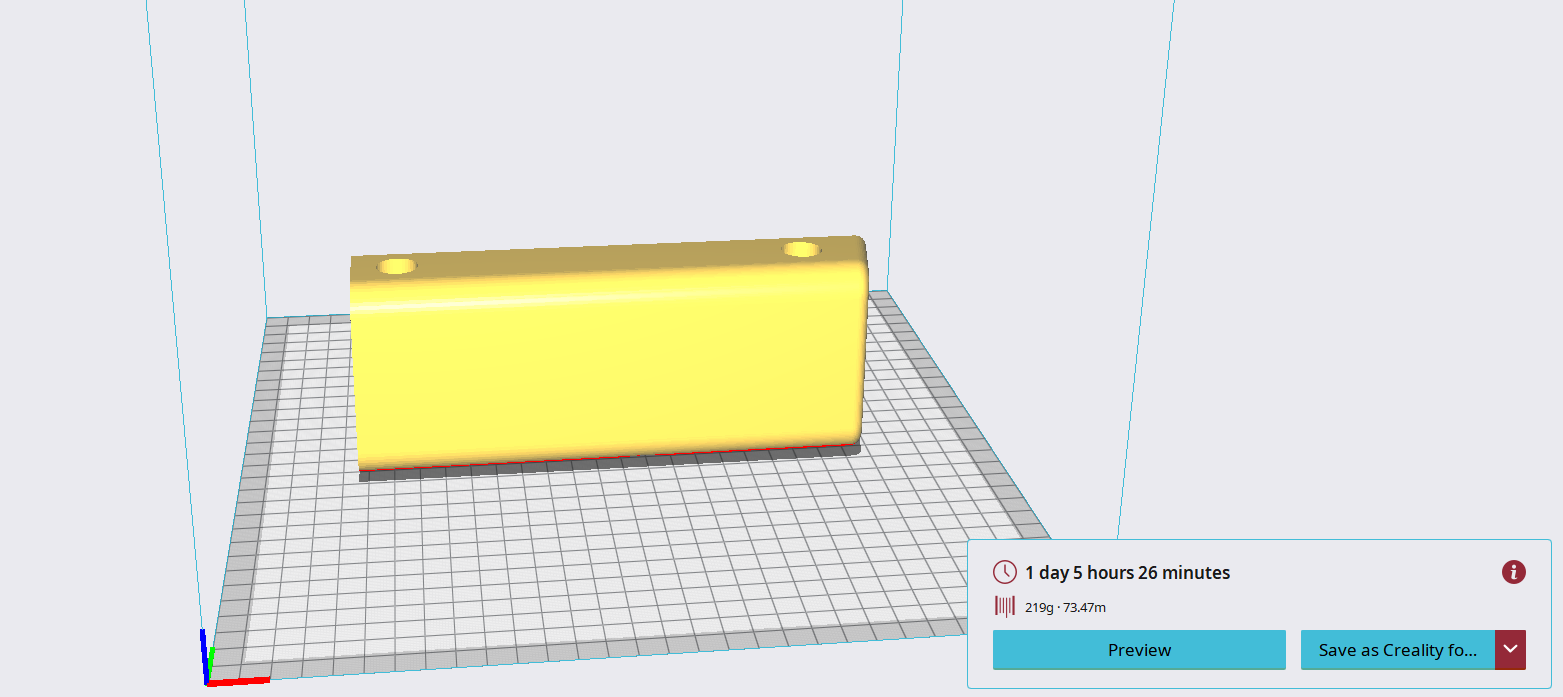
The "GoodBoy" project details the creation of a small quadruped robot using 3D printed parts and common electronic components such as an Arduino Uno, Adafruit Powerboost 1000C, servo motors, sensors, and LEDs. The project aims to provide a compact, simple, and relatively inexpensive way to build a robotic dog. The robot is designed to mimic the movements of a real dog and includes features like embedded electrical cables, advanced support generation for complex parts, friction-fitted components, and integrated nuts for easy assembly. The project also includes instructions for 3D printing, assembly, wiring, programming, and potential improvements for future iterations.
Literature Review
GoodBoy 3D Printed Arduino Robot Dog
Working of the Model
The robot's legs are controlled by servo motors, with each leg comprising two servo motors—one in the knee and one in the shoulder. The embedded electrical cables ensure a clean and hidden wiring setup. The Arduino Uno serves as the microcontroller, coordinating the movements of the servo motors based on programmed instructions. The HC-SR04 ultrasonic sensors provide distance sensing capabilities, allowing the robot to detect obstacles in its path. Additionally, an LDR (light-dependent resistor) provides light sensing functionality, enabling the robot to respond to changes in light conditions. The robot's movements are programmed to mimic those of a real dog, with various gaits and walking patterns implemented. The design also includes a power management system using the Adafruit Powerboost 1000C and a rechargeable 18650 Li-Ion battery for mobility. Overall, the robot operates autonomously, navigating its environment while providing an interactive and engaging experience.
Time Estimation
The time required to complete the project can vary depending on factors such as the individual's experience with 3D printing, electronics, and programming. However, a rough estimation for completing the project from start to finish, including 3D printing, assembly, wiring, programming, and testing, could range from several days to a few weeks. Factors such as the complexity of the design, the quality of the components used, and any troubleshooting or modifications required can impact the overall time required to complete the project.
Timeline for GoodBoy Project
Week 1: Research and Planning
- Conduct research on quadruped robot design, Arduino programming, and 3D printing techniques.
- Develop a detailed project plan with tasks and milestones.
- Procure components: Arduino Uno, Adafruit Powerboost 1000C, 18650 Li-Ion Battery, HC-SR04 sensors, 9g servos, LDR, LEDs, and other hardware.
- Begin CAD design of the robot's 3D model.
Week 2: 3D Printing and Leg Assembly
- Start 3D printing components: body parts, legs, joints, etc.
- Assemble legs with servo motors in knee and shoulder joints.
- Embed electrical cables and ensure friction-fitted connections.
Week 3: Body Assembly and Wiring
- Print and assemble the robot's main body.
- Install electronic components: Adafruit Powerboost 1000C, Arduino Uno, stripboard, etc.
- Wire components according to the schematic.
Week 4: Programming and Testing
- Develop Arduino programs for movement, sensor input, and LED operation.
- Implement walking gaits, obstacle detection, and interaction algorithms.
- Conduct comprehensive testing and debug any issues.
Week 5: Final Assembly and Presentation
- Complete the assembly, ensuring proper alignment and stability.
- Prepare documentation: assembly instructions, wiring diagrams, code explanations, and troubleshooting tips.
- Showcase the GoodBoy robot, highlighting features and demonstrating its capabilities.
Following this timeline, the GoodBoy project can be completed within five weeks, resulting in a fully functional and customizable quadruped robot that integrates 3D printing, electronics, and programming skills.
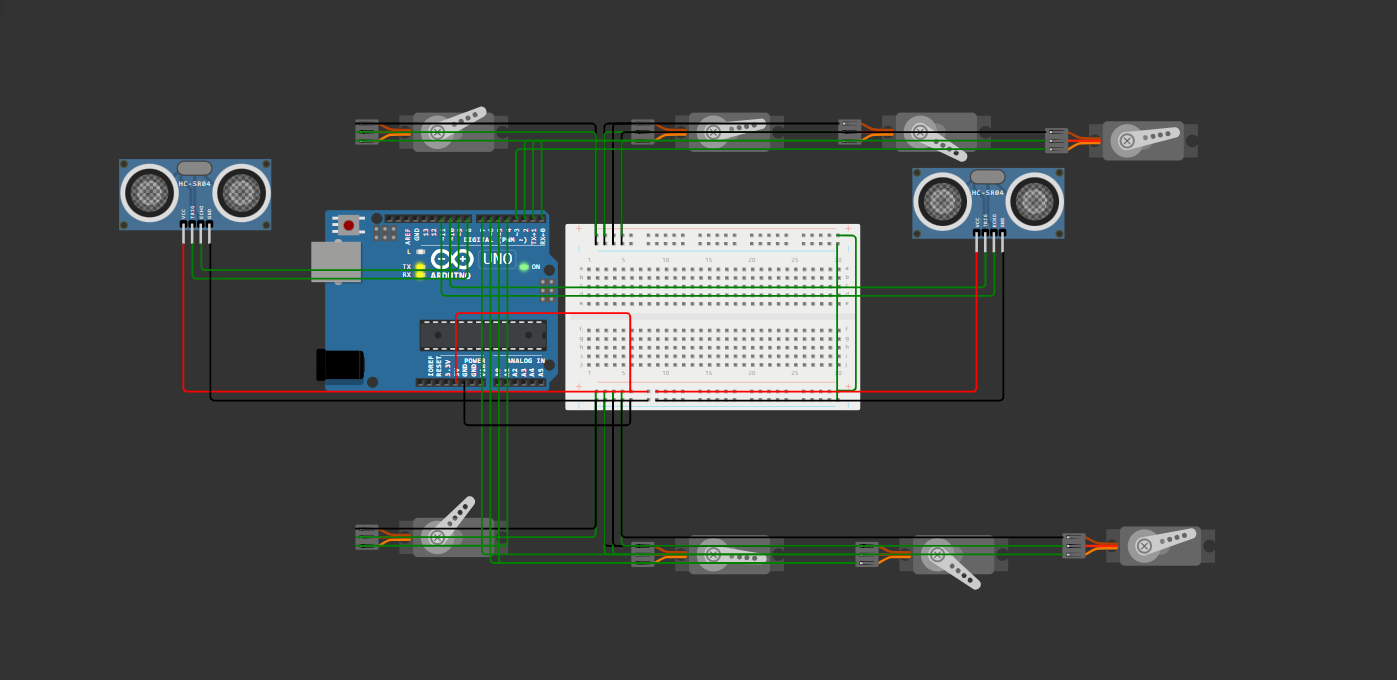
Circuit Diagram

Parts Used
Main components:
- Arduino Uno (genuine or clone)
- Adafruit Powerboost 1000C
- 18650 Li-Ion Battery
- HC-SR04 Sensor x 2
- 9g Servo x 8 (Towerpro SG90 or similar)
- LDR x 1
Other supports:
- 3D Printer, print bed at least 210 x 210mm
- Soldering iron and solder
- Superglue
- Side cutters (useful)
- Scalpel/craft knife (vital for fettling prints and more)
- Sandpaper/file (for fettling prints)
- Micro USB charger (e.g., Raspberry Pi charger or a phone charger)
- Arduino USB cable
- PC/Laptop for programming the robot and preparing prints
Price Estimation
| Sl No | Component | Quantity | Price (INR) |
|---|---|---|---|
| 1 | Arduino Uno | 1 | 500 |
| 2 | Adafruit Powerboost 1000C | 1 | 2000 |
| 3 | 18650 Li-Ion Battery | 2 | 160 |
| 4 | HC-SR04 Sensor | 2 | 100 |
| 5 | 9g Servo | 8 | 648 |
| 6 | LDR | 1 | 6 |
Update: As the SG90 motors can cause problems, it's better to use MG90s motors. If we use MG90s motors, the total cost will be around 5k INR for the project.
Update on May 18, 2024
I looked into the time taken to print all the parts, so there are almost 13 parts to be printed. Hence, the timing for each part is as follows:
To calculate the total time needed to produce all the parts, we need to sum up the times for each individual part, considering the quantities and durations provided. Here's the breakdown:
Single-Part Quantities:
- battery_holder: 1 x 2 hours 49 minutes = 2 hours 49 minutes
- body_base: 1 x 26 hours = 26 hours
- body_lid: 1 x 13 hours 27 minutes = 13 hours 27 minutes
- nose: 1 x 4 hours 31 minutes = 4 hours 31 minutes
- sevoalignmenttool: 1 x 1 hour 12 minutes = 1 hour 12 minutes
Multi-Part Quantities:
- foot_grip: 4 x 50 minutes = 200 minutes = 3 hours 20 minutes
- leg_knee: 4 x 37 minutes = 148 minutes = 2 hours 28 minutes
- shoulder_cover: 4 x 42 minutes = 168 minutes = 2 hours 48 minutes
- shoulder_pin: 4 x 1 hour = 4 hours
- thigh_righthand: 2 x 10 hours 22 minutes = 20 hours 44 minutes
- thigh_lefthand: 2 x 10 hours 22 minutes = 20 hours 44 minutes
- wrist_righthand: 2 x 5 hours = 10 hours
- wrist_lefthand: 2 x 5 hours = 10 hours
Total Time: 122 hours or under 6 days of continuous printing
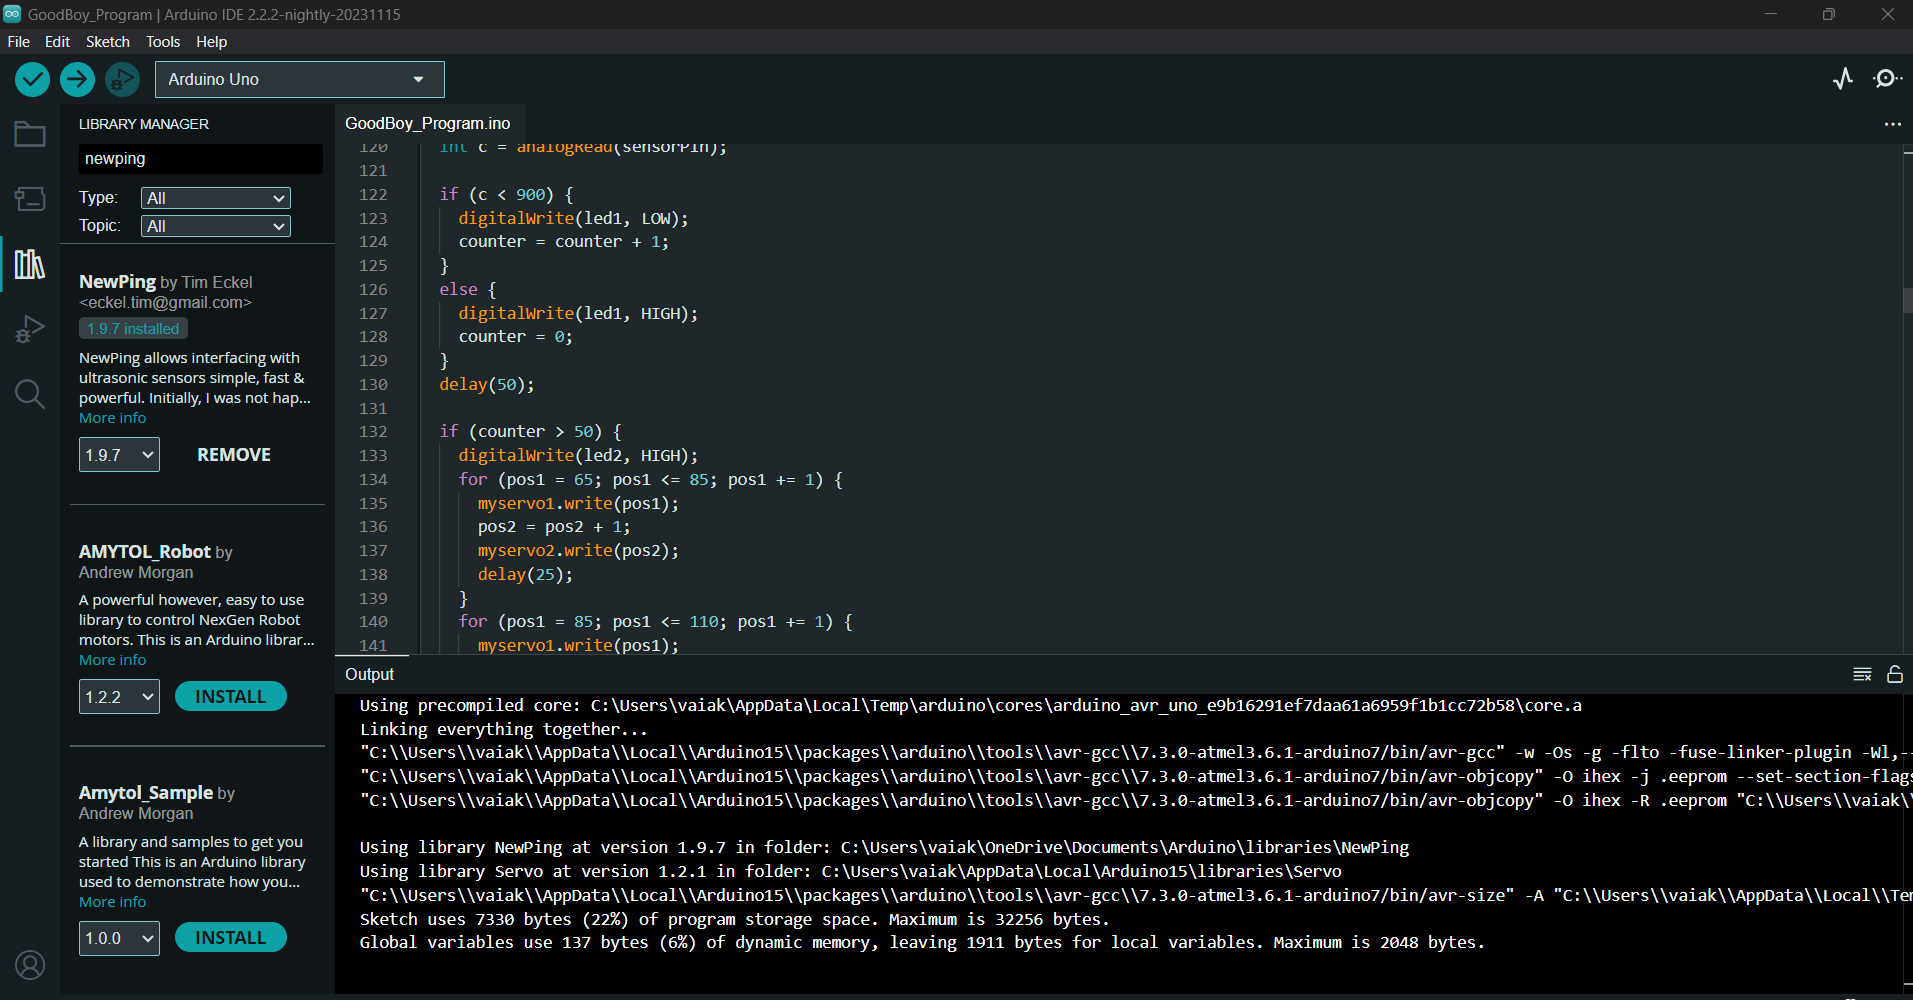
I changed the code a bit and debugged and removed errors in this and installed some library files in this, hence compiling this with no errors.
Update 12th June 2024
During the 3D printing of the base of the model, we encountered issues with the print quality. The print did not come out properly, and we had to stop it midway. The D&P coordinator also mentioned that the filament supply was running low, which contributed to the printing problems.
I made several changes to the code to improve the robot's walking performance. These adjustments ensure smoother and more natural movements, as observed in the simulation.
The simulation with the sensors showed promising results, with the robot effectively detecting and responding to obstacles.
New Addition to the Bot:
We have added the option to use an ESP32-CAM module in the ultrasonic sensor housing. This enhancement transforms the robot into a surveillance robot, capable of providing live video feeds to the user. This addition allows the robot to not only navigate its environment but also offer real-time data for monitoring and security purposes.
Potential Applications
1. Home Security:
- The ESP32-CAM can stream live video feeds to your smartphone or computer, allowing you to monitor your home remotely. The robot can patrol your home, ensuring that every corner is under surveillance.
2. Pet Monitoring:
- For pet owners, this robot can be used to keep an eye on pets while you're away. The real-time video feed will help ensure your pets are safe and not getting into trouble.
3. Remote Inspection:
- The robot can be used in industrial settings for remote inspections. The live video feed allows operators to check machinery and equipment in hard-to-reach or hazardous areas without being physically present.
4. Search and Rescue:
- In disaster response scenarios, the robot equipped with an ESP32-CAM can be used to search for survivors in areas that are dangerous or inaccessible to humans.
Future Enhancements
AI Integration:
- Incorporating AI capabilities for object detection and recognition can make the robot more autonomous and intelligent in its operations.
Extended Battery Life:
- Enhancing the power management system to include solar charging or more efficient battery usage can extend the operational time of the robot.
Advanced Sensors:
- Adding more advanced sensors, such as thermal cameras or gas detectors, can expand the robot's functionality for various specialized applications.
By integrating these new features, the GoodBoy robot project not only advances in complexity but also in its range of practical applications, making it a versatile tool for both personal and professional use.
Project Update
Current Progress
- Implemented a 16-channel servos driver for controlling the movements of the robo dog.
Issues Encountered
- The current design used super glue for assembling parts of the robo dog's body.
- Unfortunately, the super glue has melted some of the 3D-printed body parts.
- As a result, the structure is unstable and does not meet the necessary durability requirements.
Next Steps
- Redesign the body structure to ensure better stability and durability.
- Consider printing new parts with a design that avoids using super glue or using alternative adhesives/materials.
- Explore mechanical fasteners or other more heat-resistant bonding methods for the assembly.