
COURSEWORK
Nithyashree's VFX-001 course work. Lv 1
| Nithyashree V Suresh | AUTHOR | ACTIVE |
19 / 8 / 2025
Installation of DaVinci Resolve
To install DaVinci Resolve, I visited the official Blackmagic Design website through the link provided in the Marvel UVCE VFX course section. I clicked on the “Free Download” option and selected the version suitable for my operating system. After filling in the required registration details, the download started.
The installation process was smooth and completed without any issues. Once installed, I opened the software and created a new project, where I was introduced to various tools and features that I will explore further in the upcoming tasks.
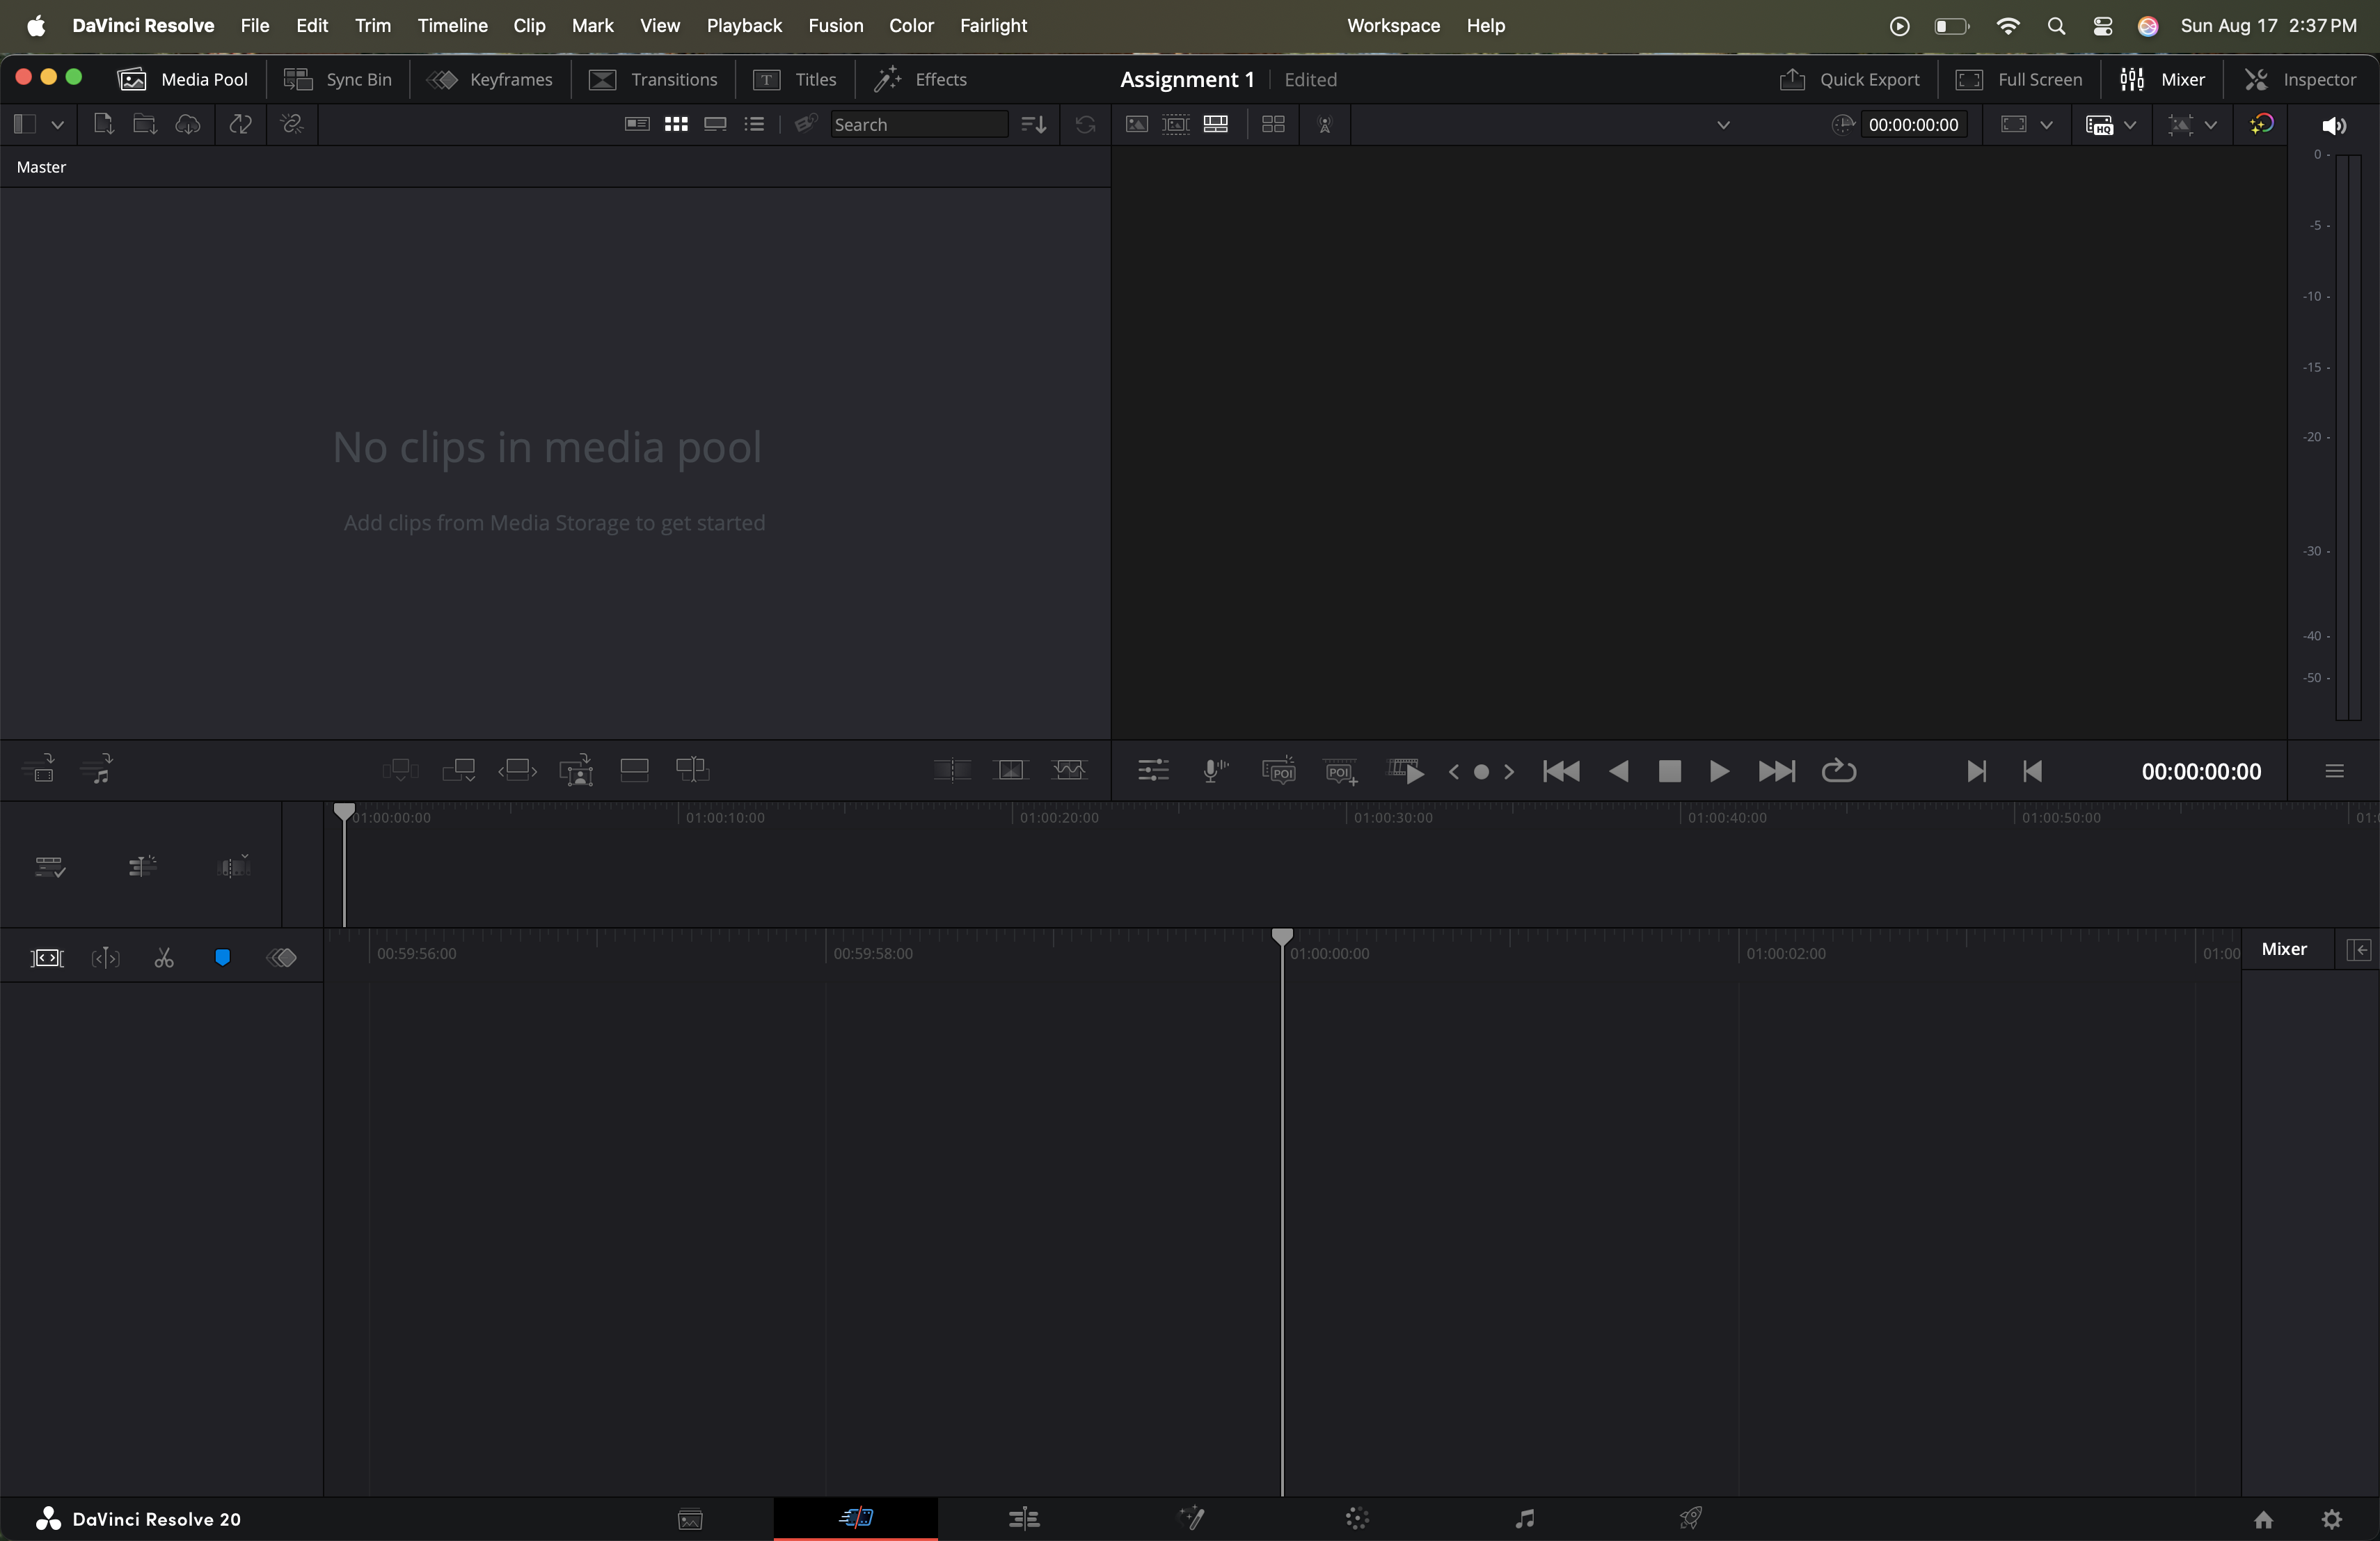
Media Page
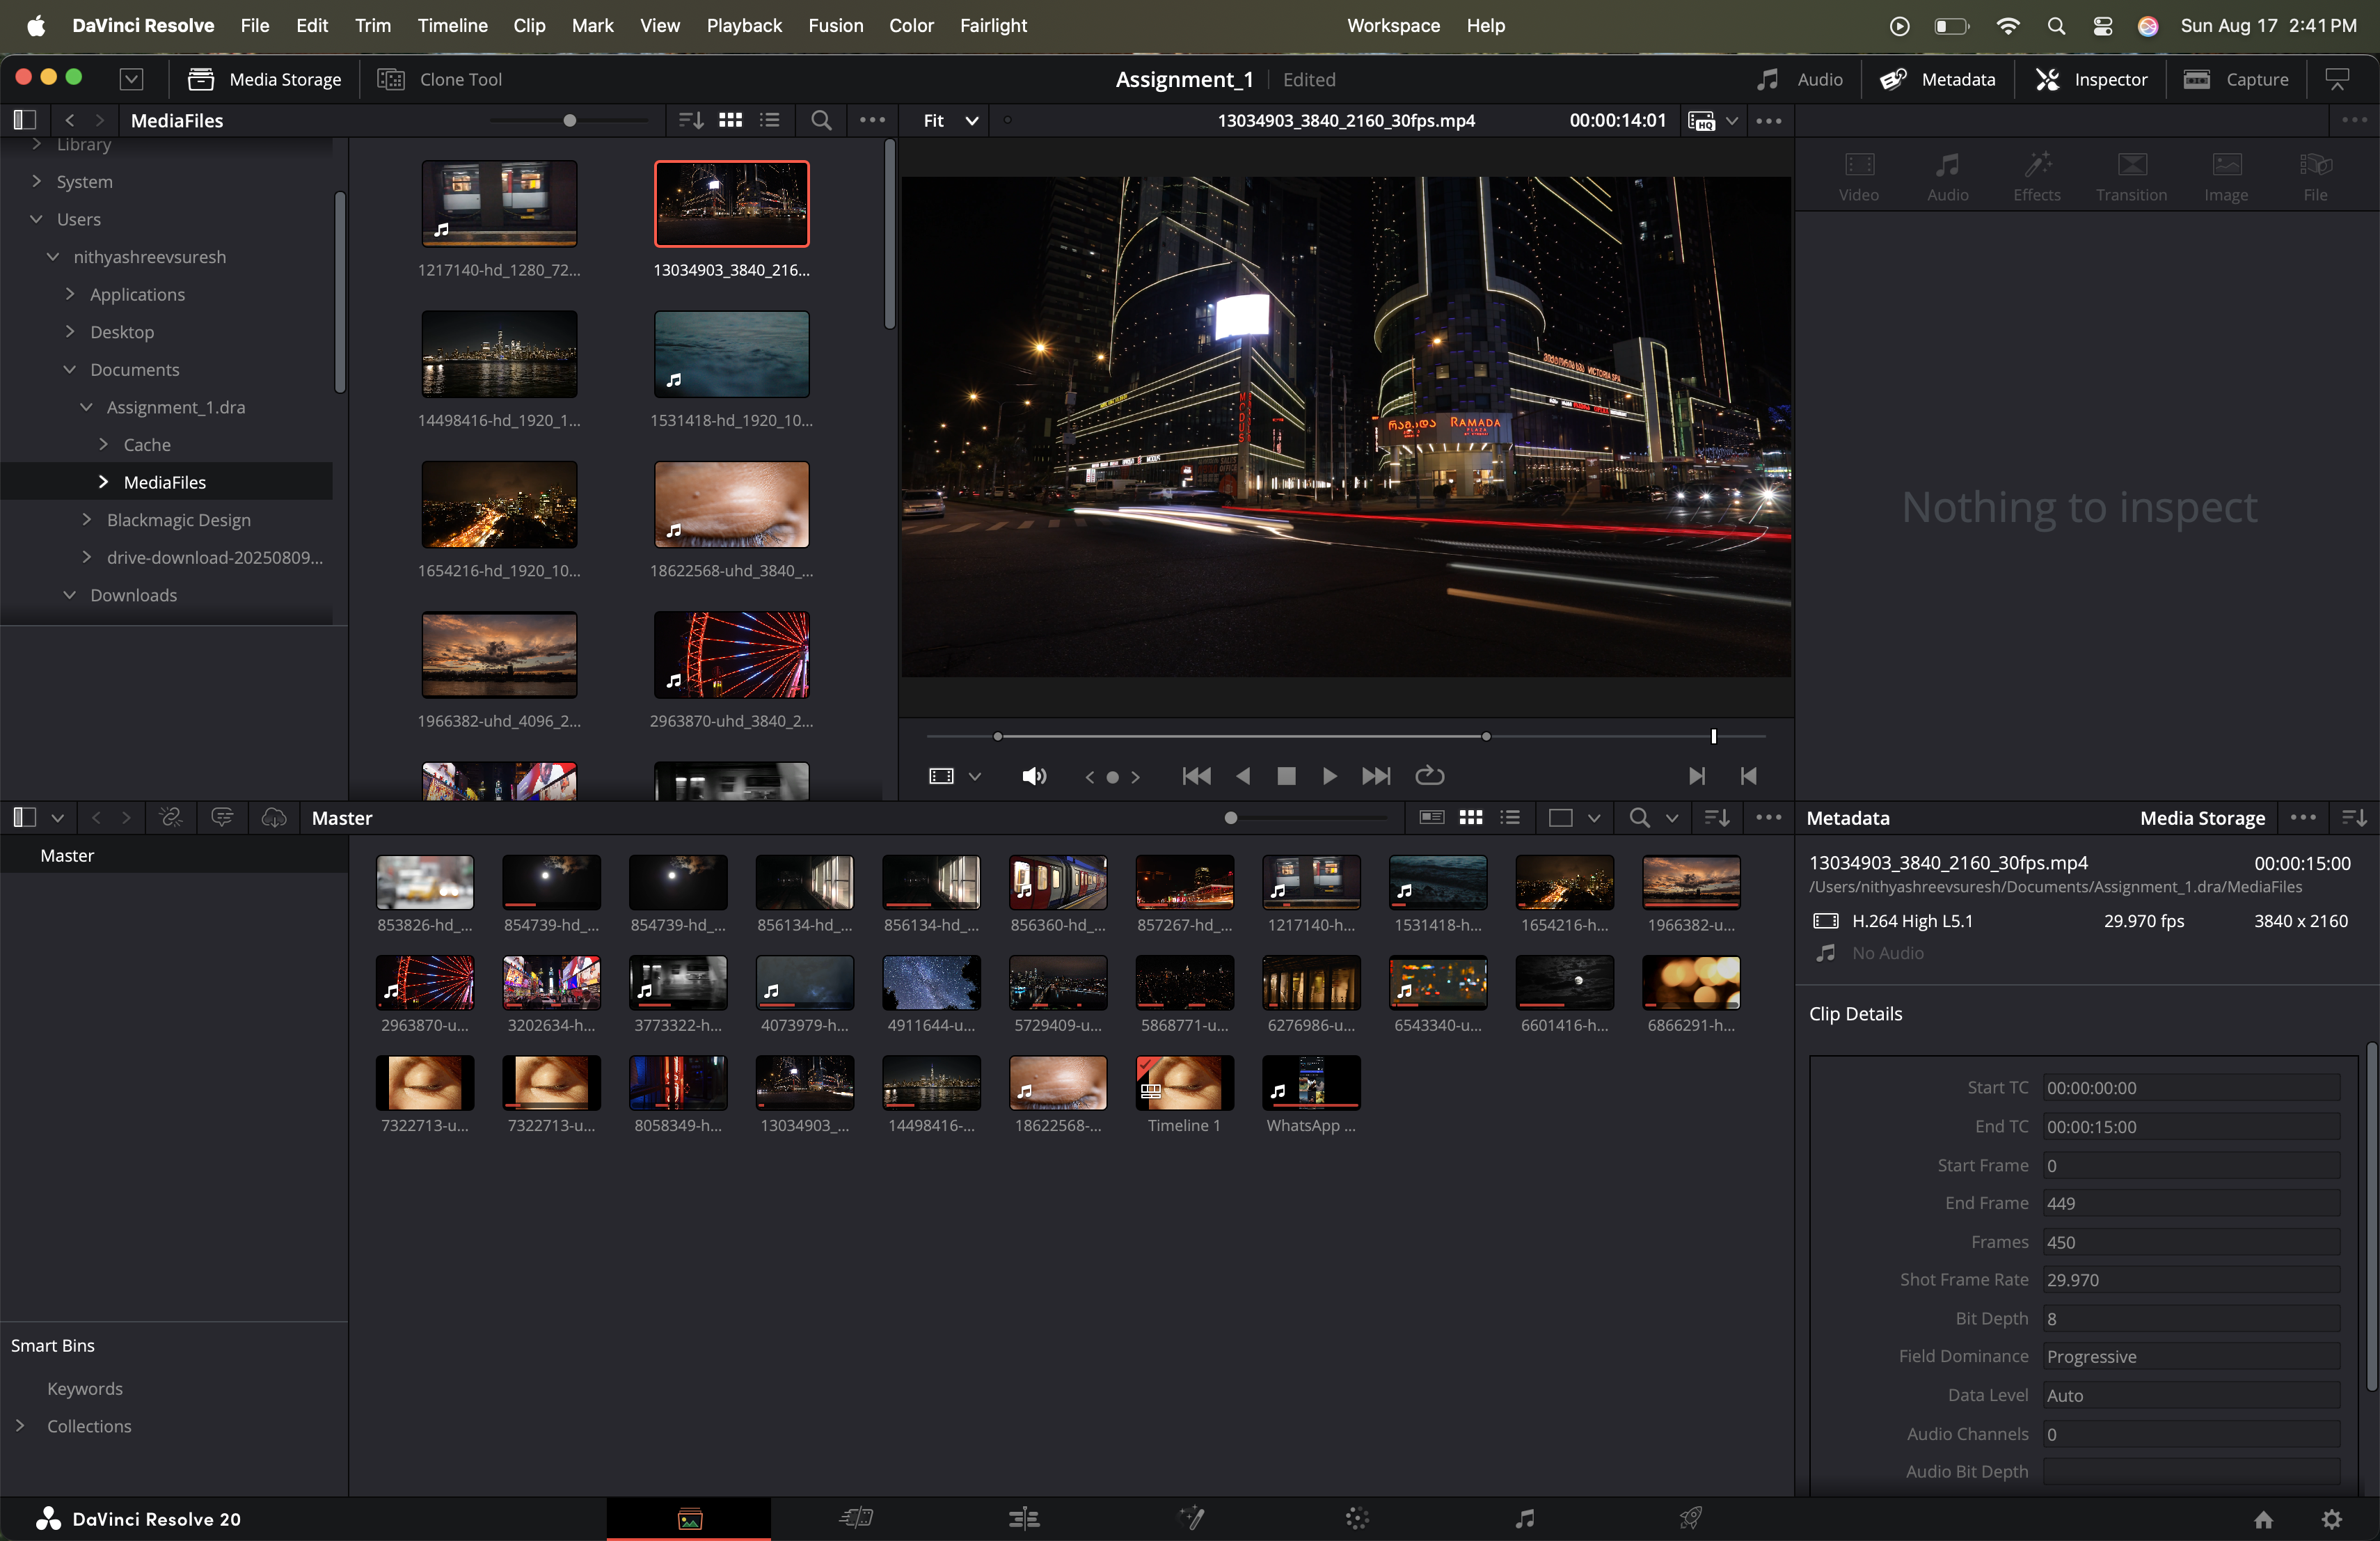
The first step in editing is importing clips, audios, images into a project video from the desktop. This Media Page acts like a storage and preparation space before we start editing.
The interface of Media Page looks like this:
Few important and useful tools on this page:
-
Media Storage:
It is found at the top left of the Media Page. This is where you can browse through all the videos, soundtracks, and clips on your system. You can preview a file by simply dragging the cursor over it before deciding whether to import it. -
Media Pool:
It is located just below the Media Storage. This is where the selected media is actually imported and organized for editing.Note: The key difference is that Media Storage lets you browse through your files, while the Media Pool contains only the files you’ve chosen to work with inside DaVinci Resolve.
-
Metadata:
On the right side of the Media Page, you’ll find the Metadata section. This displays the properties of the media selected in the pool. It’s particularly helpful when you want to check or compare details between different clips. -
Inspector:
This is where you adjust and fine tune your clips. It lets you sync audio and video if they’re off, and also change properties like resolution, frame rate, audio levels, transitions, and effects.
Importing Media
-
Open DaVinci Resolve and go to the Media Page
-
On the top left, you’ll find the Media Storage panel (this is where you can browse through your computer’s drives and folders).
-
Navigate to the folder where your video or audio is saved.
-
Right-click on the file you want → select Add Into Media Pool.
-
Now, your file appears in the Media Pool (space where all chosen media is collected and organized for editing) at the bottom section of the screen.
Note: Frequently used folders can also be added to Favourites for quick access.
Tip: Use I (Mark In) and O (Mark Out) to select only the parts you need. This helps keep the timeline clean and focused.
After importing, the Media Page looks like this:
Edit Page
Interface of the edit page:

Editing Clips into the Timeline
- Insert: Puts the new clip right where the cursor is on the timeline. If something is already there, Resolve cuts it and makes space automatically.
- Overwrite: Places the new clip at the cursor, but instead of making space, it simply replaces whatever was already there.
- Replace: Takes out one clip and swaps it with another, keeping the exact same length so the timing of your video doesn’t change.
- Fit to Fill: Stretches or speeds up the new clip so it perfectly fits into the empty space you selected on the timeline.
- Place on Top: Puts the new clip on a track above your main video, like stacking layers. This is often used for text, logos, or picture-in-picture shots.
- Append at End: Adds the new clip to the very end of your video, no matter where your cursor is. Super useful for building a sequence quickly.
- Ripple Overwrite: Replaces a clip, but also adjusts the rest of the timeline so there aren’t any gaps. If the new clip is longer, everything after it moves forward; if it’s shorter, things move closer together.
Trimming and Fine-Tuning
- Roll: This moves the cut point between two clips, making one clip a little longer and the other a little shorter.
- Ripple: This changes the start or end of a clip and automatically shifts the rest of the timeline to avoid gaps.
- Slip: The clip stays in the same place, but I can choose a different portion of the original video to show.
- Slide: This moves the entire clip forward or backward while adjusting the clips around it so the flow remains intact.
Transitions and Effects
Adding transitions or effects is as simple as dragging them from the Effects Library.
- For transitions, I mostly used cross dissolves for smoother cuts, but Resolve has a bunch more like wipes, slides, and fades. You can drag their edges to tweak duration or adjust settings in the Inspector.
- For effects, there’s a wide range like blurs, flares, warps, and other stylized options.
Assignment 1
For Assignment 1, I created a 30-second video using the Edit Page in DaVinci Resolve.
I began by downloading free video clips from Pexels and Pixabay, then imported them into the Media Pool. From there, I assembled the clips on the Edit Page timeline, arranging them into a continuous sequence. I also added an audio track, matched it with the visuals, and used smooth transitions to ensure seamless flow in the video. I started by downloading free video clips from Pexels and Pixabay and added them to the Media Pool. Then, I placed the clips on the Edit Page timeline to make a continuous video.
Here is my final video output: Click her
Cut Page
The Cut Page in DaVinci Resolve is quite similar to the Edit Page but is designed to be faster and more straightforward. While the Edit Page offers a lot of detailed tools, the Cut Page keeps things simple and efficient, letting you get work done with just a few clicks. For this project, I didn’t really need advanced tools, so the Cut Page felt perfect. It helped me put the sequence together quickly and made the whole process much smoother.
Interface of the cut page:

Assignment 2:
For this task, I worked on a video made up of 2-second clips I recorded every day for a month. I brought all the clips into the Media Pool and then placed them on the timeline in order. To keep it smooth, I added some simple transitions and synced everything with background audio. I also used titles to make the video more engaging. The Cut Page felt really convenient for this as it was quick, simple, and let me put the whole sequence together without much hassle.
Here is my final video output: Click her
Fairlight Page
The Fairlight Page in DaVinci Resolve is dedicated to audio editing. Here, you can work with dialogue, soundtracks, and effects, remove background noise, adjust levels, and generally improve the overall sound of your video.
Interface of the fairlight page:


Assignment 3:
For this task, I worked on a video of my friend giving a speech that had a lot of background noise. I removed the noise from the video and completed the task.
Steps I followed to remove the background noise from the video are:
- Installed RX 11 and opened the Fairlight Page in DaVinci Resolve.
- Went to Effects → Audio FX → AU → Sound Isolation and found the tools I needed.
- From the Restoration VST drop-down, I selected Voice De-noise, Spectral De-noise, and Dialogue Isolate.
- Modified the settings for each tool to reduce background noise.
- Played the clip to make sure the dialogue sounded clear and saved the project.
Result: The background noise was reduced, and the dialogue became much clearer.
This video shows the clip before and after the background noise was removed.
Deliver Page
The Delivery Page in DaVinci Resolve is where you export and render your finished videos. Here, you can choose the format, resolution, and destination for your video, optimize it for different platforms like YouTube or social media, and manage the render queue. It’s the final step to get your edited project ready for sharing.
Interface of the deliver page:

Assignment 4:
For this assignment, I exported the short video I made on the Cut Page using the Delivery Page.
- Chose YouTube as the export option and selected 2160p resolution (out of 720p, 1080p, 1440p, 2160p).
- The video was exported as an MP4 file.
- Added the video to the render queue and started rendering.
- Verified the exported video and uploaded it directly to YouTube.
Result: The video exported successfully in 2160p, as an MP4, and maintained good quality on YouTube.