
COURSE
VFX-001
2 Levels · 2 Months
Introduction to Video Editing.
Jump to:
Level 1
Introduction
Video editing is a useful skill which aids in better storytelling through better aesthetically pleasing edits, more clarity, effects, sound correction, addition of elements,trimming of unnecessary parts, etc.
Let's begin this journey to learn this skill of video editing.
We will be using DaVinci Resolve, one of the most popular and user-friendly video editing softwares, which is also an open source software. So, without any further ado, let's begin.
Installation of DaVinci Resolve
Our first step would be downloading the software. For this all you need to do is, look up for DaVinci Resolve in your web browser and then you should be able to see a number of results for this search. Open the website with the title blackmagic design or just simply click this link: https://www.blackmagicdesign.com/in/products/davinciresolve
Click on free download and download the DaVinci Resolve and not DaVinci Resolve Studio based on your particular operating system. And thus the installation part is done.
Understanding the Media Page
Now, when you first open DaVinci Resolve, you must be able to see a screen with no edited videos under projects, except something named as 'untitled project'. On the right bottom corner you should be able to see 'new project' and 'open'. Click on 'new project'.
As soon as you click on 'new project', a new screen should be opened and you most probably be able to see the cut interface. But let's start with the media interface. To open the media interface, click on the logo at the bottom that is to the immediate left of the highlighted logo(indicating the currently open interface).
You should be able to see the screen that is similar to the one below.
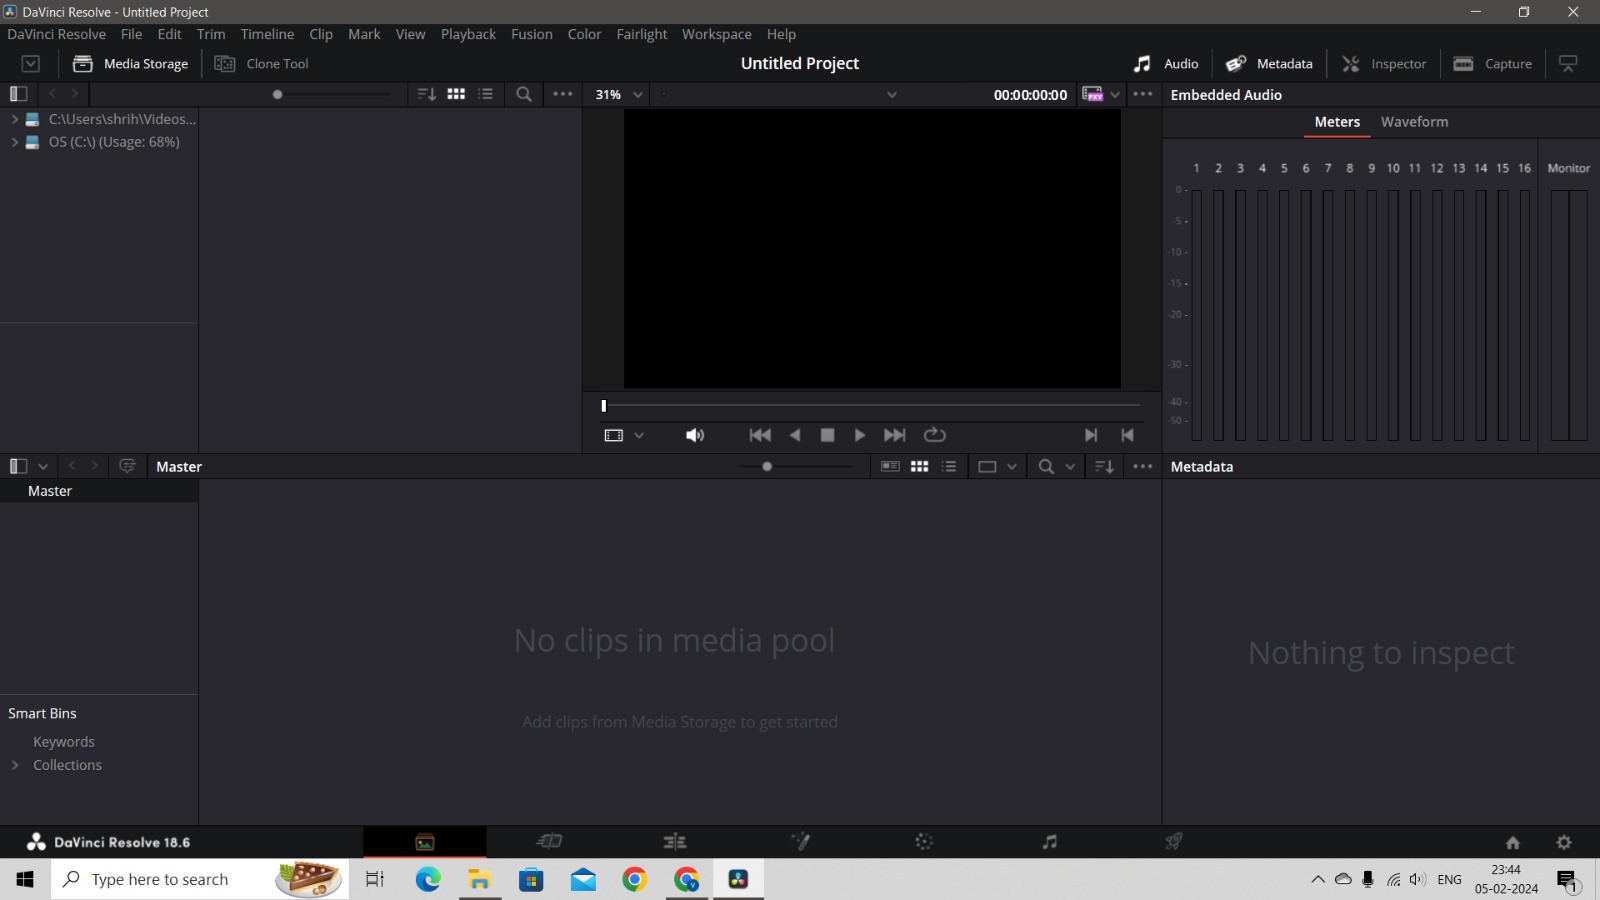 The media page or interface is used for importing the files that you would want to edit.
On the left topmost corner, you have the DaVinci Resolve header. And when you click on that you see multiple options.'Preferences' allows you to modify the storage location in your system and also automatic backup timings, whereas, 'Keyboard Customization' allows the user to modify keyboard shortcuts for various functions and effects.
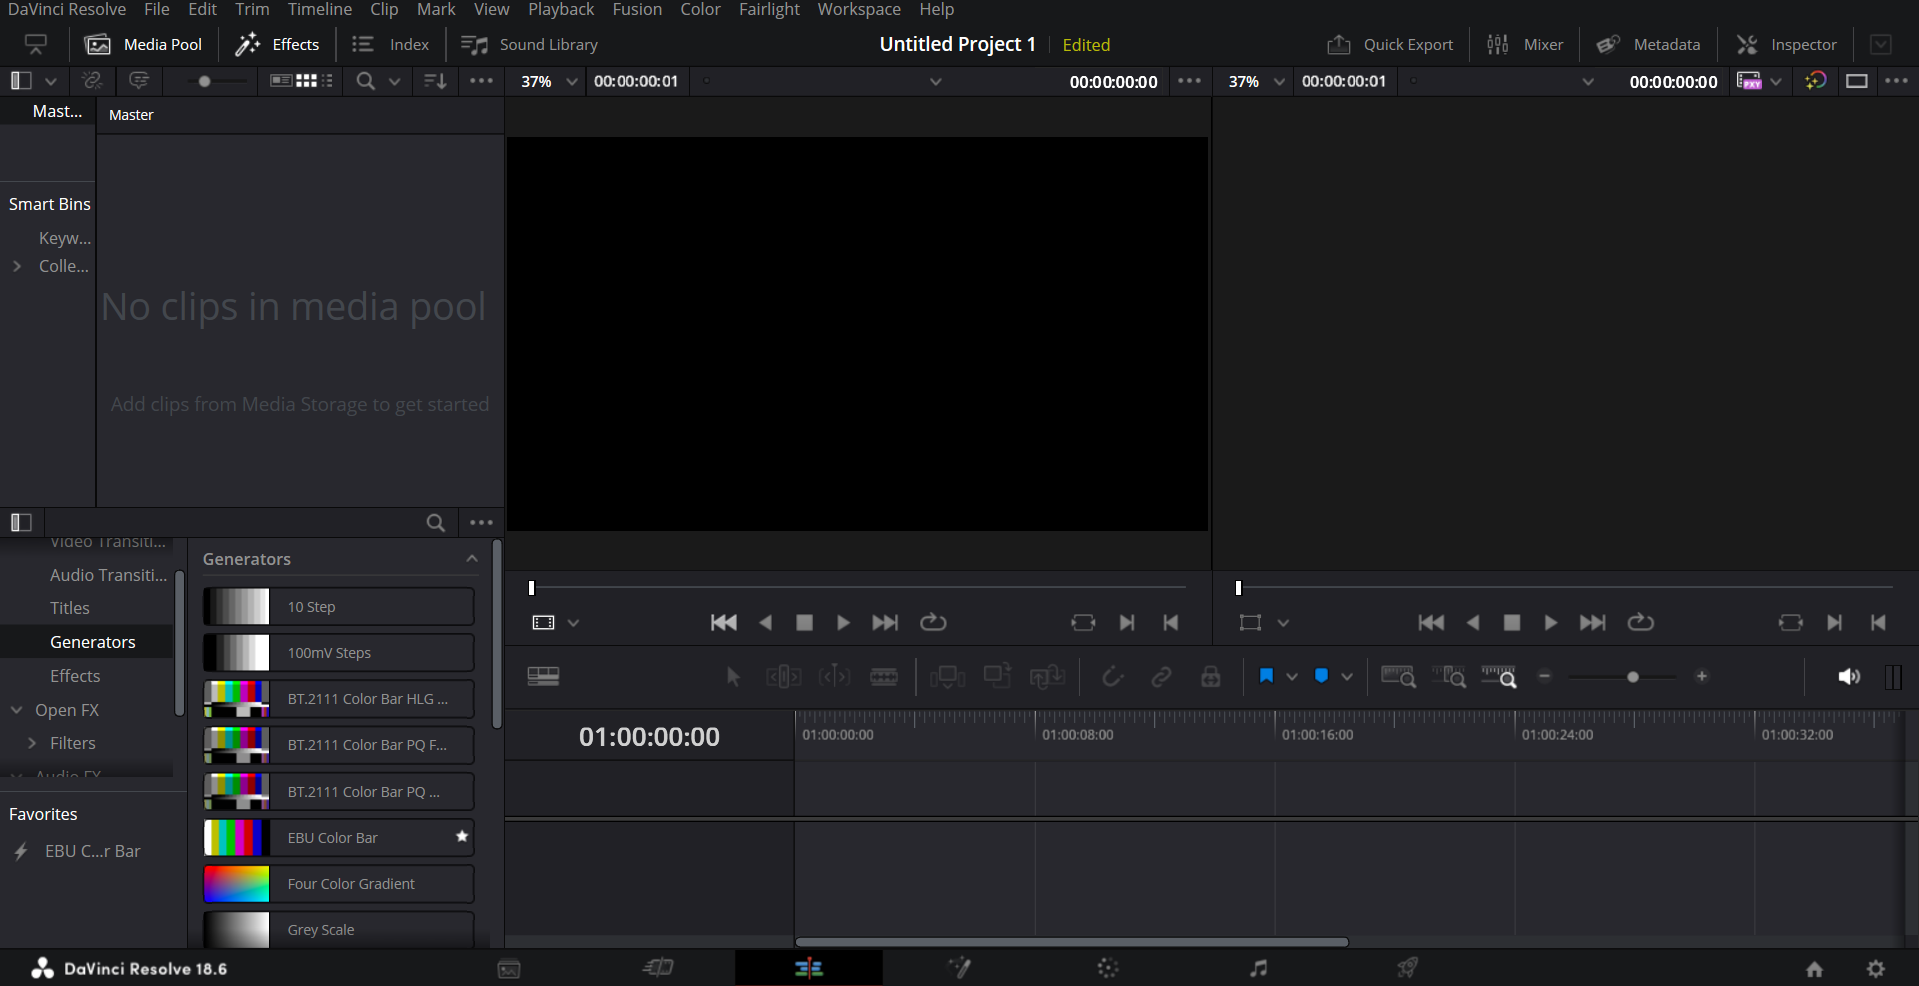
Now, to import a certain file, all that you need to do is select the location of the file from the drives mentioned at the left top side of your screen. And when you have the desired file in front of you, just drag it and place it in the media pool section at the centre or you could also just right click in the media pool section and click on import media and then choose your file. You can also select multiple media files.
If there is some file which is being used multiple times and accessing it again and again by looking for it in the drives and folders, could be a tedious task, so selecting that file and adding it to favourites could make it easier and faster. This could be achieved by right clicking on the file, and then clicking on 'add to favourites'.
Further, you could create timelines for a more organised process. If there are multiple timelines, you could also create a bin for a more organised process. Creating new timelines and bins is again only a right click in the media pool section away.
Edit and the Cut Pages
Alright, now you’ve learnt how to set up DaVinci Resolve and how to import the media. Let's understand the editing interface.
DaVinci Resolve equips you with two editing interfaces, each excelling in different styles: the Edit page and the Cut page. Understanding their unique strengths helps you choose the optimal workflow for your project. Let's dive into a combined exploration:
Imagine this: You're crafting a captivating video. The Edit page becomes your meticulous sculptor, meticulously shaping each scene with precise tools like colour correction, advanced effects, and multi-track audio mixing. It's ideal for crafting intricate narratives or delivering professional-grade polish.
However, sometimes inspiration strikes fast. Enter the Cut page, your agile assembler. Quickly mark captivating moments in your footage, seamlessly string them together on a single timeline, and add impactful transitions. It's perfect for rapid social media edits, storyboarding ideas, or swiftly assembling the core structure of your project.
TASK: EDIT PAGE
Edit Page Foundations
- Interface overview and project setup
- Importing & organising media
- Timeline creation and clip arrangement
 Editing the Essentials
 - Trimming
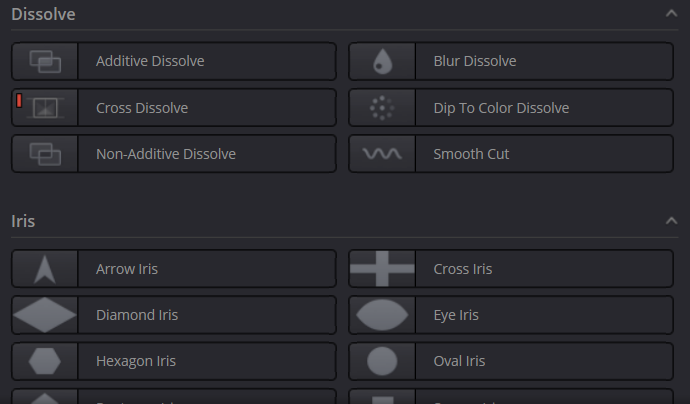
- Transitions
- Basic editing tools
- Audio mixing and level adjustments
Assignment 1: Create a 30-second video using the Edit Page, incorporating cuts, transitions, and basic audio adjustments.
TASK: CUT PAGE
Cut Page for Speed & Efficiency
- Cut Page interface and workflow
- Working with the Source Tape and previewing clips
- Smart editing tools and trimming techniques
 Polishing & Exporting
 - Adding transitions and titles efficiently
- Audio levels and exporting for different platforms
Assignment 2: Create a fast-paced 1-minute social media video using the Cut Page, focusing on storytelling and quick assembly.
Resources:
https://www.blackmagicdesign.com/products/davinciresolve/edit
https://www.blackmagicdesign.com/products/davinciresolve/cut
Fairlight Page and Deliver
You learned how to install and edit your video. Now, let's talk about some of the underrated aspects that can turn a good video into something marvellous and impactful, such as Audio. Audio editing is a vital skill for video production, as it can enhance the quality, clarity, and impact of your visuals.
 DaVinci Resolve is a powerful software and also has built in audio editor namely Fairlight using this you can weave your magic on your recording and make it professional, and the most Exciting prospect is you can use plugins like Izotope and use many of these powerful tools to make a piece of art
But, What if you are already a professional editor and well versed in any other audio editing software like audition, audacity etc, Don't Worry DaVinci has got you covered, You can import your Audio file from any of the above editor and apply the same to Fairlight and sync your audio with the video
Task 1 :
Foundations
- Import the audio files of your project to the Fairlight
- Use Multitrack and add intro and outro music to your recording.
- Apply Compression to even out volume variations.
- Add Reverb for a spacious sound.
- Learn to use fade in and fade out effects for intro & outro
- Learn to Remove distortions and background noises
- Play around with Fairlight’s vast Sound effects library and implement them into your project
Advanced
- Learn to use plugins like Izotope RX10,Ozone etc
- Explore effects like Equalization (EQ) to adjust frequencies
- Improving the quality of audio by using spectral recovery,
- Remove hum and de-ess noise by using any plugins of your choice
- Make the reverb in your audio disappear
 Plugins
Izotope RX10, Fairlight FX, Steinberg VST, Mac audio,
Plugins
Izotope RX10, Fairlight FX, Steinberg VST, Mac audio,
Assignment : make an Introduction video about yourself and talk us through event that changed you, add intro and outro to it and play around with the various sound effects
Or
Import the audio from the edit and cut assignment and play around with it
Resources :
https://www.blackmagicdesign.com/in/products/davinciresolve/fairlight
Why Audio is Important for Video
Audio is an essential component of video production, as it can convey information, emotion, and atmosphere to your audience. Audio can also complement and reinforce your visual message, and create a more immersive and engaging experience for the viewers.
Imagine a sweeping landscape shot—the sun dipping below the horizon. Now, add a melancholic violin melody. Suddenly, the scene transcends pixels and becomes an emotion. Good audio has this power—it tugs at heartstrings, evokes nostalgia, and paints emotions in vivid hues.
Audio weaves the fabric of reality. It transports us—from echoing chambers to cosmic voids, from medieval castles to futuristic spaceships. Without it, the visuals remain mere snapshots; with it, we step into the frame
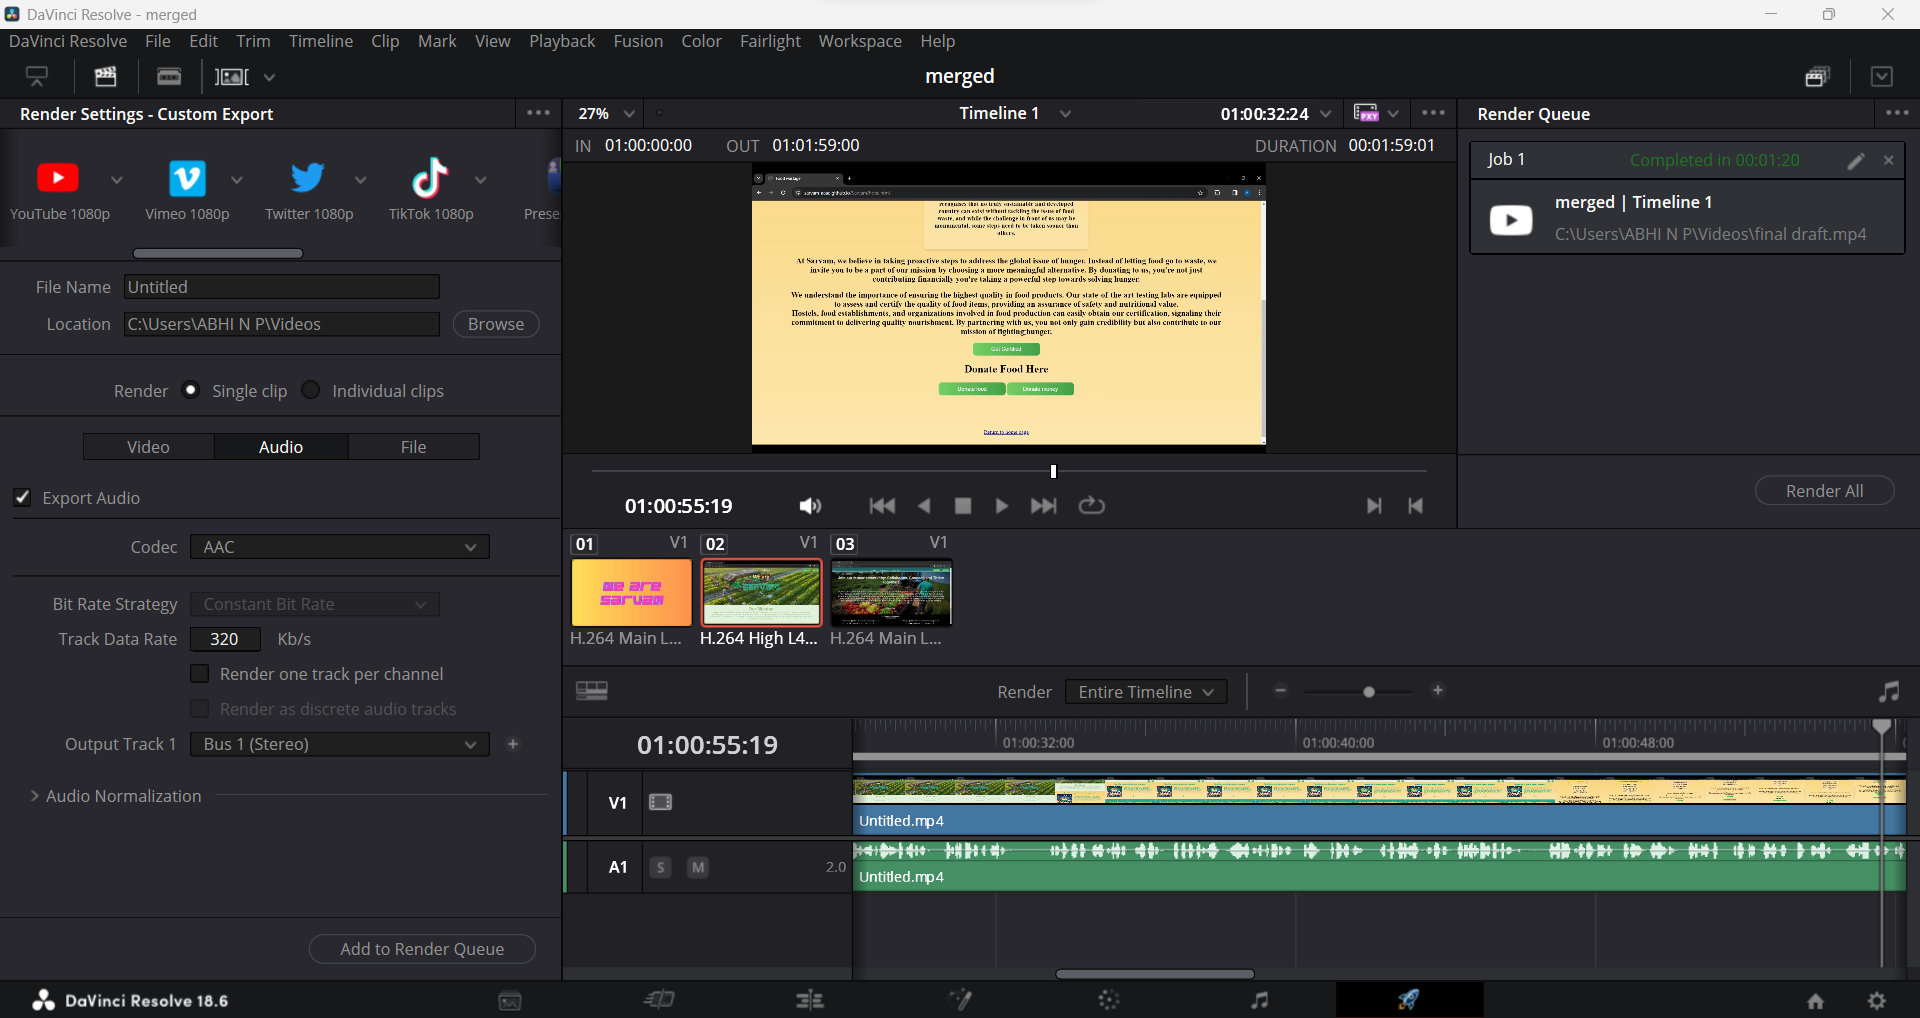
Deliver
So you've imported and organised your media, you've taken that media, organised it into a story on the cut and edit pages. You have worked on the color page, and you've worked on your images to create a visual continuity that supports the story. Then you've gone into the Fairlight page to mix your audio. Now it's time to take all of that work and render it out to share it with the world.
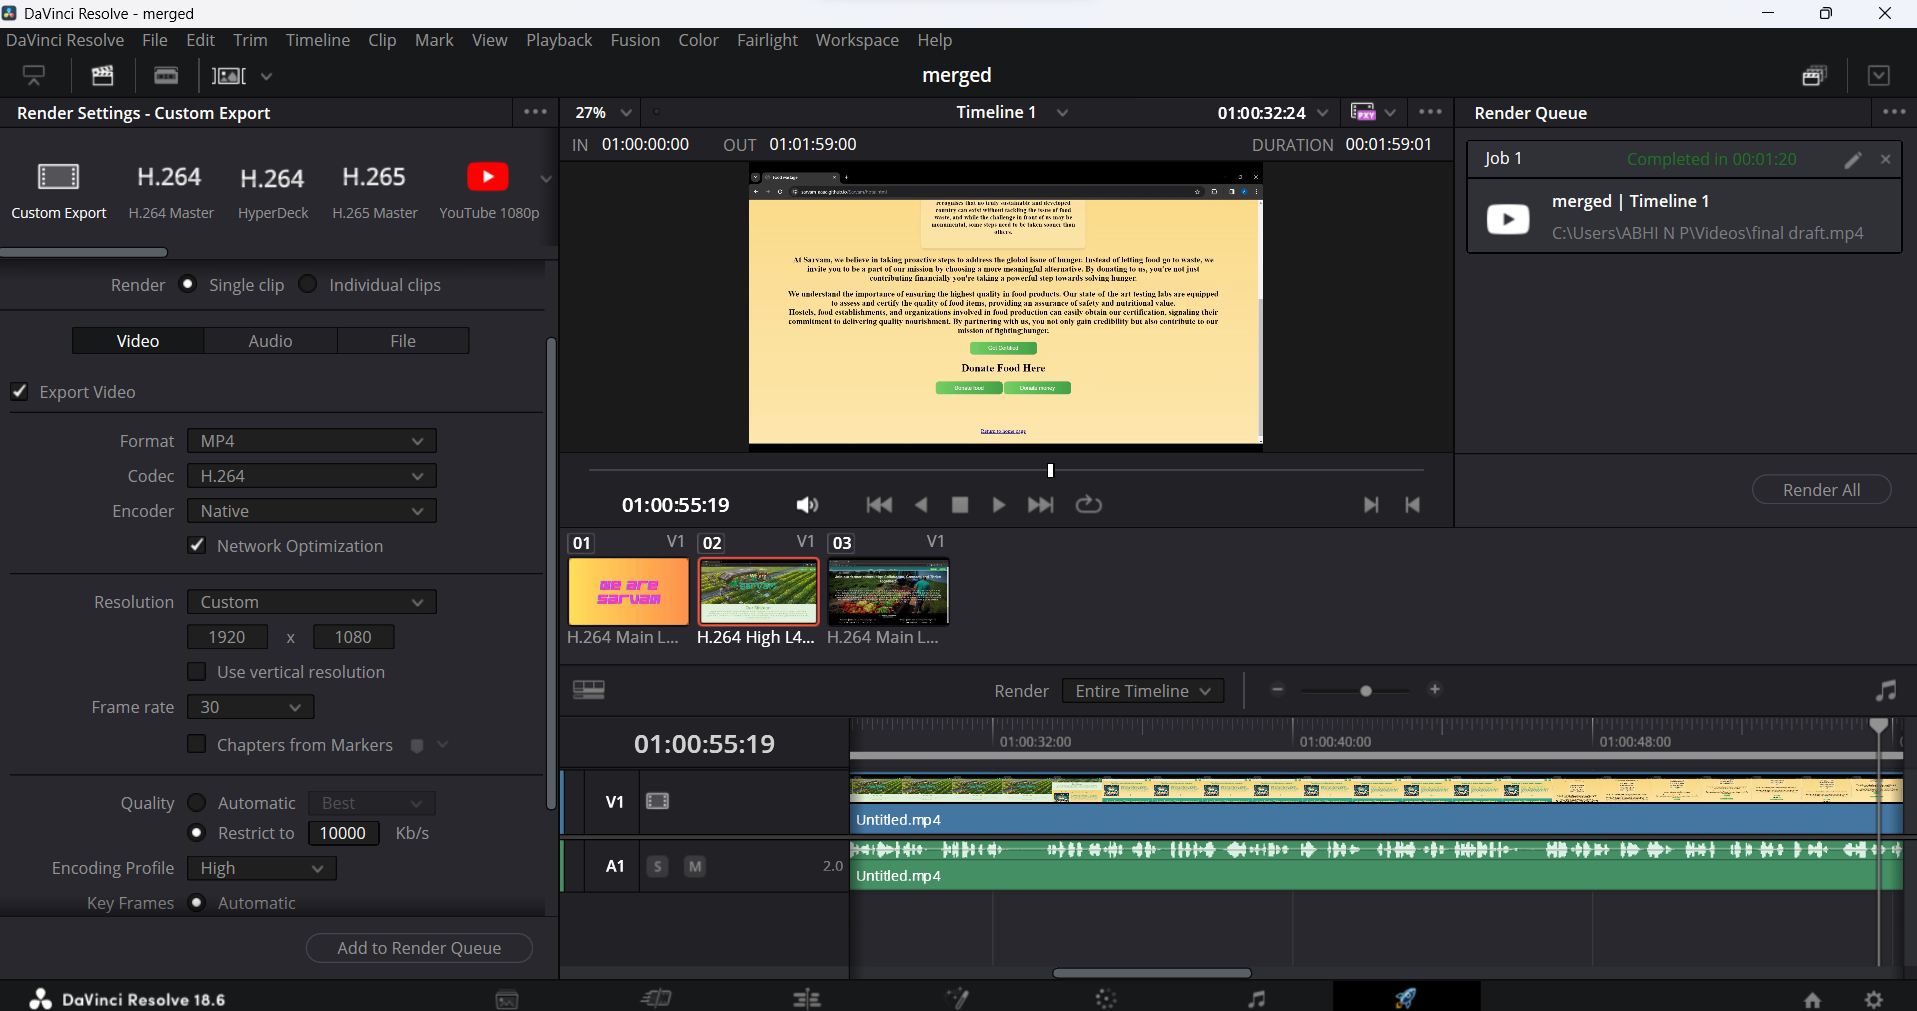 The Delivery tab in DaVinci Resolve is your gateway to exporting your meticulously crafted video projects. Let’s unravel its secrets
Tasks :
- Choose the video format for your export. Whether it’s MP4, MOV,or any other format of your choice
- Set the resolution—1080p, 4K, or custom dimensions
- Optimization for Platform you are going to upload
 Assignment 2: Remember the short video you made using the Cut page now render it, export it and upload it to any social media of your choice
Resources :
https://www.premiumbeat.com/blog/how-to-export-davinci-resolve/
Level 2
Fusion and Colorlight page
Hey there! Ready to uncover the magic of DaVinci Resolve's Fusion and Color pages? Strap in, because we're about to take your editing game to the next level!
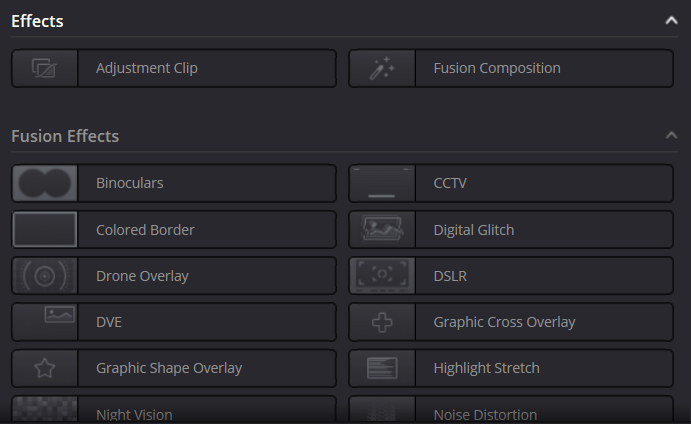
Fusion Page: Where Creativity Takes Flight
Imagine a canvas where you can blend visual elements, create jaw-dropping effects, and bring your imagination to life. That's the Fusion page for you! Whether you're adding eye-popping graphics, crafting mind-bending animations, or integrating stunning visual effects, Fusion is your playground.
 Here's the deal: Fusion is all about layering. Just like a painter builds depth and texture with each stroke of the brush, you'll stack nodes to craft your masterpiece. Nodes? Don't worry, they're your building blocks. Each node performs a specific task, like compositing images, applying effects, or animating elements. Connect them like puzzle pieces, and voila! Your vision materializes before your eyes.
 But wait, there's more! Fusion isn't just about flashy effects (though it's pretty darn good at those). It's also a powerhouse for problem-solving. Need to remove an unwanted object from your scene? Fusion's got your back with its robust masking and tracking tools. Want to enhance your footage with dynamic text overlays? Easy peasy, thanks to Fusion's text capabilities.
In a nutshell, the Fusion page is where your creativity thrives. So unleash your imagination, experiment fearlessly, and let your ideas soar!
Color Page: Painting Your Story with Light
Now, let's talk about the Color page, where your footage undergoes a stunning transformation. Think of it as your digital darkroom, where you sculpt light and color to evoke emotion and enhance storytelling.

Here's the lowdown: Color grading is both an art and a science. It's about more than just making your footage look pretty (though it does that exceptionally well). It's about setting the mood, guiding the viewer's gaze, and amplifying the narrative.
So how does it work? Picture a palette of colors at your fingertips, ready to paint your scenes with emotion and depth. DaVinci Resolve's Color page offers a comprehensive set of tools for adjusting exposure, balancing colors, and fine-tuning every aspect of your image.
From the subtle warmth of a sunrise to the cool hues of a moonlit night, the Color page lets you craft the perfect visual tone for your story. Need to match shots from different cameras or scenes? No problem! With powerful color matching tools, you can ensure seamless continuity throughout your project.
 But here's the best part: DaVinci Resolve's Color page isn't just for color grading. It's also a hub for advanced finishing touches. Want to add cinematic flair with film grain or lens flares? Go for it! Need to clean up blemishes or imperfections? Consider it done!
In essence, the Color page is where your footage truly comes to life. So embrace the power of color, experiment with different looks, and watch as your story unfolds in vibrant detail.
In conclusion, DaVinci Resolve's Fusion and Color pages are more than just editing tools. They're gateways to boundless creativity and storytelling potential. So whether you're a seasoned pro or just starting out, dive in, explore, and let your imagination run wild. The possibilities are endless, and the journey is yours to create. Happy editing!
Assets:
https://youtu.be/QC1X4jlEYiM?si=EkhoX7mAwa0otwnB
You can work upon the given clip and try colour grading.