
 | OP |
INSTALLATION OF DA VINCI RESOLVE
The first step into starting our journey to explore and learn Da Vinci resolve software is to download the software itself. It was a simple installation process in which i visited the blackmagic's official website (https://www.blackmagicdesign.com/in/products/davinciresolve) and downloaded the free to use version of Da Vinci resolve onto my laptop. Once this installation was done i was set to begin and explore everything this software had to offer. To begin with i first went through the necessary information that was provided to us in the marvel website. It gave me an overview about what would the main factors and objectives that i should learn and equip myself with to understand the functioning of this software.
Understanding Da Vinci RESOLVE
When the application is opened we get a tab as such:
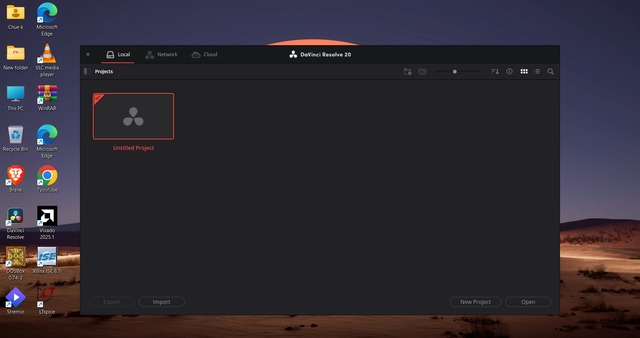
Here at the top left corner we have local, network and cloud, they refer to below files:
Local: Files stored directly on your own device. Network: Files shared over a connected group of nearby devices. Cloud: Files stored on the internet, accessible from anywhere.
From here we can now create files. To create a new file click on 'new files' , gives your file an apt name and now a new screen will pop up as such:
UNDERSTANDING ALL THE PAGES OF Da Vinci Resolve
1. MEDIA PAGE
The Media page is where you import, preview, and organize your media files before editing. It gives you a structured workspace to view your clips, add metadata, and create bins (folders) to keep everything sorted. This page is ideal for preparing your footage, especially in larger projects with lots of files.
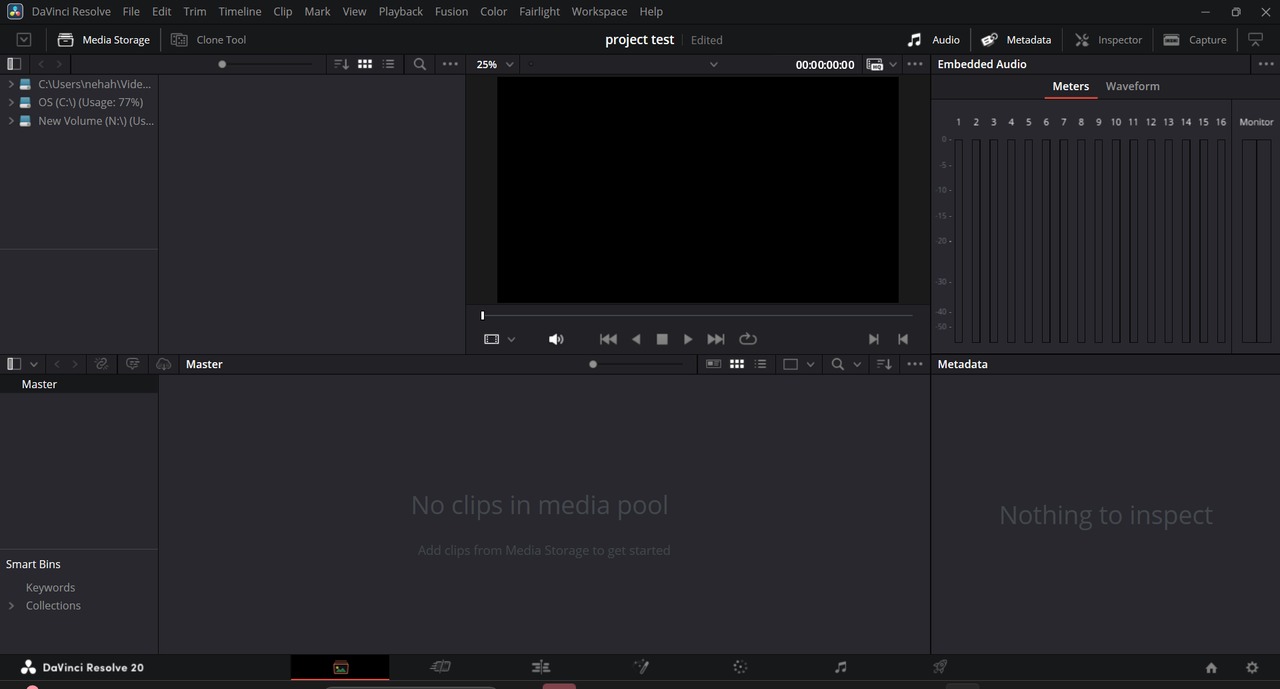 MEDIA STORAGE PANEL
The Media Storage panel shows files from your desktop, but these files are not yet part of your project. You need to import them to use them in your project.
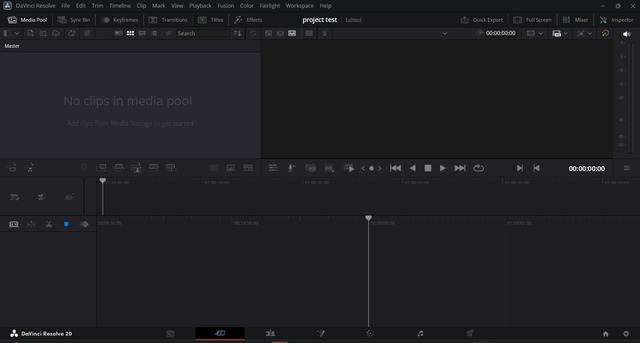
MEDIA POOL
The Media Pool is where all the files you’ve added to your project are stored. It holds videos, images, and audio clips that you can use for editing.
In the Media Pool, you can view your files in three ways:
MEDIA STORAGE PANEL
The Media Storage panel shows files from your desktop, but these files are not yet part of your project. You need to import them to use them in your project.
MEDIA POOL
The Media Pool is where all the files you’ve added to your project are stored. It holds videos, images, and audio clips that you can use for editing.
In the Media Pool, you can view your files in three ways:
-
List View: Shows files in a detailed list with information like name, duration, and format.
-
Metadata View: Displays detailed data about each file, such as camera settings and file properties.
-
Thumbnail View: Shows small preview images of your files for easy visual identification. METADATA The Metadata block in the Media page shows detailed information about the selected media file. This includes technical details like file type, resolution, frame rate, and camera settings. It helps you understand more about your files and organize them better.
PREVIEW The Preview block in the Media page lets you watch and play your selected media files before adding them to your project. It helps you check clips and decide which parts you want to use.
SMART BINS Smart Bins are special folders in DaVinci Resolve that automatically organize your media based on rules you set, like file type, keywords, or dates. They help you quickly find and manage clips without sorting manually.A collection is a group of media files gathered together based on shared keywords or criteria, helping you organize and find related clips easily.
2. CUT PAGE
The Cut Page in DaVinci Resolve is a simplified editing workspace designed for speed and efficiency. It’s ideal for quick projects like YouTube videos, news clips, or social media content. The page features a dual timeline, allowing you to see your entire project and a detailed view at the same time, making it easier to trim, move, and arrange clips without constant zooming. With built-in tools for adding transitions, titles, and effects, the Cut Page helps editors work faster without switching between multiple panels. It’s perfect for beginners or anyone who wants to create clean, professional edits in less time.
The Cut page has a similar interface to the Edit page, featuring essential tools like the Media Pool, Timeline, and Viewer. These shared elements provide a consistent workspace, allowing users to access and organize their media, preview footage, and perform edits efficiently. Despite some differences in layout and functionality tailored for faster workflows, the overall design remains familiar for those accustomed to the Edit page. The Cut page features a single-view timeline layout, unlike the dual-layered timeline in the Edit page. This streamlined, single-view timeline combines all tracks into one unified space, making it easier and faster to navigate and perform quick edits.
3. EDIT PAGE
The Edit Page in DaVinci Resolve is the main workspace for detailed and professional video editing. It offers a full-featured timeline, giving you precise control over cutting, trimming, layering, and arranging clips. Unlike the simpler Cut Page, the Edit Page is ideal for more complex projects, allowing for advanced transitions, effects, keyframing, audio editing, and multicam workflows. It also includes inspector tools for fine-tuning clip properties and a flexible layout to customize your workspace. This page is best suited for editors who need more control and want to craft polished, professional-level videos.
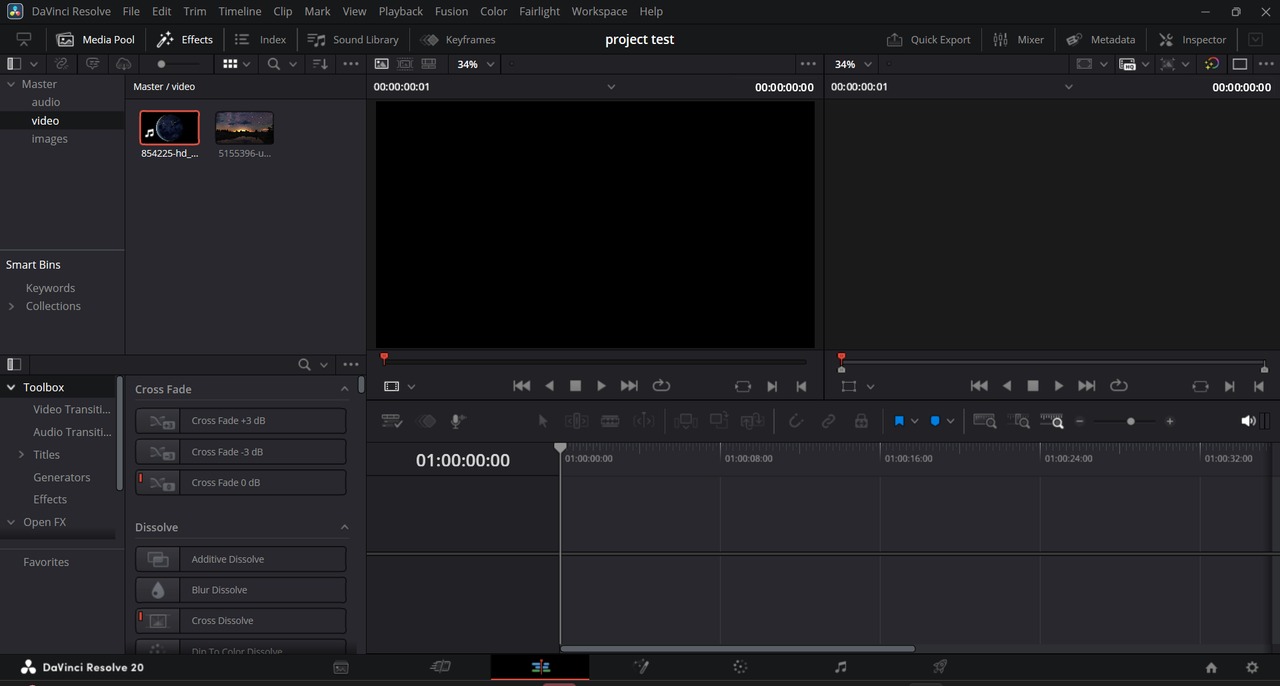
PANELS IN EDIT PAGE
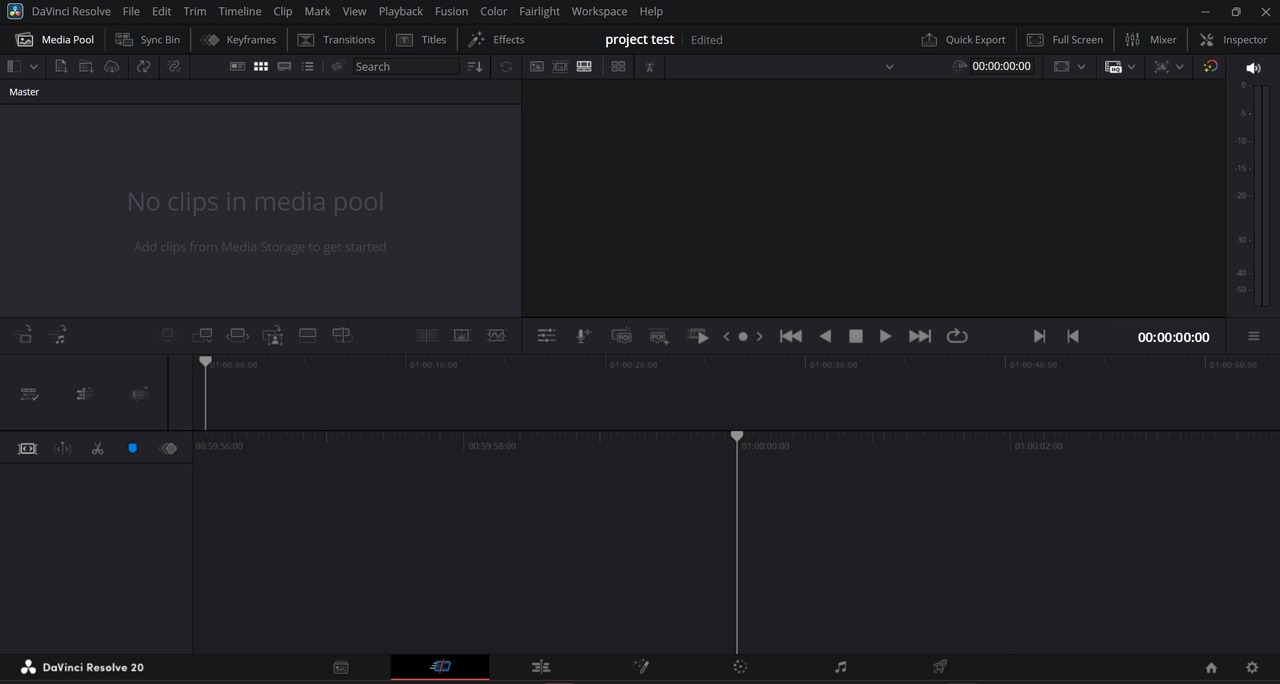
- MEDIA POOL In the Edit page, the Media Pool is where all the media files you’ve imported into your project are stored and organized. You can drag files from the Media Pool onto the timeline to start editing your video.
- PREVIEW MONITOR The Viewer in the Edit page shows a preview of your video as you edit. It lets you watch clips, see your timeline playback, and check how your edits look in real time.
- TIME LINE The Timeline in the Edit page is where you arrange and edit your video and audio clips. It shows your project as a series of tracks where you can cut, move, and layer clips to build your final video. We can trim the clips before adding them to the timeline by using 'I' and 'O'.
OTHER FEATURES:
- Keyboard Customization in DaVinci Resolve lets you change shortcut keys to suit your editing style. You can assign your own keys for actions like cutting, playback, or adding effects, helping you work faster.
- To insert clips
-
Insert: Adds a clip at the playhead and pushes other clips forward to make space. Shortcut: F9
-
Overwrite: Places the clip over existing clips at the playhead without moving anything. Shortcut: F10
-
Replace: Replaces a selected clip in the timeline with a new one, keeping the timing. Shortcut: F11
-
EFFECTS Effects in the Edit page are tools and filters you can apply to your clips to change how they look or sound. This includes things like transitions, color effects, titles, and audio enhancements to make your video more interesting and polished. Audio Transition
Audio transitions smoothly blend sound between two clips, avoiding sudden jumps or cuts in audio.
Example: A fade-out and fade-in between two music tracks. Video Transition
Video transitions are visual effects that connect two video clips, making the change between them smoother or more creative.
Example: A cross dissolve where one clip slowly fades into the next. Generator
Generators create simple media elements like solid colors, gradients, or animated backgrounds that you can use in your video.
Example: A plain black background -
INSPECTOR The Inspector in the Edit page is a panel that lets you see and change settings for the selected clip. You can adjust things like position, scale, rotation, opacity, and audio levels to customize your clips precisely.A keyframe in the Inspector is a marker that lets you set a value (like position, scale, or opacity) at a specific point in time. By adding multiple keyframes with different values, you create animation or changes over time in your clip.
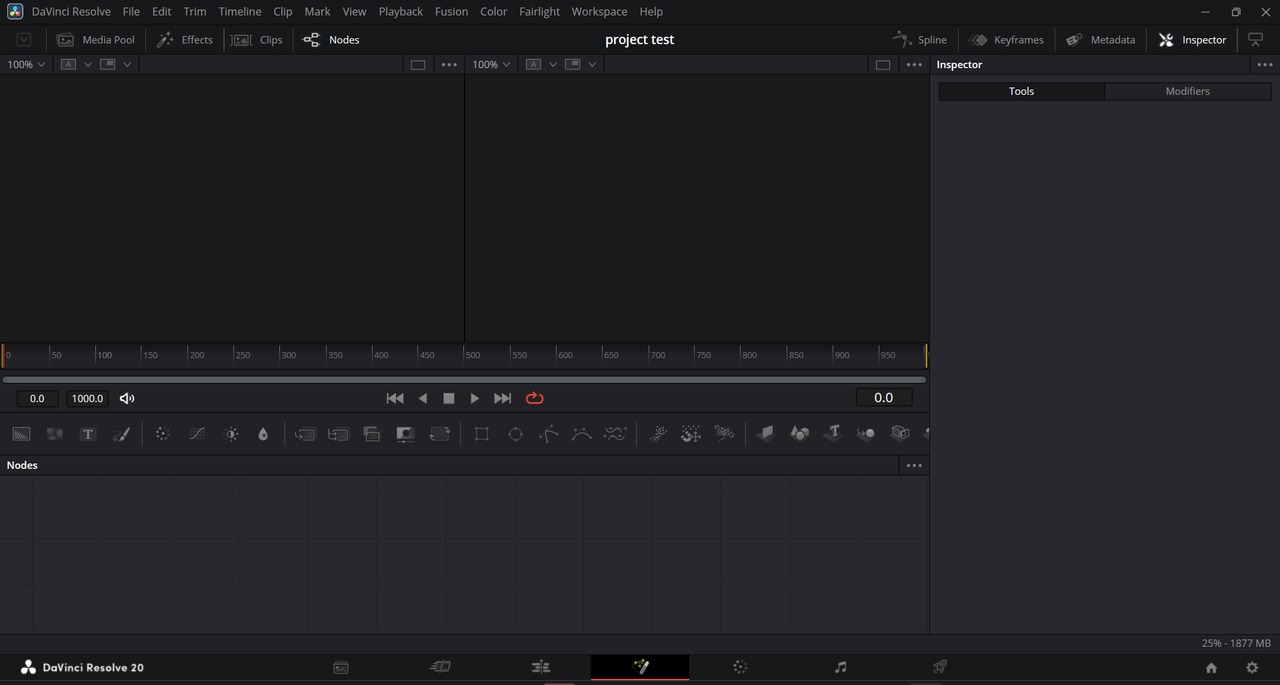
4. FUSION PAGE
The Fusion page is where you create special effects and animations for your video. Instead of working with clips on a timeline, you use a system of connected tools called nodes to build things like green screen effects, moving text, and cool visual tricks. It’s great for adding creative effects to make your video look more professional.
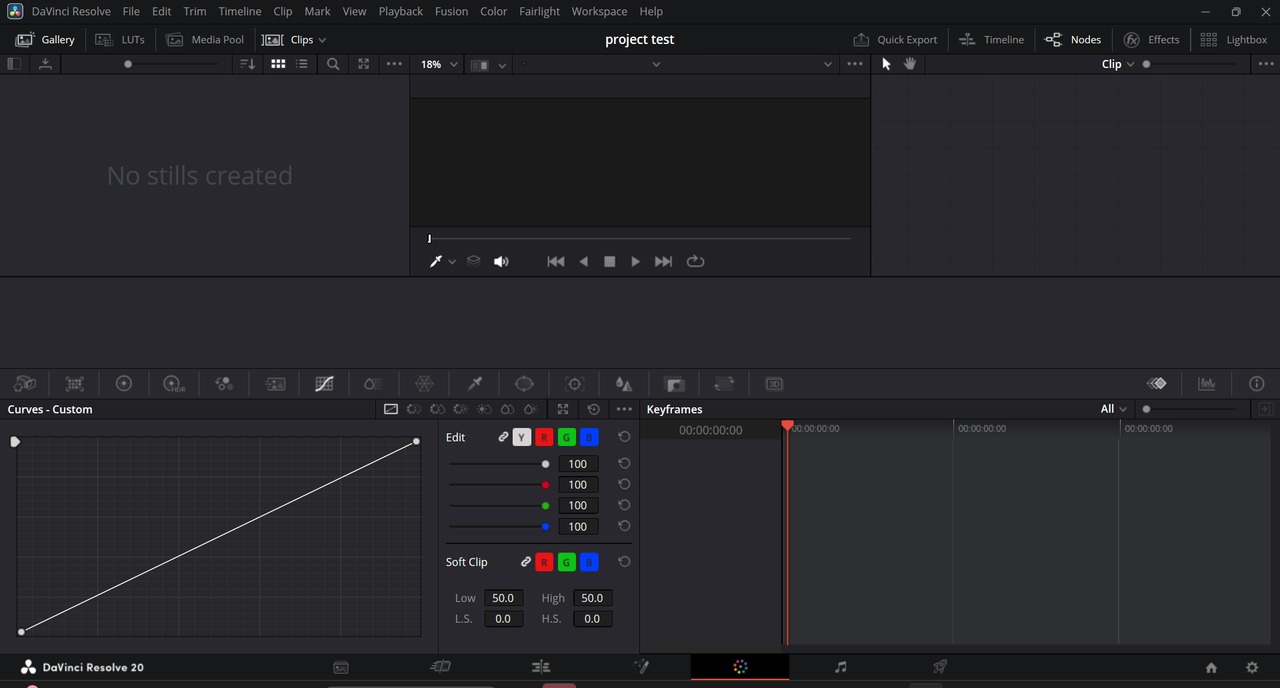
5. COLOUR PAGE
The Color Page in DaVinci Resolve is where you perform color correction and color grading to enhance the look and feel of your video. It offers powerful tools to adjust brightness, contrast, saturation, and color tones with precision. You can also use features like color wheels, curves, scopes, and masks to fine-tune specific areas of a shot. Whether you're fixing color issues or creating a dramatic cinematic style, the Color Page gives you full creative control. It’s an essential step in post-production to make your video look polished and professional.
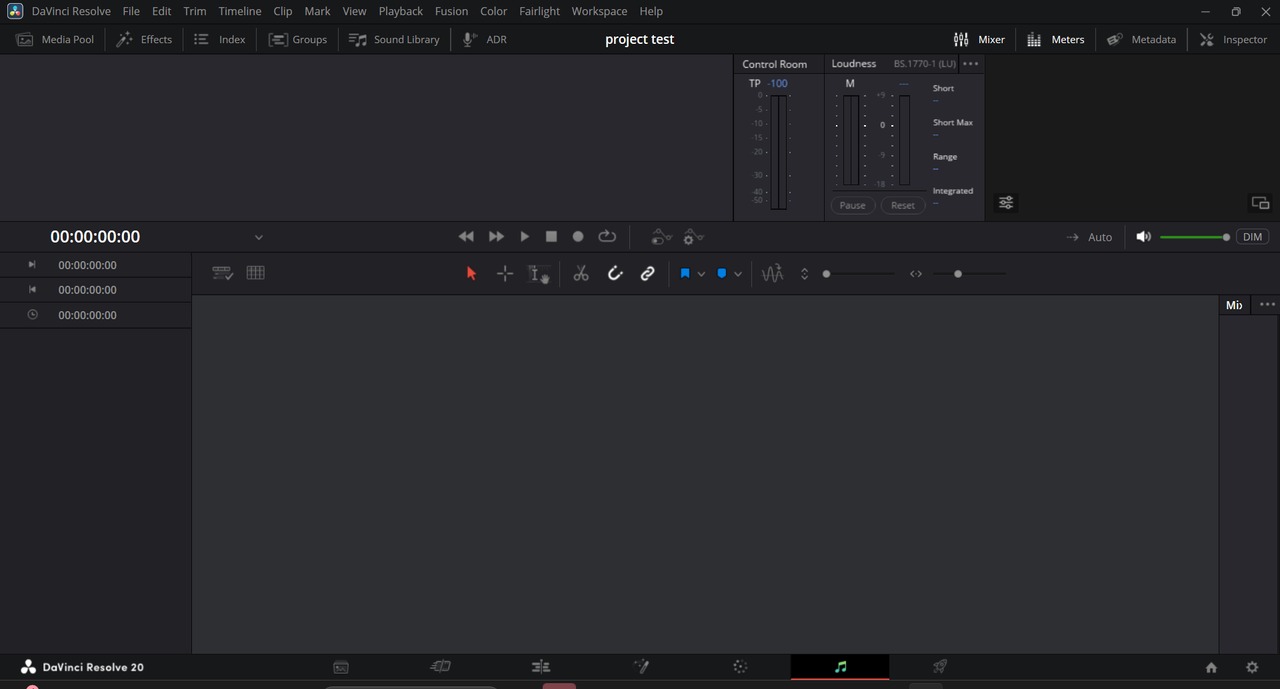
6. FAIRLIGHT PAGE
The Fairlight page offers a highly specialized and professional environment for audio post-production, equipped with an extensive range of detailed audio tools. It supports multiple tracks with precise control over levels, automation, and routing, making it ideal for complex audio workflows. Users can apply a wide variety of high-quality audio effects, including EQs, compressors, limiters, and noise reduction tools, all integrated seamlessly into the timeline.
PANELS IN FAIRLIGHT
1. Timeline Panel
The Timeline Panel in Fairlight is where all audio editing takes place. It displays multiple tracks with detailed waveforms, allowing users to arrange, cut, trim, and layer audio clips efficiently. This panel supports automation, fades, and clip-based effects, making it the central workspace for assembling and refining audio in sync with video.
2. Mixer Panel
The Mixer Panel functions as a full-featured digital mixing console, providing individual controls for each audio track. Users can adjust volume levels, pan audio, insert EQ and effects, and route tracks to buses or submixes. It’s essential for balancing and fine-tuning the overall sound of a project, offering real-time adjustments during playback.
3. Meters Panel
The Meters Panel provides real-time visual feedback on audio levels across tracks. It includes peak meters and loudness meters (LUFS), helping ensure that audio stays within professional broadcast and cinematic standards. This panel is crucial for monitoring dynamics and avoiding clipping or distortion.
4. Inspector Panel
The Inspector Panel allows for detailed adjustments of individual audio clips. Here, users can tweak volume, pitch, pan, and apply clip-specific effects or keyframes. It’s especially useful for making precise edits without affecting the entire track, giving fine control over how each clip sounds in the mix.
5. Sound Library Panel
The Sound Library Panel gives users access to a searchable database of sound effects and audio clips. It allows for quick previewing and direct insertion of sounds into the timeline, streamlining the workflow when sourcing ambient audio, foley, or music. Users can also build their own libraries for frequent use.
Fairlight in DaVinci Resolve includes powerful audio features designed for professional-grade sound control. The Equalizer (EQ) allows users to shape the tone of audio by adjusting specific frequency ranges—perfect for enhancing vocals, reducing noise, or balancing instruments. Dynamic Compression helps control the volume range of audio by making loud sounds quieter and quiet sounds louder, ensuring a more consistent and polished mix. Additionally, Fairlight offers advanced Bus routing, which lets users group multiple tracks together and apply effects or adjustments to them as a whole—ideal for managing complex mixes like dialogue, music, or sound effects separately.
7. DELIVER PAGE
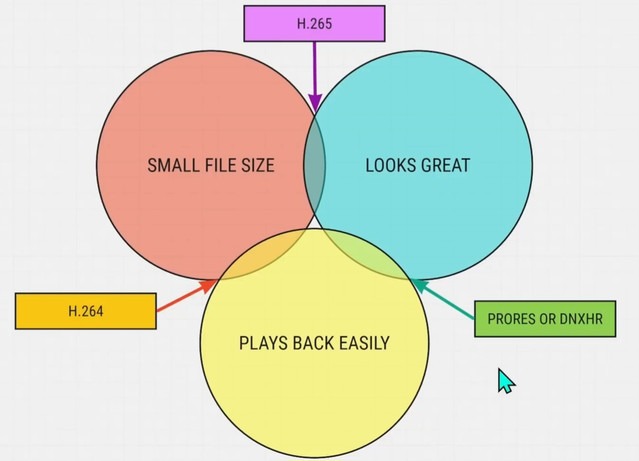
The Deliver Page in DaVinci Resolve is where you export your final video after editing, color grading, and audio work are complete. It lets you choose the format, resolution, frame rate, and destination for your video, whether it's for YouTube, Vimeo, social media, or a custom setup.
 You can select from preset render settings or create your own, add render queues for batch exporting, and even export timelines in parts. The Deliver Page ensures your project is saved in the right format and quality for its final use, making it the last and crucial step in the post-production process.
TASKS:
- https://drive.google.com/file/d/1yHL_pgm7kmwk6yvc2y41G2sUe-ovXFXK/view?usp=sharing2.
- https://drive.google.com/file/d/1ytaEsMqwQzPvD7Gb456nC2ltPWny2sfK/view?usp=drive_ (https://www.instagram.com/share/reel/_nxpnJV2y)
- https://drive.google.com/file/d/1Tf4WooAU1XV0yhsATZBMaEMncri3QXab/view?usp=sharing (https://www.instagram.com/share/reel/BAJvdBrc19)
- FAIRLIGHT PAGE: (i)ORIGINAL: https://drive.google.com/file/d/1iQKz8GuG6wf89yX8koSzVz29q883hgpe/view?usp=drive_link TRACKS: https://drive.google.com/file/d/1attlrupa6Cp536RoDq6UYC0v0itm-X1E/view?usp=drive_link (ii)AUDIO: ORIGINAL :https://drive.google.com/file/d/15i4ZliRpsbla0y5ZbDlA9mvTeiIy69OH/view?usp=drive_link CORRECTED: https://drive.google.com/file/d/1-4MRugUbmDOIdlzKkTXrHicFG5iUWUw_/view?usp=drive_link