
BLOG · 1/1/2025
Prajwal R level 2

Level 2 Tasks
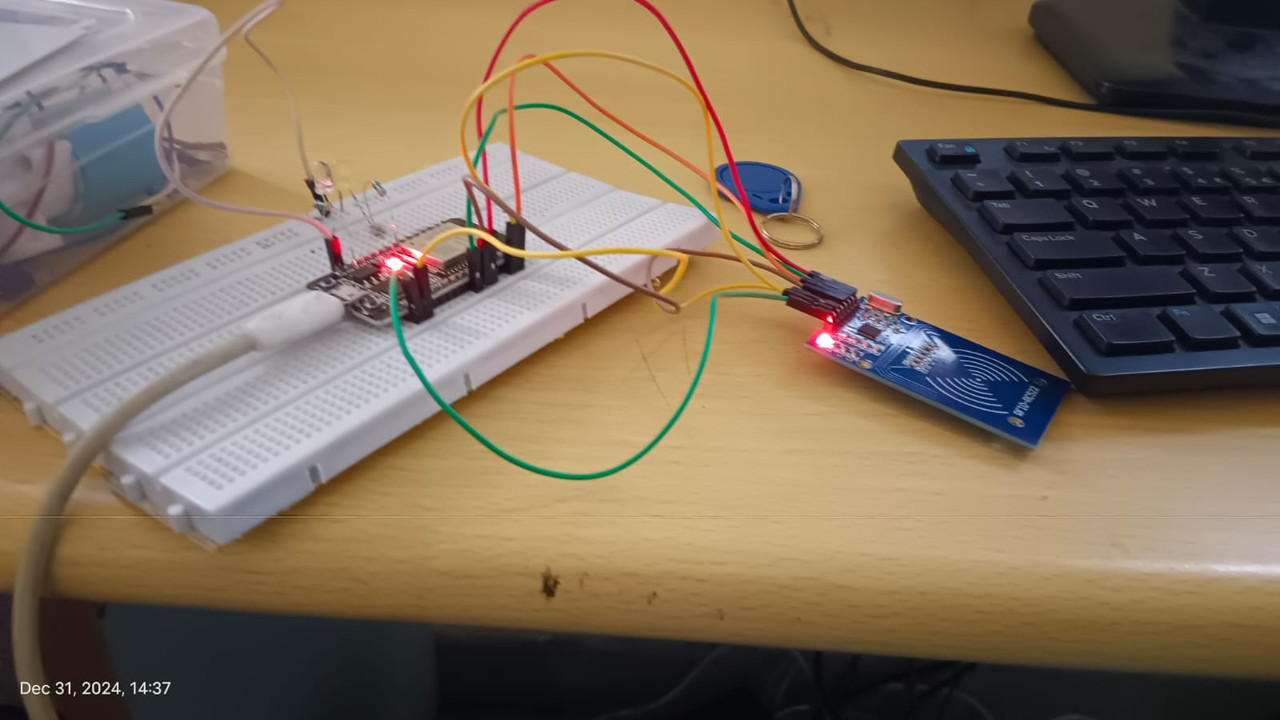
Task 1 : Introduction to RFID
In this task initially i learnt about what is RFID card and RFID card reader then rigged up the circuit as shown in the resouse using components like ESP32 wroom 32 , RFID-RC522 , resistors , LED's and jumper wires . By using Arduino IDE coded the code and pushed that to the ESP32 as mentioned by doing that i included some ibraries like MFRC522 then executed it .
Task 2 : Interfacing RTC time module with ESP32
In this task DS3231 RTC module and ESP32 has been interfeced using the I2C protocol , connections are simple and rigged up as shown in the resource and provided Arduino code initializes the RTC, fetches the current time and displays it on the serial monitor. The serial output updates every second to ensure real-time accuracy. This setup is useful for applications like data logging and scheduled tasks.

Task 3 : Creating an attendance logger
In the task RFID cards , RFID card reader , ESp32 and Google appscript were used to perform , then connections were made as shown and The RFID card reader detects extracts the unique card ID, and sends the data to Google Sheets along with a timestamp .


Task 4 : Controlling multiple peripherals using SPI Protocol
In this task a DC motor has been controlled by using RFID card and card reader , ESP32 , supply , motor driver and some connection wires . coded using Arduino and pushed that to the microcontroller and did the suc that if we insert a valid UID card the motor runs or else not .

Task 5 : Alexa Light Control
In this task I used Arduino cloud and integrated that with the ESP32 and added device like LED's and connected the ESP32 with led and codded it using Arduino and controlled the turning on and off of the Led by vocalizing.

Task 6 : Telegram Bot Motor control
In the ESP32 and telegram has been integrated and the ESP32 is controlled only just by sending the messages from the telgram account first created a bot account then coded using arduino and also installed some libraries then just by giving instructions in the bot account like start , forward , backward , stop DC motor was successfully controlled .
