BLOG · 2/10/2024
Prajwal R Level 1
Level 1 Report

Level 2 tasks
Task 1 - Simon Says
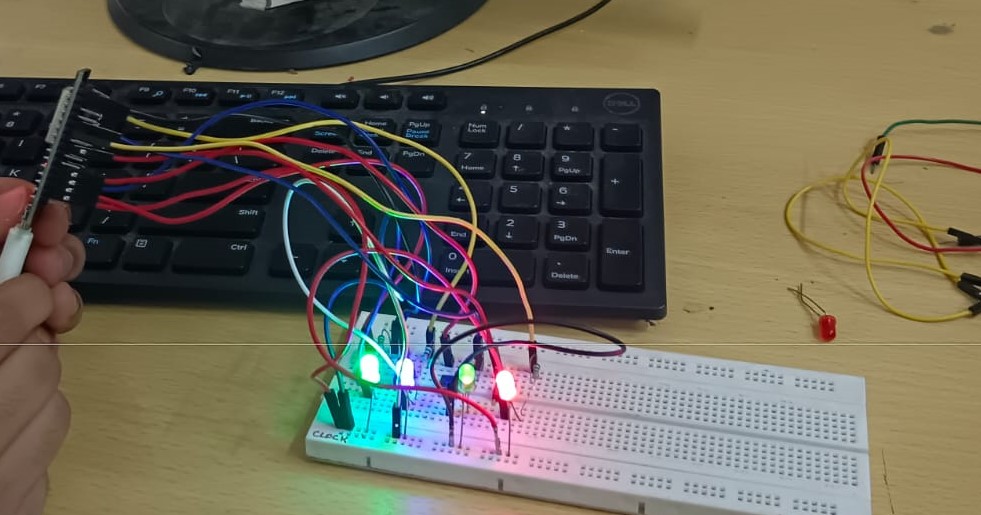
In this task I created a fun game called Simon says using the ESP32 microcontroller ,LED's , Push buttons and resistors successfully , So here the Players are challenged to remember and replicate a glowing sequence of LED's, enhancing their memory and reflexes. This project helped me to get familiarize with the ESP 32 microcontroller , And was fun and intriguing while performing the task. The pictures of the task while performing is as shown below:
Task 2 - Basics of creating a website
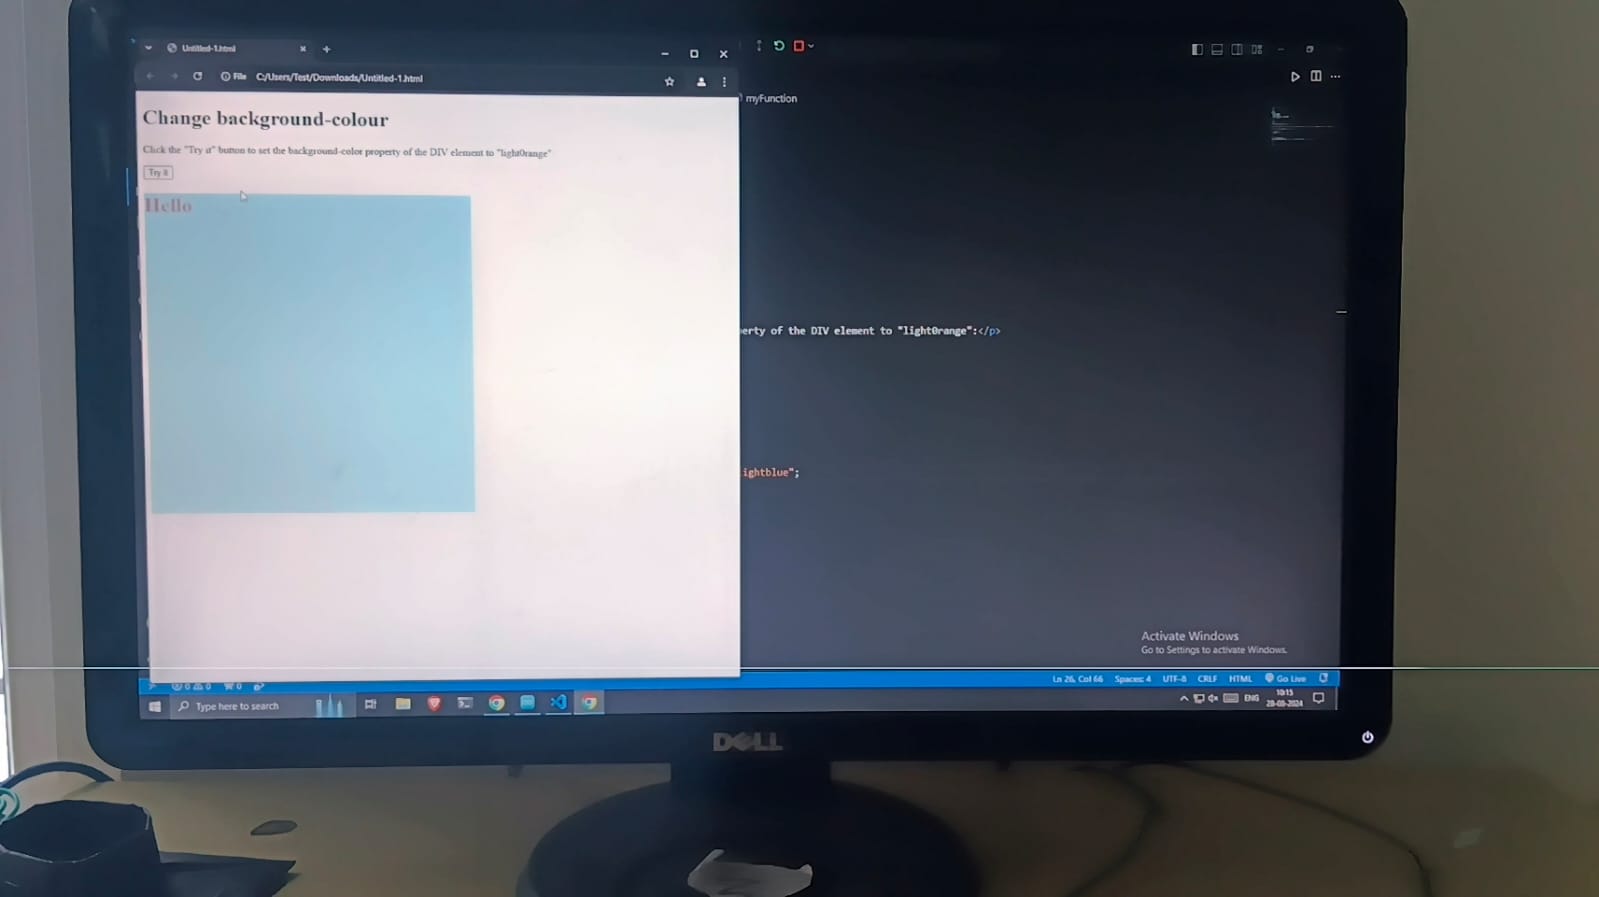
In this task i came to know how to build a website which consisted of both backend and the frontend . The task in this was in the webpage there should be a button so that if we press the button the color of it changes as per the given code . The resource article provided helped in understanding the code and performing it.
Task 3 - Communication using I2C protocol
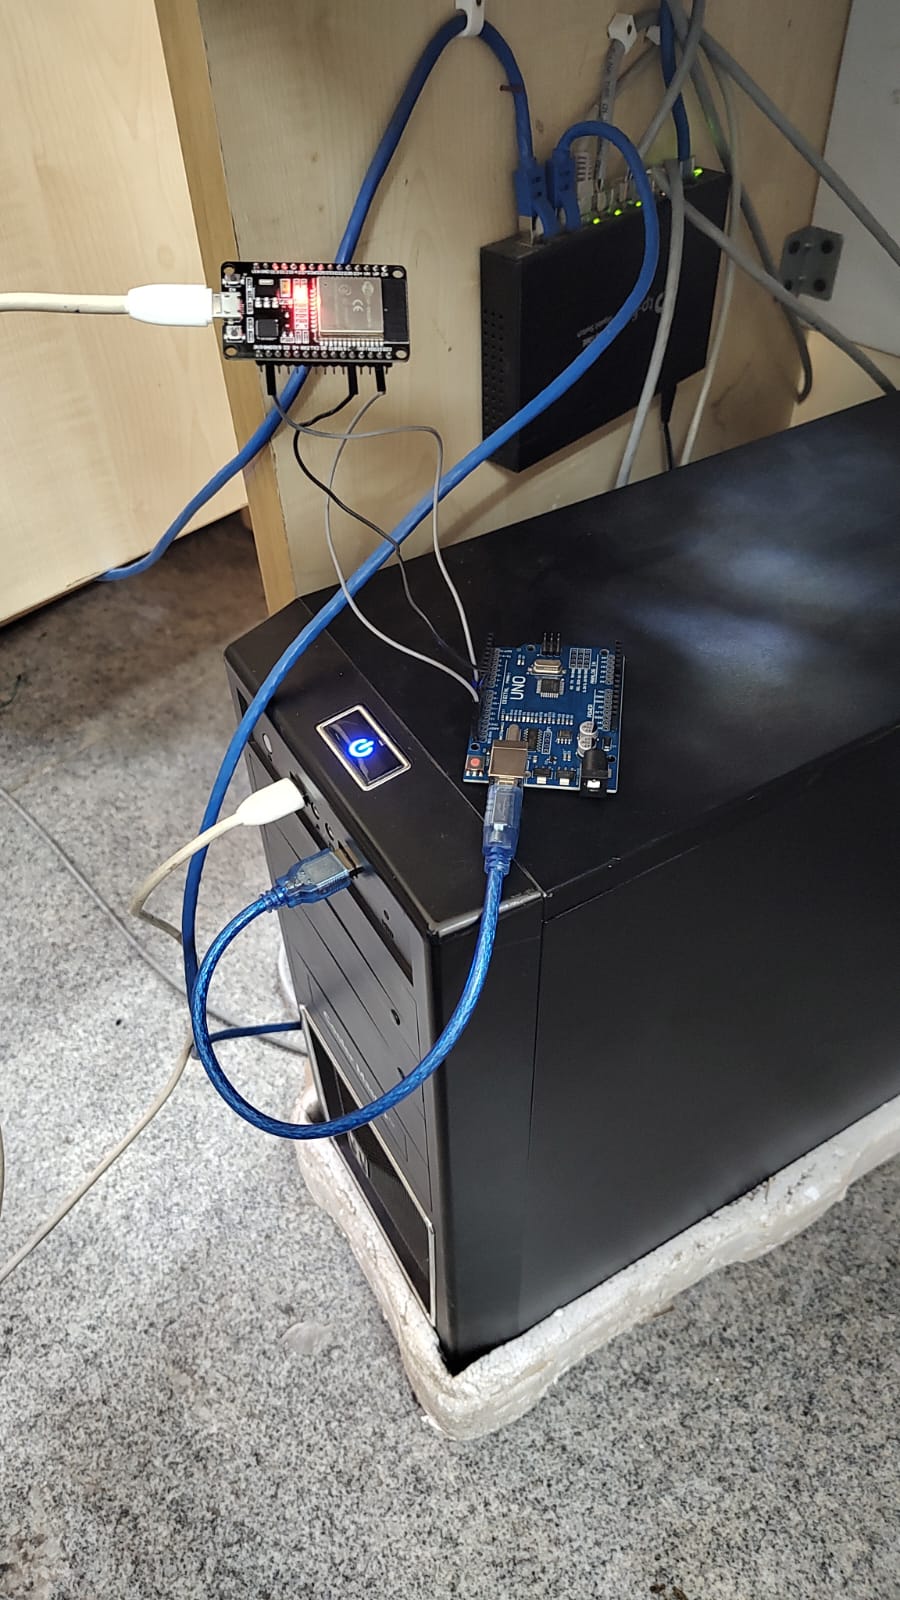
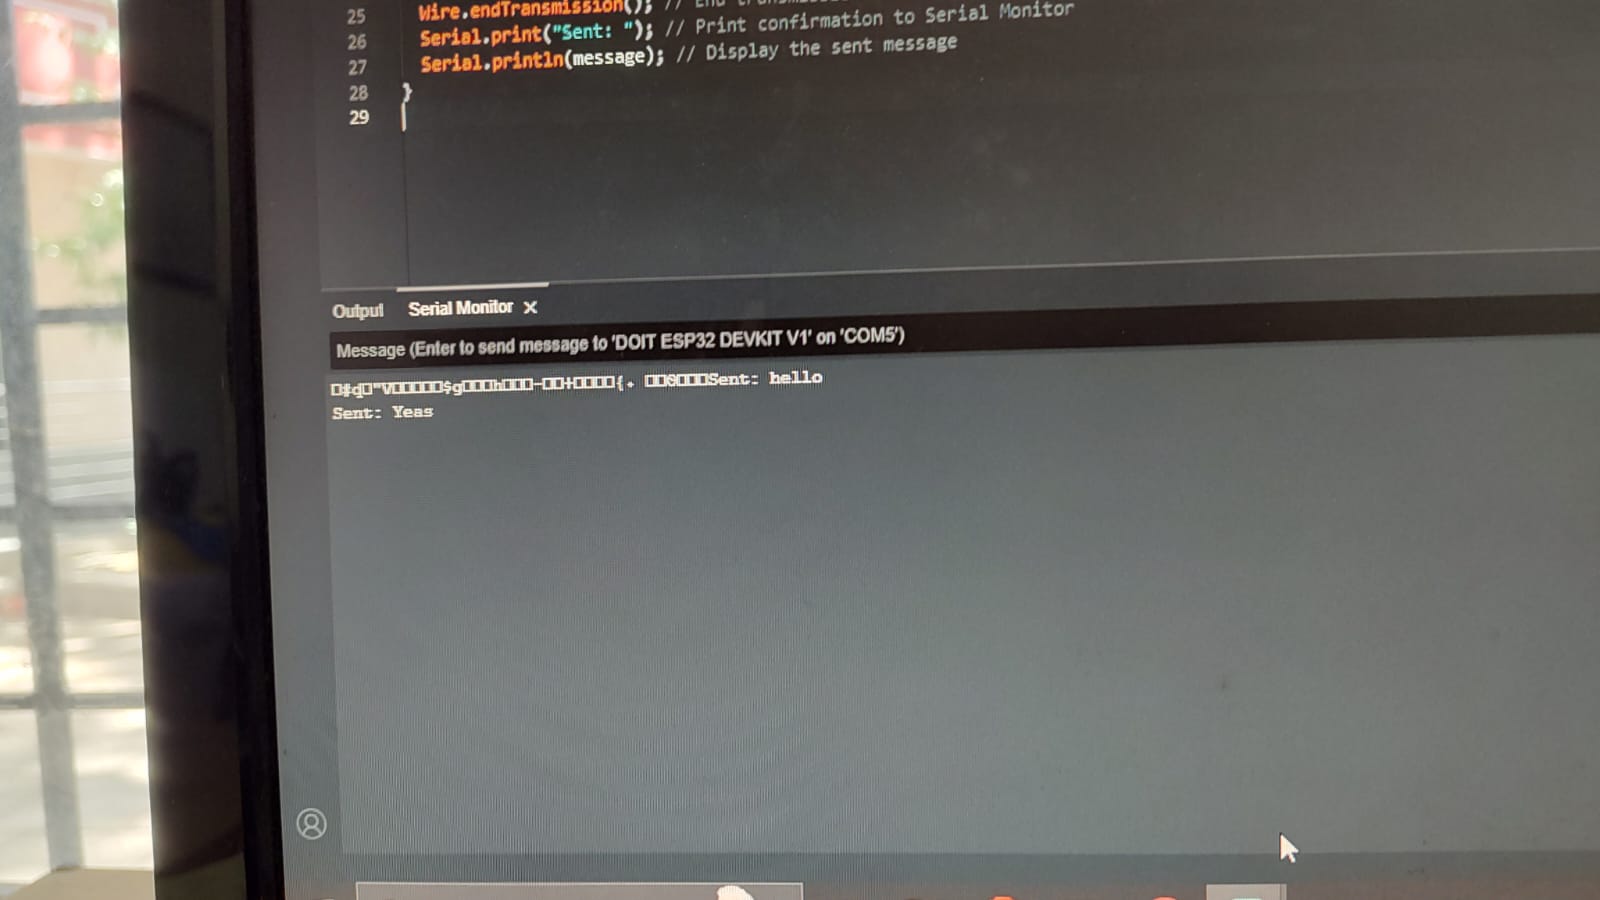
In this task we need to send the data from the ESP32 microcontroller to Arduino by using I2C protocol And then I need to host the webserver on the ESP32 so that if I type or message anything it has to be displayed in the lcd screen . The connections were so simple I connected the ESP32 and Arduino UNO , gave supply to both And with the help of the code hosted a webserver in mobile then by typing or messaging in the mobile that is on the webserver got it in the display of the computer. This task serves as a foundation for more complex interactions between microcontrollers and web interfaces, providing opportunities for further exploration and development.
Task 4 - Flashing Morse Code
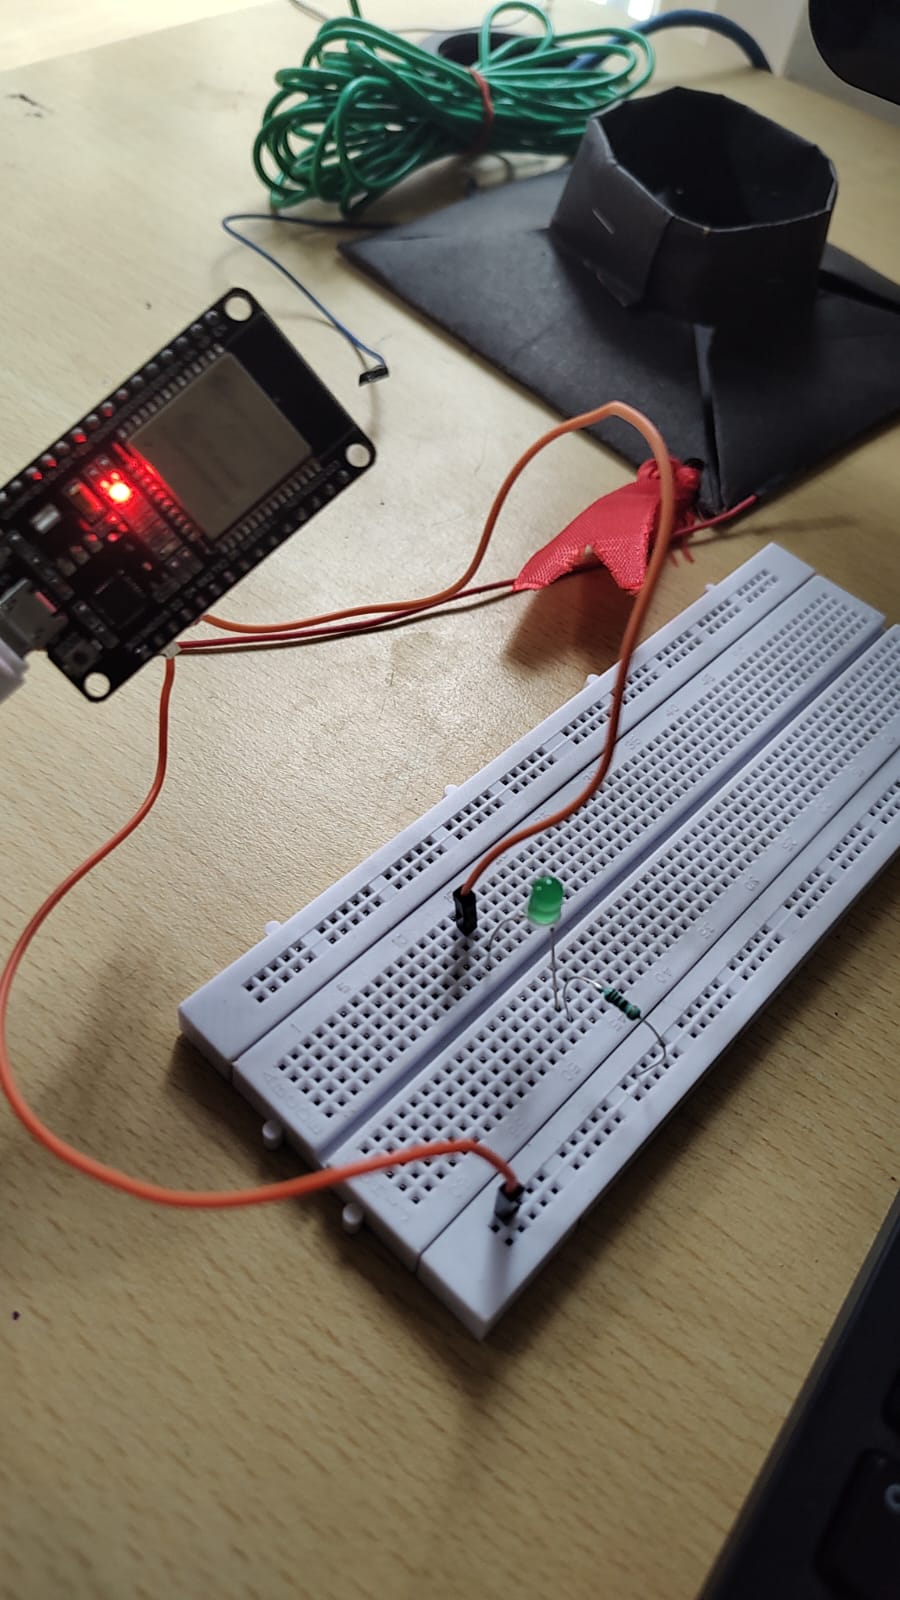
This task is generally to demonstrate the ability to send messages from a web interface to an ESP32 microcontroller , convert those messages into Morse code, and visually represent the code using an LED. Here main objective was to create a web server on the ESP32 to accept input and convert the input message to morse code and flash an LED to represent the morse code. So we required some of the components like ESP32 Microcontroller ,LED , 220Ω Resistor (for LED current limiting) , Breadboard , Jumper Wires and USB Cable for programming the ESP32 In this task I hosted a webserver on ESP32 and the LED used to blink or flash as the given input corresponding to code written . The picture while conducting the task is shown below
Task 5 - Soil Moisture Sensor
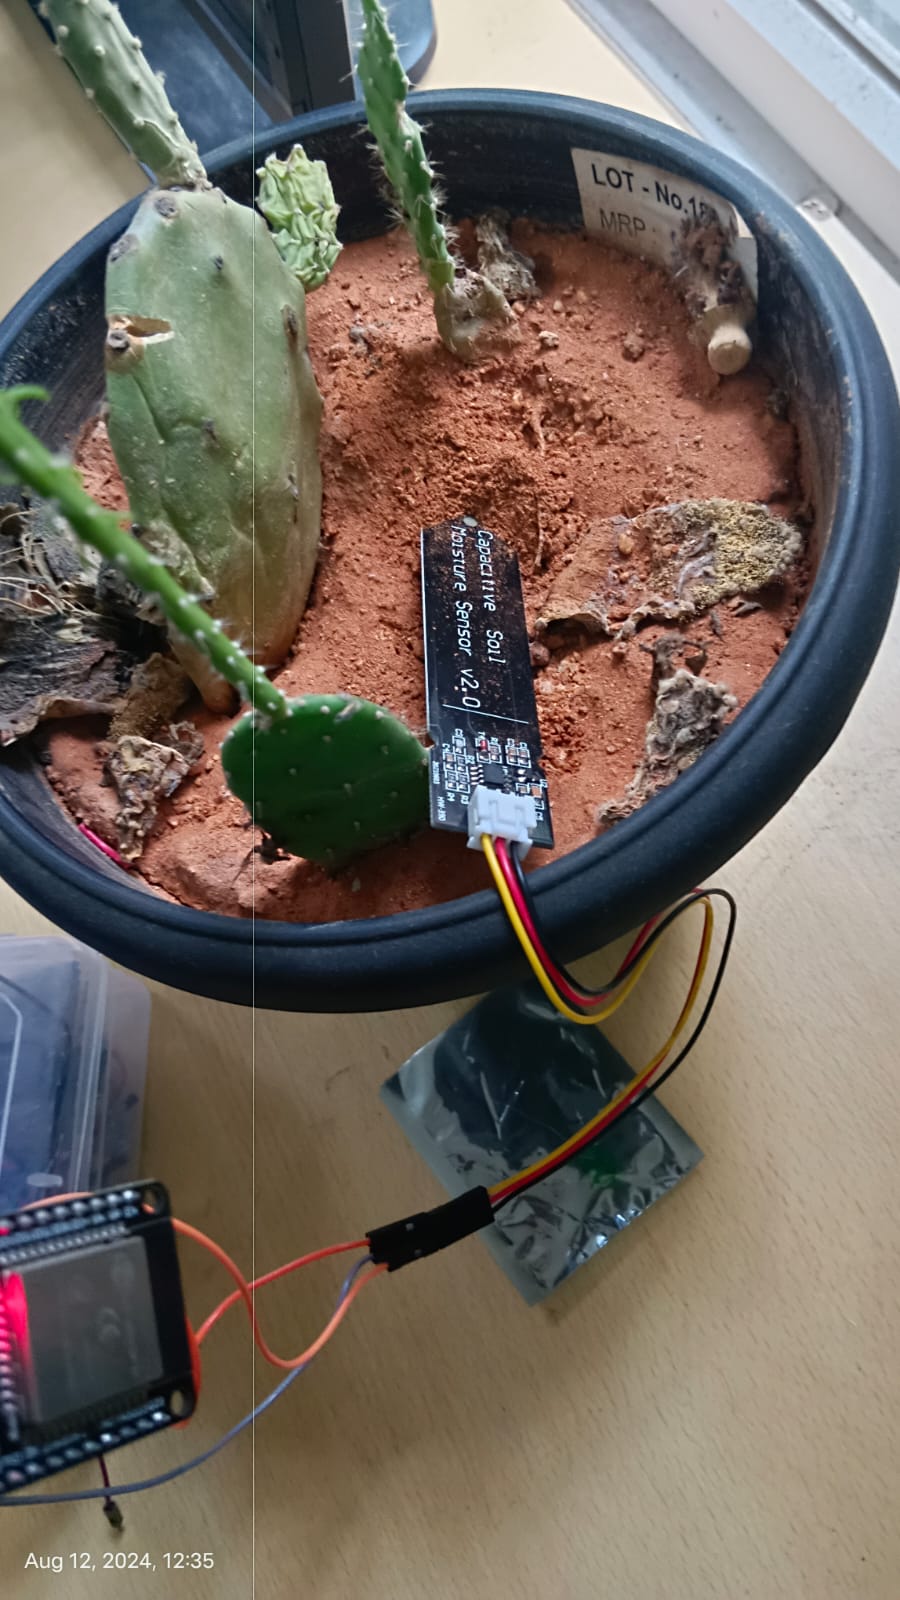
In the task we need to test the moisture level of the soil in the pot using capacitive soil moisture sensor and display the moisture level on the screen . With the help of the resource provided I came to know about the different types of soil moisture sensors and importance of the capacitive one over the resistance moisture sensor .Then rigged up the circuit as shown , coded the code using Arduino IDE and pushed it to ESP32 then I placed the sensor in the pot Then the moisture of the soil was displayed in the screen
Task 6- Basics of MQTT protocol and commuication protocols
In this task i learnt the basics of MQTT , like initially what are communication protocols what are it's types and how it is used in iot and all like it was like a deep dive in a subject of MQTT and all learnt about networking protocols.
Task 7- ESP32 CAM Based Surveillance Robot using Arduino IDE
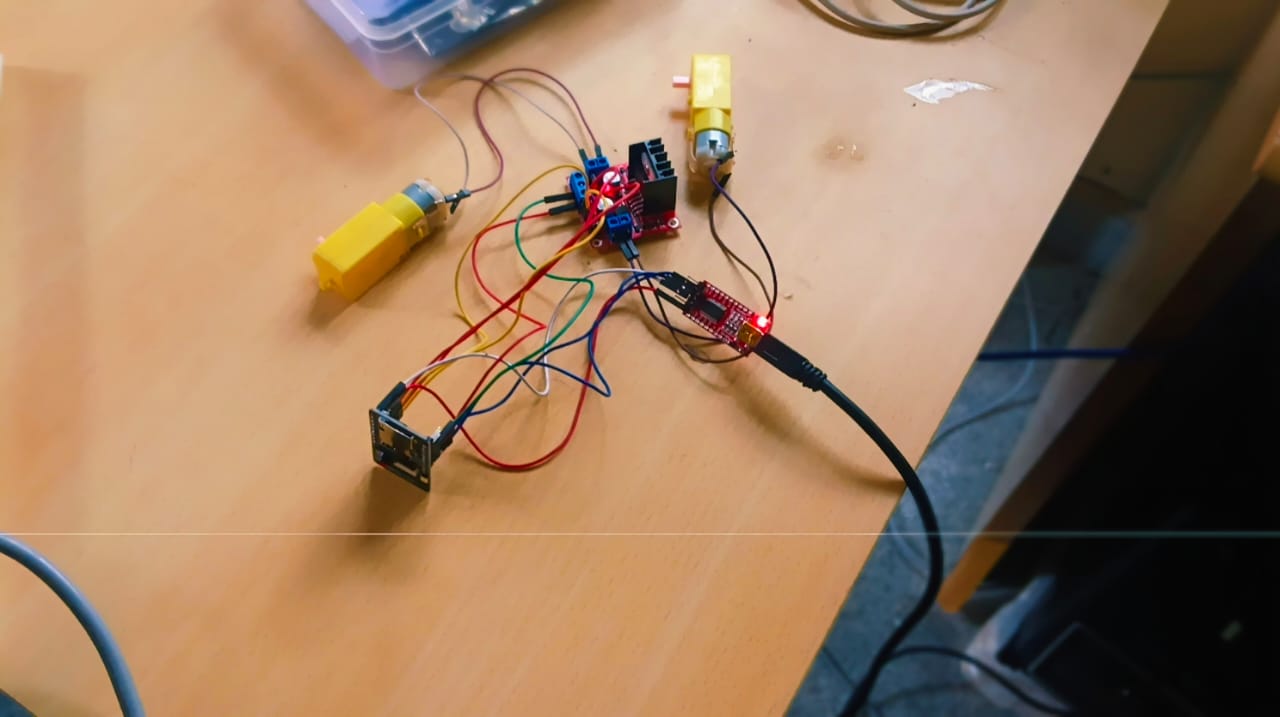
The main objective of this project was to set up an ESP32-CAM to perform remote-controlled movement with an L298N motor driver, implement live video streaming over Wi-Fi. This setup enables wireless control and surveillance through an integrated video feed and remote motor operations. In this task we rigged up the circuit as in the resource then pushed the code to esp32 cam via FTDI and then connected it to mobiles wifi then observed live streaming in it.
Task 8- Sending data to ThingSpeak
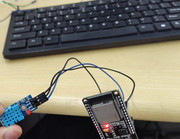
In this task we have to collect temperature data from a sensor connected to an ESP32 microcontroller and then we have send that data to ThingSpeak using its API, and then retrieve and display the data in a graph format (temperature vs. time). So in this task first we got an api key from the thingspeak and then made the connections as given then pushed the code to esp32 microcontroller and got the graph temperature v/s time in the thingspeak .
Task 9- Read and Display Vitals
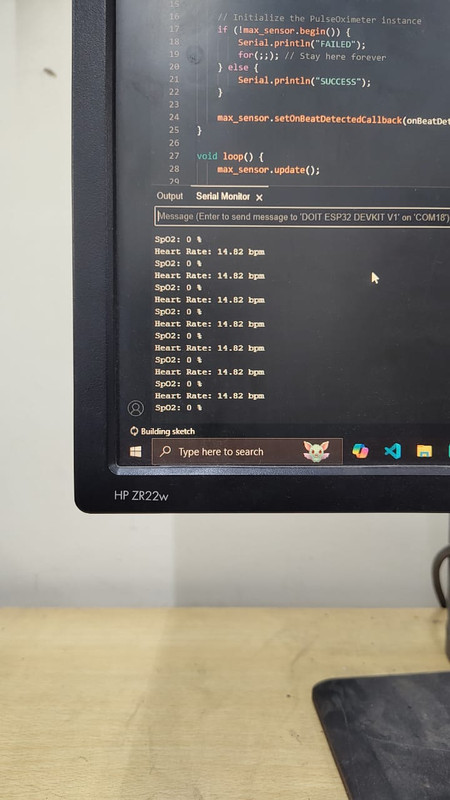
In this task we have to measure heart rate and blood oxygen (SpO₂) levels using a MAX30100 sensor and ESP32 microcontroller. The data will be transmitted to an Android application built with MIT App Inventor, where results are displayed and users receive notifications if values exceed a specified range. But I modified this like i just rigged up the circuit as shown in the resource without using oled and then modified the code to display the output i.e, the heart rate and the Spo2 readings on the serial monitor itself .

